Design Studio Office Makeover With Striped Walls

It was time, I was ready for a change. Things don't stay the same too long at the design studio. I was ready for a Design Studio Office Makeover...
I painted my walls orange a couple of years ago. It was bold and gorgeous but it was time for them to go!


When I decided I wanted to redo my office area at the studio I knew I did not want solid walls any longer. The space is fairly large and it's open so I wanted to be bold.


Like giant orange walls aren't, right?


After much thought into different shapes and colors, I wanted to keep it fairly simple.


Inspiring but not distracting.


I went with multi-colored stripes.


I used the Velvet Finishes color palette so I had the Timeless color matched at Sherwin-Williams to paint the walls for the color base.


For the stripes I chose Boheme/Eloquent/Enchanting/Glamorous and Bold. A lovely combination, agreed?


Check out all the Velvet Finishes colors here.


http://www.velvetfinishes.com/velvet-finishes-paint.html
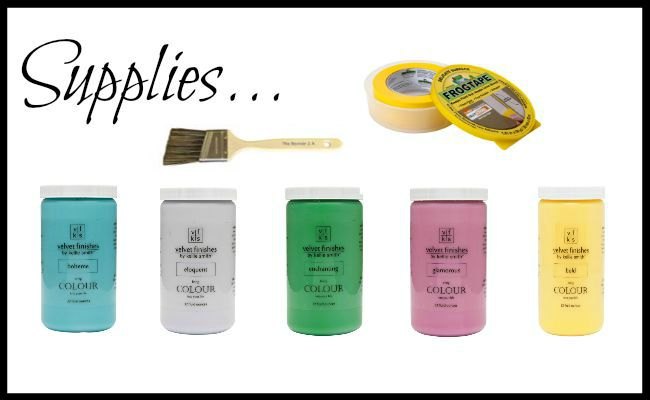
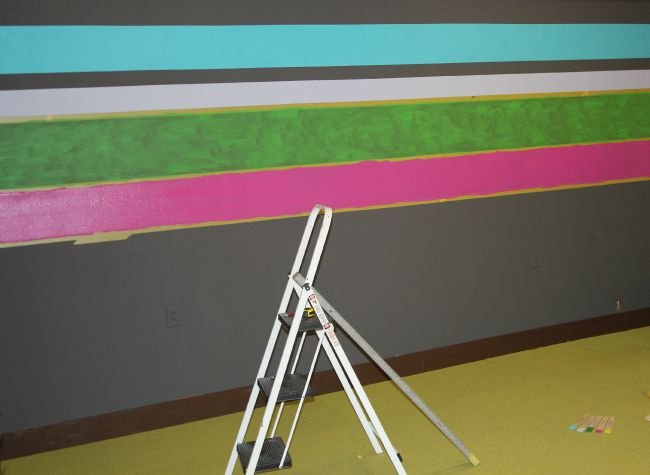
We used Delicate Surface Frog Tape to tape the stripes.
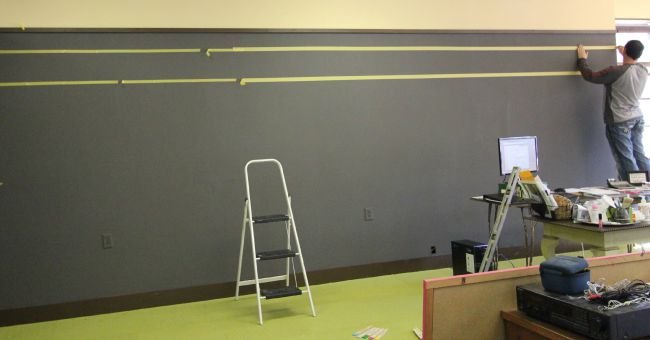

The Accomplice taped...


http://frogtape.com/index.php/
And I painted...
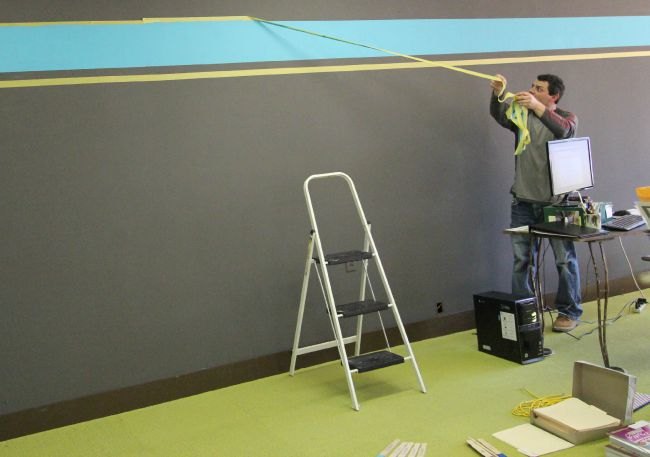
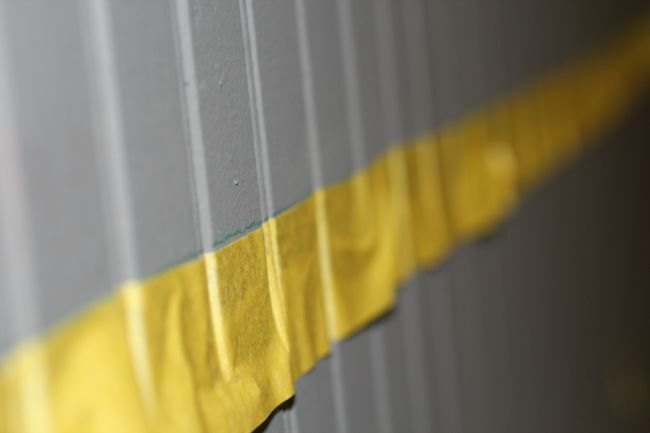
Remember to pull the Frog Tape off while the paint is still slightly wet. That is important to the crisp lines.
And then I painted some more...
Looking good right?
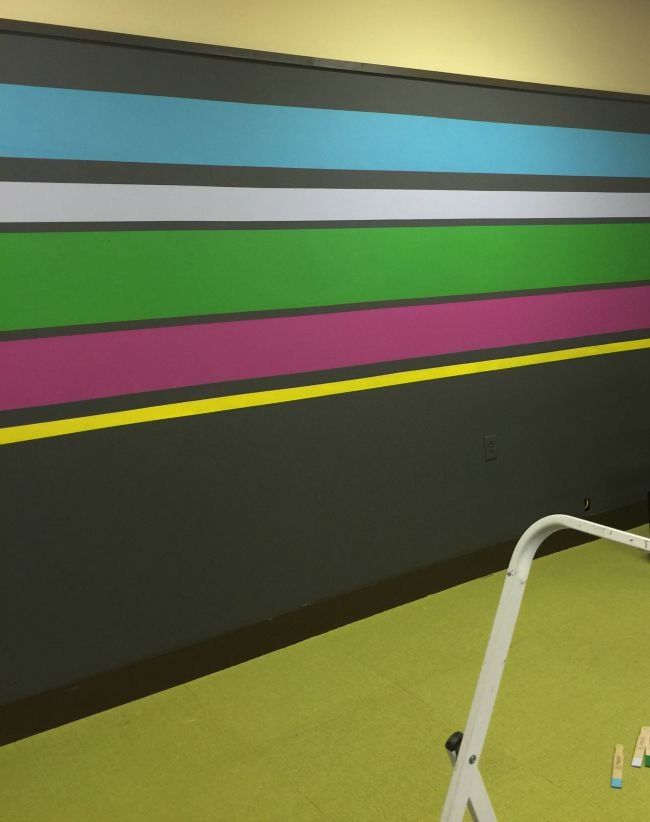
Look at those crisp lines!!!


So once all the stripes were done on the long wall I started on the bead board wall.


Straight lines on bead board? Seemed impossible.


This is a close-up shot of the tape on the bead board. I was careful to push the tape down into the the creases. Honestly I thought this might be a bad idea, but no...with Frog Tape, the stripes were perfect.
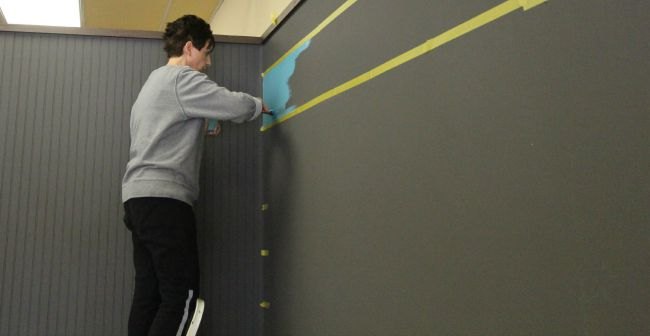
It was a time consuming venture, pushing the tape down into all of those grooves, so I only did one accent stripe on that wall.


Once all the painting was done I was finally able to put my office back together.
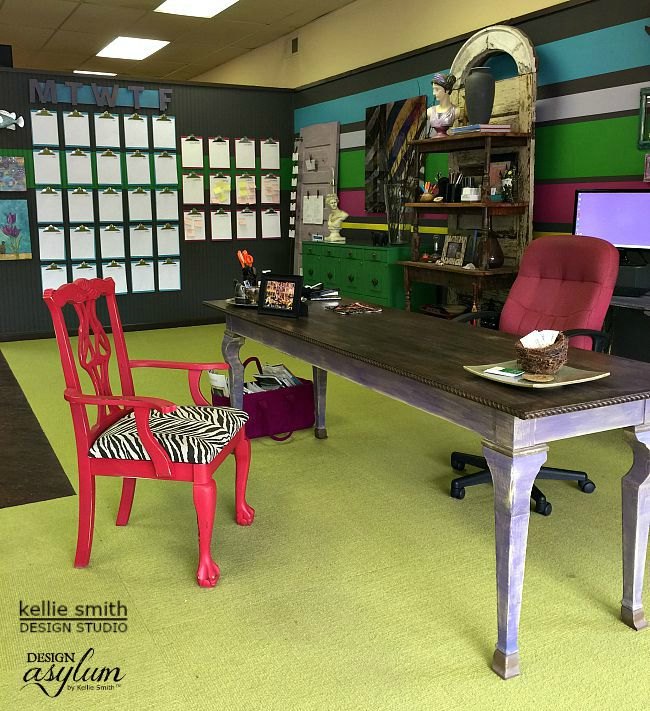
And no, my desk is not always this clean. In fact, it's NEVER this clean!!!


I no longer file on the floor since I now have filing cabinets in my space. I had them around the corner so I didn't have to look at them but that didn't really work for me. I would make stacks in the floor because I didn't want to spend all my time walking back and forth. Now these four cabinets sit right beside my desk.
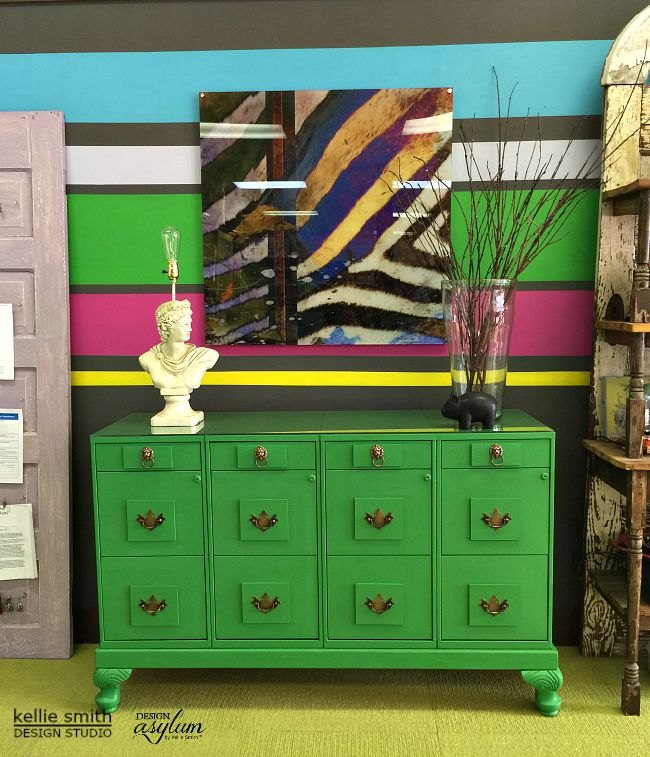
You can read about how to make file cabinets look like furniture here.


http://www.designasylumblog.com/diy-file-cabinet-makeover/


I love the shelving unit I had made from an old door and other scraps. I've had this for about 15 years but we are planning to build another one soon and I will share with you exactly how we do that.
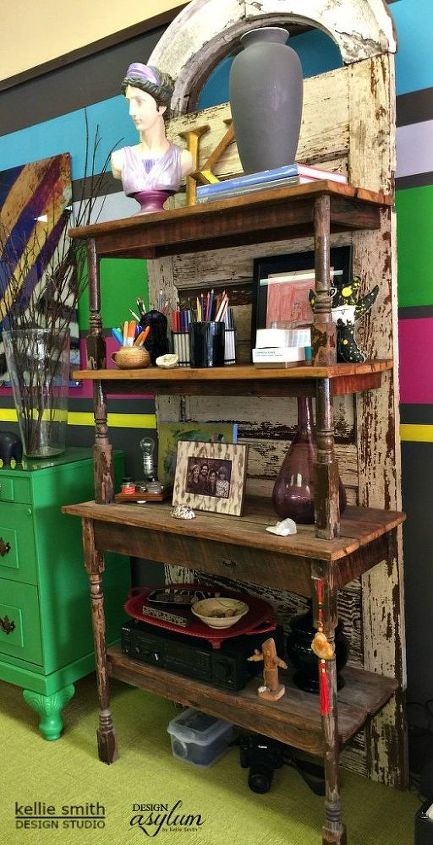
And here is my calender wall...


See the full tutorial here: http://www.designasylumblog.com/organize-your-schedule-with-a-clipboard-wall-calendar/
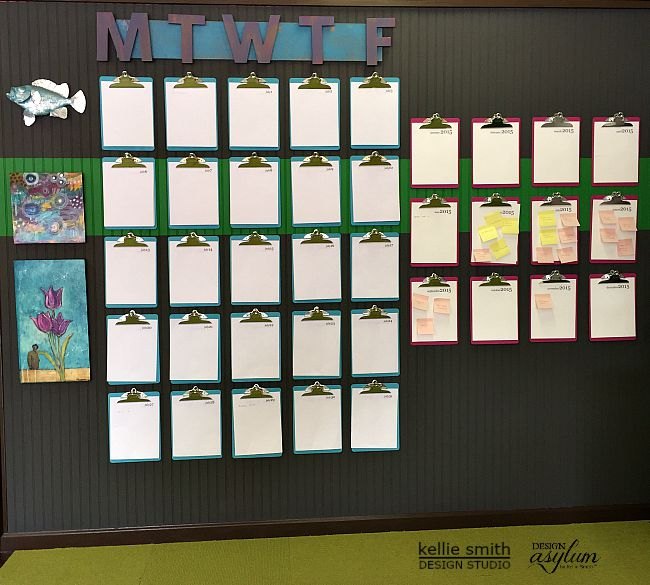
On the left, the clipboards painted in Boheme, are daily boards. I keep my appointments, deadlines, etc there. On the right, painted in Glamorous, are monthly boards. Whatever project I know of in advance goes on those boards, so they are more for planning. Since I am such a visual person, this system really does help me, calenders hidden in computers are the worst for me! Ugh!
Head over to the blog to see more detail shots of my office makeover!!!!!


That's my office at the design studio! I hope you find some inspiration here.


So how do you work best? Do you prefer a calm color setting or are you like me, bold colors spark your creativity?


I would love to see your office or creative space!
Kellie from Design Asylum Blog
Want more details about this and other DIY projects? Check out my blog post!
Go
Frequently asked questions
Have a question about this project?
Comments
Join the conversation
 2 comments
Next