


Bench Makeover #furnitureREFRESH
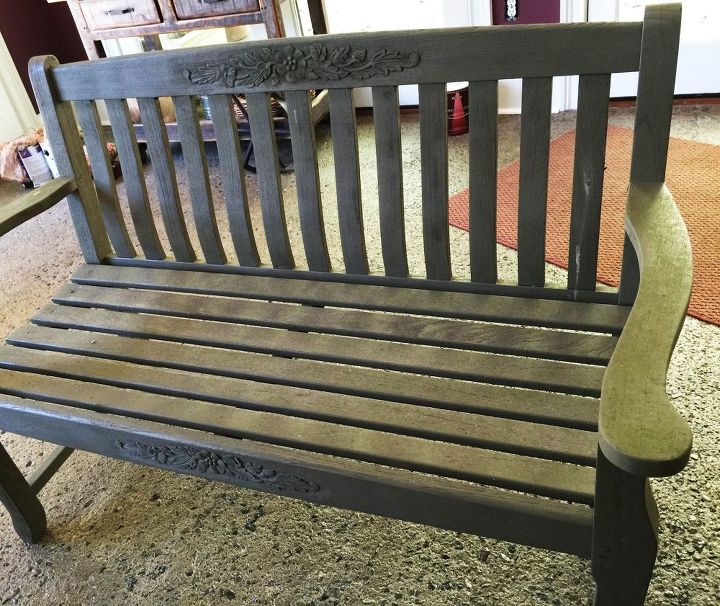
I found this bench wasting away out on the back 40.... behind 4 bags of manure. OK. Not really, because I live in a neighborhood and don't have a back 40. But, it was absolutely found out behind the house, wasting away in the elements....behind 4 bags of manure....that I bought at the home improvement center.

We knocked off the leaves and other debris and dragged it inside. This is when I realized that it was so thoroughly covered in green and black mold, I couldn't really even tell what color it was. Well, so much for wiping it down and getting on with the paint.
What this little bench needed was a good, old-fashioned, Southern-style shower.
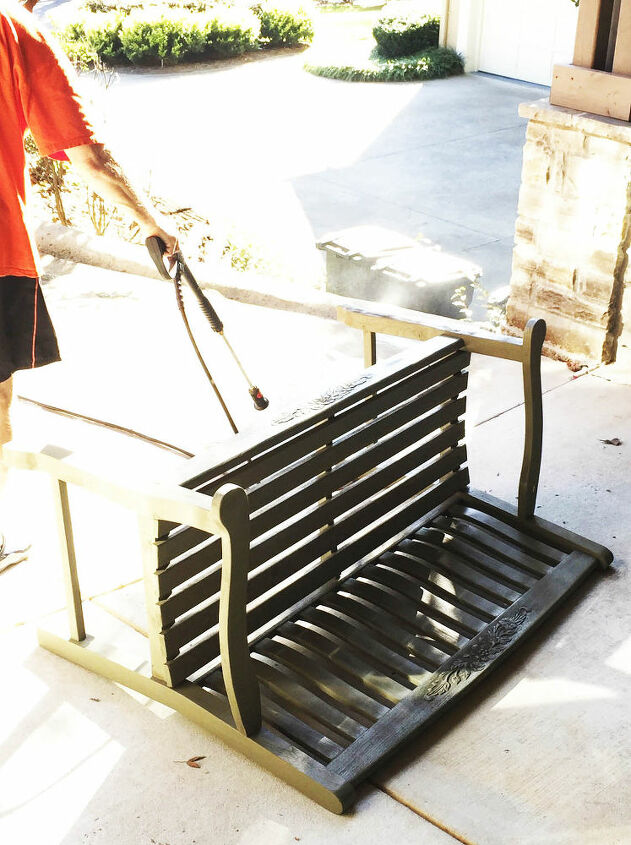
The goal was to get rid of the mold without ripping the wood to shreds. Turns out, as a general rule, I wouldn't recommend power washing a piece. But, this wood managed to hold up with only a few gouges.
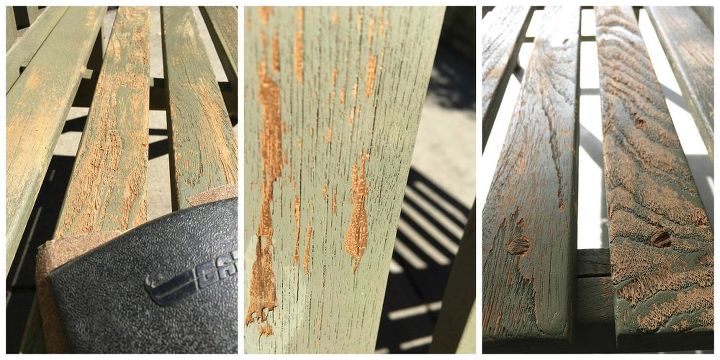
And, honestly, since the group theme for this month was "weathered," I knew I could sand away or fill-in major gaps with wood putty.
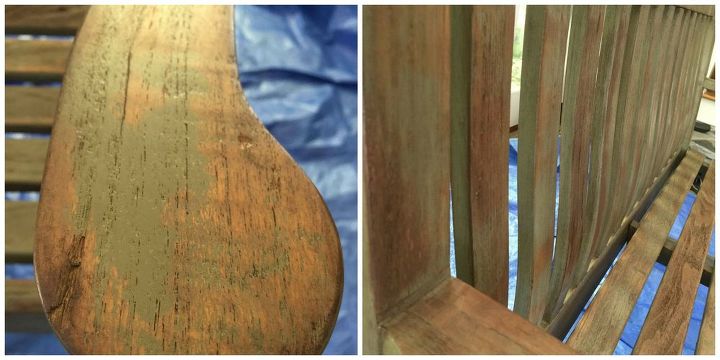
So, after the wood dried, I sanded away all of the rough places, loose paint flecks, and splinters. Then, the entire bench was wiped with some walnut stain. I was hoping that the stain would work with the remaining paint and make the bench look weathered.
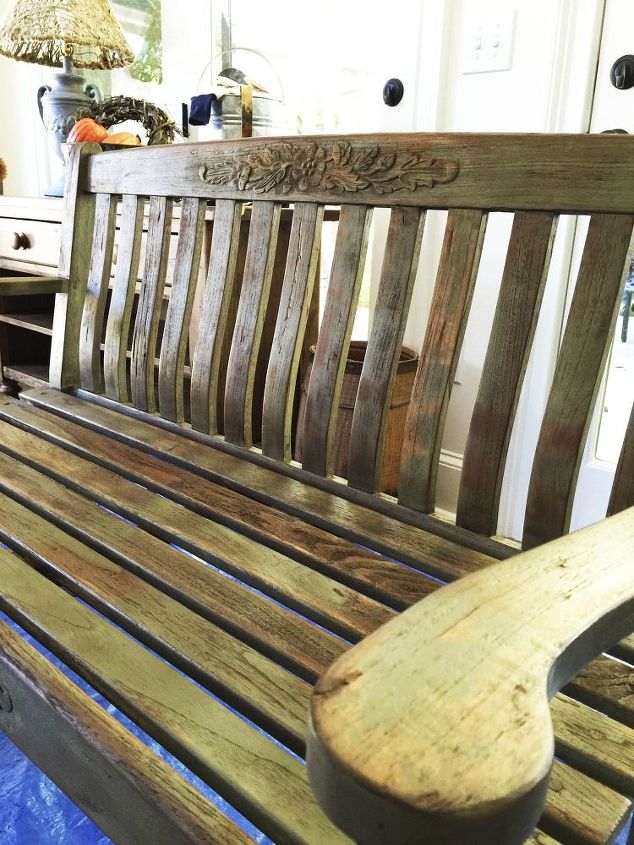
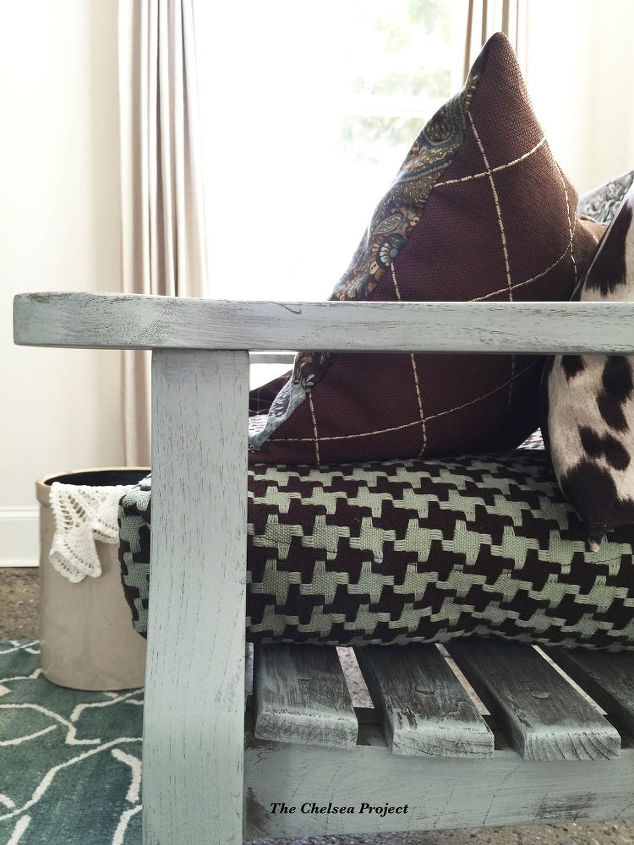
But, what resulted was a nicely finished, distressed bench that just sat there...looking blah. At this point, I knew it was time for the big guns. That's right. It was time for COLOR! Enter..... my old friends... chalkpaint and fabric.
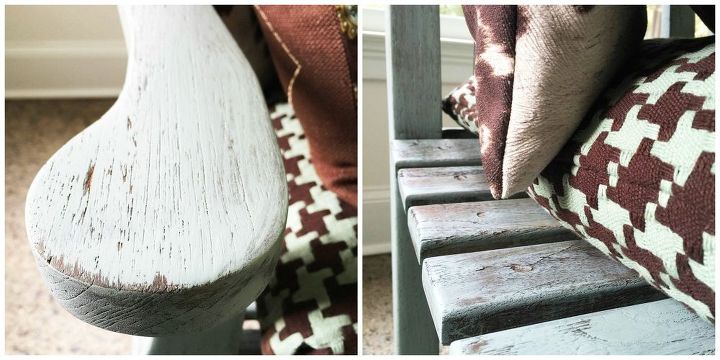
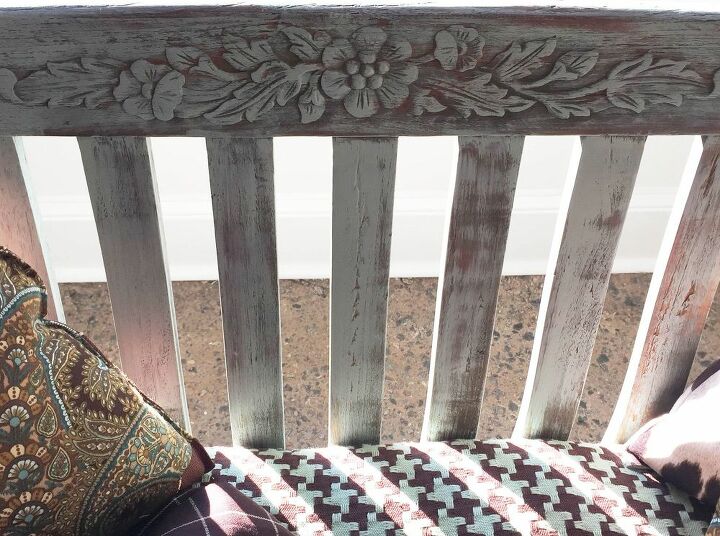
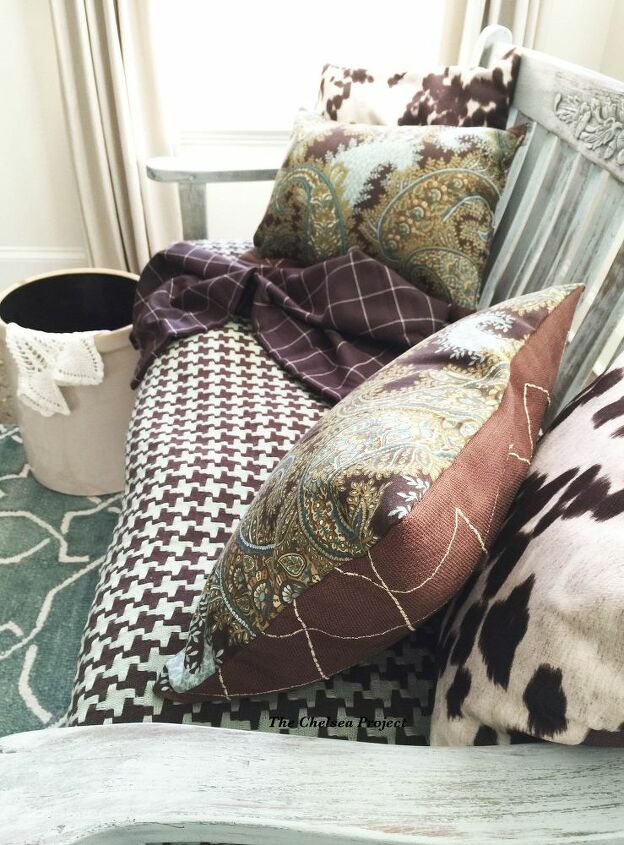
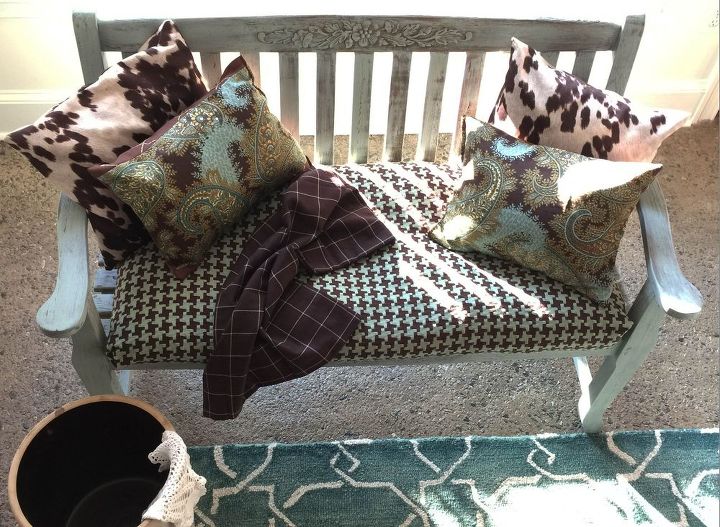
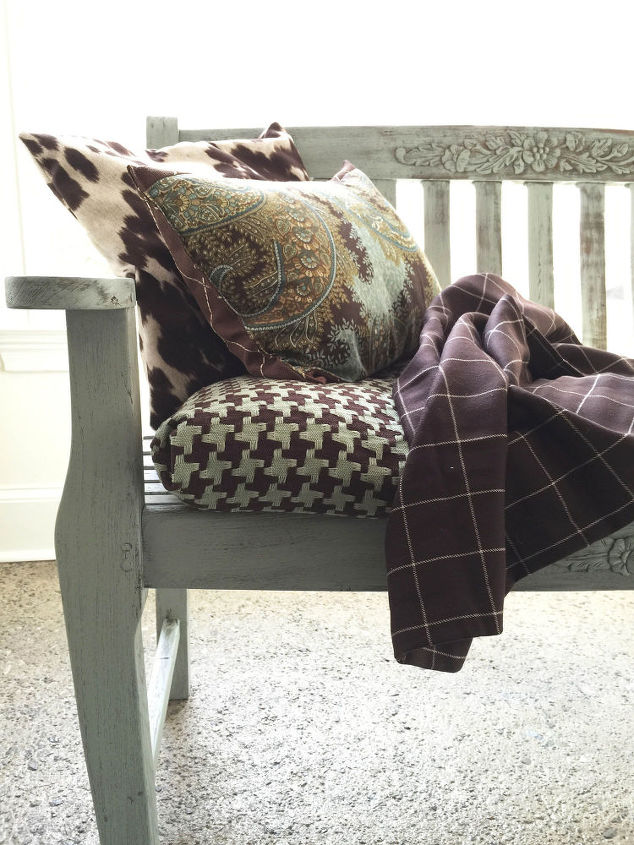
And, there it is. A little bit of weathered and a whole lot of pop.
Because the wood stain was oil-based, I was able to apply the chalkpaint like a glaze. No, I didn't sand before applying the chalkpaint.
A thin layer a chalkpaint was applied and then wiped down with a damp cloth (while the paint was still wet).
This process prevented any sanding at the end. I also didn't apply a wax or polycoat. Yay!!
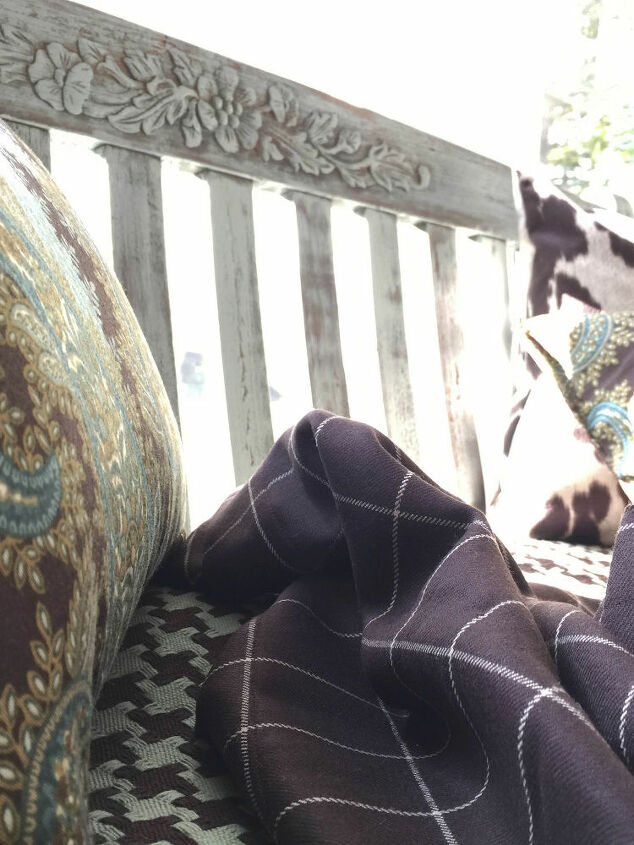
All I needed to do was make the slipcovers for the seat cushion and throw pillows. A post about how the seat cushions were made using a no-sew technique that only took one hour is on the blog.
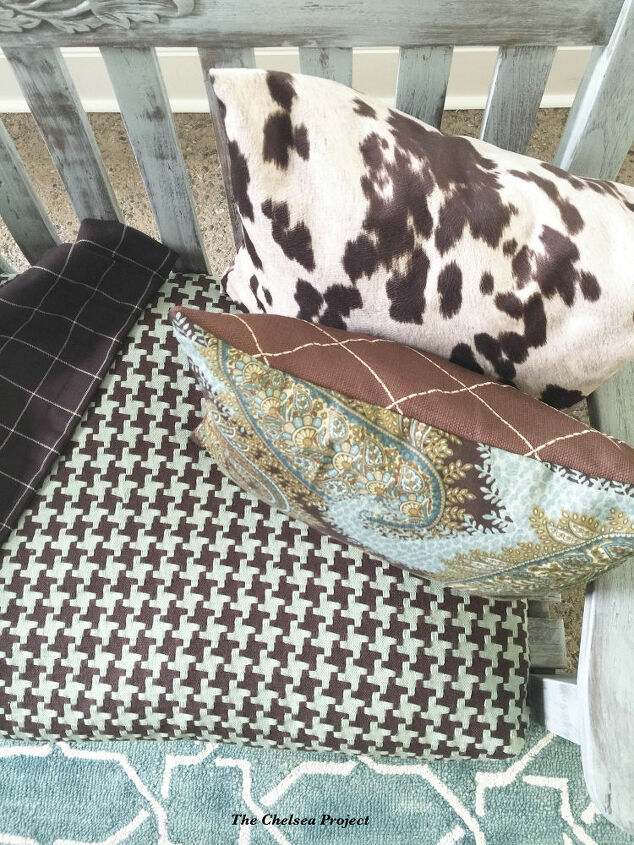
What you see here is the fall and winter fabric line-up. In the spring, all of these little guys will get lighter and brighter slipcovers.
Thank you for joining me for this month's themed furniture challenge with the group. It is always a joy to share what we've been doing.
For more photos and additional details, please visit the URL below. And, of course, I'd love to hear your comments, questions, or ideas.

Want more details about this and other DIY projects? Check out my blog post!
Comments
Join the conversation
4 of 8 comments
-
Gorgeous!
-
I really like the bench and love the brown and blue fabric on cushions and pillows. If you ever have anything else with mold, green or black you could use bleach and water with a brush. Use a soft brush.


Frequently asked questions
Have a question about this project?