


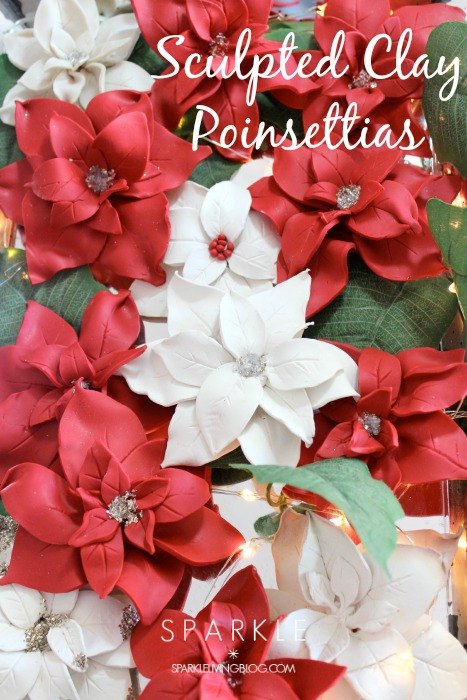
Scultpted Clay Poinsettias

by
Jessa
$5
1 Hour
Easy
These sculpted clay poinsettias look pretty darn close to the real thing, but will last a lot longer and look they will amazing on your Christmas tree.
Roll out the oven-bake clay to about 1/4 inch thickness. Then cut out leaf shapes using an X-acto knife. No need for precision here. You'll need a variety of sizes.
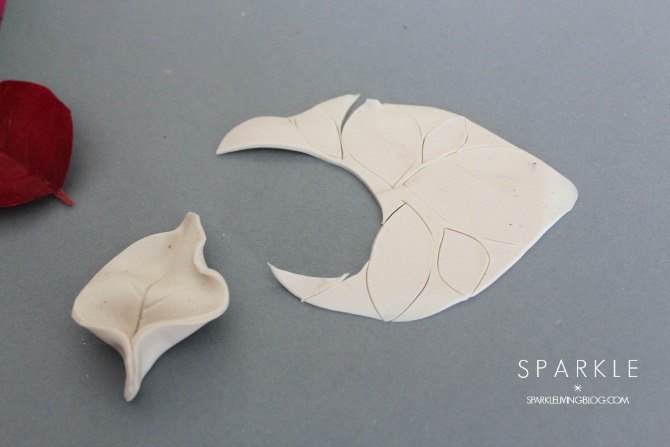
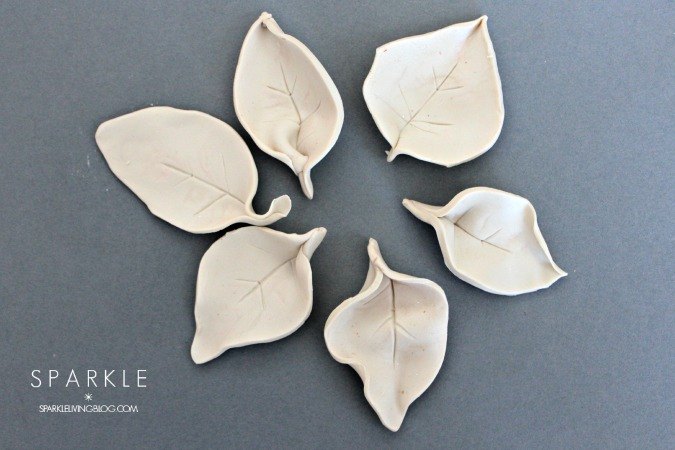
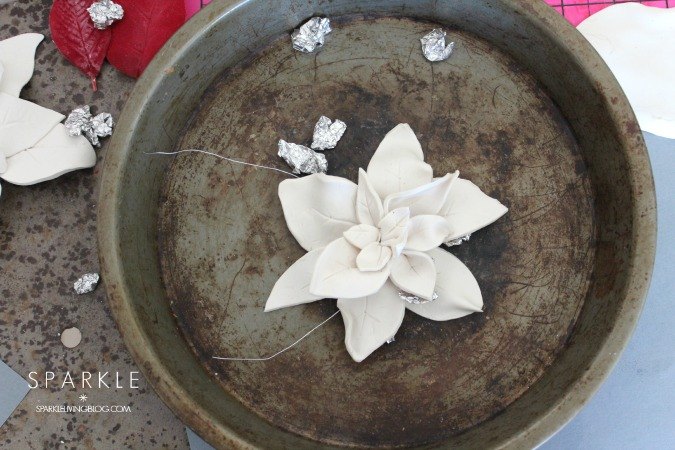
With six of your biggest leaves, create veins by lightly scoring the clay with the knife. Then pinch an end of a leaf to shape it like a stem. Gently curl some of the edges add dimension to the leaves.
Pinch the "stems" together and add a wire through the clay. It's best to do this on your baking sheet so you don't have to transfer the final piece before it's baked. Once all six of the base leaves together you can make little balls of aluminum foil to support the leaves so they don't lay completely flat.
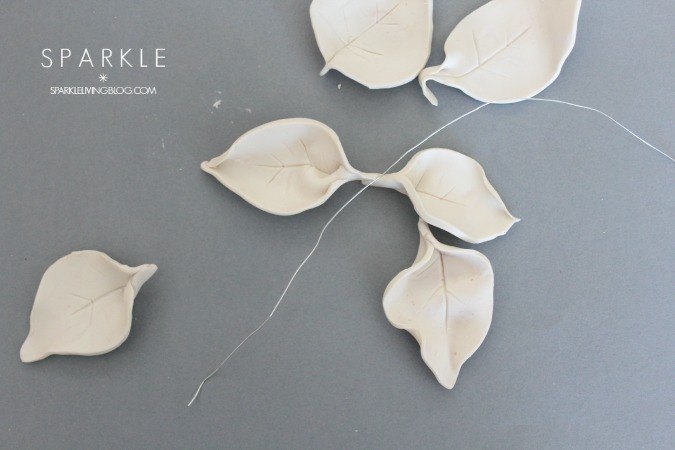
Continue to add smaller leaves to the poinsettia building up and pinching the clay in the middle so it all sticks together.
Now just bake according to the directions on the clay package. Once cool, add glitter or beads for a center. For more detailed directions, see the original blog post.
Want more details about this and other DIY projects? Check out my blog post!
Comments
Join the conversation
2 of 3 comments
-
These are gorgeous. And, I read your epilogue on your blog - so sad - I would cry too! But, thank goodness they were fake! (Which is the reason you made them in the first place, right?)
-
Beautifullll!!!


Frequently asked questions
Have a question about this project?