


Updated Staircase

by
Lynn

After 25 years of wondering what to do with my dull staircase.....I finally found it! I love how it turned out! My house is a Spanish style home built in 1927.
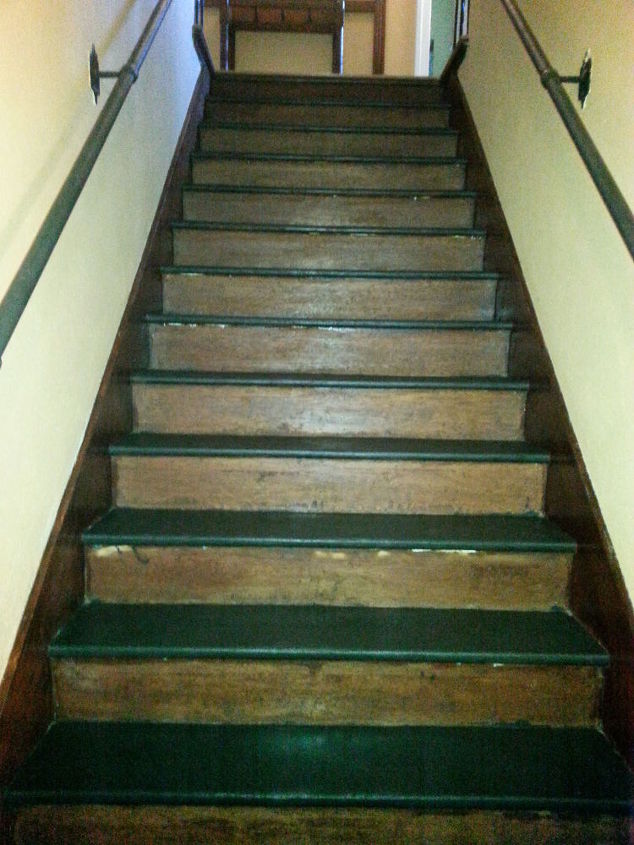
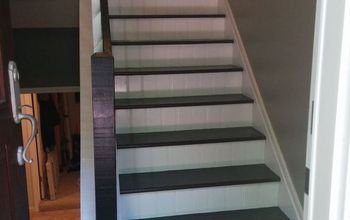
This is what it looked like before. I had already painted the treads here using Deck Over (textured Deck paint) I got from Home Depot. The color is Slate. I used deck stain for several reasons. One, treads were pretty beat up after almost 90 years of use so I wanted something that would give good coverage. Two, I like the idea of a textured paint since my stairs treads are more narrow than usual and slipping was an issue. And, third, I have a small deck we just built outside that needs to be stained and, knowing the stairs wouldn't require much paint, I wanted to be able to make good use what was left of the gallon I had to purchase.
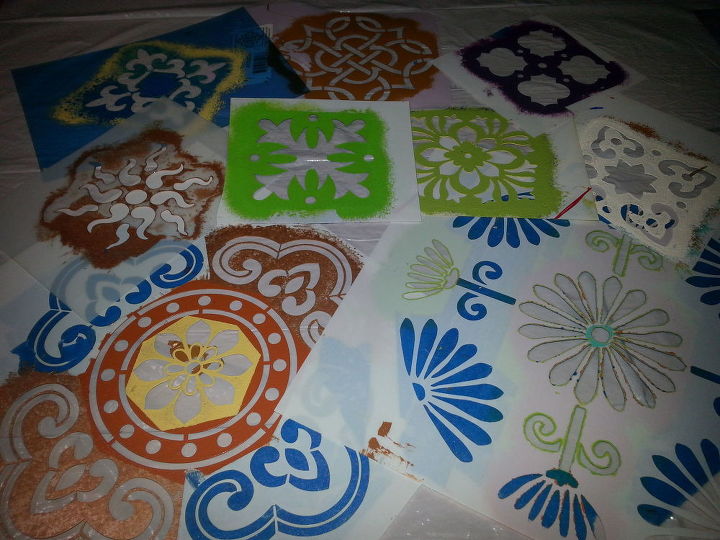
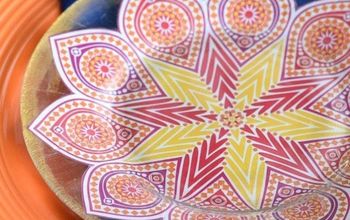
I purchased stencils from several different stores, looking for ones that would that were about 4-5" because my plywood pieces were 51/2" high. Since I had so many risers to decorate....I tried to used different variations of the stencils I had on hand on each risers. (Stencils can be expensive so I wanted to keep my cost down as well.) I also wanted each riser to be different. I would rotate the stencils, use only part of the stencil, combined stencils, etc., anything to change it up a little on each riser.

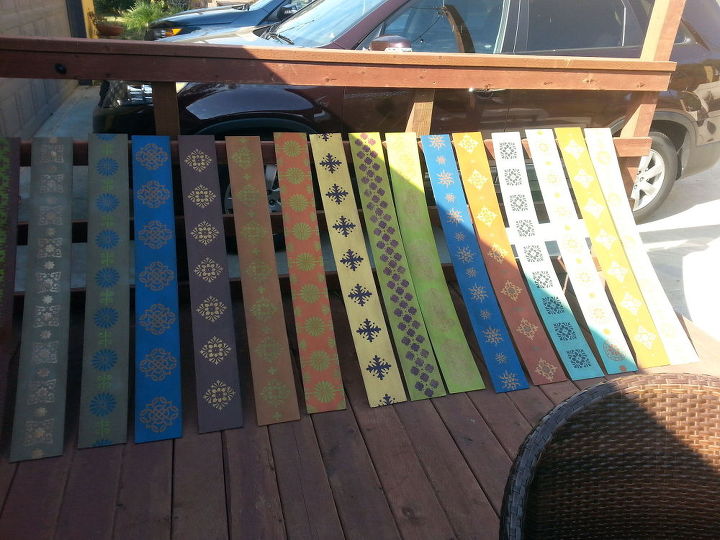
I did not want to do the painting and stenciling directly onto the stair risers so I decided to have 1/8" plywood cut to fit the risers. I needed 16 pieces so I bought 8'x4' 1/8" plywood at Lowes (around $13) and they cut it to my specifications for free. I actually needed two pieces of plywood.I first painted each riser piece using eight different background colors. I repeated each color once since I had 16 pieces. I chose bright, contrasting colors that I liked. Most were paints I already had on hand or "sample" bottles I purchased at Lowes. After all 16 were painted, I then began the
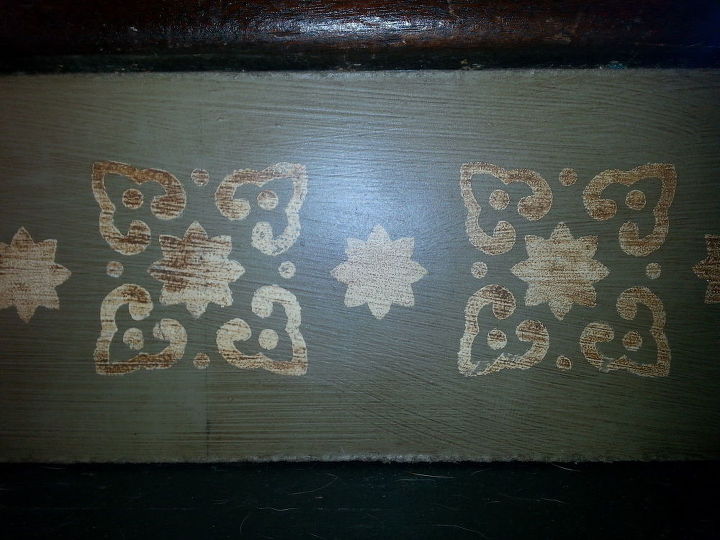
Here it is after the antique wax. I just brushed a thin coat on and then wiped it off to get the look I wanted.

Here are a few of the finished risers.
I sprayed each with a clear coat for added protection.
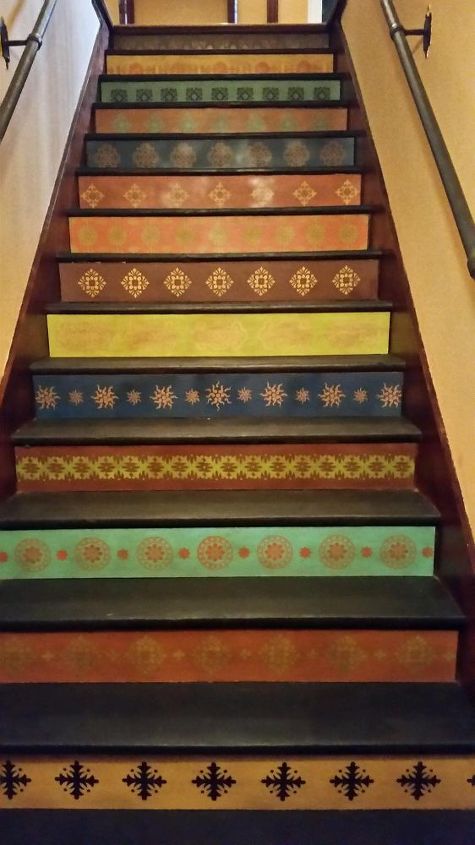
I then attached each one to the stair risers using 1" brads. I am very happy with the results! It was a pretty easy project, though, a little time consuming with having to paint and decorate so many riser pieces. I did a few each day and finished the entire project in about a week over all. Hope you like it!
Comments
Join the conversation
2 of 150 comments
-
I love this!
-
That is lovely! What are “brads”? (From a British person who doesn’t speak American)


Frequently asked questions
Have a question about this project?