


Gourd Toad House

by
Jamie Baker
This was my first gourd project. I had very limited tools, but the project didn't need all the fancy stuff. With or without the fancy stuff, the design possibilities are endless.
It's not in the blog post, but weathering over the summer faded some of my burned lines. (Mineral oil does not protect against the elements.) Because of this, I did go back and re-burn the faded areas with a professional-grade burner. I then used a satin poly spray (Rustolium brand) to protect the outside. I left the inside alone to avoid fumes or smells that might repel or harm the toads.
Also, I now skip the guide holes as they create uneven lines when sawing. Instead, I use a regular craft knife (Xacto) blade inserted into the gourd, making it wide enough to fit the saw blade.
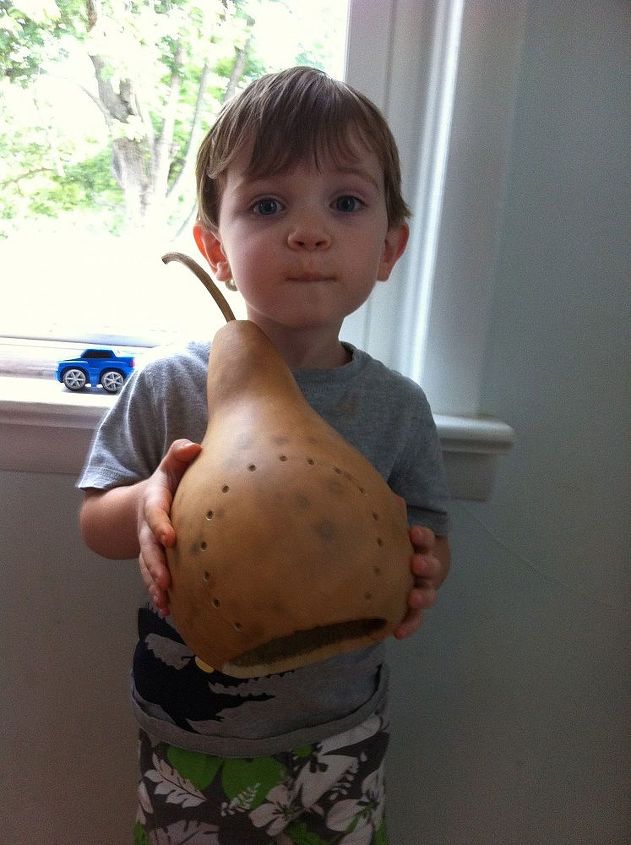
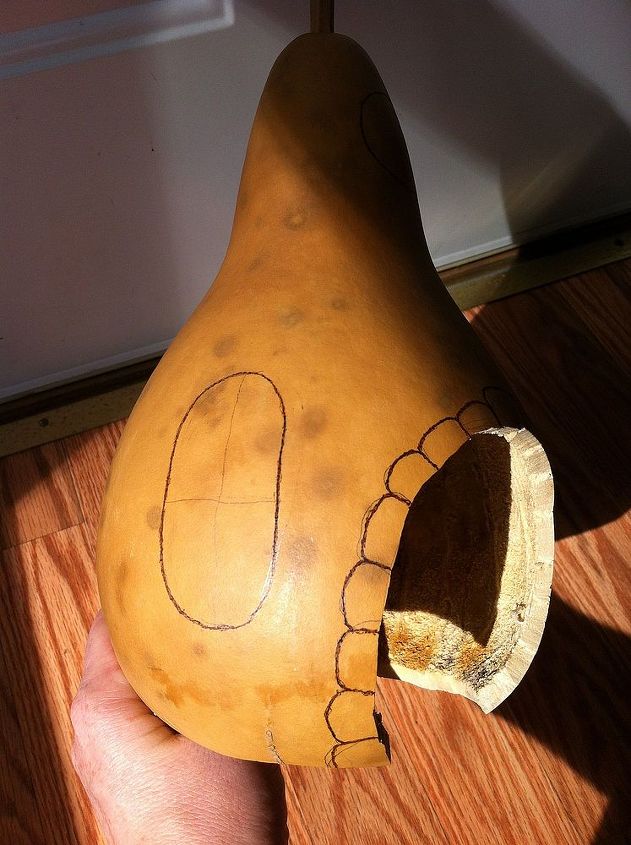
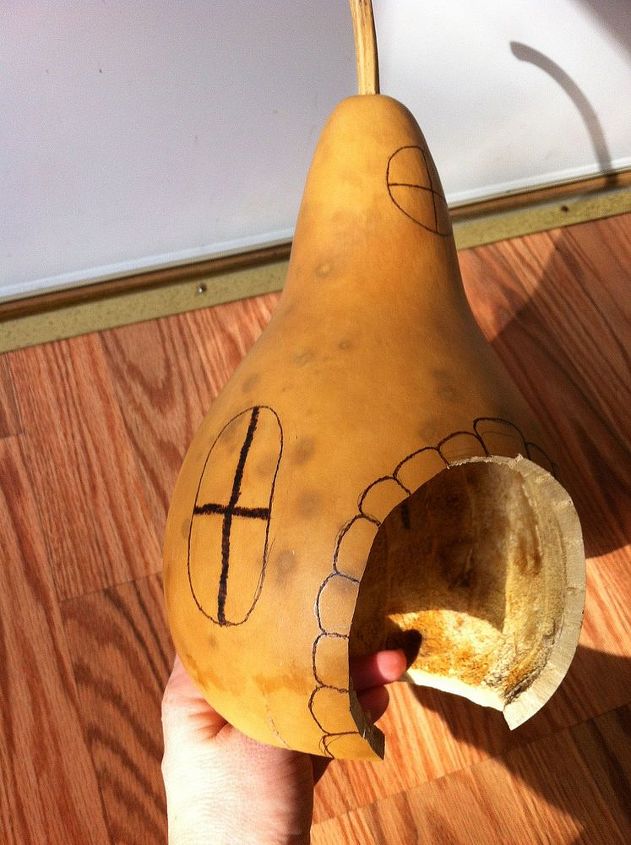
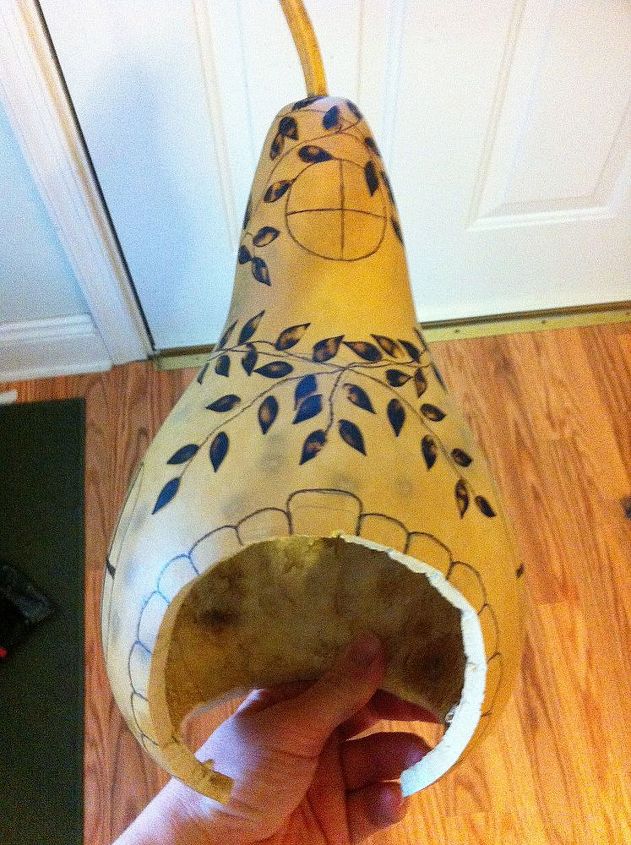
My son showing the guide holes used to help cut out the bottom and door. (Bottom is already removed & gourd cleaned inside.)
"Stones" and window burned. (Universal tip on craft-style wood burner)
Window pickets burned. (Calligraphy tip on craft-style wood burner)
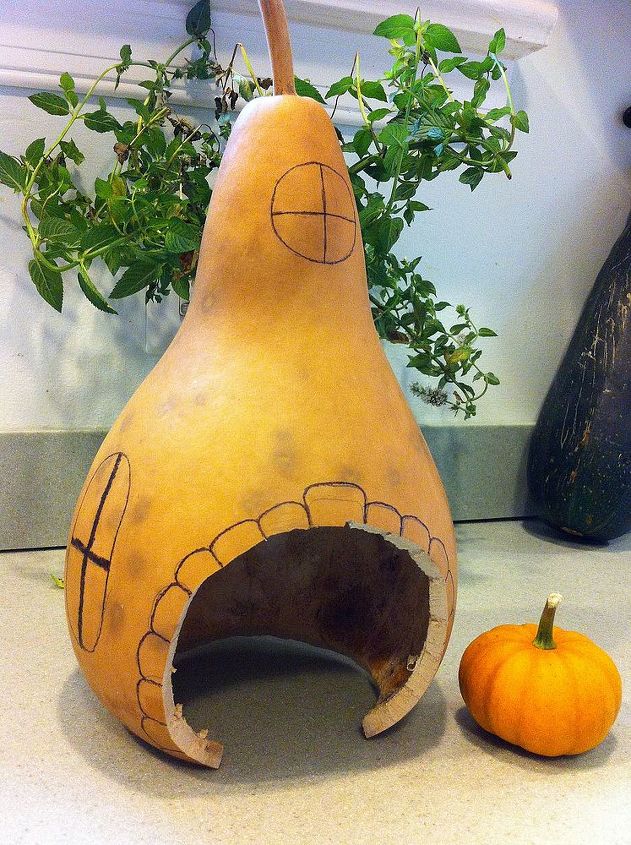
Basic design finished. It still looked naked to my eyes.
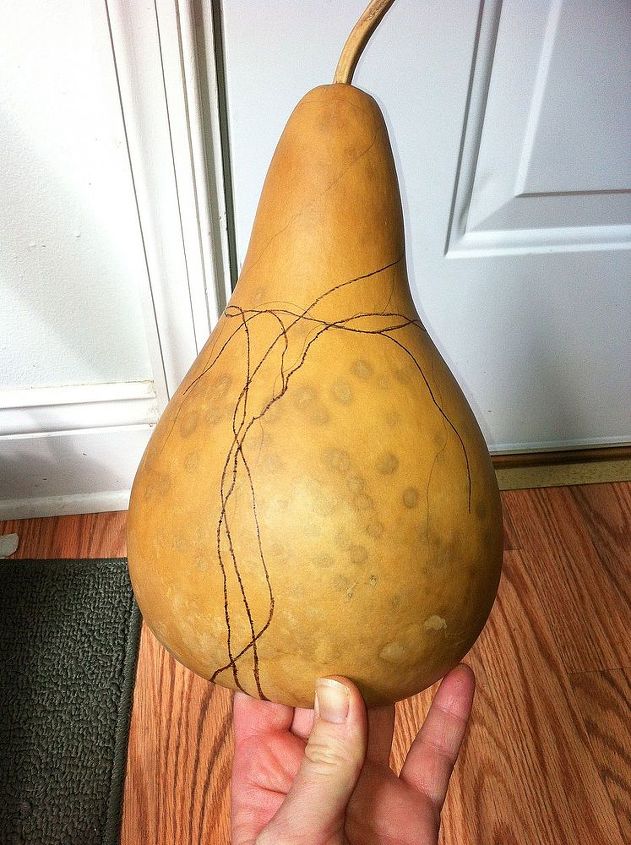
I added vines to fill in the blank areas.
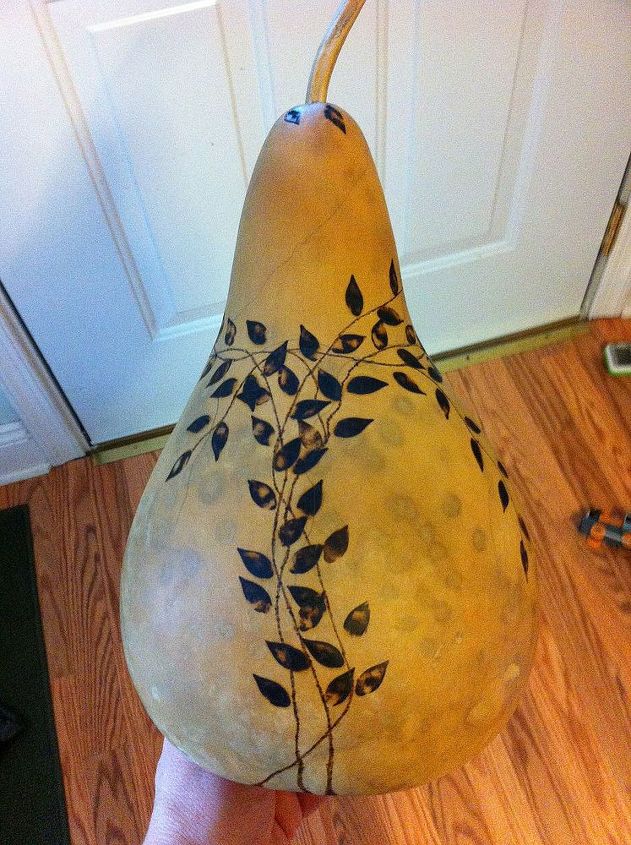
Leaved added to the vine. (Shading tip on craft-style wood burner)
Back of the finished vines.
After re-burning the faded lines and coating with satin poly spray.
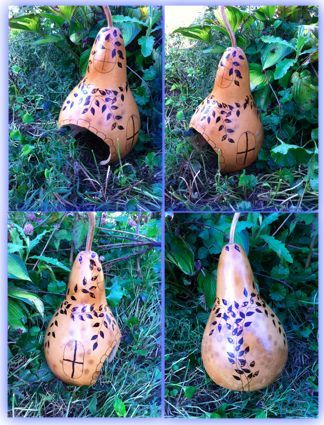
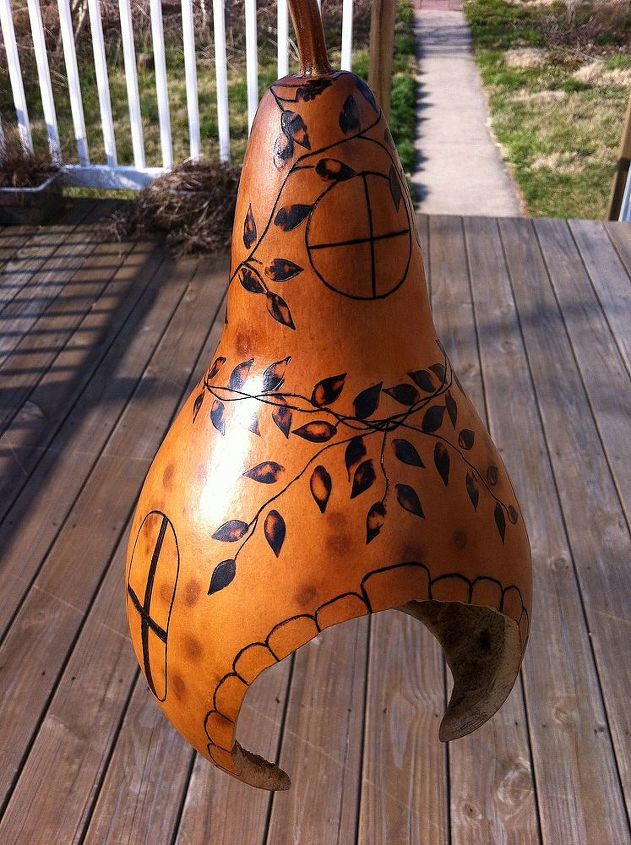
Finished product from all angles.
Want more details about this and other DIY projects? Check out my blog post!
Comments
Join the conversation
2 comments
-
I like the design. Keep on burning!!!!!!
-
love it


Frequently asked questions
Have a question about this project?