


Quick and Easy Cedar Window Box

by
Diva of DIY
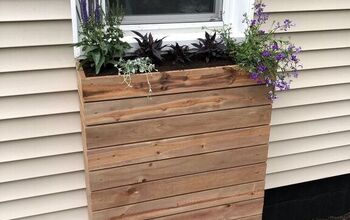
An easy DIY window box that packs a powerful curb appeal punch! These little beauties are easy enough for the most novice DIYer! All you need are cedar boards, hanging brackets and some basic DIY tools.
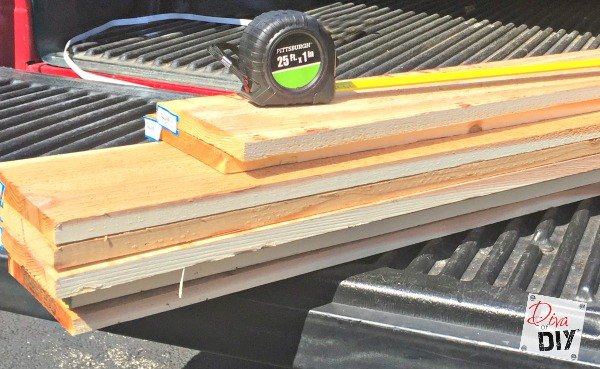
Decide what size you want your window box to be. Most boxes are the same size as the width of the window. I was making my box for a tin potting shed with a narrow window so I decided I wanted the box to be larger than the width of the window.
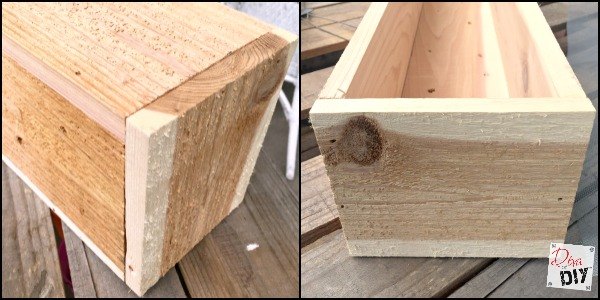
Cut 3 boards the same length for the bottom and 2 sides and 2 smaller boards for the ends. You have to keep in mind the width of the boards when measuring. See full tutorial for detailed instructions.
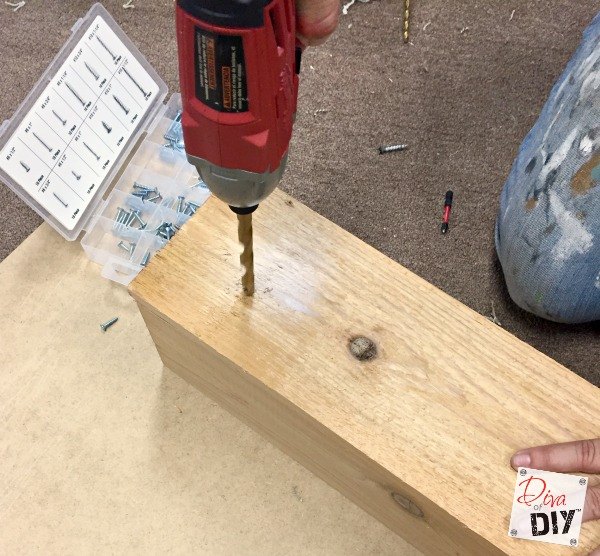
Once the box is nailed together drill holes in the bottom of the box for water drainage. Make sure to add several holes, making some large holes for good drainage for your plants.
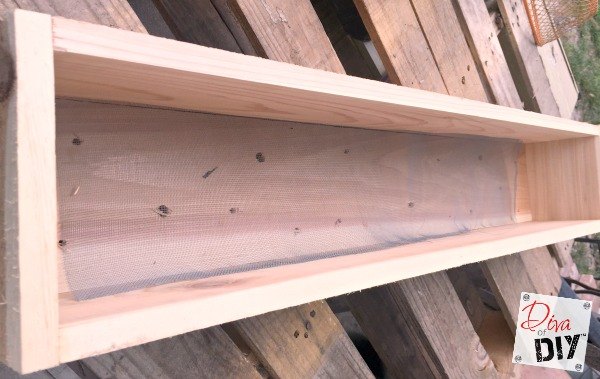
Diva tip: Use screen in the bottom of the box instead of heavy rocks that would add weight to your box.
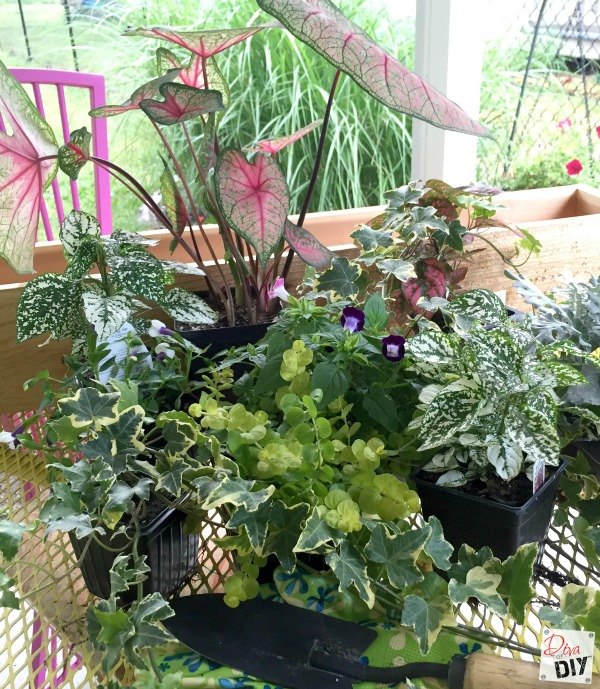
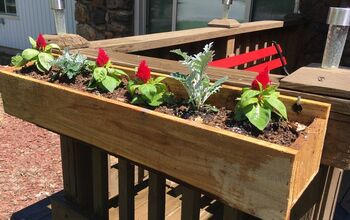
Once you have your box finished, head to your local nursery and pick out your plants! I shared some of my planting tips and how I hung my box in the full tutorial.
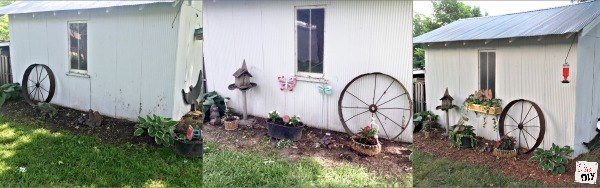
So what do you think... The shed went from bare to better to amazing! I have to admit, it added even more character to the little tin shed then I had even imagined!
Want more details about this and other DIY projects? Check out my blog post!
Comments
Join the conversation
2 comments
-
They really add a lot to the look of the Shed.


Frequently asked questions
Have a question about this project?
How do you hang on house