


A Bundt Pan Punkin'
There are lots of bundt pans available at thrift stores. You can use one to easily make a cute pumpkin for your autumn decor! All you need for this project is some chalk paint, a rusty spring, drop cloth, twine and glue!
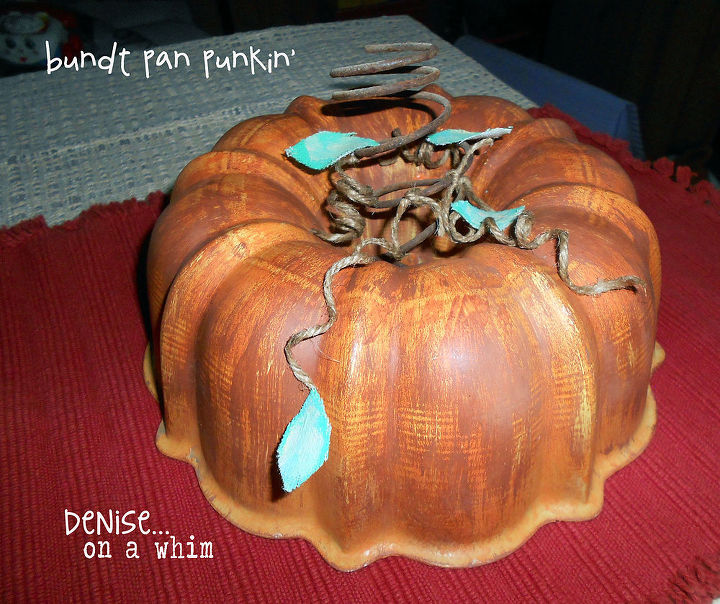
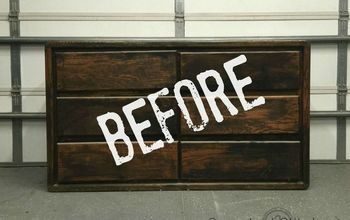
This pretty fluted bundt pan was already the perfect shape for a pumpkin!
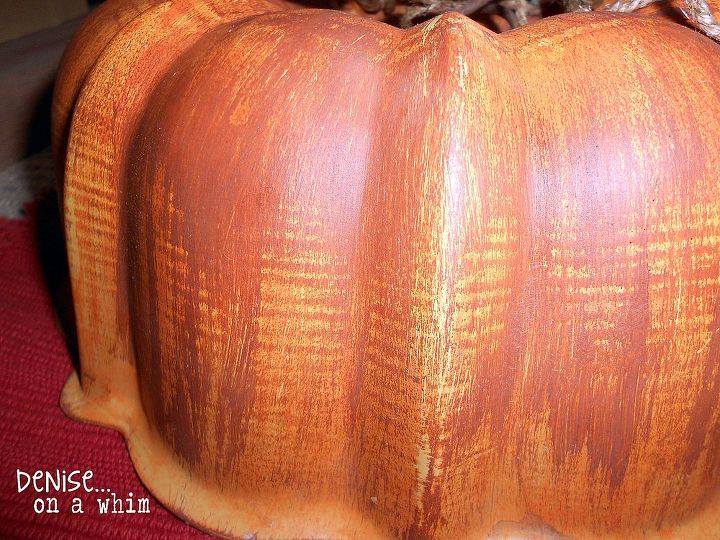
I started by painting my bundt pan with orange chalk paint. Then, to give it a more realistic appearance, I sparingly added a darker orange paint.
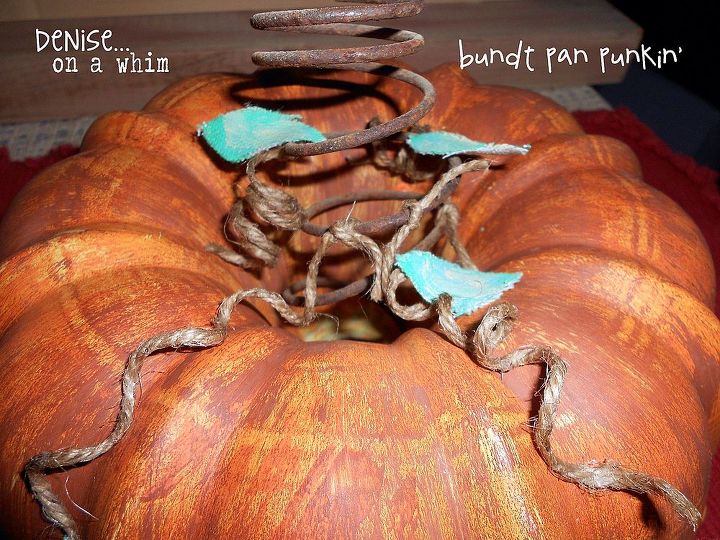
After the paint dried and I had added some wax to protect the finish, I pulled out a rusty spring I had picked up from the trash pile at work and used it as the stem of the pumpkin.
I bent the spring just a bit so it would nestle into the middle of the pan. Then I added a few dabs of E6000 glue and let dry.
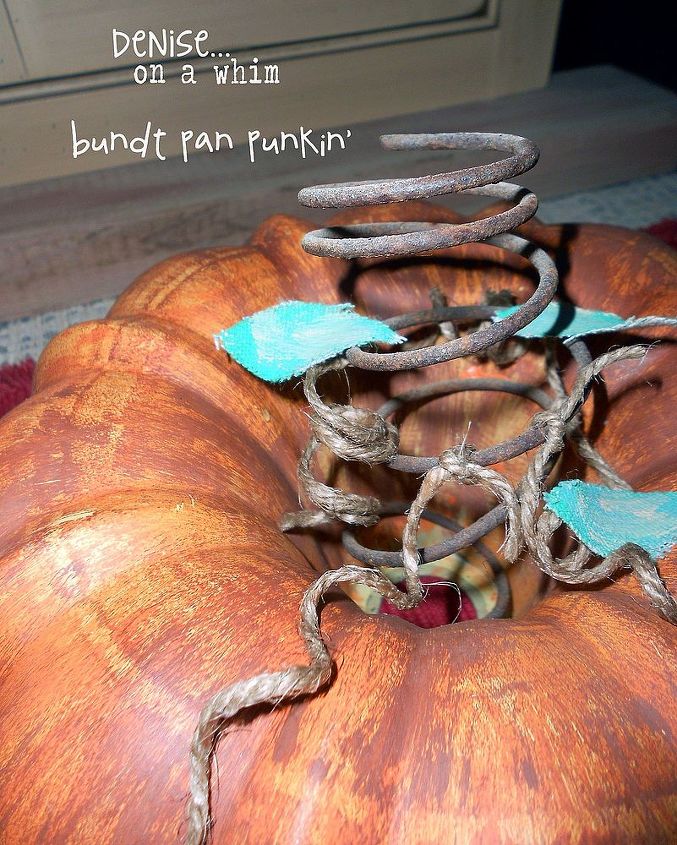
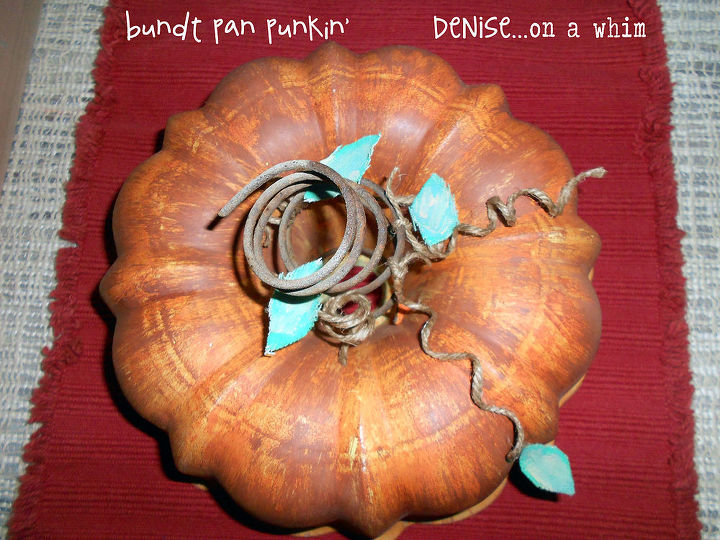
For the finishing touches, I first soaked a few short pieces of twine in Elmer's glue and wrapped them around a pencil to curl them. After they were completely dry, I tied them on to the spring. Then I cut a few small leaves out of a scrap piece of drop cloth, adding green paint to the tops. Again, I used E6000 glue to attach them to the "stem" of my pumpkin. And the Bundt Pan Punkin' was complete!

Want more details about this and other DIY projects? Check out my blog post!
Comments
Join the conversation
2 of 7 comments
-
Mary, i just saw your comment. I did not sand the pan first. I used chalk paint, which doesn't require sanding. You can visit my blog to see which brands and colors i used. :)
-
This is adorable!


Frequently asked questions
Have a question about this project?