


DYI Herringbone Tile Floor

3 Materials
In the beginning of time, we bought an ugly house and had a vision... here goes..
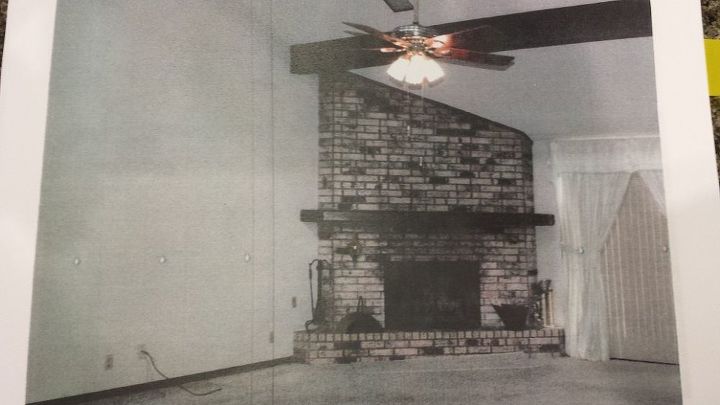
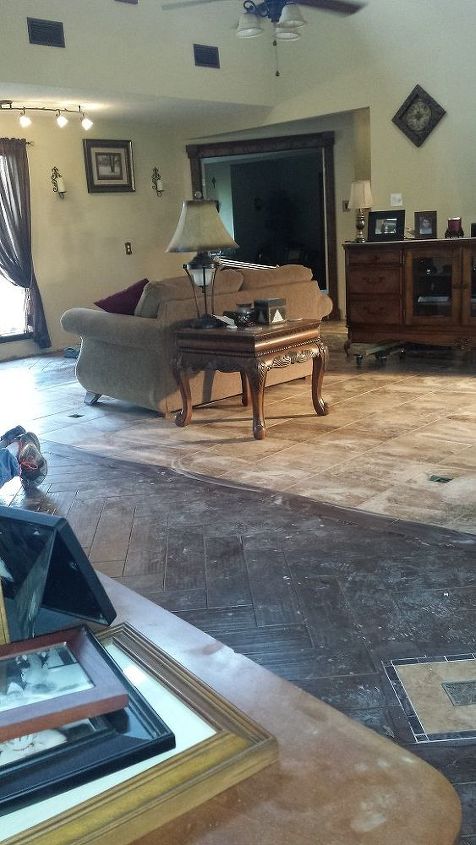
This is the main focal point of the room. It is approx. 5-600 sq ft room...UGLY!
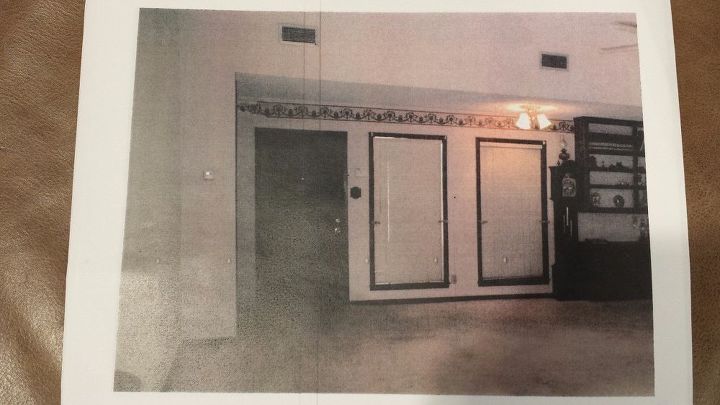
This is the Front door... with ugly old carpet and border... and a wall unit... yikes!

First my Hubby (Lewis, the talented boat mechanic) and I made a long plastic/ duct tape tunnel to blow dust out the door with a fan while he saw cut the concrete floor to add 2 electrical floor outlets in the center of the room for lamps etc. What a mess...
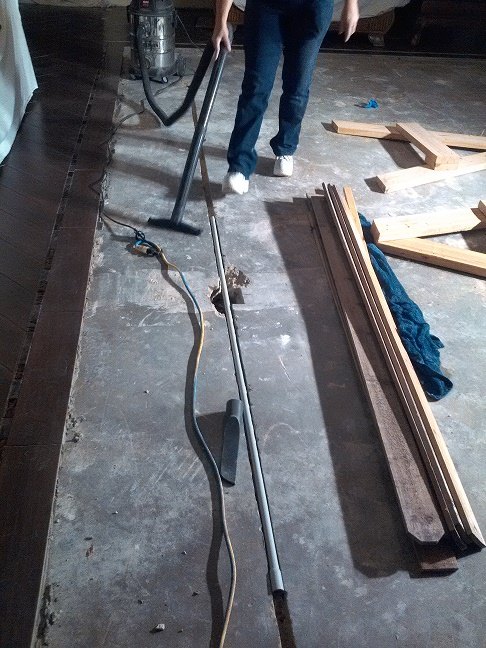
Now we installed the conduit for the electrical in the center of the room after cutting concrete and electrical floor boxes, and cleaned to add a moisture barrier.
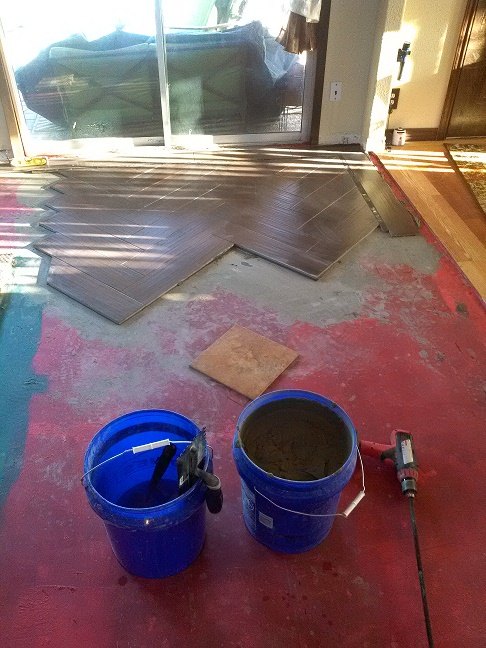
Next, we put down a product called RedGuard (Lowes/Home Depot) which is a moisture barrier they use in showers before tiling them ( we figured it couldn't hurt since the house was built in the 70's as added long term protection, as we don't want to do it again). Sorry no pics of application. Then the tiling starts...
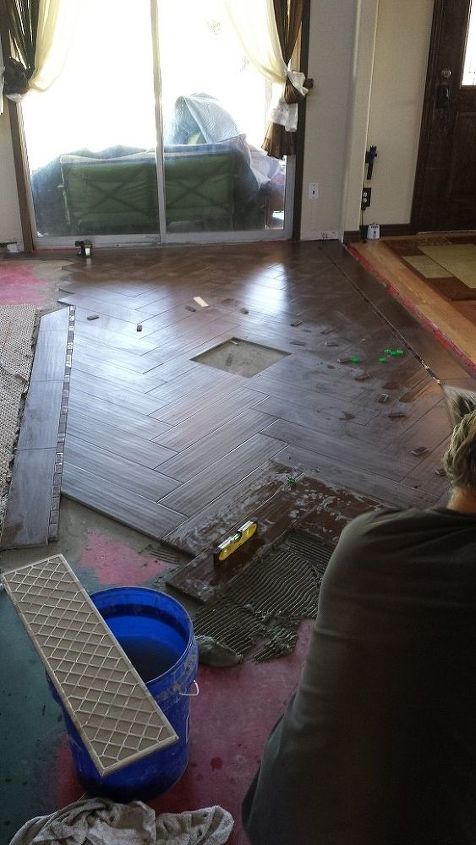
I modified the design to my spouse's dismay :( by adding glass tile border on both sides and putting inserts in center of herringbone. Now he is not happy with me. This is when the cussing starts. I go shopping...LOL
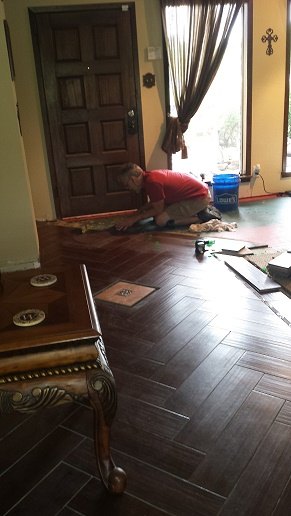
Here's hubby working hard every weekend after work for 6 months. Unfortunately for him, every tile had to be leveled since the floor was not perfect, which made for a long installation. But man, it looks great!!! (See the insert?)
Here's the grouted and cleaned floor. It looks great! I am in love with my Honey...more, every time I look at my floor.
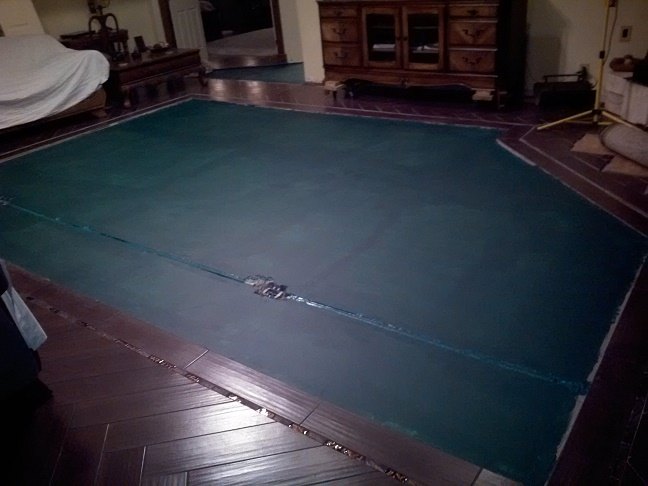
So now we finally get to the center, after many back breaking months. The conduit is in, as well as the moisture barrier and border tile done. Hubby says call someone to do the middle, I have had it! Lucky for us, this is the easy part - straight format, easy and fast, $800.00 labor...Whew.
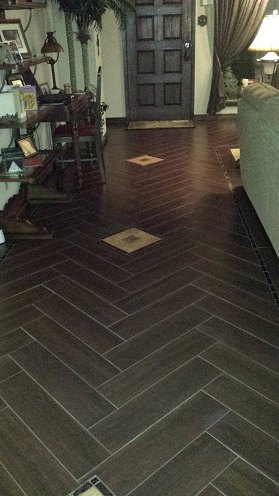
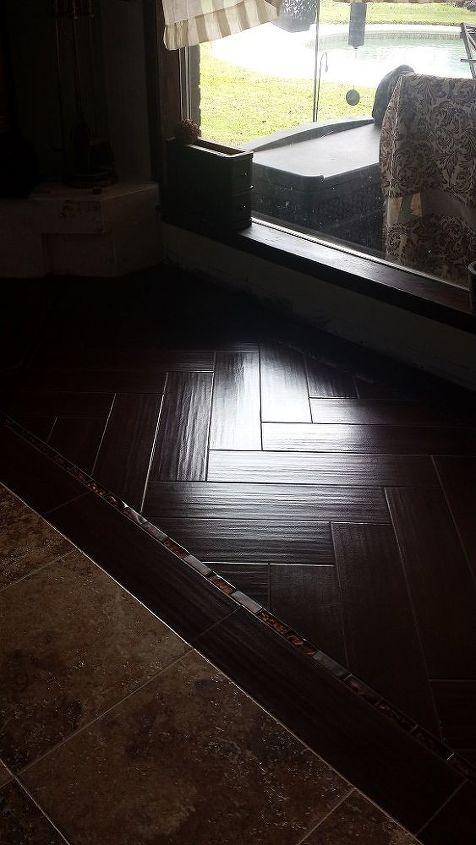
So, here it is before we cleaned it. They just finished grouting the middle... Hubby and I grouted the wood-look tile with chocolate grout. This was a messy reno, but so worth it now. Sorry - it's tough to get good pics in this room.
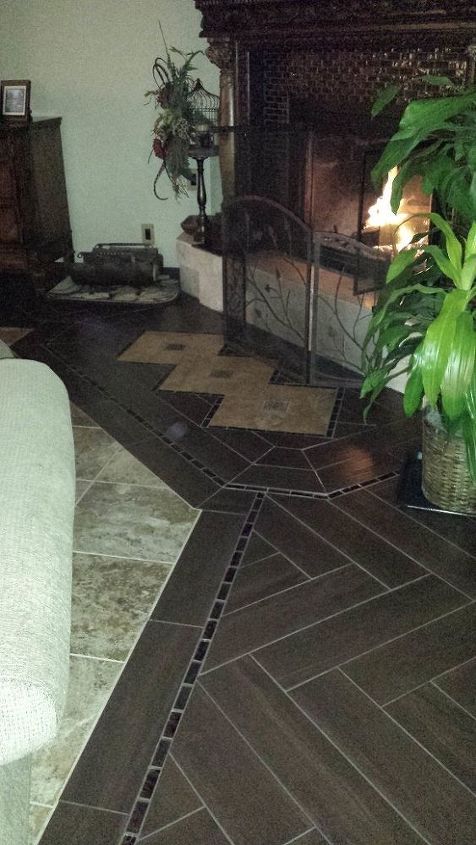
This is the design for in front of the fireplace. It has some difficult angles, but it works. You can see the different tiles we used and how they came together. We also used the glass tile in the fireplace surround - I think it worked out well.
This is a nice close up of the colors and how nice it came together. I can't believe we are still married...YIKES that was a tough reno. Lewis said no more tile for him - EVER. We will see. :)
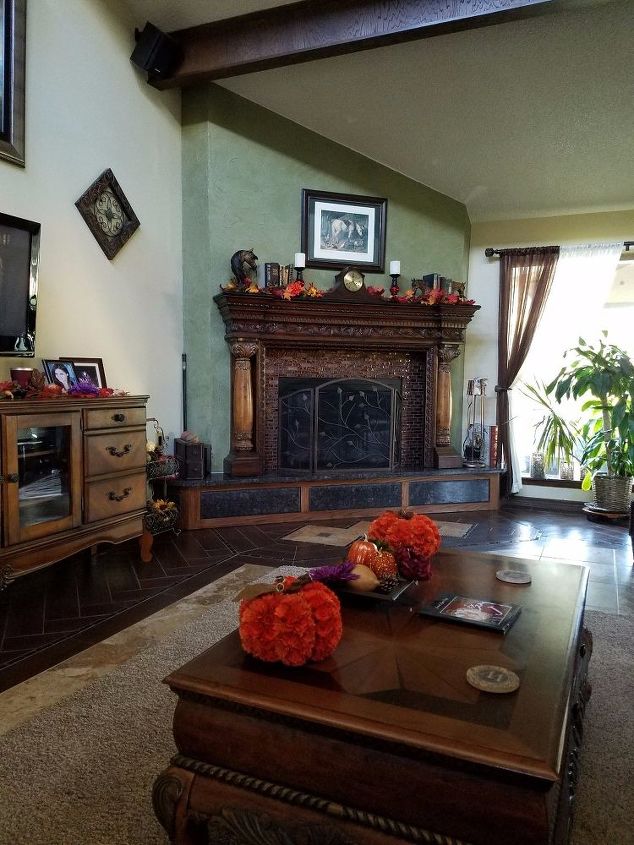
Here it is 5 yrs later - I took this yesterday. I don't have one of the front. we still have the ugly front door, but we're working on that...
Comments
Join the conversation
3 of 96 comments
-
This is so beautiful, I love it - And love your fireplace
-
The floors are amazing and that fireplace, wow, you're husband really loves you.


Frequently asked questions
Have a question about this project?