


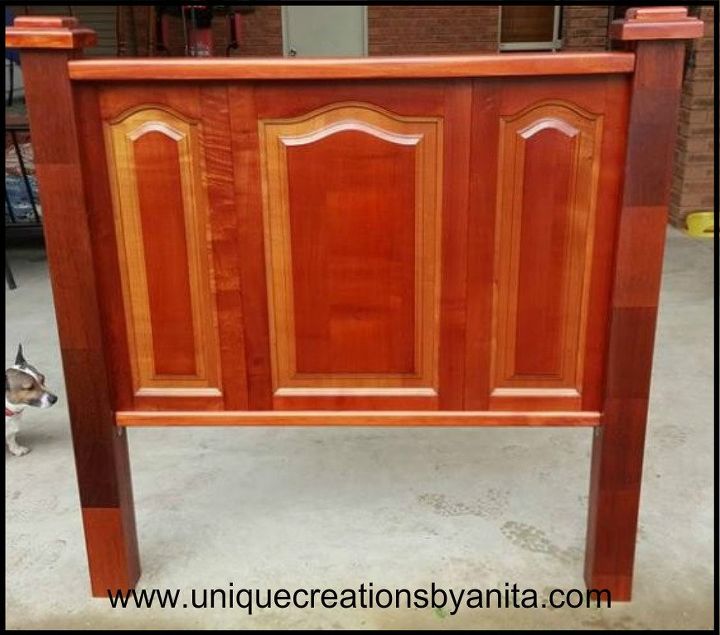
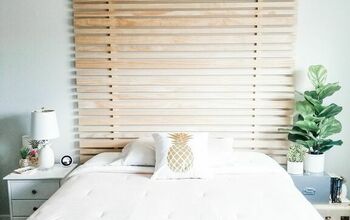
From Kitchen Cupboards to Stunning Headboard
2 Materials
$50
2 Days
Medium
I was given these old kitchen cupboards and was not sure what I was going to do with them until my sister asked if I could make her a wooden headboard for her spare room.
{
"id": "3596118",
"alt": "Quick Guide",
"title": "Quick Guide",
"video_link": "https://www.youtube.com/embed/86bnBs3syEw",
"youtube_video_id": "86bnBs3syEw"
}
{
"width": 634,
"height": 357,
"showRelated": true
}
Kitchen Cupboard Headboard
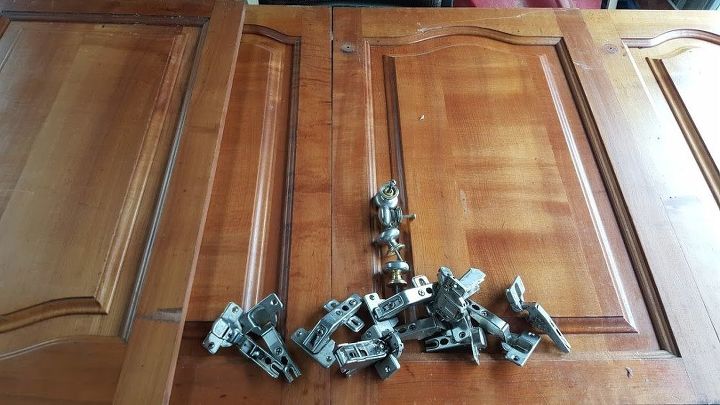
I started by removing all the hardware. I sanded down the surfaces to remove the build up of grease that accumulates over years on the surface.
Old Kitchen Cupboards
I decided to go for a two tone effect because the inside groove would be to time consuming to sand by hand. So I decided to mix lots of different scraps of wood that I had lying around and just stain then all with the same colour.

Old Kitchen Cupboard
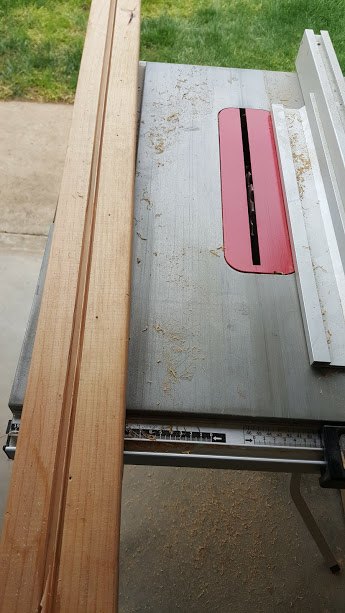
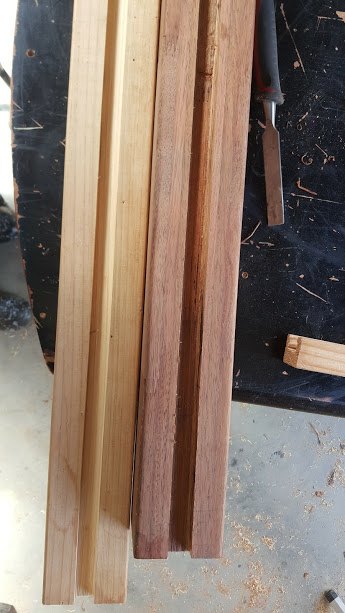
My posts are 9cm x 9cm and are made up of lots of different woods. I started by cutting a slot into the post for the cupboard doors to slot into.
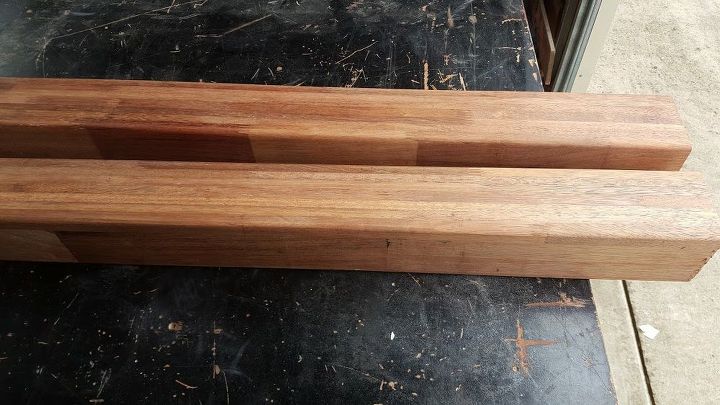
Bed Popsts
I choose to use a table saw to do this as it would be quicker that using a router. I cut my slots 2cm deep which is the depth of my doors.
The size of the mattress is 107cm. So I cut a length of pine for the top and the bottom for the cupboard doors to sit in.
The side posts were so heavy I wanted to give them some extra support to hold it all together.
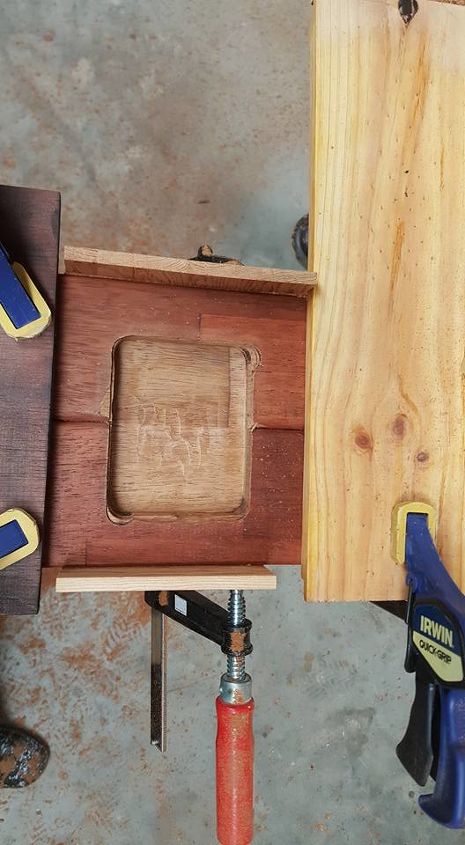
I used some old fencing posts as support beams across the back. I clamped the two posts together and routered out a section so the fencing post slotted into the posts. I screwed the supports into the back. The colour did not match at all, but you will not see the back so I was not to concerned.
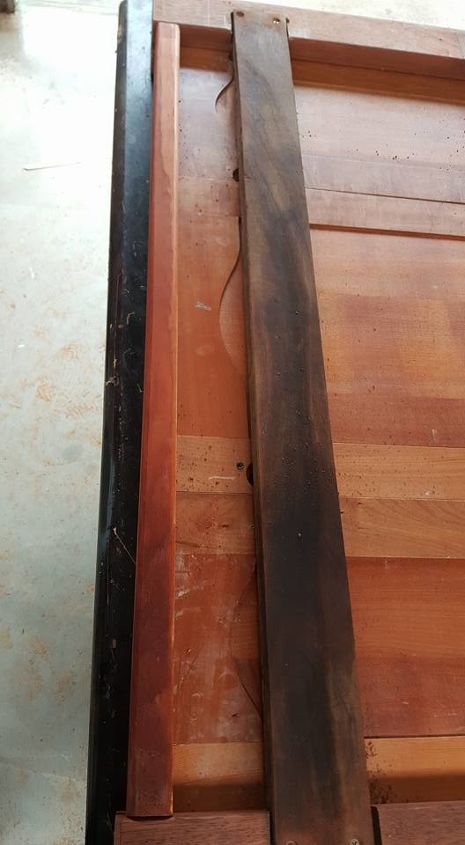
Back Support Beam
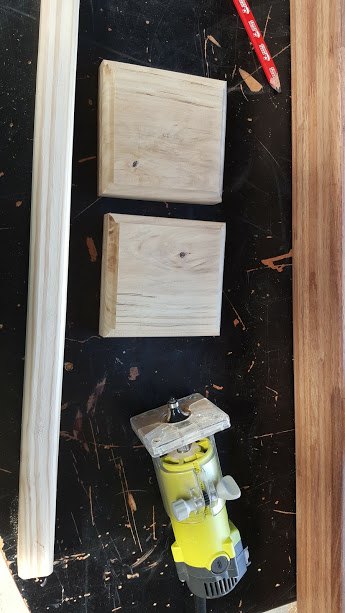
As decoration I cut 2 x 14cm x 14cm and 2x 9cm x 9cm and routered the edges to get a better look and added them to the posts. I screwed the 14cm ones into the posts and counter sunk the screws. I attached the 9cm blocks using a nail gun.
I stained the wood with Cedar stain and gave it 2 coats of varnish. I loved the final product and using all the different woods I think made it look great and unique.
The cost of this project depends on what materials you buy. Mine were all recycled.
Resources for this project:


Any price and availability information displayed on [relevant Amazon Site(s), as applicable] at the time of purchase will apply to the purchase of this product.
Hometalk may collect a small share of sales from the links on this page.More info

Want more details about this and other DIY projects? Check out my blog post!
Comments
Join the conversation
3 of 111 comments
-
Way to go girl. We can do a lot more than men think we can. Love the headboard and the different tones from the different woods, it make it a unique piece.
-
I have some tools but I don’t have router bits to make the slots. I wonder about using “L“ shaped brackets to hold the up right side post to the cupboard doors. Use 1x3 to keep the doors in line and aligned. I love the idea and think the project could be done with out all the expensive tools.


Frequently asked questions
Have a question about this project?