


Quick & Easy Personalized Wood Slice Ornaments
4 Materials
Here’s a quick and easy DIY project that will surely please your recipients – personalized wood slice ornaments!
Use your imagination for any kind of designs you like. The ornaments I made are free-hand lettered with a woodburner and embellished with a little paint and some ribbon. Pinterest and Etsy websites have all kinds of ideas – simply search “wood slice ornaments” for some pictures that inspire you.
Use your imagination for any kind of designs you like. The ornaments I made are free-hand lettered with a woodburner and embellished with a little paint and some ribbon. Pinterest and Etsy websites have all kinds of ideas – simply search “wood slice ornaments” for some pictures that inspire you.
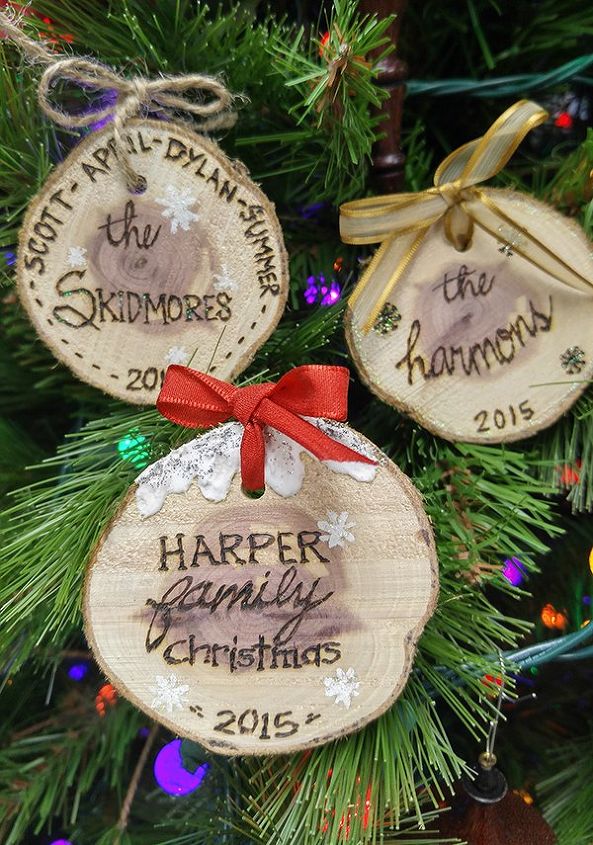
Create unique and personalized ornaments
STEP 1: First, locate some nice branches. For my ornaments, I used fallen branches of cedar and tangelo trees, but any variety would work as long as they are the diameter you want and in good shape. These measure 2-1/2″ or so. If you have the time to spare before you need to give out your ornaments or would rather not cut them, these can be ordered online from sites like Etsy.
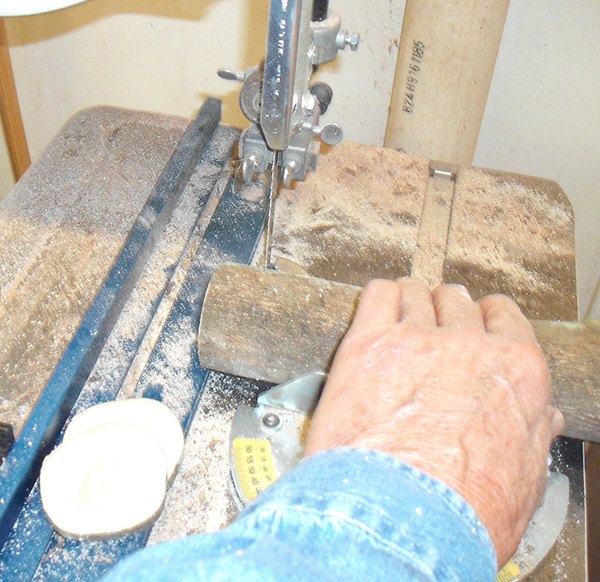
Cut 1/4" slices of a branch on a bandsaw
STEP 2: Slice the branch on a bandsaw to approximately 1/4″ thick. (The bandsaw was stopped for the purpose of this photo.) A single branch can produce a lot of these little ornaments!
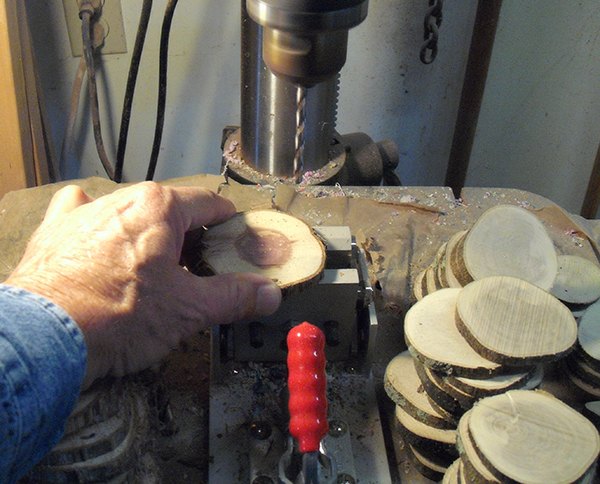
Drill a hole in each for hanging on the tree
STEP 3: Drill a small hole —1/8″ works nicely — at the top of each wood slice for hanging the ornament on the tree. A drill press makes this a quick and easy step. A hand drill will work too.
Sand the ornaments lightly then woodburn
STEP 5: Woodburn to personalize the ornaments. I used a small woodburning tool to add names, dates, snowflakes and little designs around the edges of the ornaments, making each one a little different. I love the look of the burn on the natural surface of these, and the cedar ones smelled really good when burning them.
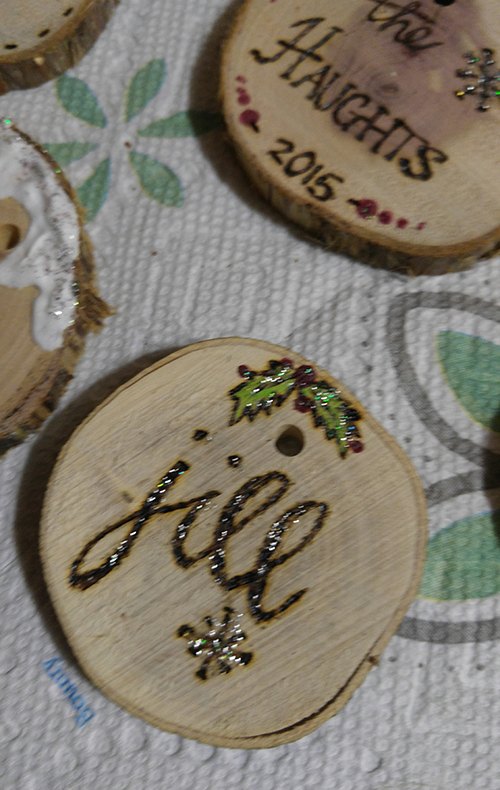
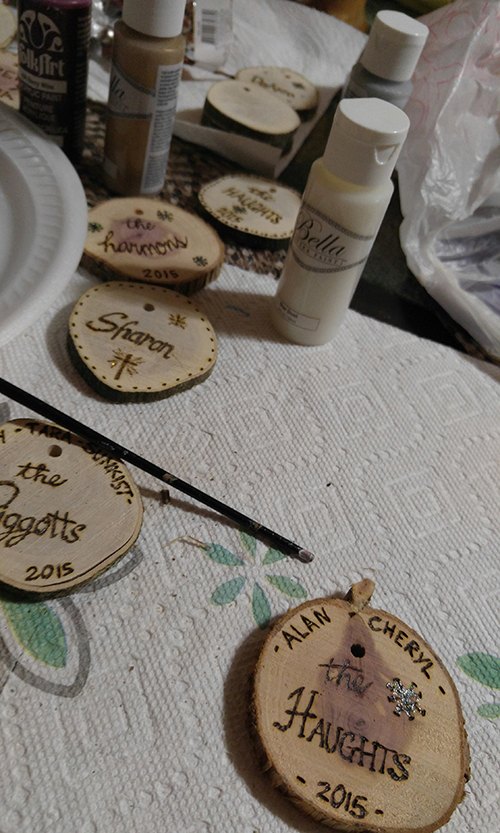
Add paint, embellishments and ribbon!
STEP 6: Add paint and embellishments. I filled in with a little acrylic paint where I had woodburned holly leaves and berries, added some clear sparkle paint as highlights on snowflakes or around edges, and even added some “snow” on a few ornaments. Next, add ribbon for hanging and you are ready to gift your creations!

Want more details about this and other DIY projects? Check out my blog post!
Comments
Join the conversation
3 of 5 comments
-
I will! Thank you so much.
-
Our parents had to have an oak tree removed from their yard that we climbed in as children. My younger brother made these ornaments for all six of us kids that said "The family tree" on it. One of my favorite ornaments to this day!


Frequently asked questions
Have a question about this project?