


A New Way to Count Down to Christmas
I don’t know about you, but in our house, the kids are so excited about Santa coming that it’s all about the countdown to Christmas now! Here's a trash to treasure project that can help with that...
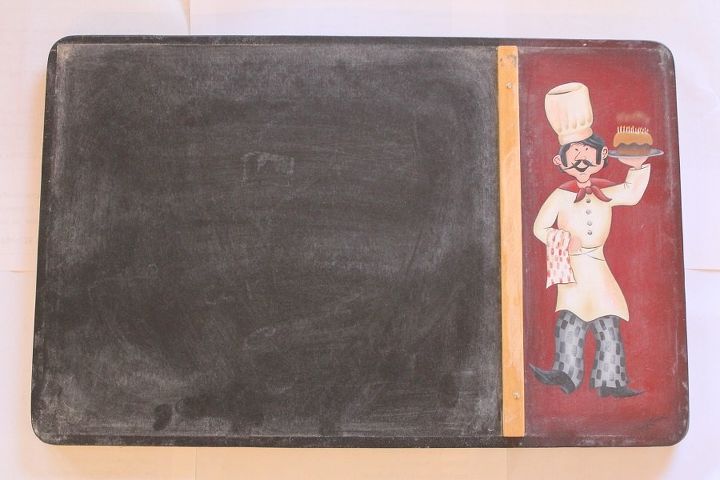
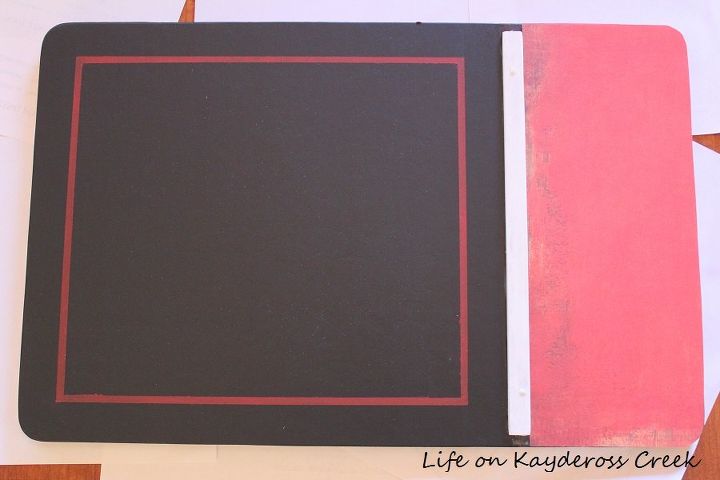
My project started when I picked up this little gem at a thrift store over the summer for the unbelievable price of only $1. It’s not something that I would use “as is” but I liked the chalkboard part and shape and thought I could use it in a some way so I tucked it away for a future project.
My project started when I picked up this little gem at a thrift store over the summer for the unbelievable price of only $1. It’s not something that I would use “as is” but I liked the chalkboard part and shape and thought I could use it in a some way so I tucked it away for a future project.
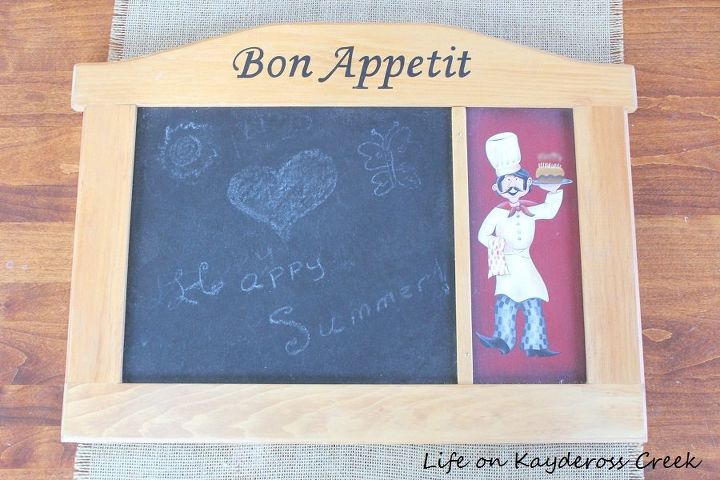
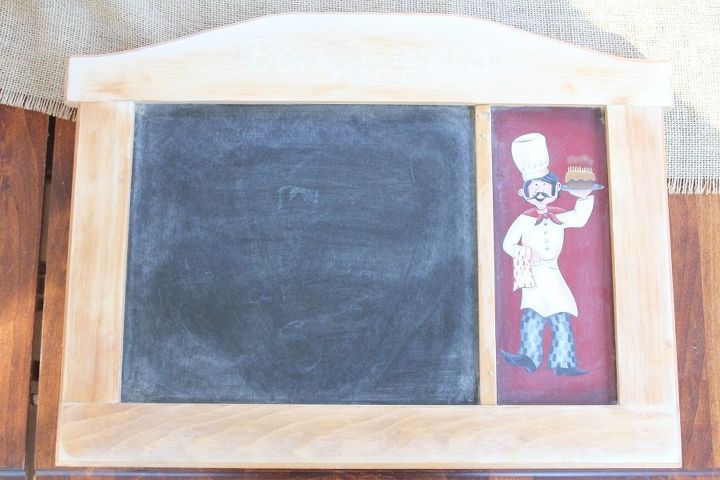
I started by giving it a really good sanding with the palm sander to remove the letters at the top and the shiny layer on the wood. Then I painted it with creamy white chalk paint made with plaster of Paris. I used almost a dry brush technique (not a lot of paint on the brush) because I wanted it to be a bit muted and rustic.
The chalkboard was in decent shape but the person who had it before used some kind of industrial strength chalk and I couldn’t get it off completely so I gave it another coat of chalkboard paint using a foam brush. The foam brush leaves a more smooth finish than a regular brush. Luckily, the back came off and it was SO much easier to do this than I thought.
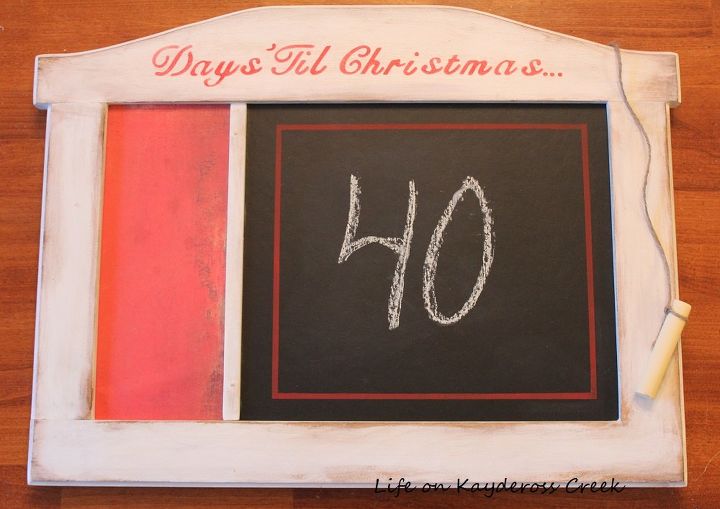
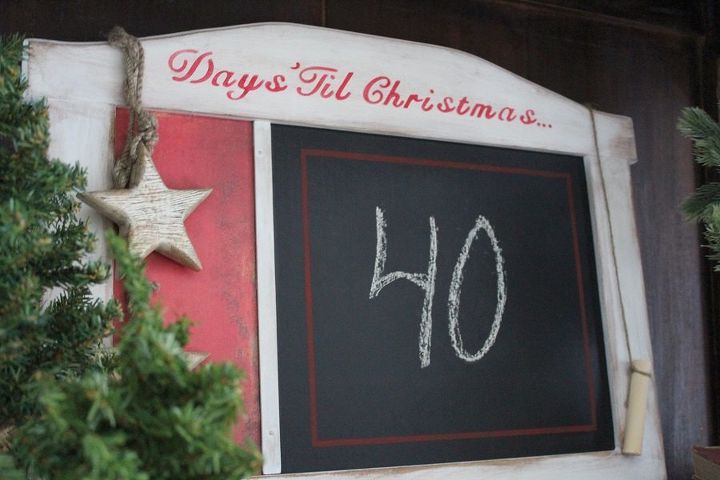
When the chalkboard paint was dry it seemed like it was missing something so I decided to paint a stripe around the edge. I used painters tape to make lines around the sides to add some interest to the center and give it some color.
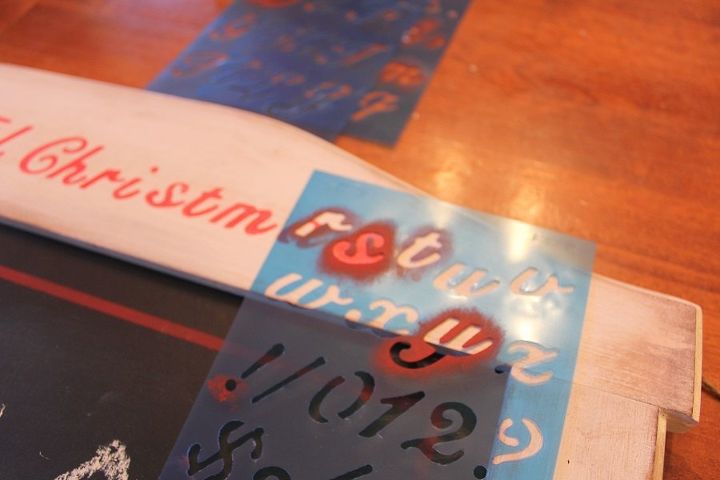
used a stencil to add the “Days til Christmas” on the top. To keep it straight I used a ruler to make a faint pencil line evenly across the bottom. I highly recommend this so you don’t get half way through and realize the entire thing is slanted.
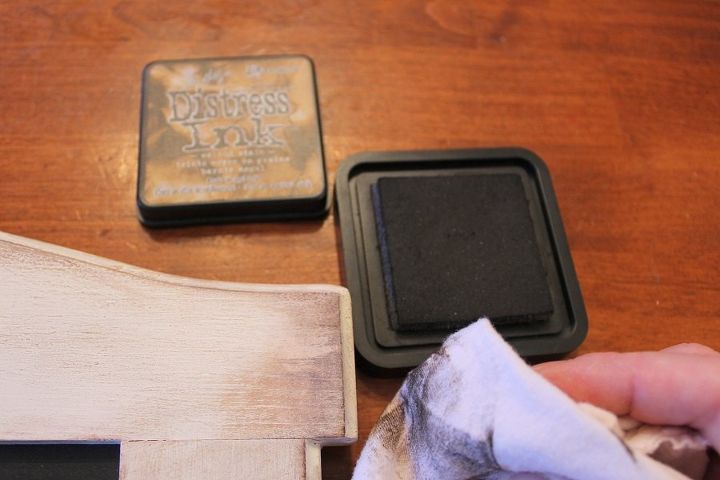
I used the palm sander around the entire piece to let some of the raw wood show through and then applied Distress ink with a clean cotton rag over the entire thing to get a warn, antique-y feel.
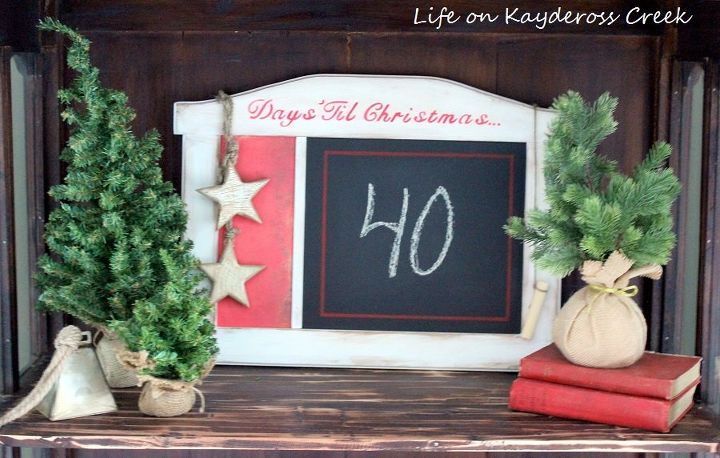
You need chalk if you are going to record the number of days so I tied a piece of chalk to the back with twine and for a bit more embellishment added the wooden stars to the end in front of the scrapbook paper.
For more information on this project and other DIY's and home décor, visit my blog at http://mylifeonkayderosscreek.com or on facebook at https://www.facebook.com/lifeonkayderosscreek/

Want more details about this and other DIY projects? Check out my blog post!


Frequently asked questions
Have a question about this project?