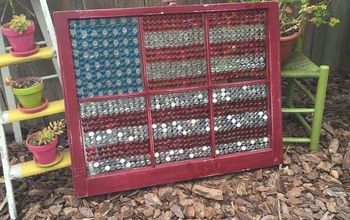
SUPPLIES:
-window
-clear silicone
-silicone/caulk gun
-marbles or gems (I used 3 bags of blue and 7 bags of clear.)
-printer paper
-tape
-pen
I've tried my hand a making a true mosaic window before--you know, with the little tiles, the glue and the messy grout. I wasn't a huge fan as I found it difficult to get the tiles to break into the perfect size pieces and the grout was aggravating to me. I found a new way to get a mosaic look without the messiness of crushing tiles and dealing with the grout...what's even better is that it only cost me $25! This would make for a great gift to someone special!
SUPPLIES:
-window
-clear silicone
-silicone/caulk gun
-marbles or gems (I used 3 bags of blue and 7 bags of clear.)
-printer paper
-tape
-pen
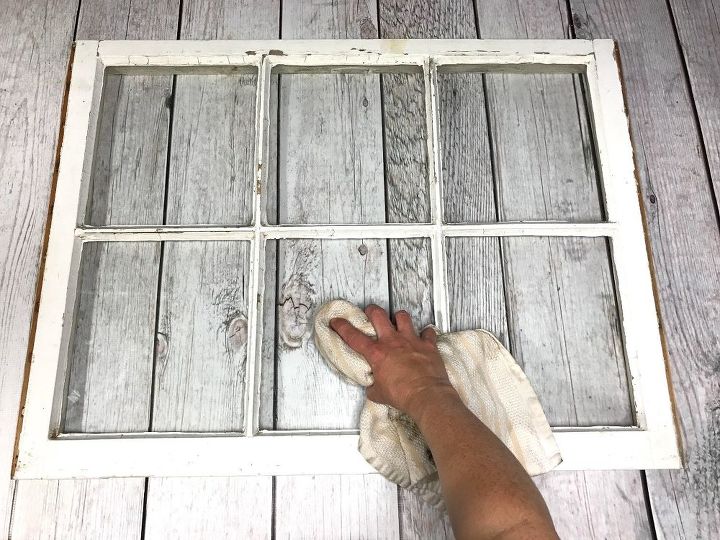
STEP 1: Clean window
Before I started putting on gems (flat marbles), I cleaned the window I was going to use. If you have a window that doesn't have a nice frame, you can sand it down and paint it. I was ok with how my window frame looked--there were definitely some imperfections but I didn't mind them.
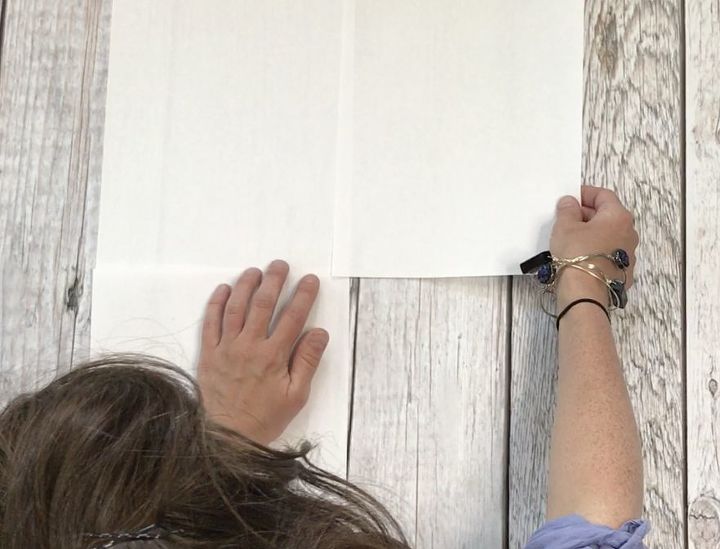
STEP 2: Make stencil
More power to ya if you can freehand a mosaic but I decided to make a stencil so my window wasn't a complete hot mess. I measured the total glass area of my window which was 27x19. Then, I took eight (8) pieces of printer paper and made a big rectangle with them.
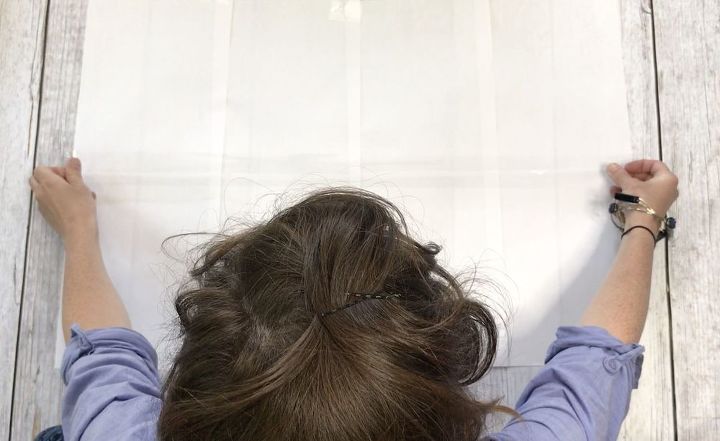
Then, I took packing tape (because funny enough, I never have Scotch tape ) and taped the pieces of paper together at the seams. I taped the front and back.
I wanted to do a mosaic monogram so I drew out an 'M' with a Sharpie. I use the MonogramIt app when I create monogram art so I utilized it for this project as a reference guide.
STEP 2: Clean window
Before I started putting on gems (flat marbles), I cleaned the window I was going to use. If you have a window that doesn't have a nice frame, you can sand it down and paint it. I was ok with how my window frame looked--there were definitely some imperfections but I didn't mind them.
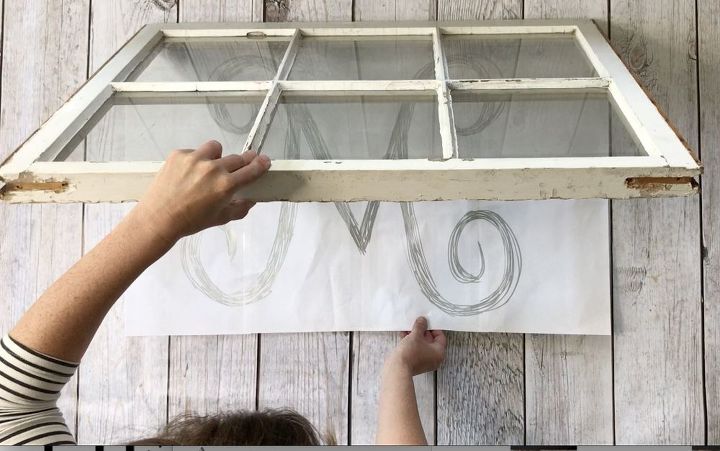
Next, I slid the monogram under the window and aligned it was as close to center as possible with the window.
*Note: I realize that the monogram isn't perfectly center and that is because if I had completely centered it, almost the entire left side of the 'M' would have been nothing but window pane.
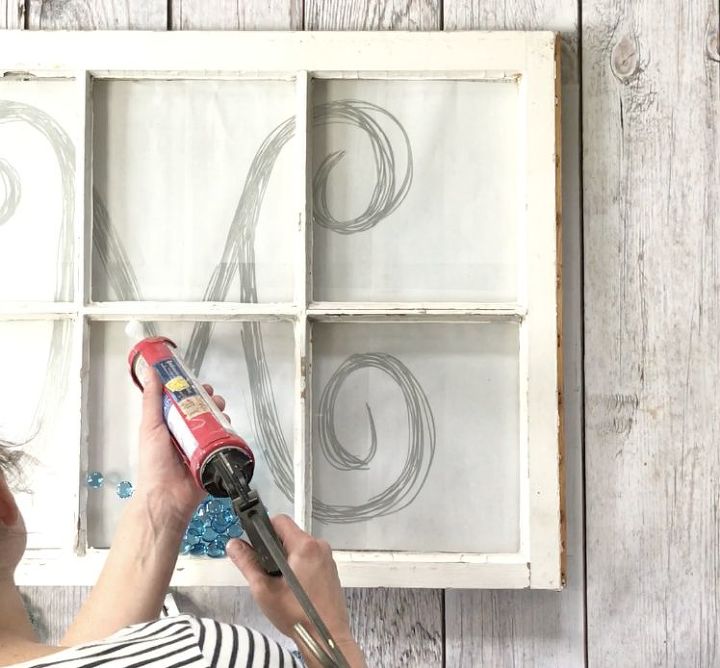
STEP 3: Trace stencil with silicone
In small sections, I applied silicone to my window, using the stencil underneath as a guide to follow.
Then, I carefully laid the gems on the silicone, pressing down so that the gem was flat on the glass.
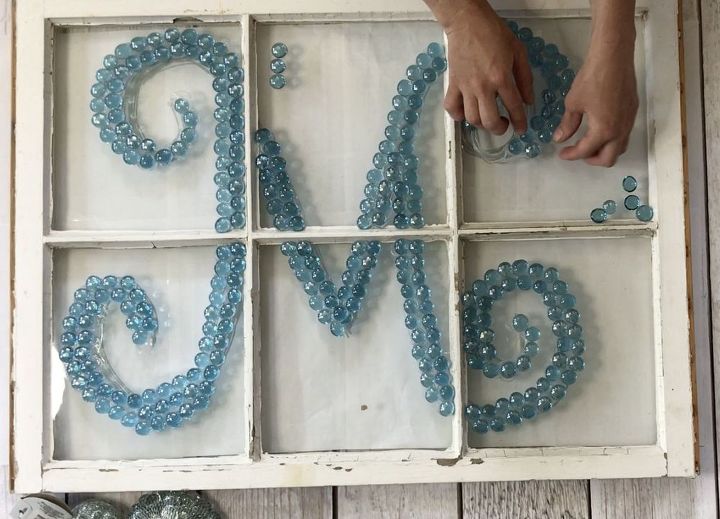
I continued adding on the blue gems, essentially tracing the monogram.
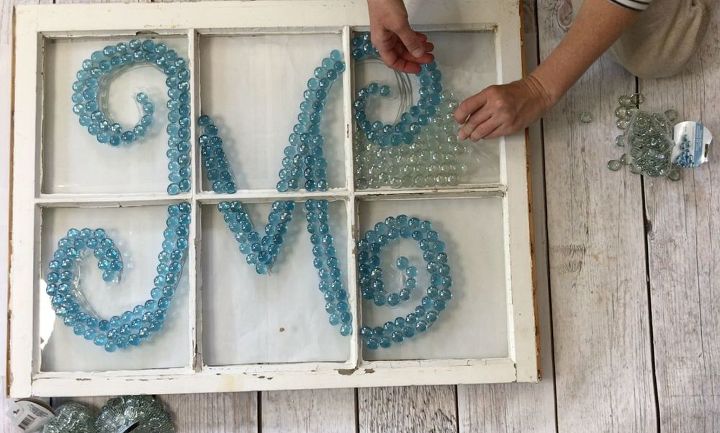
Once all of the monogram was finished, I repeated my method and added clear gems to complete the window. I started at the edge of the monogram and worked my way out to the edges of each window pane.
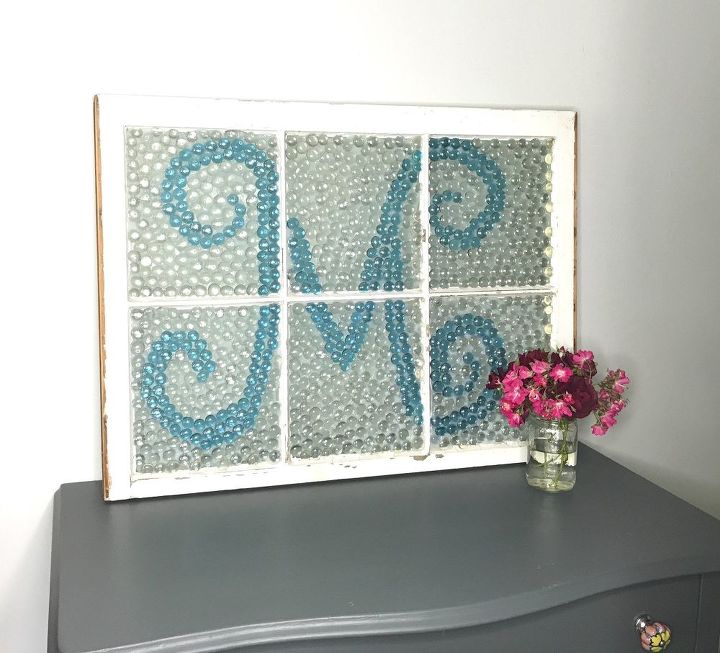
Because I don't have a lot of wall space, I decided to prop it on a surface rather than hang it. If you have a nice sunny window where you can display your mosaic window, you can screw two (2) eye hooks to the top edge or add D-rings to the back to hang it on the wall. This mosaic window was pretty heavy when it was complete so just be mindful of the hardware you decide to hang it with.
My love for tea cups was sparked by my Nana, who gave me my first cup, a pink china cup, with gold...
We all have some old baskets at home which we no longer use. I decided to give this little basket a...
I've been seeing DIY chandelier and light fixtures all over Pinterest so I finally decided to dive...
Pinterest… one of my favorite places for ideas. I probably have HUNDREDS of pins at this point; most...
We tend to be more casual when we entertain, but once a year we have a formal Valentine dinner party...
A classic of recycling! If you have a used tire on hand and a good garden, you can make a DIY swing...
I love old window & the possibilities! You can find them in restores, barns, flea markets, they're...
I have done mosaics for years but never glass on glass. Previously, I used broken china ( pique...
Sometimes even a small DECOR can make big changes in your room. I love to make such type of Crafts...
Mosaic Craft For Beginners... Make your own pretty mosaic table top! This one has a star feature,...
This is a great way to repurpose old windows and scrap stained glass.it is so easy to create one of...
Who doesn't love a great thrift store find?! Whenever I get the chance to go to the local "Bargain...
These no-sew coasters are Free and Easy, and get lots of compliments. Kids could easily make sets...
We picked 3 of our favorite recycled book art projects to share and inspire you to DIY your own ...
I have been looking to buy a full size mirror for my room for such a long time. However, every time...
Making special presents is something I love to do. As it was our wedding anniversary coming up I...
Remember this spice rack hack we shared a week ago?
Everyday I seem to collect a load of "Bits & Bobs" lying around the house, never knowing where to...
After replacing wooden window blinds, I knew there had to be something they could be turned into. I...
I love upcycling my old jeans and use them to make, pillows, quilts, wall organizers and even...
Learn how to transform an old beat up foot stool into a rustic and beautiful place to rest your...
Sometimes it just takes a little dressing up of hardware to give a dresser a whole new look.
Its hard to believe mid-century modern wall art is made from plywood! It was really inexpensive to...
This one is for all the renters and small space dwellers out there, I feel you! It’s hard to find...
Ok, Winter can be a drabby time of year for some and the pandemic restrictions force us more than...
My sister bought - what was supposed to be- an antique wash stand. It actually was a poor knock off...
The majority of us are hoarders of all kinds of hangers. Despite having enough hangers at home, we...
I saw this desk at the thrift store with the most unique hardware and I knew with a little love it...
Today’s tutorial is so easy it’s the perfect project for crafters of all abilities and uses a great...
Making videos for YouTube is so much fun but when you have kids can be quite challenging. When I...
How to add height and width to old thrift store lamps.
A few years back we put put a wood surround in one of the walk ways in our home. As time went on and...
I just love Valentine’s Day! It has to be one of my favorite holidays. Check out this DIY and others...
DIY Mudroom Built In/Hall Tree with a Bench & Drawers
Learn how to make rustic farmhouse drink coasters with canning rings. This are very easy to make,...
I have spring fever, so I will start decorating and creating some spring decor with a farmhouse...
Supplies: Small Terracotta PotsCraft Paint Yellow WhiteBluePinkPaintbrushWire...
Have a question about this project?
I have been thinking about a project on a back door that leads into an enclosed patio. I hate that it has three panes and I wanted to do something artsy and beachy, still keep the light, but yet making it more private. You just may have given me the answer. I have a question, do you think I should do both sides of the pane or is the silicone transparent when it dries. I would love any advice.
I ALSO think outside displaying it would REALLY be the place. On your front door??? Maybe NOT, since it is glass. Slamming a door would be Shatter trash...... I totally love the projects you two do together.....they are always so nice.!!!!!!
Do you use ‘clear’ silicone?