


Vintage Garden Clock
I love vintage garden tools. There is so much you can create with them! Grab some of your favorites and join me to make this project.
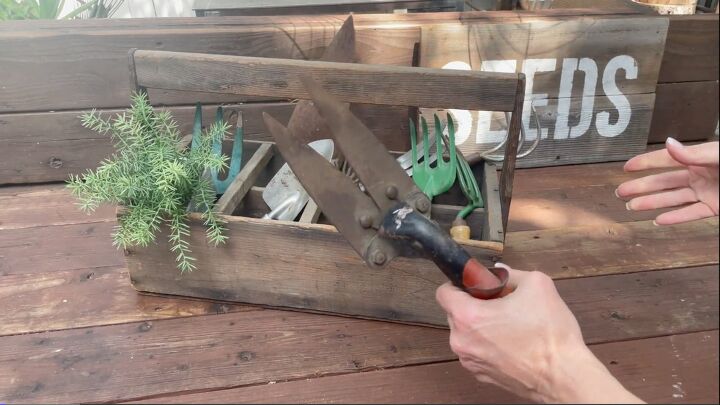
To start my clock, I needed an assortment of vintage garden tools.
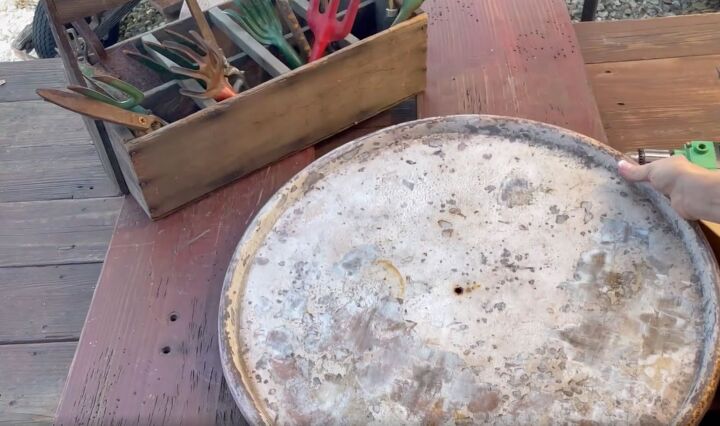
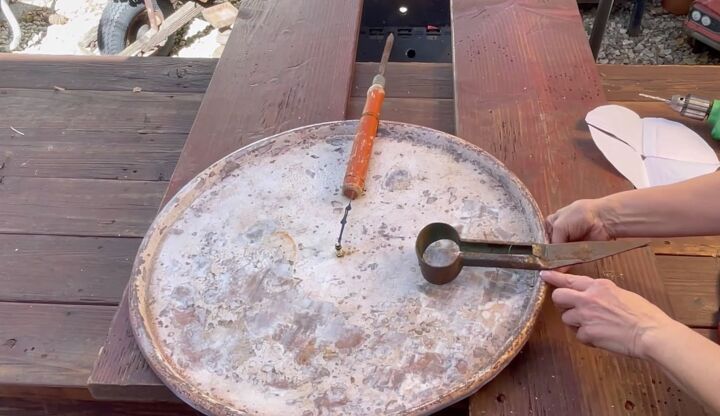
I also purchased the lid of an oil drum can which I could use for my clock.
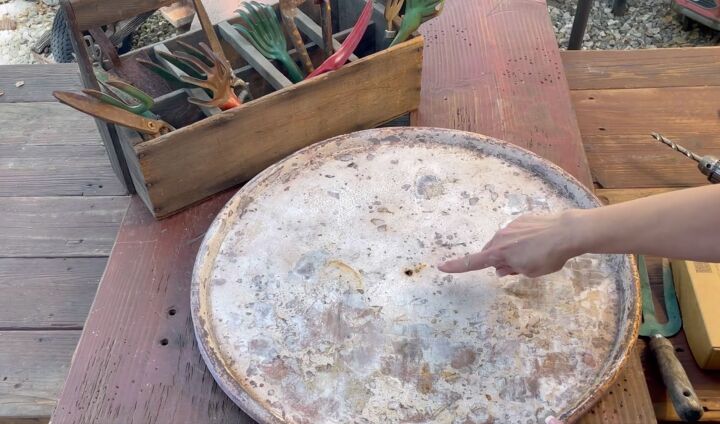
I was so fortunate that there was a hole in the drum lid when I purchased it.
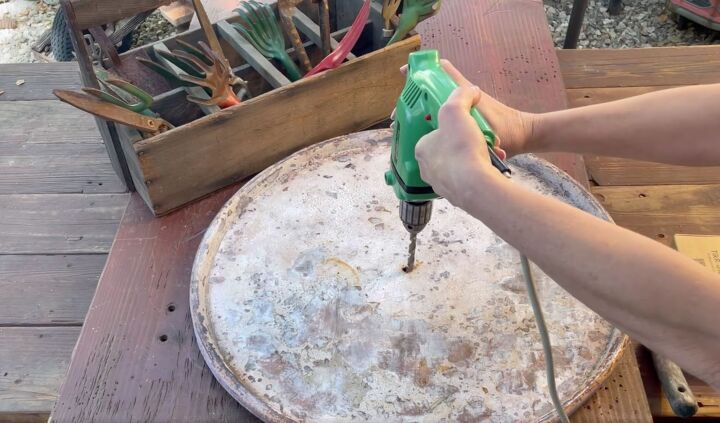
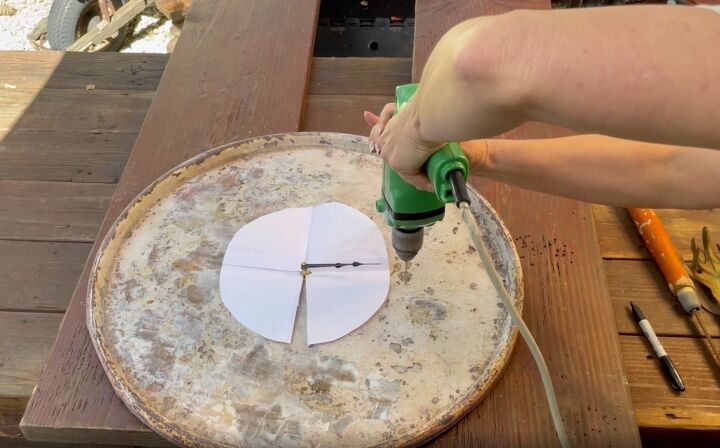
If you need to make a hole though, grab a drill with a metal bit to simply drill your hole in the middle for your clock part to fit through.
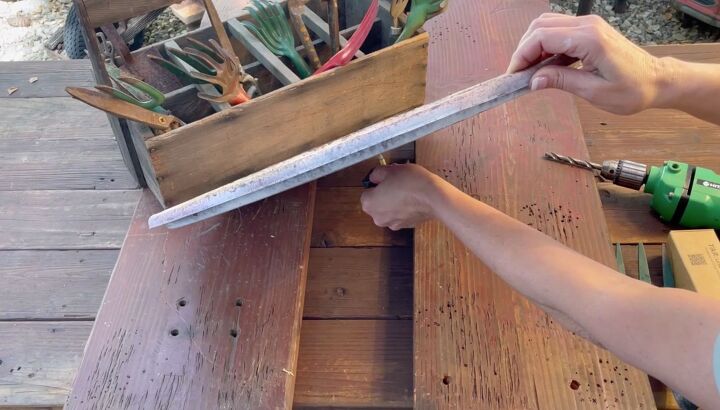
To assemble the clock, I inserted the back part first from the underside of the drum lid.
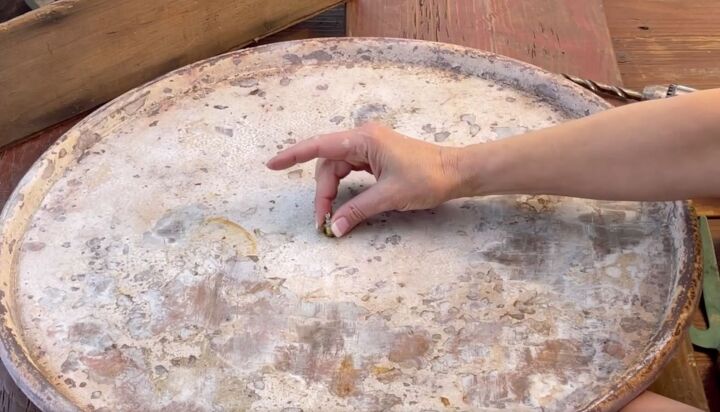
Next, I placed the washer on top to keep it in place.
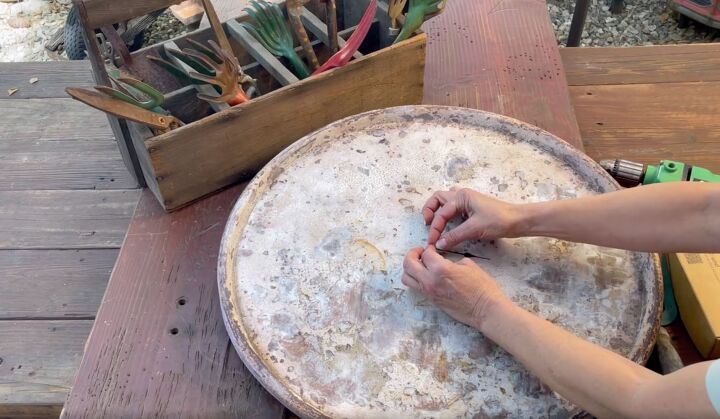
The small hand was added first.
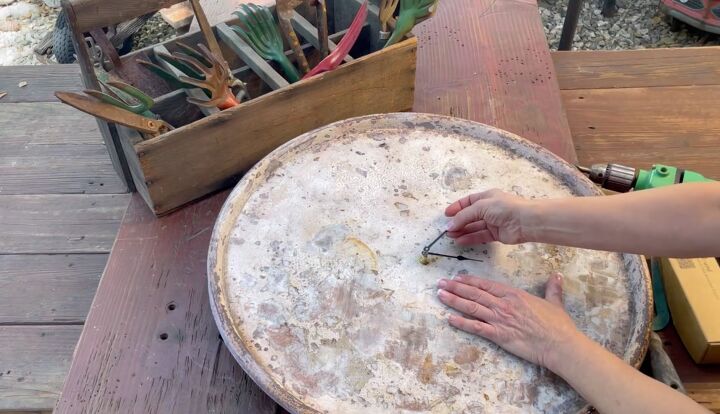
Then, the large one.
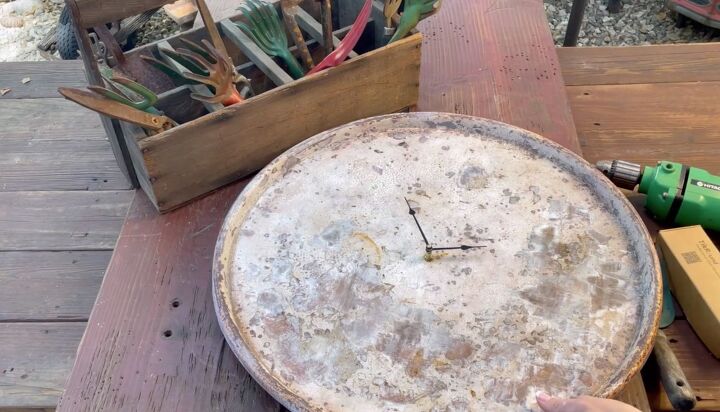
Finally, the cap went on to hold it all together.

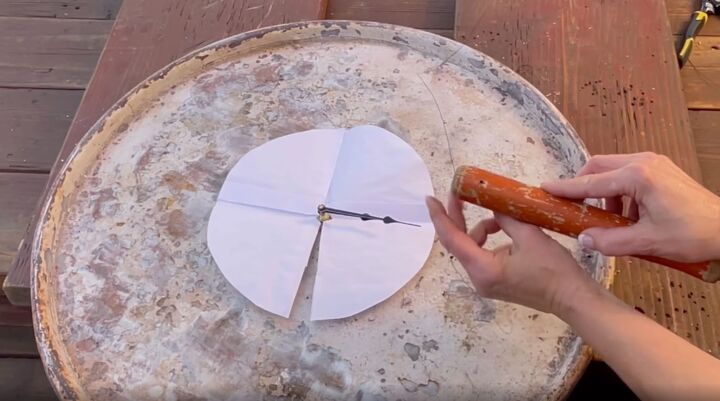
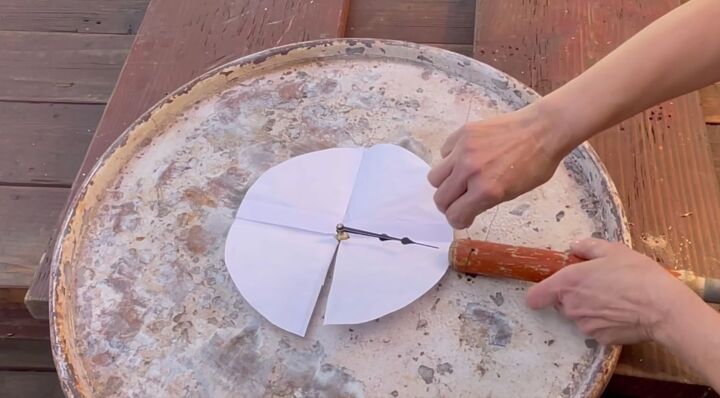
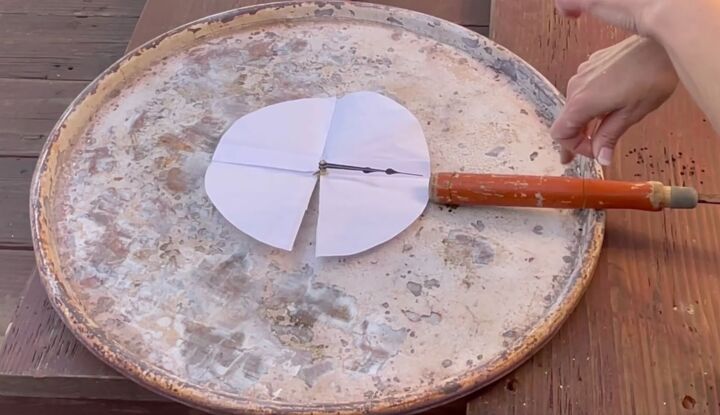
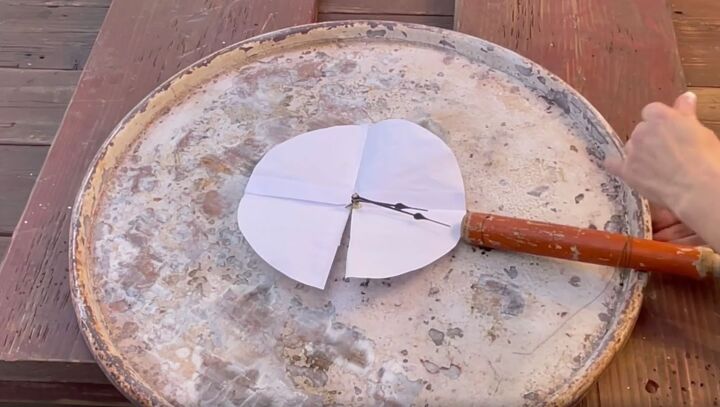
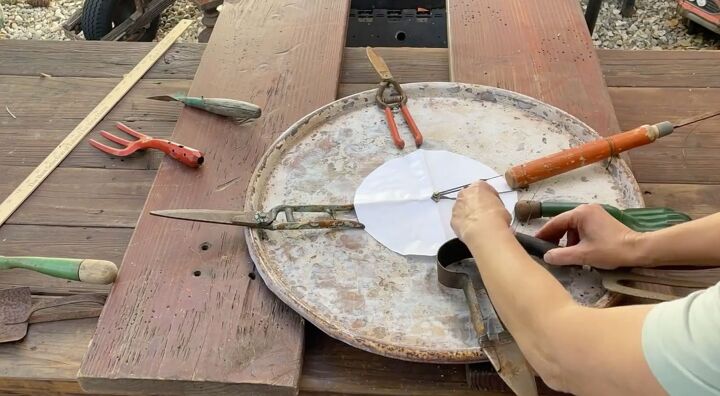
To decide where to lay the tools, I created a template using a piece of paper that was just slightly larger than the large hand.

I opened that up and slit one end so that I could slide it around the clock hands.
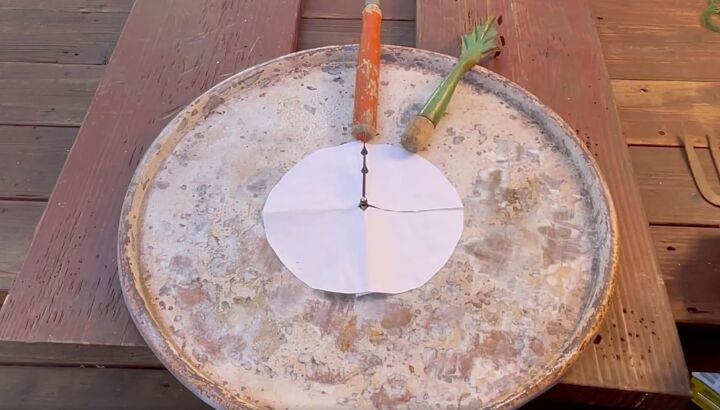
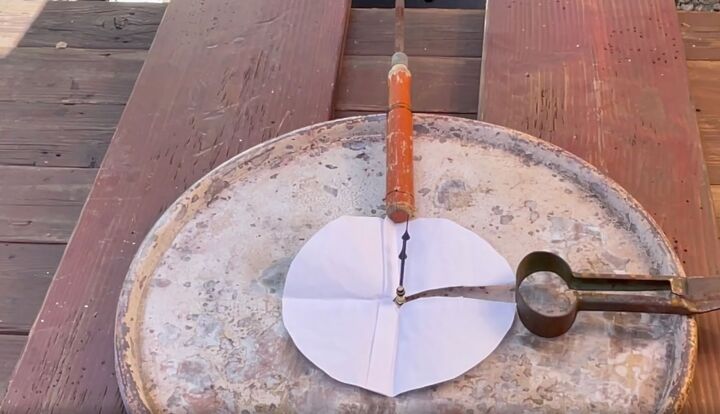
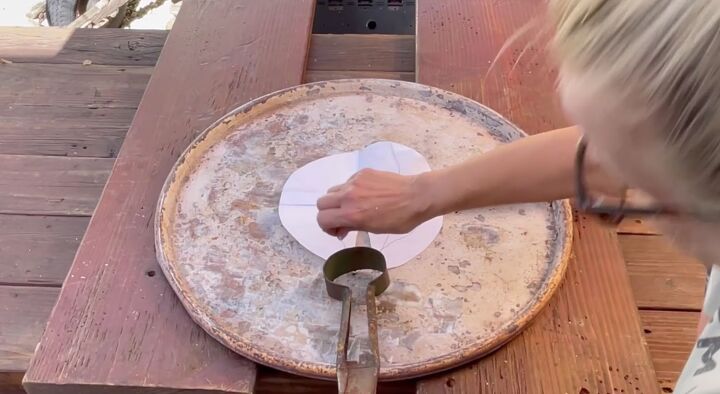
Now that I knew where to place the tools, I started at twelve and worked my way around the drum lid.
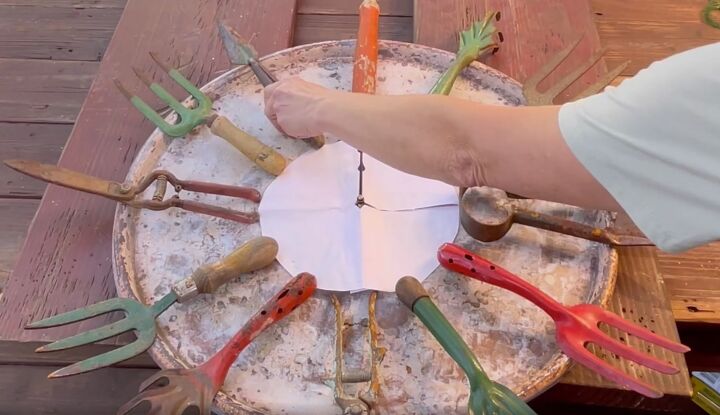
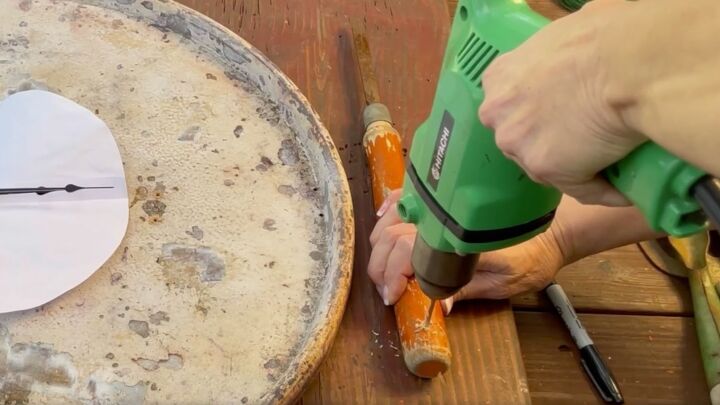
Once I knew where each tool was going to go, it was time to attach them. Some of these tools were easier to attach than others so each tool will be attached a little bit differently.
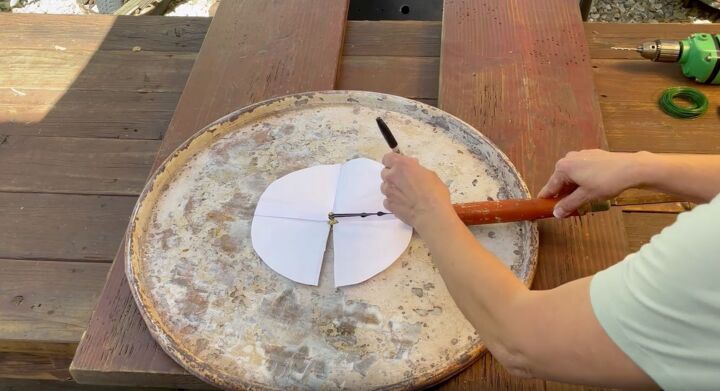
For my first one, I put four dots, one on either side at the top of the handle and one on either side at the bottom of the handle.
I drilled a hole where each dot was.
Then I drilled a hole through the handle itself.
Next, I took a piece of wire and I slipped it through the hole in the lid, through the hole in the handle, and back down into the other hole in the lid.
I did the same thing from the opposite side as well to make sure it was held securely in place and then twisted the wires at the back to lock them in place.
For the top of the tool, I pulled the wire through the two holes on the back at the top and brought them up, crossed them over, and put them through the opposite hole.
Then I lifted up the tool, crossed the wires over each other, and went back through the holes so that I could secure it on the back.
After attaching the tool for the twelve spot in place, I did the three, six, and nine spots.

Since every tool is different, you have to use your judgment as to how you're going to attach them.
For the clippers at the three spot, I put a hole on either side of the handle and wrapped the wire right around it.
I also did something similar to each side of the clippers at the top.
With the twelve, three, six, and nine spots attached, I moved on to the ones in between.
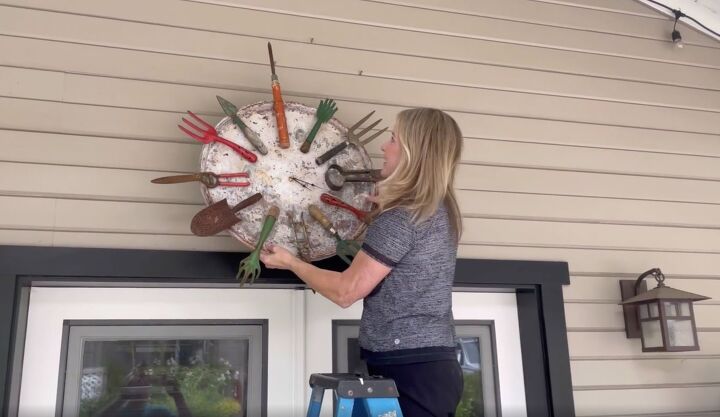
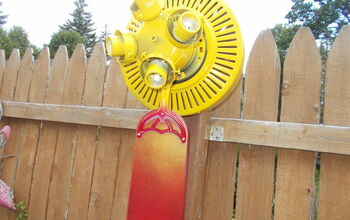
Now for the best part, I got to hang it on the wall.

I chose to hang my new clock right above our back door so that now all our guests will see exactly what time it is when they arrive.
Resources for this project:
See all materials


Comments
Join the conversation
-
Really cute idea.
-
Thank you so much, Patty. I appreciate the kind comment.


Frequently asked questions
Have a question about this project?