


Refinishing My Kitchen Sink

My kitchen sink had seen better days. I (my husband) didn't want to replace it and when I bought it, it was fairly expensive, over 20 years ago. I was always reading questions on Hometalk about people wanting to redo tubs and sinks, so I decided to do some research. The cost listed is for the repair kit and refinishing kit. When the final coat goes on, you need to wait 48 hours before using the sink. A dishpan and the dishwasher came in handy. It dried hard, following that time restriction. I spent one day doing the prep and repairs. I had to wait for the time required for the repairs to harden, wiped everything down after sanding with a tack cloth. The coats of finish take 6 hours in between, although I waited longer. That was day two. Two days of curing for the new finish and then I had a new looking sink.
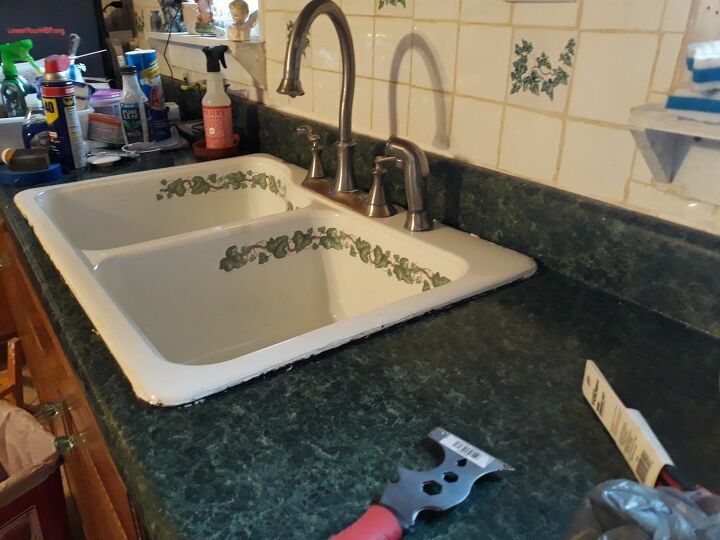
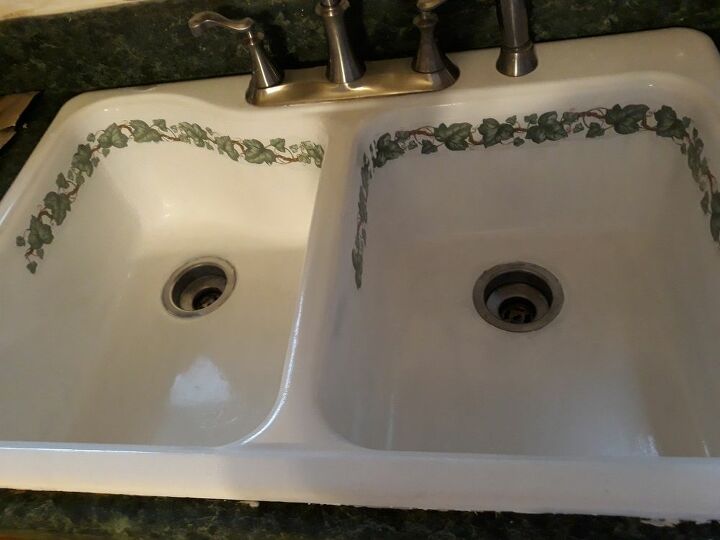
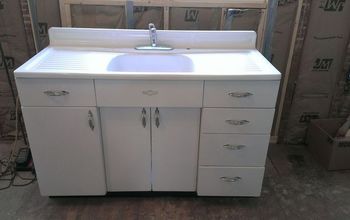
Here's my sink, with the chips and rust porcelain sinks get over the years. I had to remove all the caulk before sanding and repairing. I had used appliance repair paint on some of the damaged areas and sanded that off during the prep
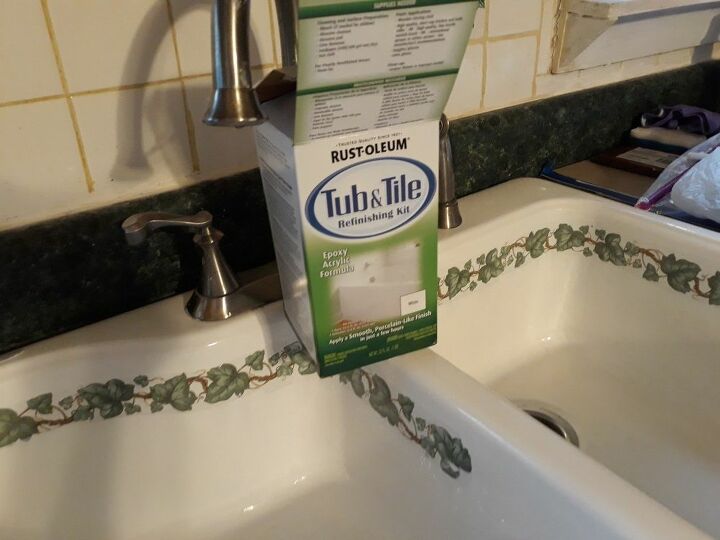
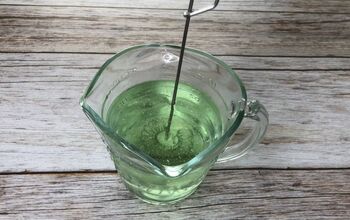
So, time to sand and clean it up. I ended up buying a Rustoleum kit after reading reviews and the instructions. I spent less than $25 for the Rustoleum kit. Follow the directions.
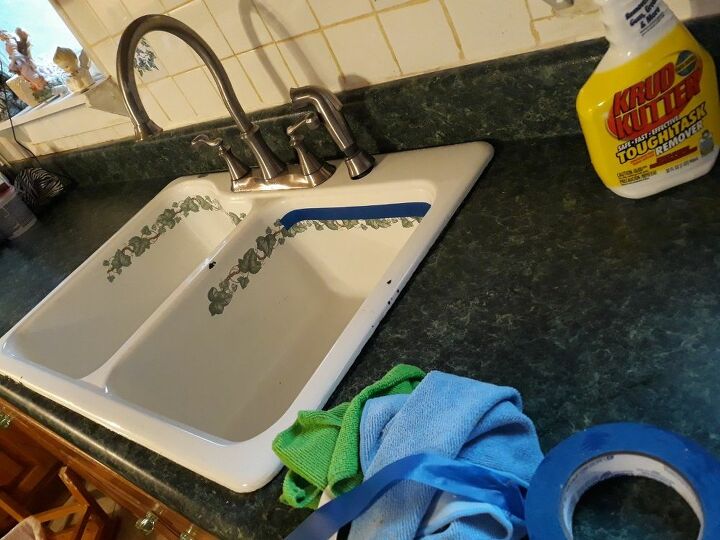
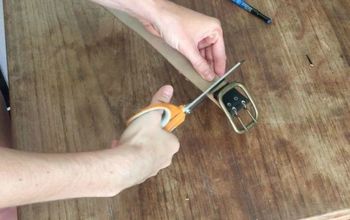
I covered the ivy design although I wasn't sure it would work. I used painter's tape. You have to sand until the gloss and rust is gone. So wear long sleeves, a dust mask, and eye protection. The chemicals I used included CLR, Krud Kutter are strong, so wear protective equipment. I used a scraper, sanding sponge, and an electric sander to remove the gloss and rust.
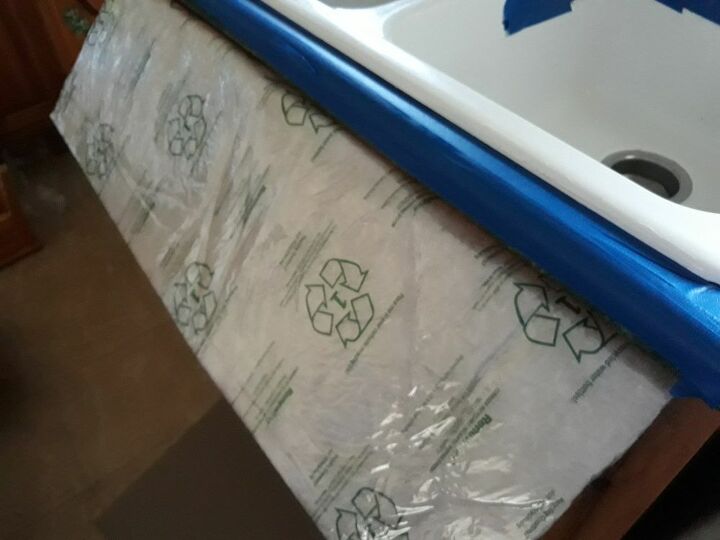
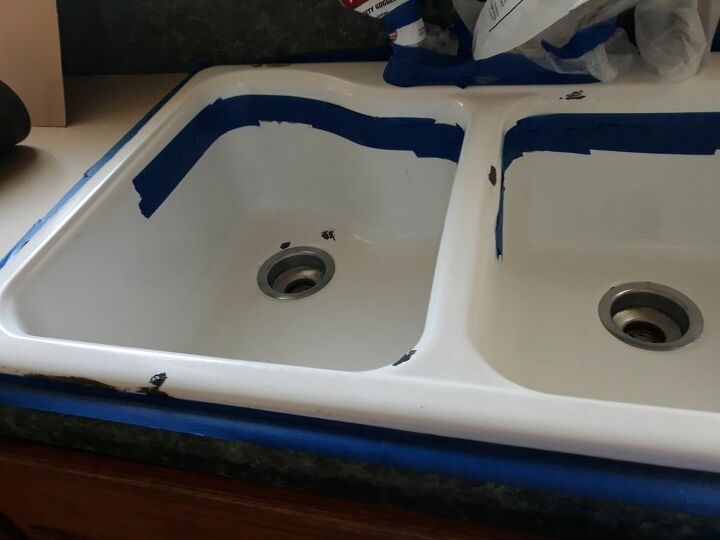
After scrubbing it, and sanding it I bought a repair kit for the damaged areas. That was a two part epoxy kit. Followed all the directions. The stuff dries hard as a rock, so smooth it as much as possible before it dries or you will spend hours sanding. The smell of the products I used is terrible so make sure you have excellent ventilation (I used a window fan to exhaust the odor, which worked), wore latex gloves and a mask rated for fumes. Also protect your eyes. Protect your cabinets and counters or you will have a mess. I used sheets of cardboard and tons of painter's tape. I covered the faucets with plastic bags and taped them although I forget to take a picture. I also taped cardboard on the tile backsplash before starting.
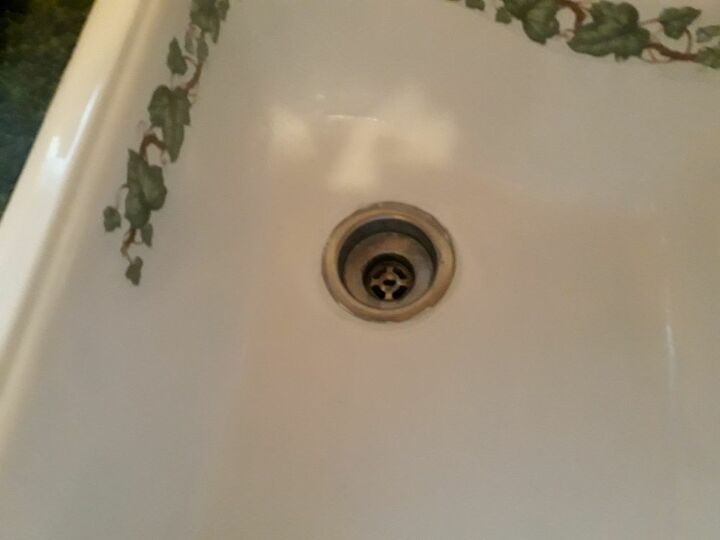
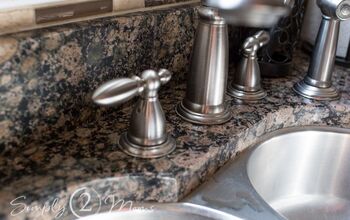
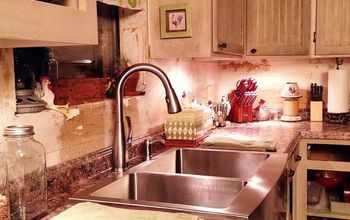
I applied two coats to the prepared sink and this is how it came out. Follow all the instructions for the prep. They are time consuming but, worthwhile. They recommended removing the metal drains, but I taped and sealed them with plugs without a problem.
It came out really white and the area that looks discolored is just the reflection from the cupboard above it. See how smooth it came out. I found the roller that was recommended didn't work well so I ended up putting the entire second coat on with a good quality brush. The mixture is runnier than I expected it to be, so work a section at a time, and you will get a smooth finish.
Hours of work, but totally worth it! Follow the instructions carefully and you will have a sink that looks great!
Resources for this project:
See all materials


Comments
Join the conversation
-
Great to see and thank you 🙏
-
Love the way you restored your sink. I have a black granite sink that I would love to try that on. I thought black granite would look great and last. NOT it stains and nothing gets it off excep mineral oil.


Frequently asked questions
Have a question about this project?
It looks really nice. You answered my Hometalk question with your link. I am curious as to how long ago you did this repair … does it hold up? My sink isn't installed as yet, so I can do the work outdoors w/regard to odors. Does the Rustoleum kit recommend specific cleaners to use as part of the prep work?