


Garden Shovel Upcycle
Head to your shed to find some old garden tools you never use for this beautiful upcycle.
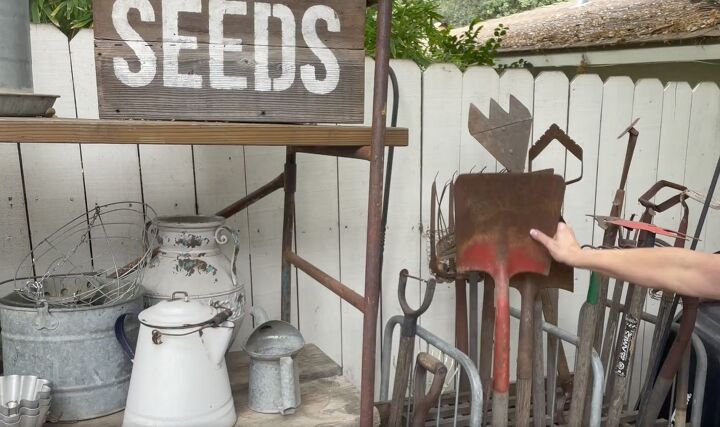
To make my new garden, I grabbed a shovel that we no longer use.
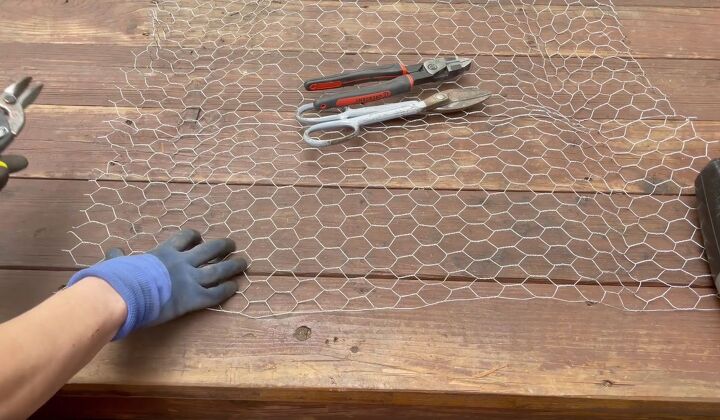
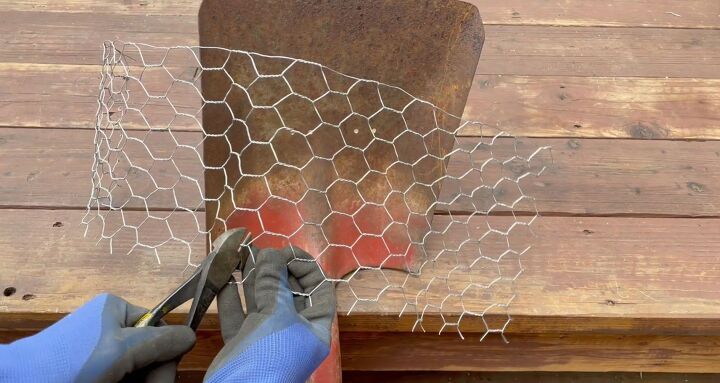
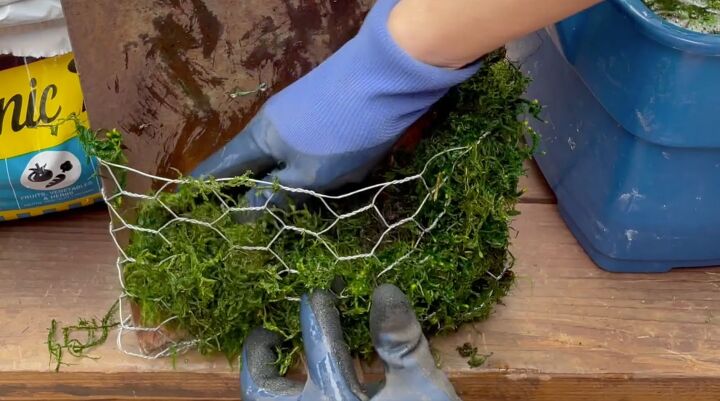
The first thing I did to start creating my little garden was to cut the chicken wire to fit the shovel. I would suggest that you wear gloves because this can get a little pokey.
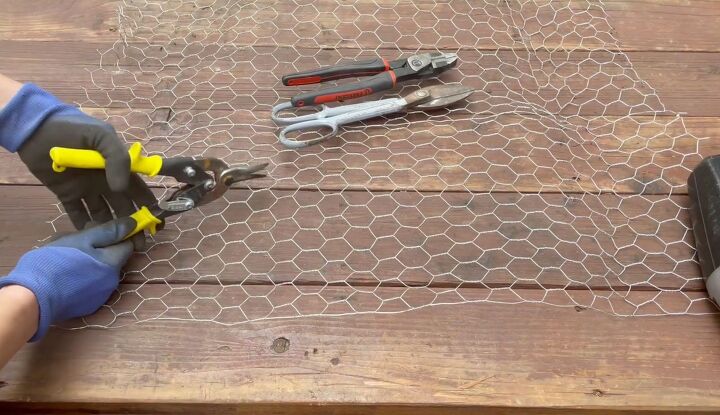
The piece of chicken wire I had was approximately 3ft long, and I cut it about eight inches tall. Clip along all the way across being sure to leave these little pieces or edges.
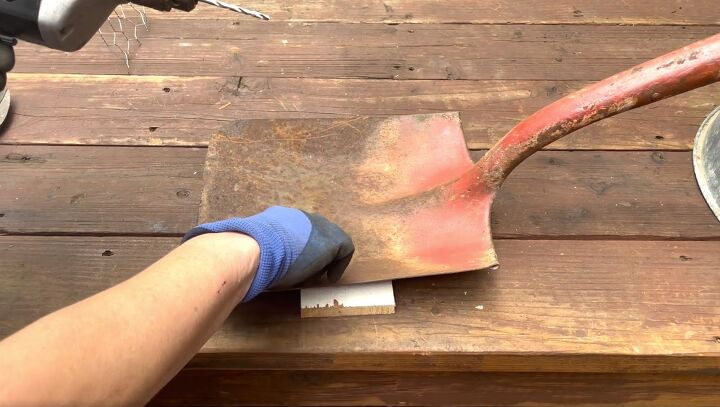
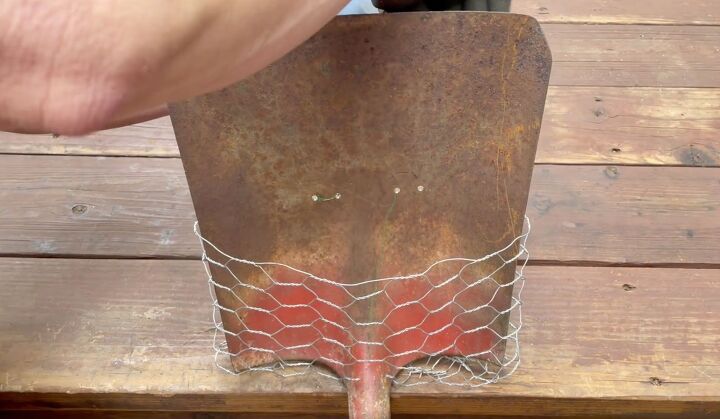
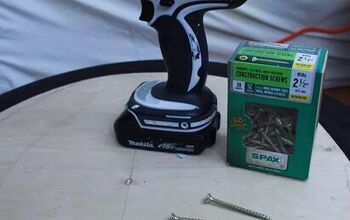
Next, I wanted to drill a few holes in my old shovel so I propped it up and put a little piece of wood underneath so I didn't drill into the table.
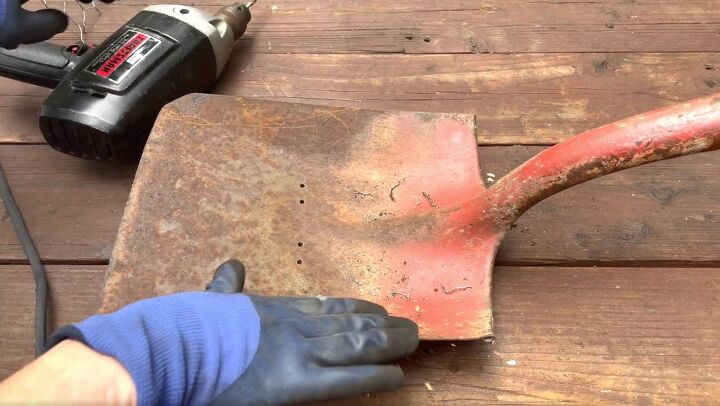
I made four holes in the shovel about three-quarters of an inch apart and basically two on either side in the middle of the shovel.

To get the chicken wire ready, I started by folding it in half.
Next, I cut up about three sections of the wire in the middle.
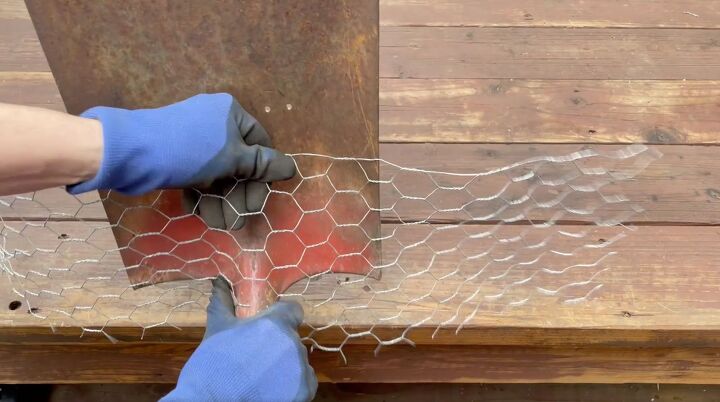
The cut up the middle allowed me to put it over the front of the handle.
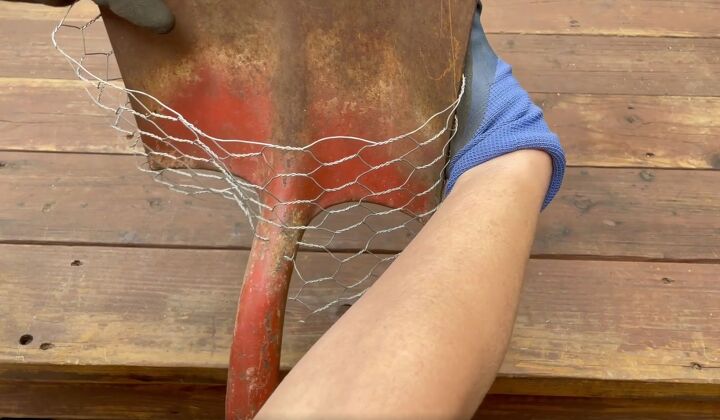
Then I wrapped it around the back on either side.
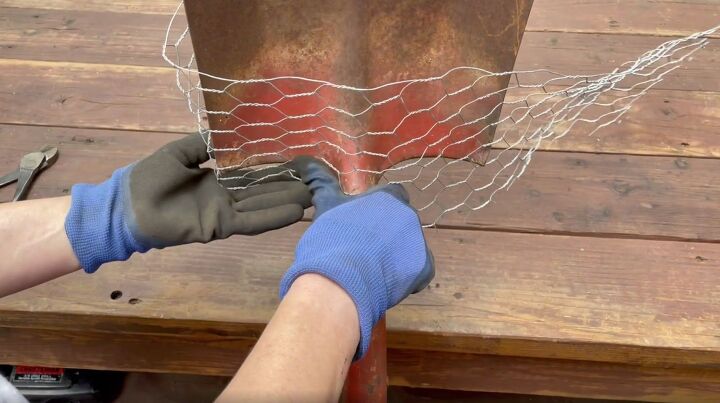
I also wrapped the bottom underneath the shovel.
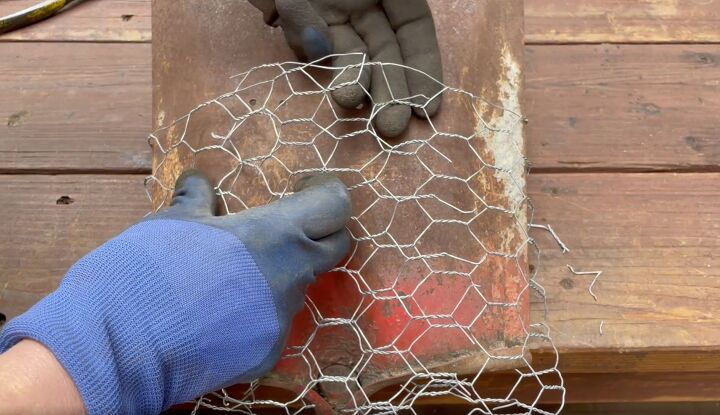
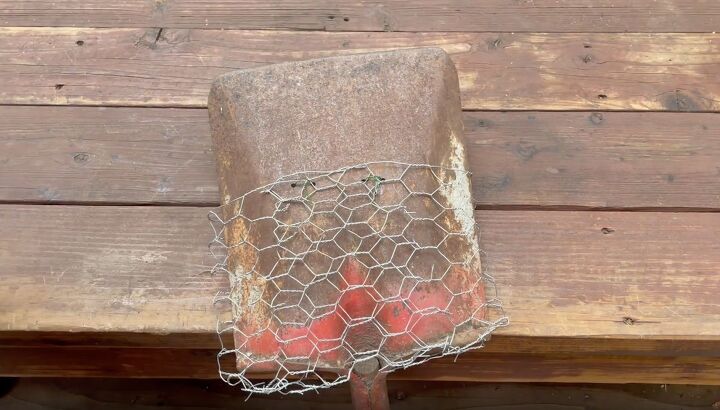
To secure the wire in place, I used the little pieces that were left when I cut it and wrapped them around the other end of the chicken wire. This created the basket.
To form the bottom, I did the same thing and wrapped the ends of the wires I had cut around some of the other pieces.
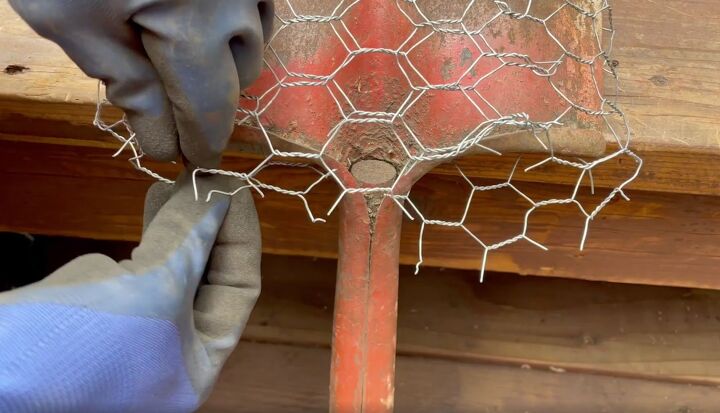
Once the wires were all secured, I turned the shovel back over so I could connect the basket to the shovel with the holes I had drilled.
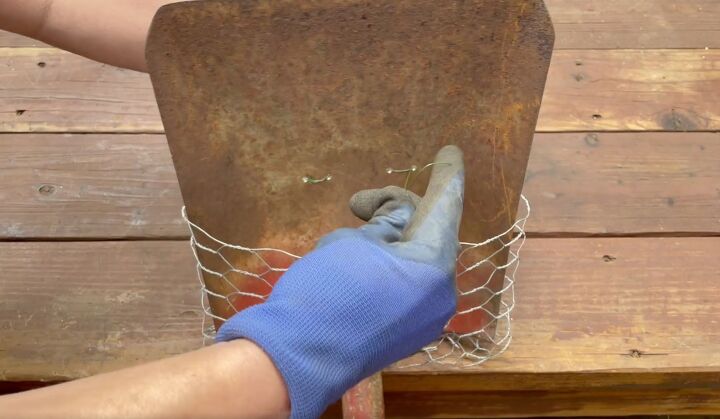
I used 20 gauge wire and wrapped it around the basket and through the holes to secure it all in place.
Now it was time to add all of the beautiful plants to the shovel.
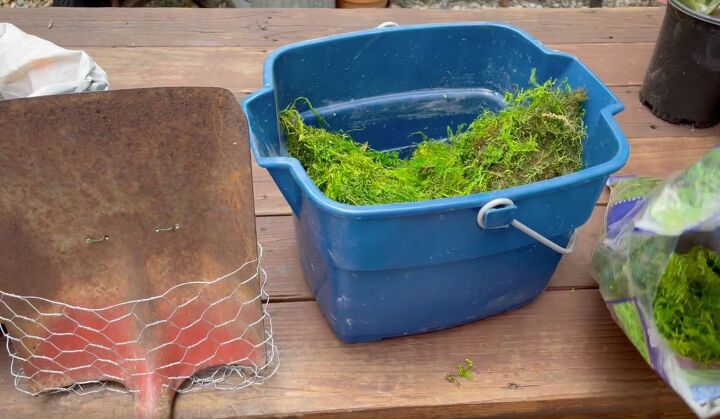
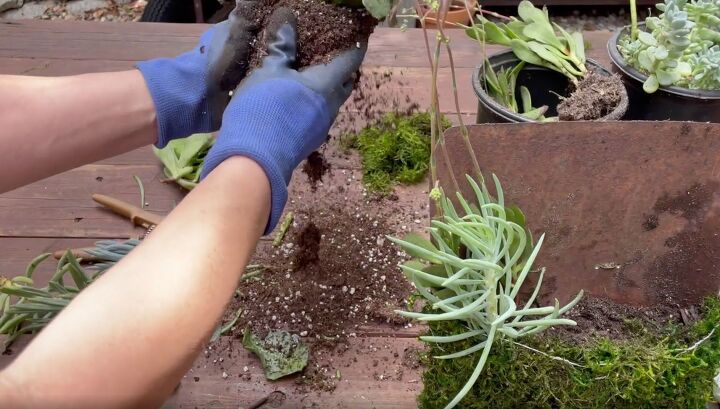
Before I added them, I put some of my moss into a bucket of water to get it nice and moist.
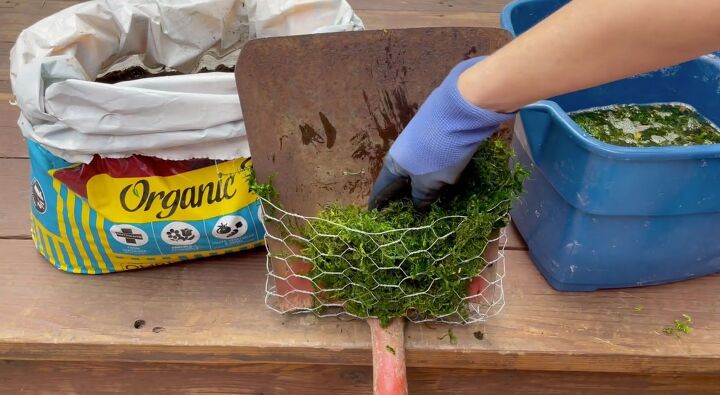
Once it is all wet, I squeezed out the water and started placing it through the wire in the basket. Make sure to get it all the way down to the bottom as well.
Continue doing this until the entire basket is covered in moss.
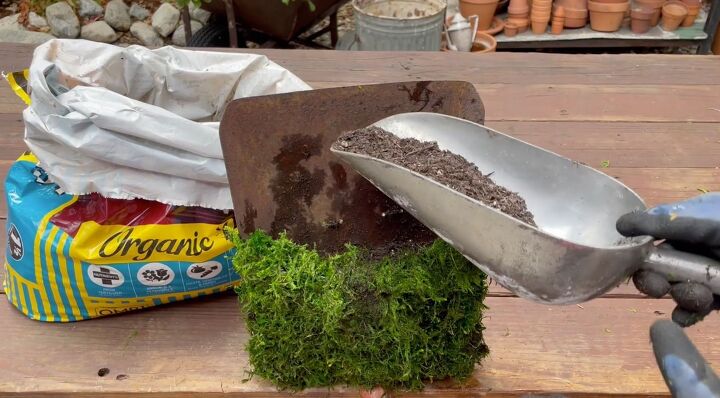
Next, I poured in some potting soil into the basket and made sure it was about three-quarters full. Make sure to leave lots of room to add the plants.
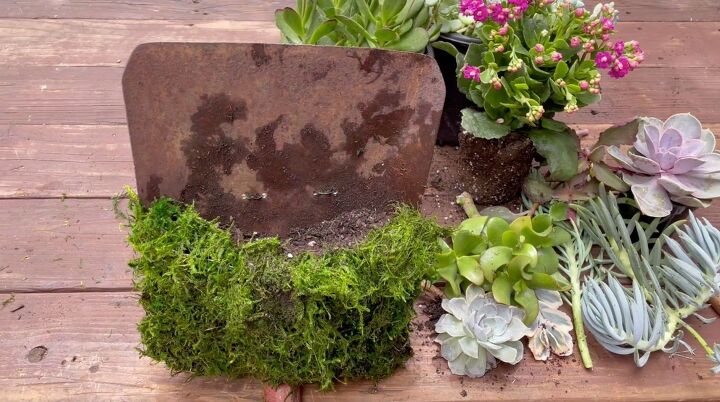
I gathered a collection of succulents and other plants of different heights that I thought would look good.
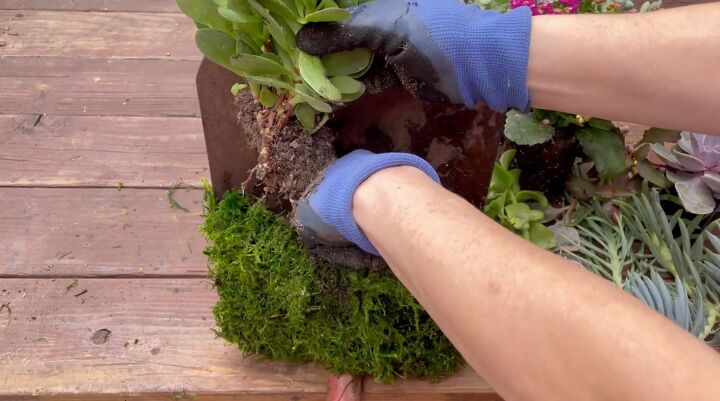
I like to create dimensions so I started with a tall plant on the left.
Then I added some shorter plants next to it.
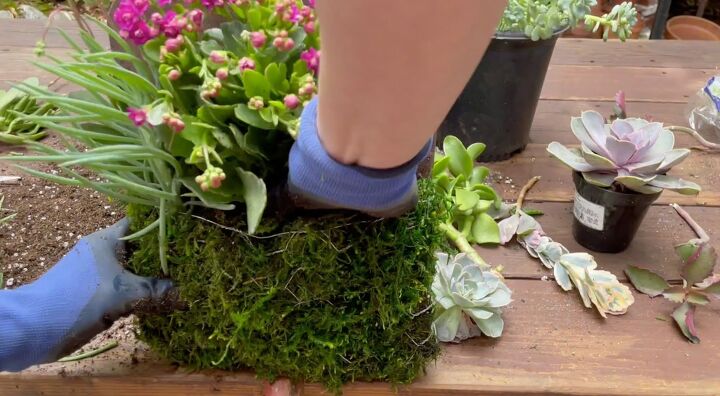
Next, I added a larger, fuller plant to the middle area. I shook off most of the dirt since the space in the basket was limited.
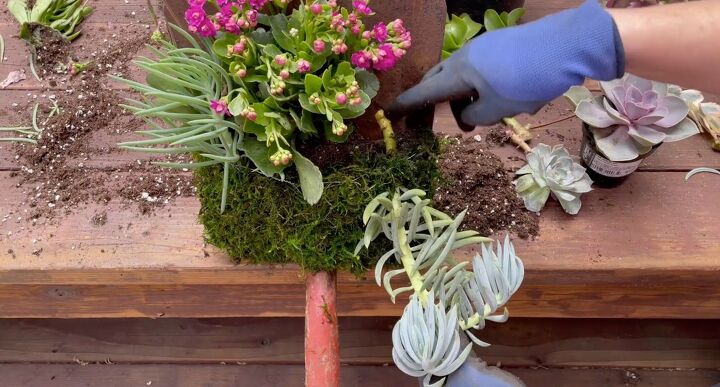
For the other end of the shovel basket, I wanted to create some draping. I used a piece of a succulent that drooped down and shoved it through the wire into the dirt.
After it was in place, I added some other plants around it. They will help to hold the dropping one in place.

Be sure to remove any damaged leaves when you are adding your plants as well.
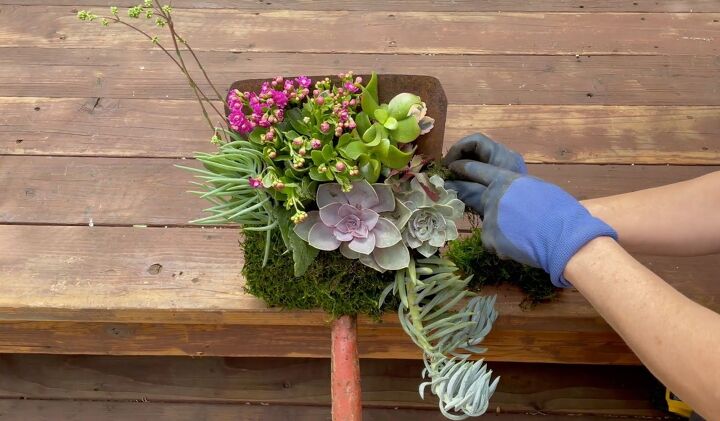
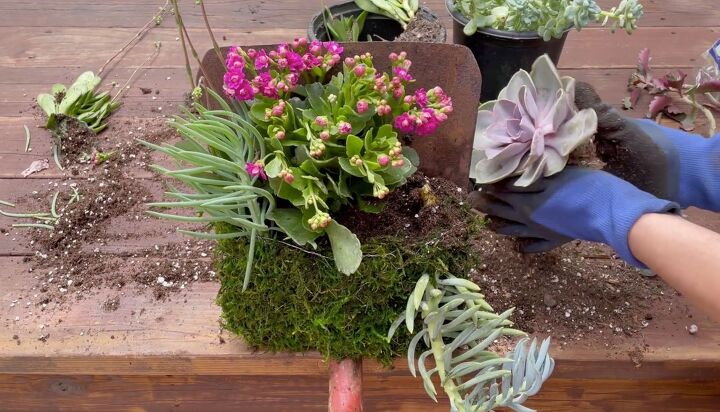
To finish off my basket, I like to add more moss around the sides where I've added a little bit of dirt. It helps to keep the dirt in place so that when you water you aren't losing dirt.
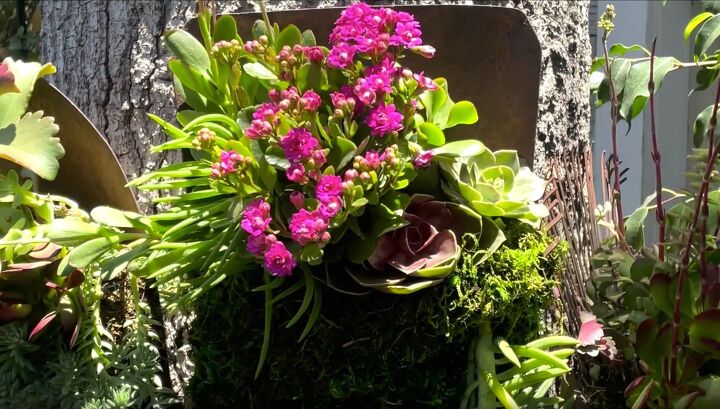
How beautiful is my new little garden? The shovel was the perfect backdrop and I love that I could use something I already had.

Comments
Join the conversation
-
Terrific, I’ll try this with a snow shovel.
-
I wonder what to do with an old metal rake, not the kind for leaves.


Frequently asked questions
Have a question about this project?
I wonder how that method would be using an old broom....?
Where did you put it after it was done?
It's very beautiful.