


DIY Roman Clay

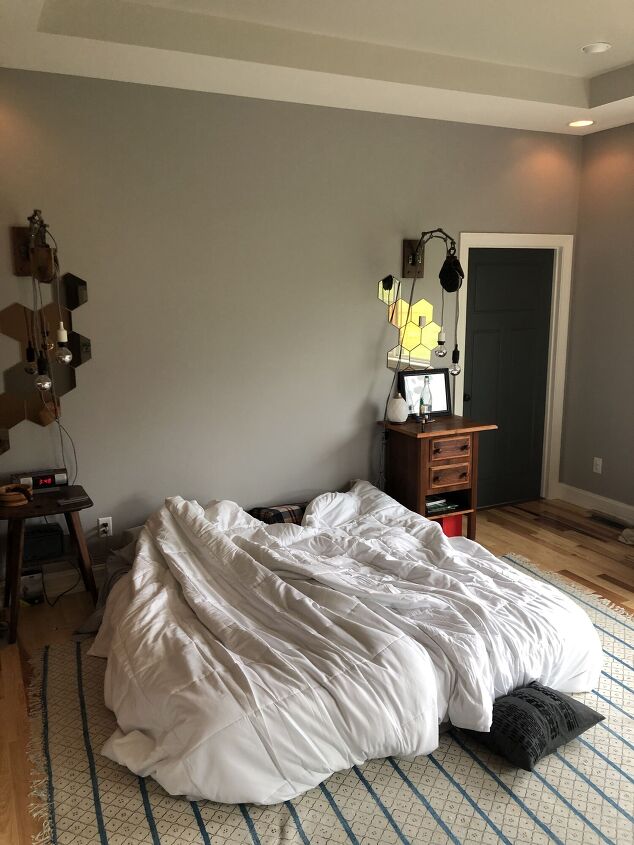
I came across another home account in IG and she was applying Roman Clay to the walls of a room in her home. I loved the movement, subtle texture and earthy feel it gave the room! Then I misplaced the post so I can’t share it but trust me it was beautiful and I know it was a labor of love. I also knew I wanted to use the same technique in our primary bedroom.
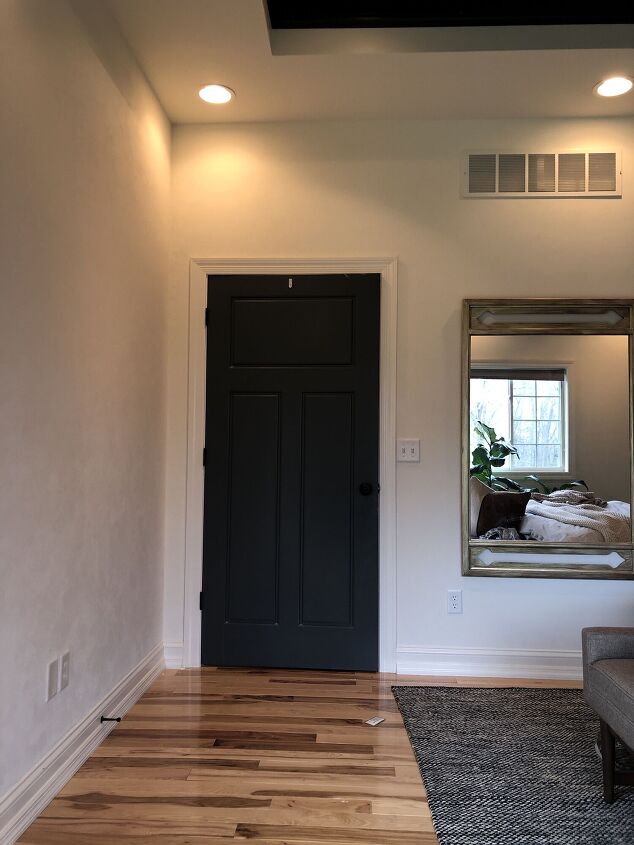
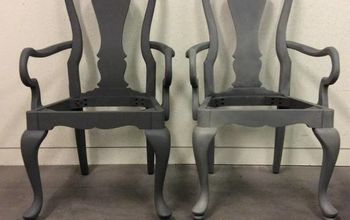
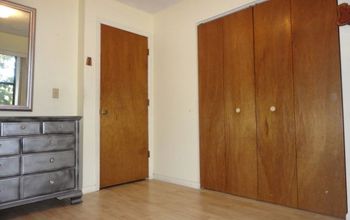
BEFORE
Hometalk Recommends!
Continuing on with the Roman Clay, the product is beautiful but a bit costly for my budget. I started researching what was in Roman Clay. On a basic level it’s plaster and paint. On a not so basic level, I don’t know! I’m sure that the professional companies who produce it have more of a process than my basic understanding. But plaster is readily available as well as paint so I bet you can guess what I did. That’s right! I made my own Roman Clay. I bought plaster from here and my paint, color Greek Villa by Sherwin Williams, but I prefer to mix it in Benjamin Moore Paint.
Now came the big experiment. How to mix the two products to get the right color and consistency. I knew from making my own chalk paint, when I used paint and plaster, that if I wanted a smooth finish I needed to mix the plaster according to the directions on the back of the plaster container first, otherwise it would leave a slight texture.
After a few attempts, with different amounts of plaster, different amounts of water and paint, and different tools, I can confidently tell you exactly how to mix Roman Clay, for an easy application and smooth finish. I can also say that the paint color remained the same even after mixing with the plaster. I don’t know if this will hold true for all colors, especially darker ones, but it did for this white shade.
DIY Roman Clay Recipe:
6 parts plaster of Paris mixed according to directions on box
1/2 gallon of paint
Materials:
Drill
Paddle mixer that attaches to a drill. Similar to this one.
8 lb. Bucket Plaster of Paris
Paint
Empty, Clean 5 gallon bucket with a lid
Water
Steps:
1. Mix plaster first with paddle mixer attached to a drill. You could mix by hand but will likely end up with larger chunks that Don’t get mixed.
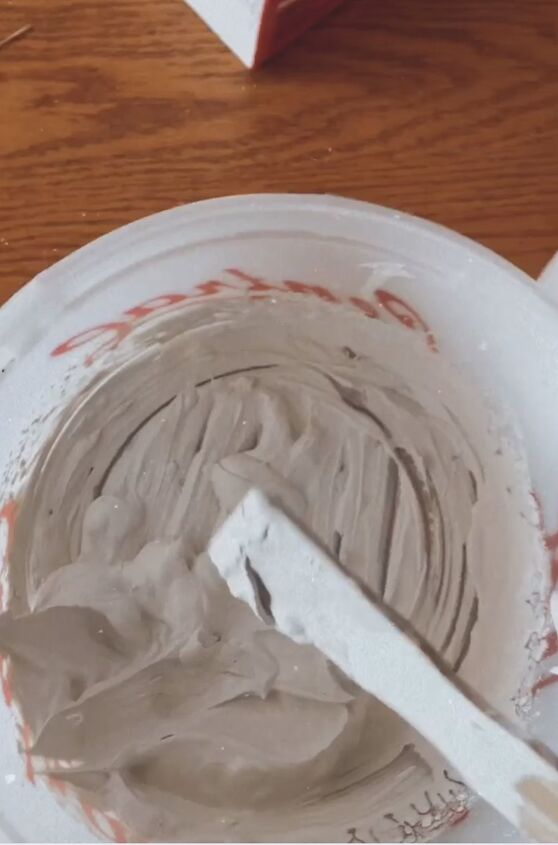
2. Add 1/2 gallon of paint to the plaster mix and continue to mix with paddle mixer until thoroughly incorporated. Let sit for 10 minutes. Adding the paint stops the process of the plaster hardening. Once thoroughly mixed it should be smooth and have a peanut butter consistency. A little thicker is okay too but you don’t want it thin like milk or yogurt. Keep in mind you need to work fast because the plaster will start to set up and fully harden within 10 minutes. Ask me how I know! It happened to me when kids needed their 472567 snack!😅
3. After 10 minutes, mix it again and assess the thickness of your Roman Clay. If it’s too thin add 1/2 a serving of plaster at a time (without water) to the paint plaster mix. Wait 5-10 minutes between each serving. The mix will go from thin to just right to too thick very quickly.
4. If it’s too thick add a little bit of water, about 3 TBSP to 1/4 cup, at a time and mix until you get a peanut butter consistency.
5. PRIME YOUR WALLS BEFORE APPLYING ROMAN CLAY! I’m yelling that because I didn’t and it took a lot more material to cover the first two walls, like 5 layers to cover it 🙃 .
The last two walls I primed and it covered in two coats. So prime your walls in a color similar to your Roman clay.
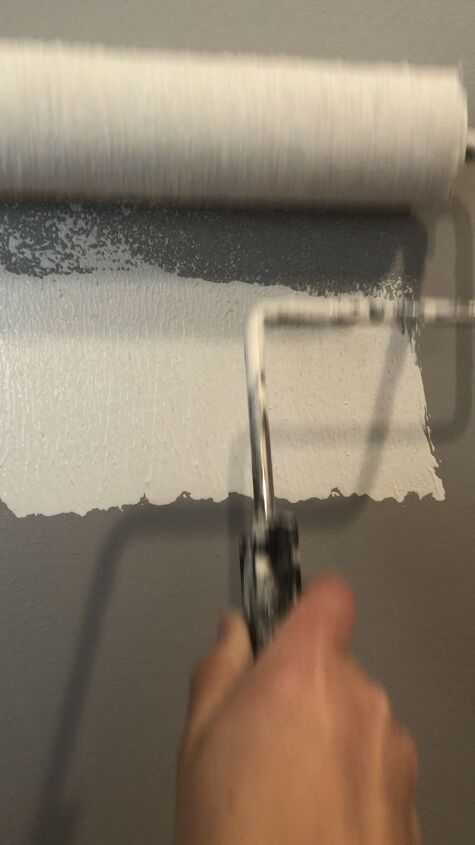
6. Apply the Roman Clay to your walls with a 6” plastic or metal trowel/putty knife. If found 6” to be easiest but 4” worked too. I was applying a lighter color therefore I used plastic. Metal sometimes leaves small gray marks.
Apply in smooth light layers in an ‘X’ pattern removing the excess as you go. It dries rather quickly so you can re-coat right away. Should take 2 coats of Roman clay to cover the walls, if you primed 😉.
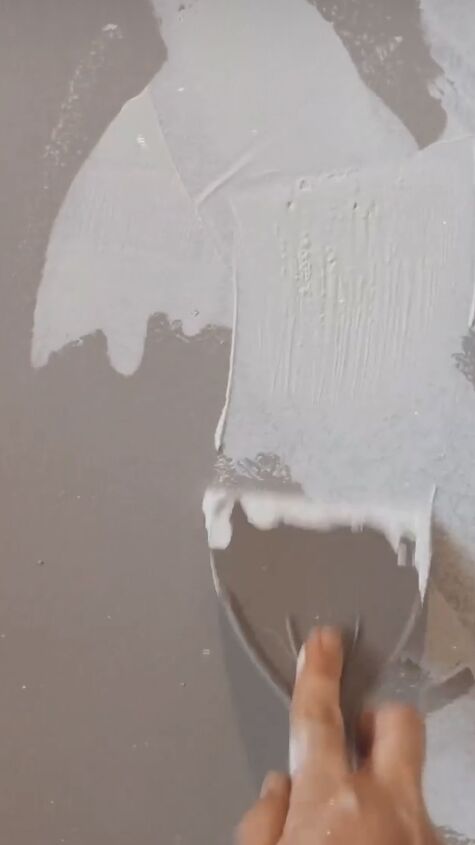
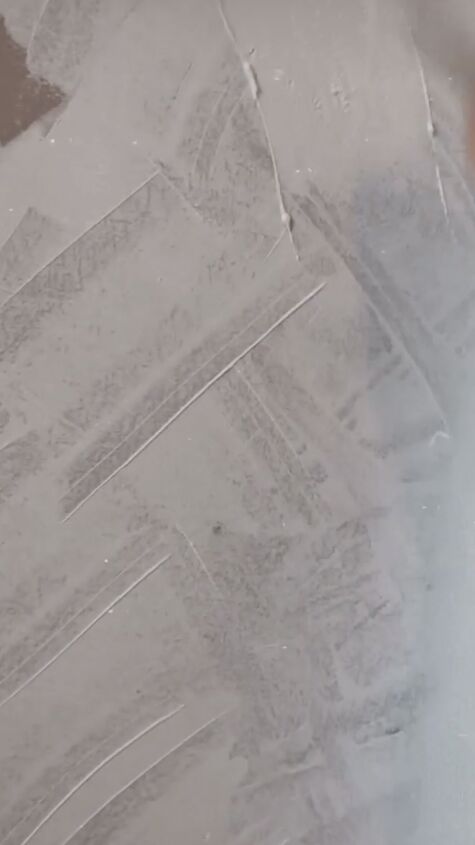
This picture shows that my Roman Clay was too thin.
7. During the process you might find your Roman Clay starts to dry out. That’s an easy fix, just add a little bit of water and re-mix it. If you will be leaving for a while before re-coating be sure to cover the Roman Clay so it doesn’t dry out.
8. There is a top coat product out there that seals the walls after applying Roman Clay. This is recommended if in a wet or greasy area. I chose not to but might come back and do it later because the light color does show fingerprints, footprints (kids) and other stains.
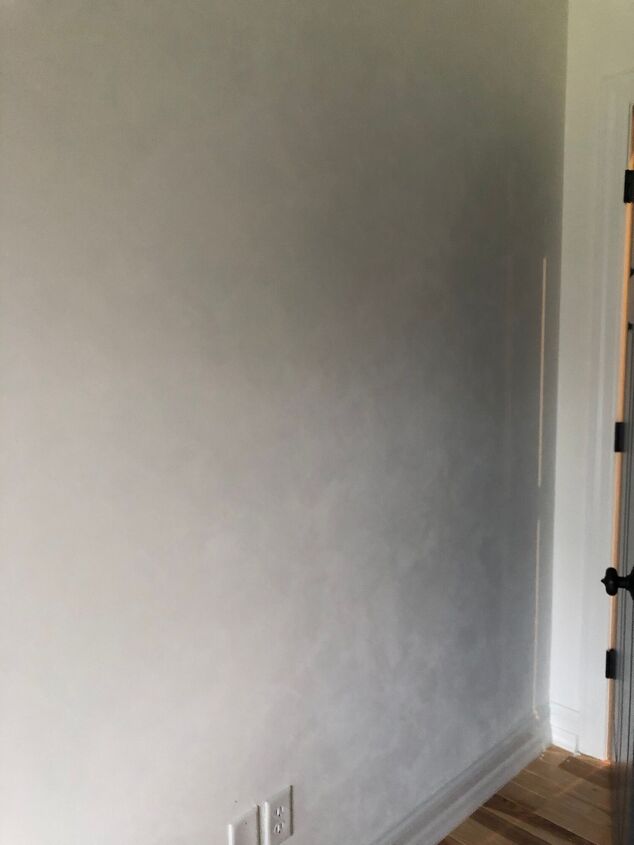
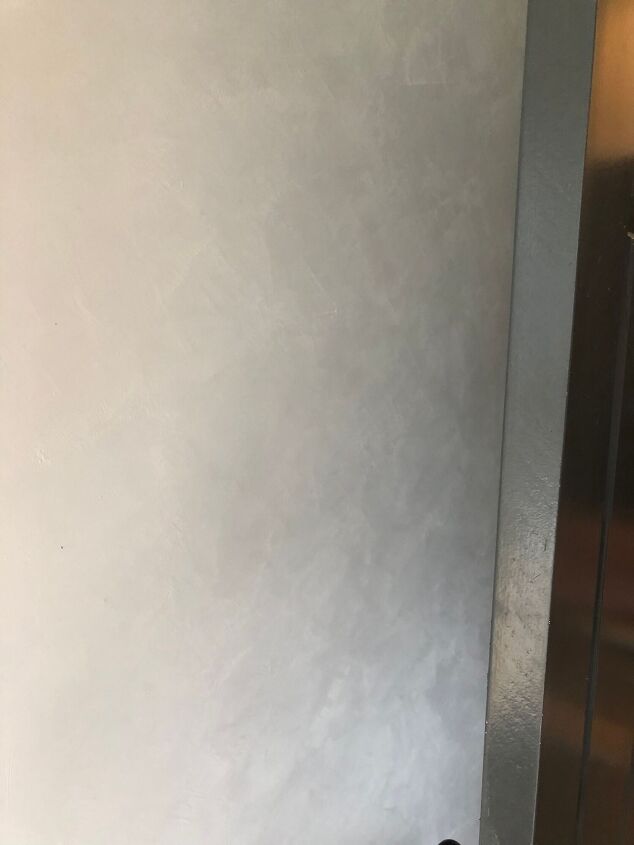
In the end I love how it turned out! I saved money making it myself and learned a lot along the way, like PRIME THE WALLS FIRST!
Would I do it again? YES! I would probably choose a darker color so you can see more of the texture.
Come find me on IG @haganhomestead + see our day to day Homestead Happenings + current projects!
Alissa
0Post not marked as liked
Resources for this project:
See all materials


Comments
Join the conversation
-
Looks great. Similar to Venetian Plaster. I've done similar using drywall compound for the texture then paint over that.
-
I just wrote a whole comment and with this site constantly breaking down it wiped my comment out by reloading this page! It’s been going on for years and it’s very frustrating- the site needs a major overhaul and updated 🤦♀️


Frequently asked questions
Have a question about this project?
Can you use this on exterior walls?
Can you wipe the walls clean or do you need a top coat I have 3 kids, 2 dogs and a pig running through the house 🤣
Hello Alissa,
I have searched everywhere and this is the most beautiful textured wall I've seen online. The effect is subtle but still makes an impact. I have a question about the ingredients you've used. I'm from Holland and maybe that's why I don't understand the measurements.
The ratio Plaster de Paris and Paint is a bit unclear. Of Plaster de Paris I see 6 parts, and 1/2 gallon of paint. What do you mean with 6 parts of Plaster de Paris exactly? Is it 6 cups? Or how much does that weigh in total?
And did you paint after all these steps with the paint again over it? Or did the paint mixed with the plaster came out like this?
Warm regards from Holland,
Fleur