


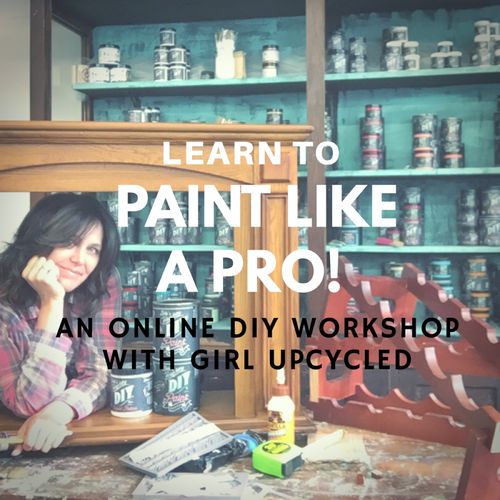
Learn 4 Unique Finishes AND Get Exclusive 50% Off My Online Workshop!
3 Materials
$35
2 Hours
Easy
Learn this out-of-the-box paint finish and unique techniques to add texture and interest to your furniture and decor.
Do you have a passion for learning new paint techniques and finishes? Be sure to take advantage of my "Paint Like a Pro" online workshop video (!) where I teach 2 of my most popular paint finishes. This special offer is exclusively for Hometalkers over on my website (girlupcycledstudio.com) to get 50% off using the code: hometalk
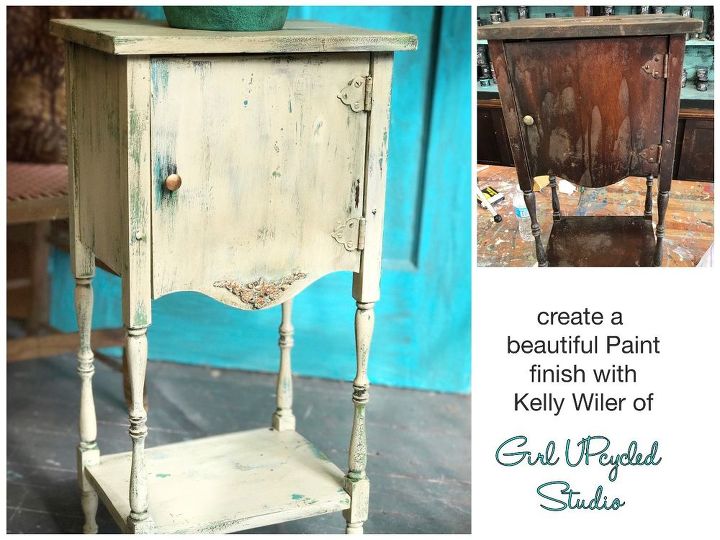
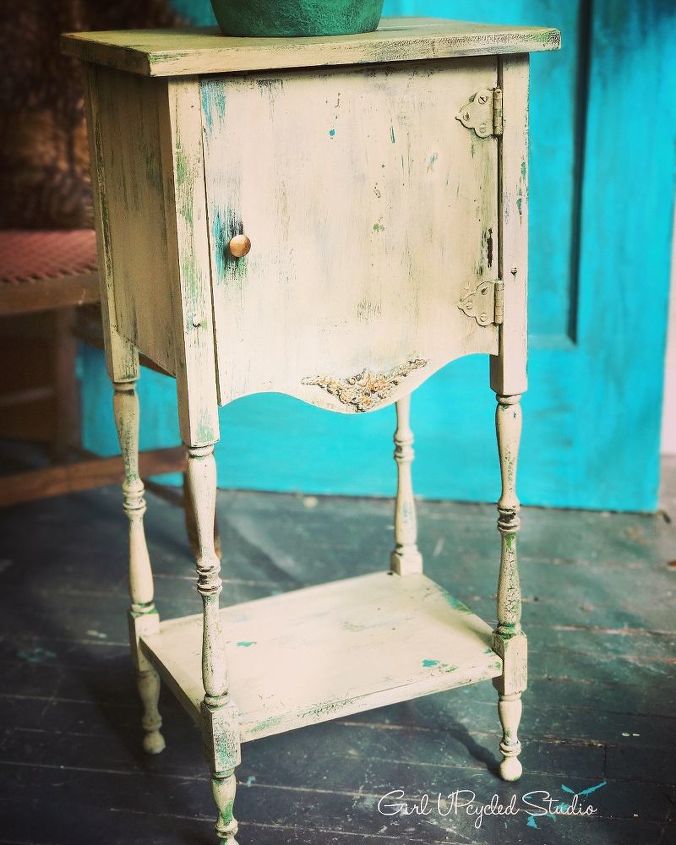
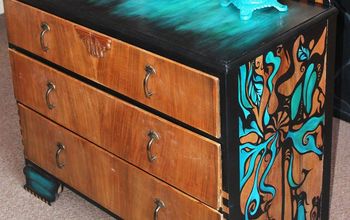
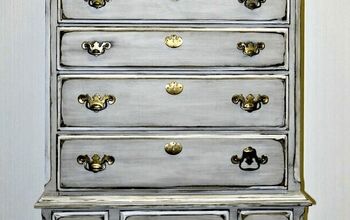
Girl UPcycled teaches a unique paint finish
Be sure to got to my website to watch the online video to see how I created this finish. Sometimes it's just easier to watch a video, right? ;)
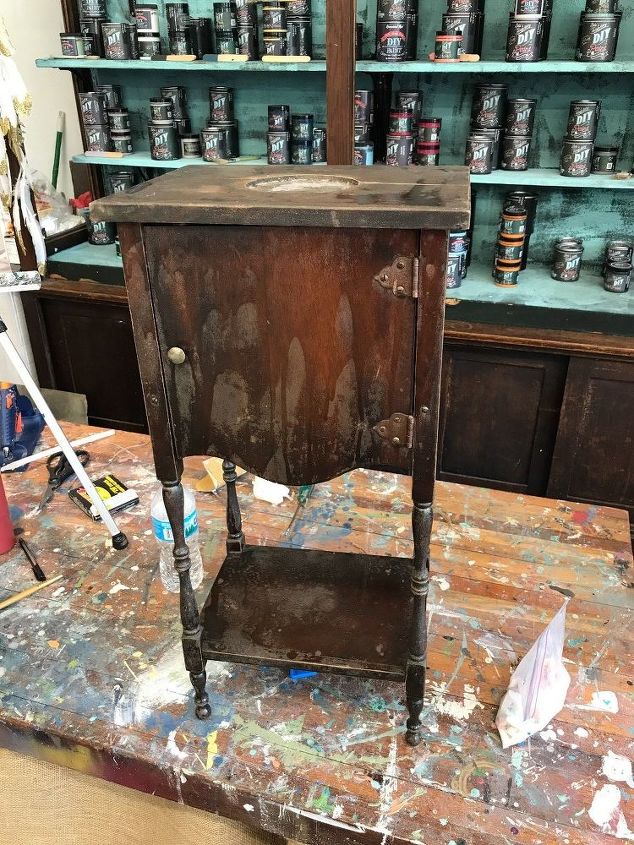
Start by thoughouly cleaning and degreasing your project piece removing any dirt or grime.
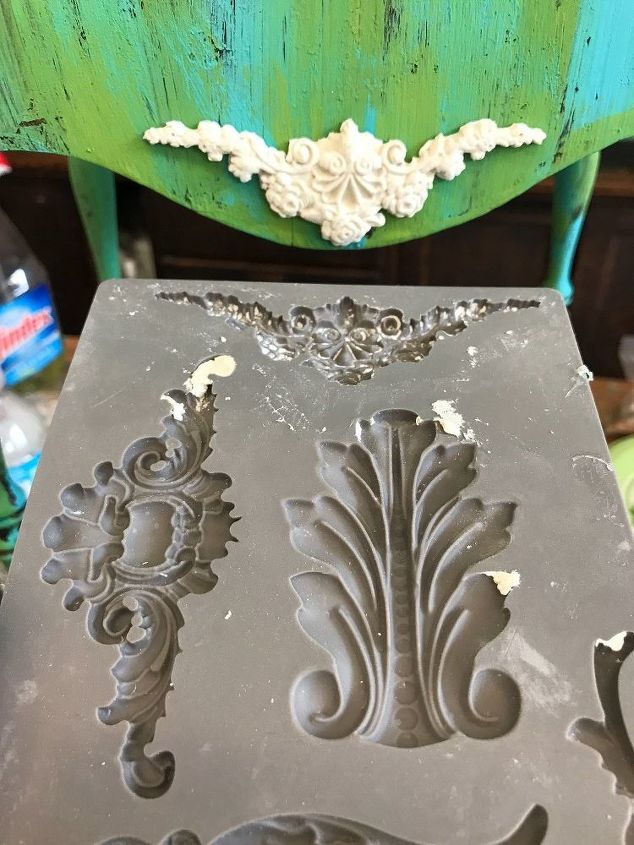
IOD Moulds using paperclay
I applied the IOD decorative detailing using thier resin moulds (Prima Marketing Inc) simply brush moulds with corn starch then fill with paperclay. Smoothe the backs of detail flat then simply pop them out of the moulds. I applied Gorilla Glue to the detailing to attch them.
Let dry
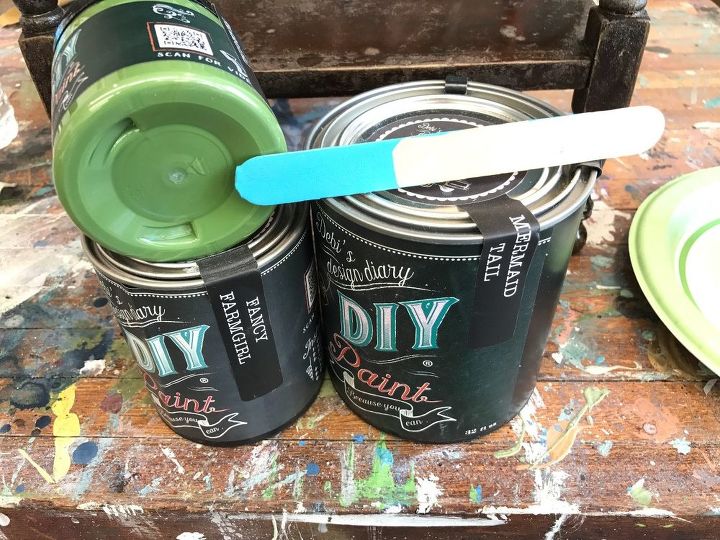
Paint products I used are Diy Paint from Debis Design Diary, Mermaid Tail and Fancy Farm Girl

pour one straight line of each color right beside each other in a plate, load a chip brush so that half of brush is covered in each color
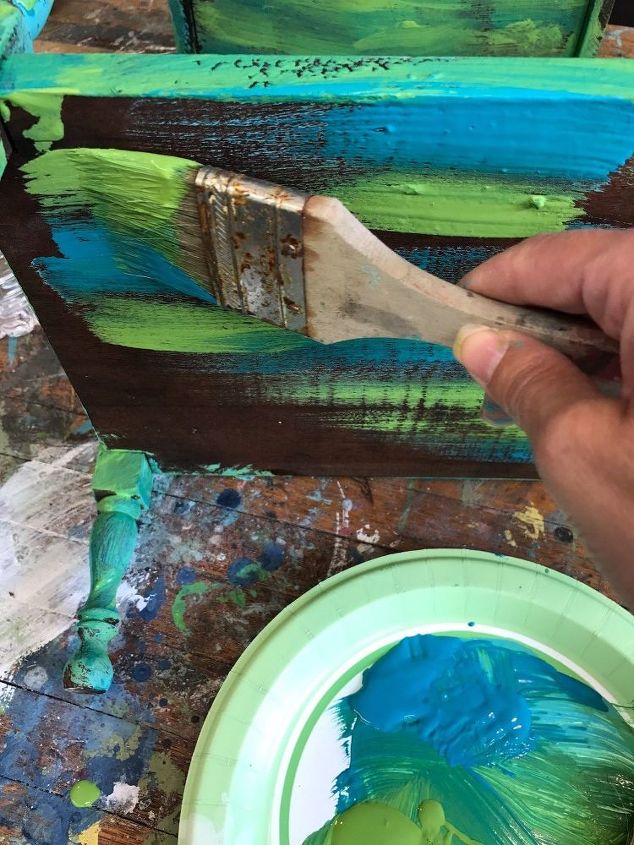
Unique paint application
begin applying paint in single swipes, not overworking or over blending the colors too much. Let dry
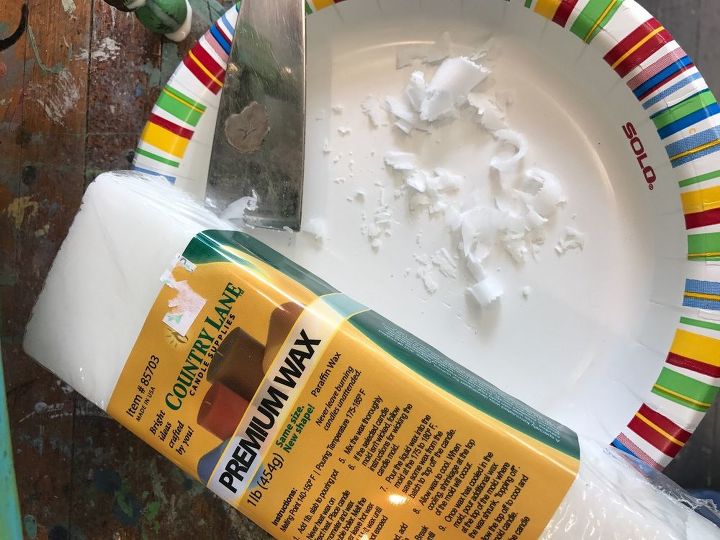
With regular clear wax, use a cheese grater to grate off chunks of the wax.
Press chunks onto the piece so that it slightly sticks to the surface.
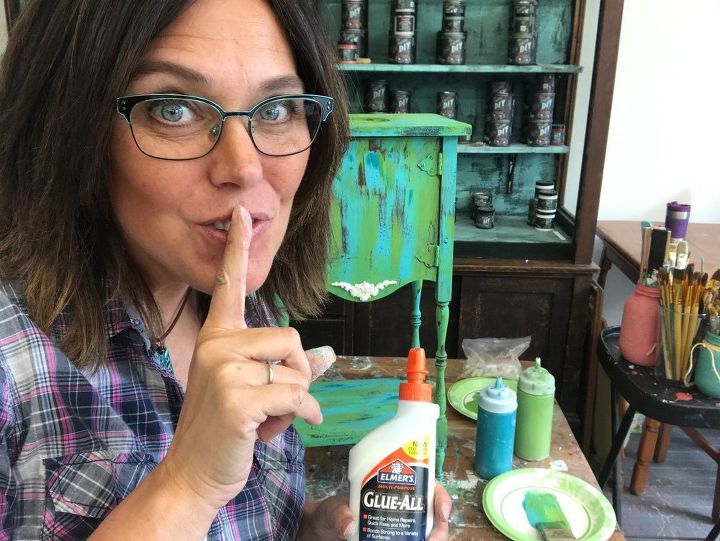
shhhhh! nobody tell my secret ingredient to use to crackle! Yep, just good ole elmers glue! apply very thin inconsistent applications randomly over the entire piece. Then immediately apply the next layer of paint while glue is wet
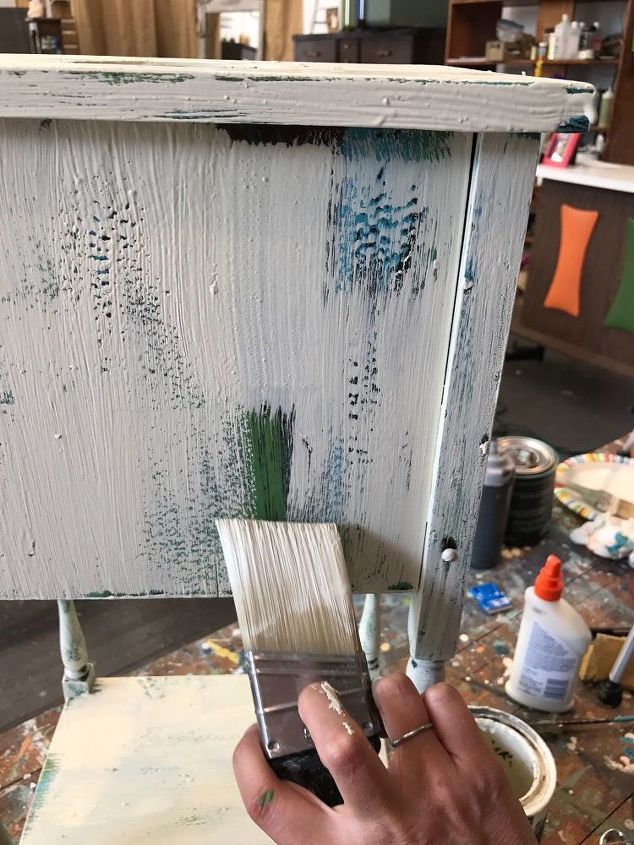
Cover the entire piece covering up the layers of glue and chunks of wax. Let dry completely.
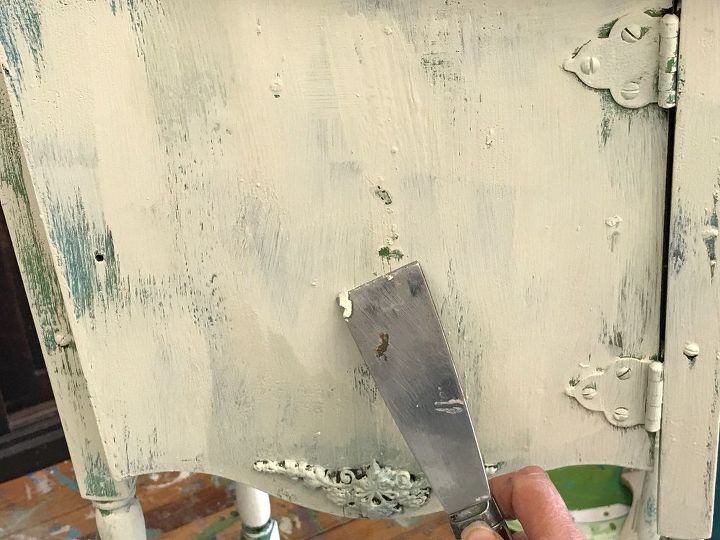
Ooooo! I really love this part! Using a putty knife gently flake away all those chunks of wax so that all the under layers of color will pop through!
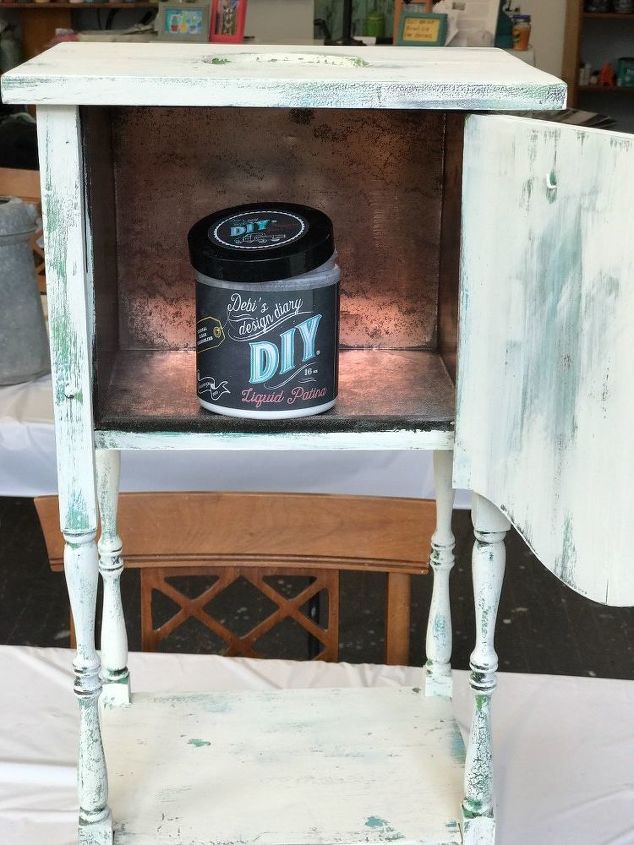
Nect cover entire piece with Clear Patina from the DIY Paint line to seal.
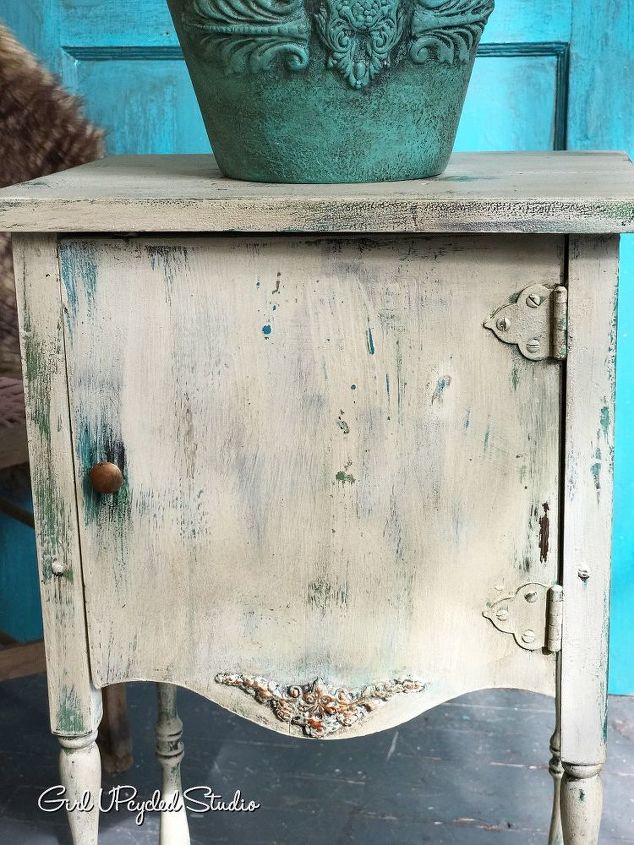
lastly you can apply glazes or waxes of your choice! I used clear wax mixed with dark wax from DIY Paint line to achieve this final aging look!
Notice I added copper to the decorative detailing and handle to help match the inside of the stand to the copper tin!
see full demo of this entire look in my online video!
Don't forget to take advantage of the amazing offer of 50% off of my 'Paint Like a Pro" online video that is exclusively for all of you here on Hometalk! Use code: hometalk at checkout to get the discount, the workshop is normally $42
Visit my website link HERE for savings!

Want more details about this and other DIY projects? Check out my blog post!
Comments
Join the conversation
2 of 50 comments
-
What is the furniture.?
-
It's an old smokers stand or also known as cigar humidor


Frequently asked questions
Have a question about this project?
What is the hole in the top for? Was this a humidor?
I have always let the glue dry before applying paint. I use heavy and light applications to get different size cracks. Do you get a different result using the glue wet to paint over?
What color did you apply over the glue