


Vintage End Tables Get an Update!

One afternoon, hubby and I went for a drive and stopped at one of those kind of scary road side "sale" buildings. You know the kind of place, dark, smelly, and a tad like something out of a horror flick. Anyway, we stumbled across this set of end tables. They had seen better days, but we quickly saw the potential! So, after a bit of haggling and a run to the ATM to get cash, we purchased them for $12. Loaded them into the truck and brought them home...then the fun began!
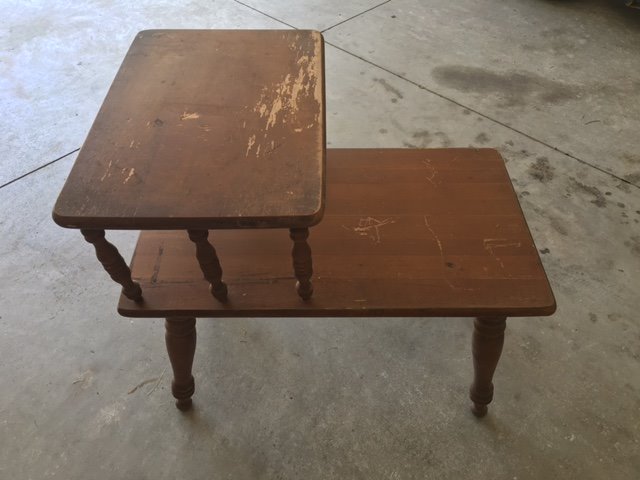
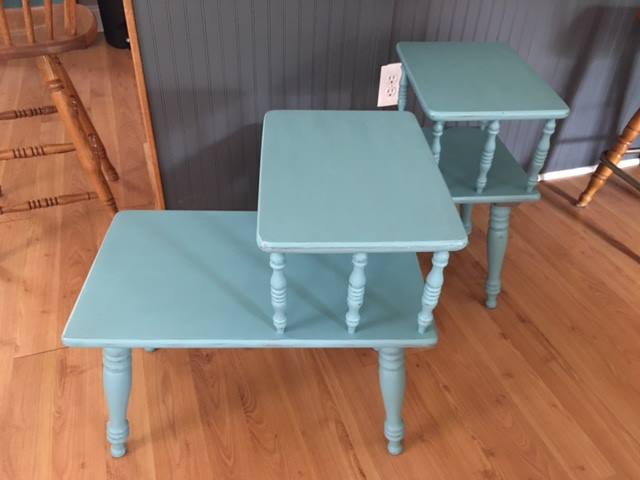
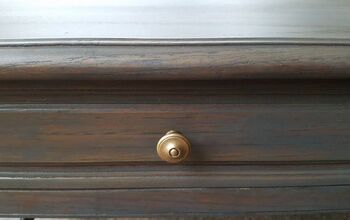
Here you can see one of the tables before we started. Some people just don't see the potential, but we do! Nothing makes me happier than deciding what to do with a piece that will bring it a whole new life.
For this project you'll need:
- vintage end tables
- sandpaper
- base coat
- chalk paint
- paintbrush
- polycrylic topcoat
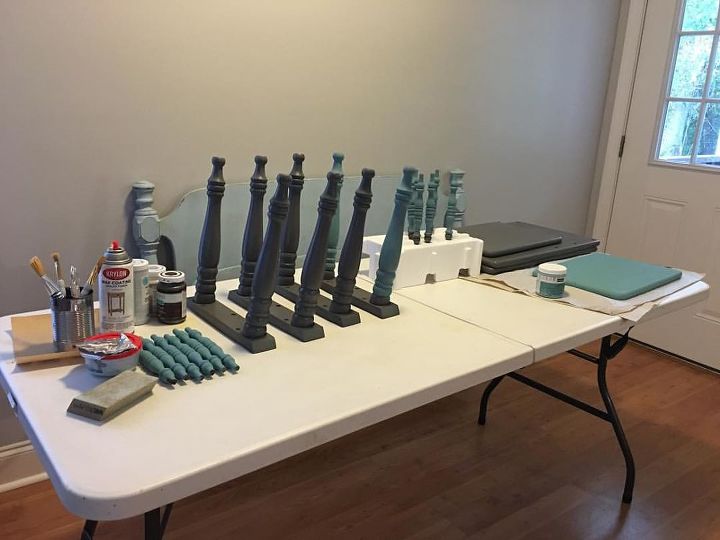
I know, I know, I missed some pictures. At this point if you follow any of my projects, you know I always manage to miss taking some. Anyway, here is the setup I had going for this project. We took the tables apart, sanded them down, base coated everything. For this project, I base coated in granite gray. I thought the gray basecoat would look cute with the seafoam chalk paint. Here you can see the table tops (on the right), the legs, and all the spindles. To make drying the spindles easier, I found a piece of foam, punched holes in it and stuck the spindles in to keep them upright while drying! After chalk painting, I distressed to allow some of that gray to show! Then it was time to reassemble the tables.
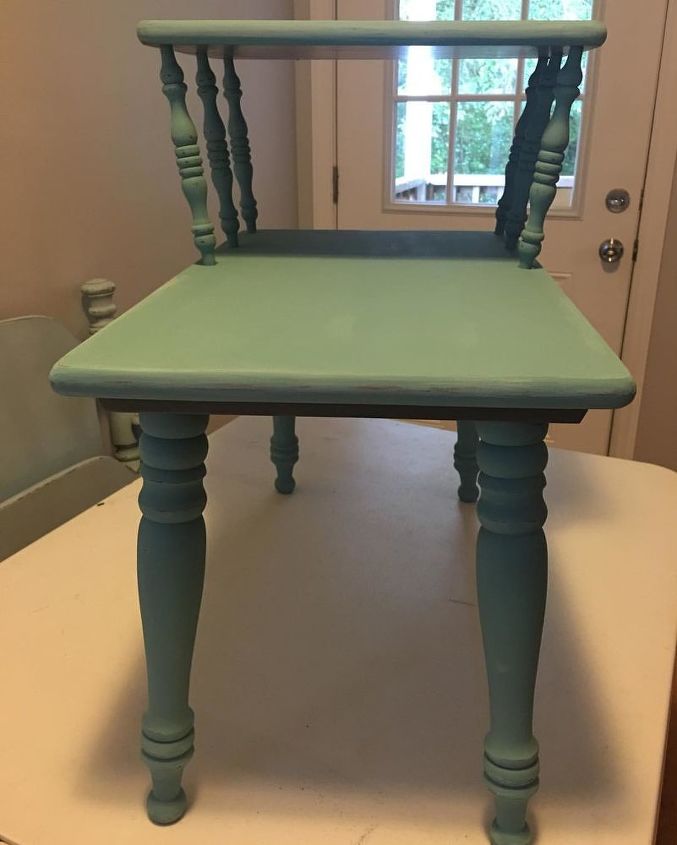
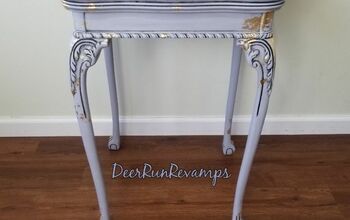
Here is a side view of one of the tables after I reassembled them. This allowed me to see how the distressing looked. I touched up what I felt needed a little more distressing before adding the poly.
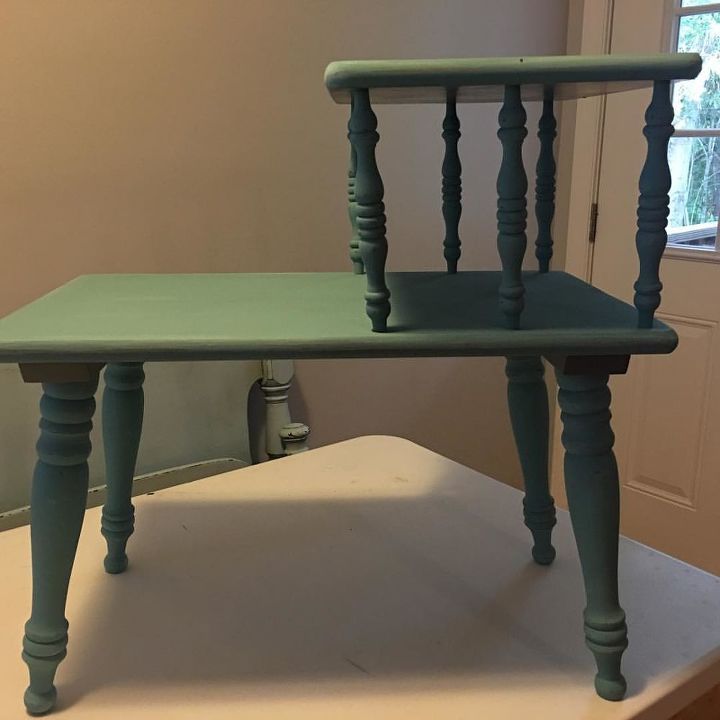
Here is a front view of one of the tables. I like to check pieces from every angle so that I am sure the distressing looks right. You never know what angle it will be setting in the home, and want to make sure it looks great from any angle. Poly and done! Notice how the color looks different depending on the lighting? *sigh* I have to take pictures in different lighting.
I actually used wipe on poly for these. Usually I con my husband into doing regular poly (I have him convinced that I can't do it right 🤣). I prefer poly over wax on pieces that will see heavier use. I love how these turned out! As did the lovely lady that purchased them.
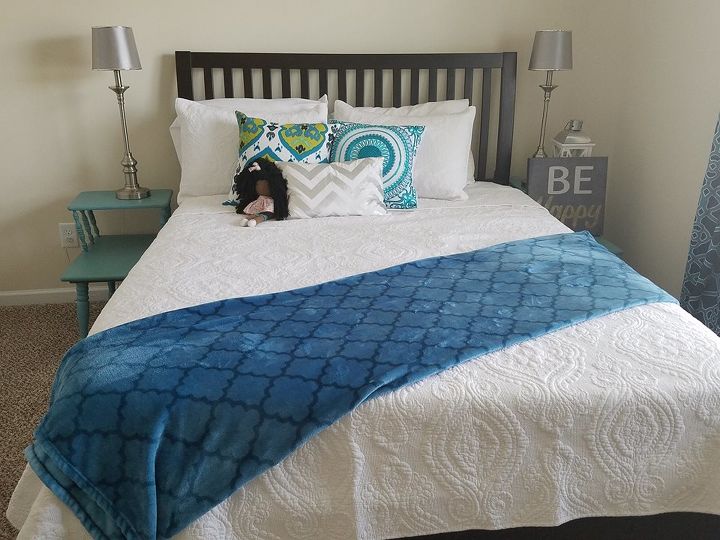
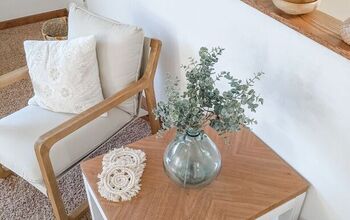
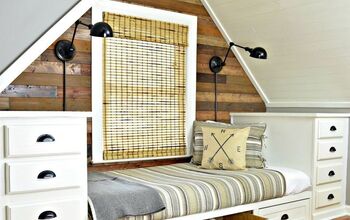
This is a picture from the lovely lady that purchased the end tables. She wanted them to add a pop of color in her guest room. Lovely!
Comments
Join the conversation
-
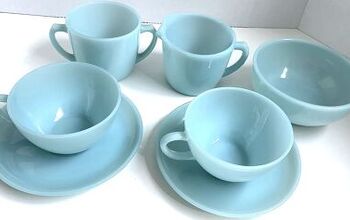
The soft blue color reminds me of vintage milk glass dishes.
-
I too appreciate those tables. They fit in anywhere. Love the blue - it looks coastal. Great job saving those.


Frequently asked questions
Have a question about this project?
Wow, I didn't know u had to take everything apart. How do u know which spindle goes where? And it's stuff like that that makes me scared to even start painting my furniture. I'm a beginner too afraid to begin.
What kind of sander to you use and prefer?
I know your post is from quite a while back,but I love the tables. Nicely done. Those kind of tables are so useful especially in a small home. Where are they nowadays? I never run into them at yard and estate sales. I would love to have one or two. Anyway..beautiful color..how long does your process take?