


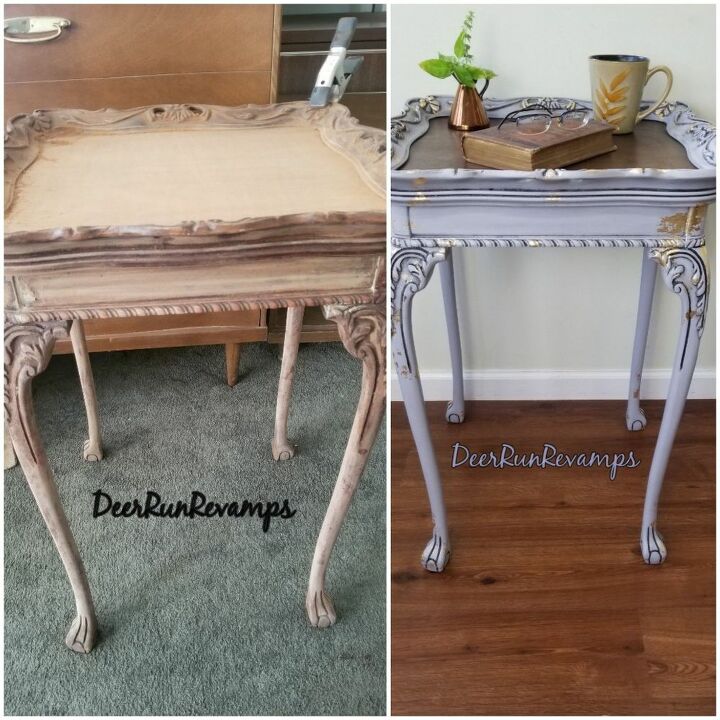
Thrift Store Table Transformed With Homemade Chalk Paint and Gold Leaf

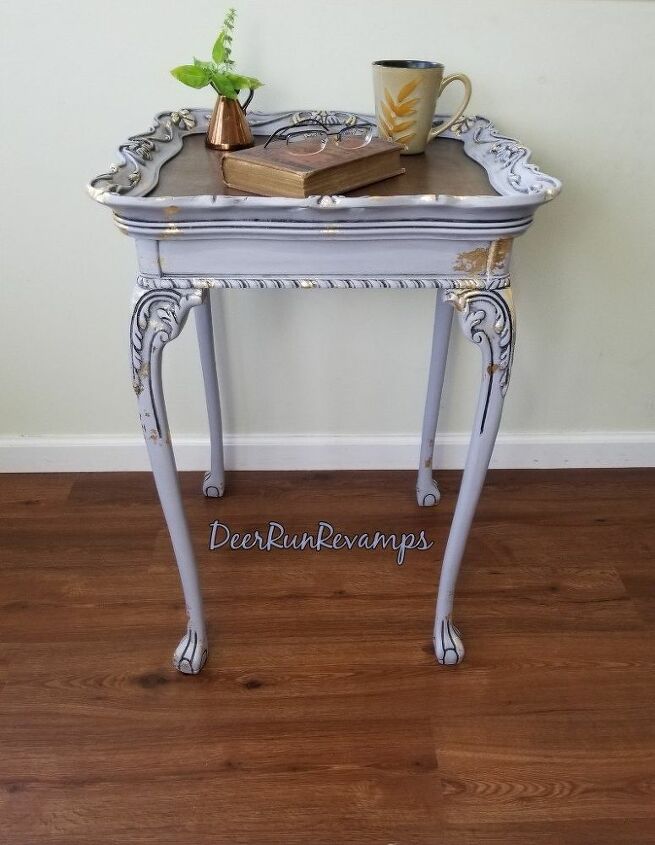
I love hunting for furniture deals at thrift stores and garage sales. There are some serious deals to be had! This 1920's Chippendale style table being one of them!
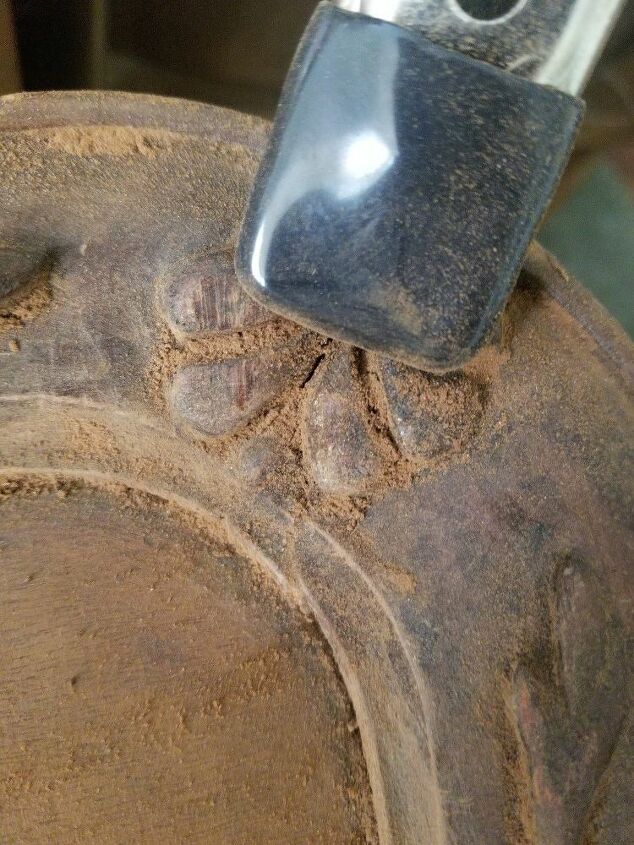
The feet were corroded, details were caked with dirt, and the legs were wobbly. But I saw the beauty! There was no way I was going home without it! Here's how I transformed a piece of furniture that most would say was garbage into an elegant piece that would look gorgeous just about anywhere....
First, the prep. Such an important step when refinishing a piece of furniture!
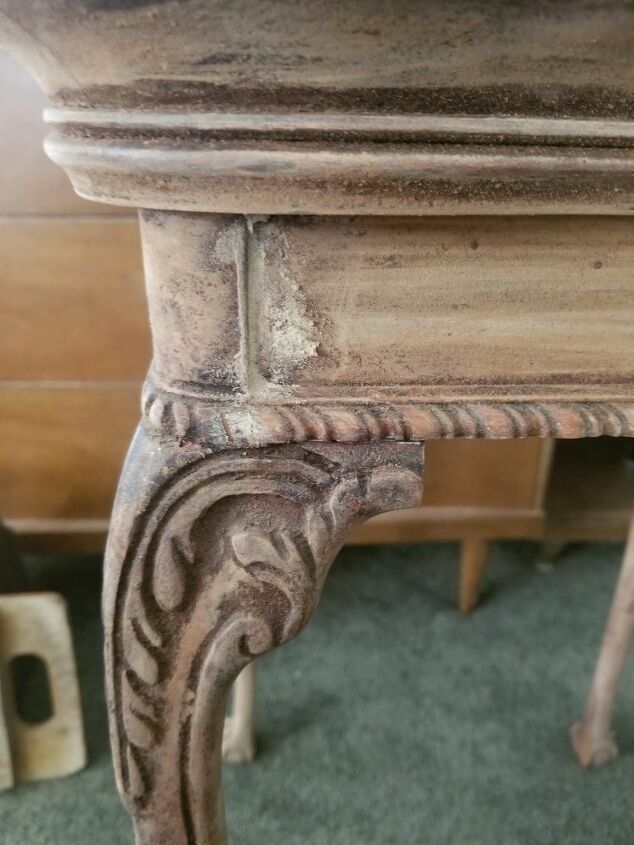
Start by cleaning it. I use LA's totally awesome all purpose cleaner from the dollar store. For this piece, I needed to do lots of gluing! The legs needed to be tighten and glued and the edges were coming apart. Let the glue sit in those gaps and keep it held in place using clamps where necessary.
After the glue dries, add some wood filler in the areas where you still see gaps. I mostly had this issue where the legs meet the sides and the feet.
After the wood filler has dries and the entire piece is no longer wobbly, sand down the entire piece using 220 grit sandpaper, especially the areas with wood filler. Then wipe it down with a damp (water) lint free rag being sure all the dust is removed.

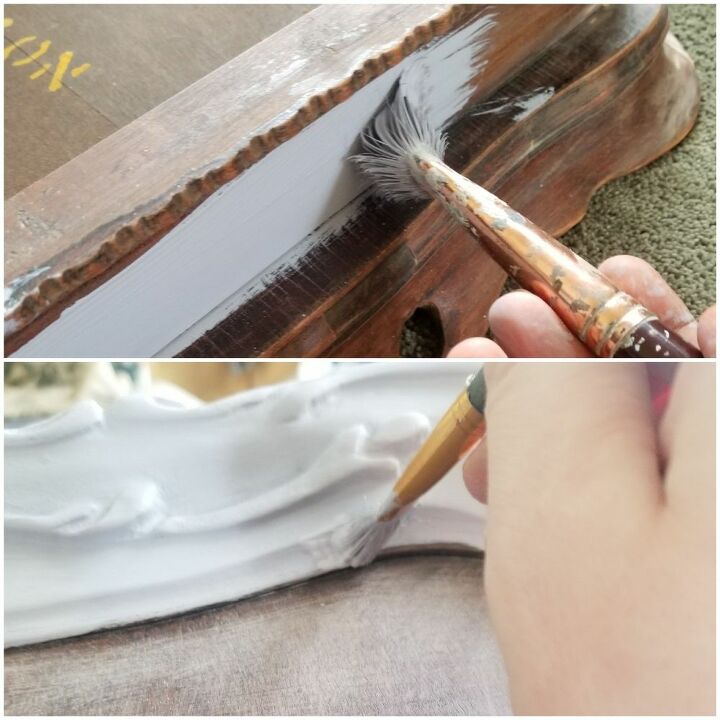
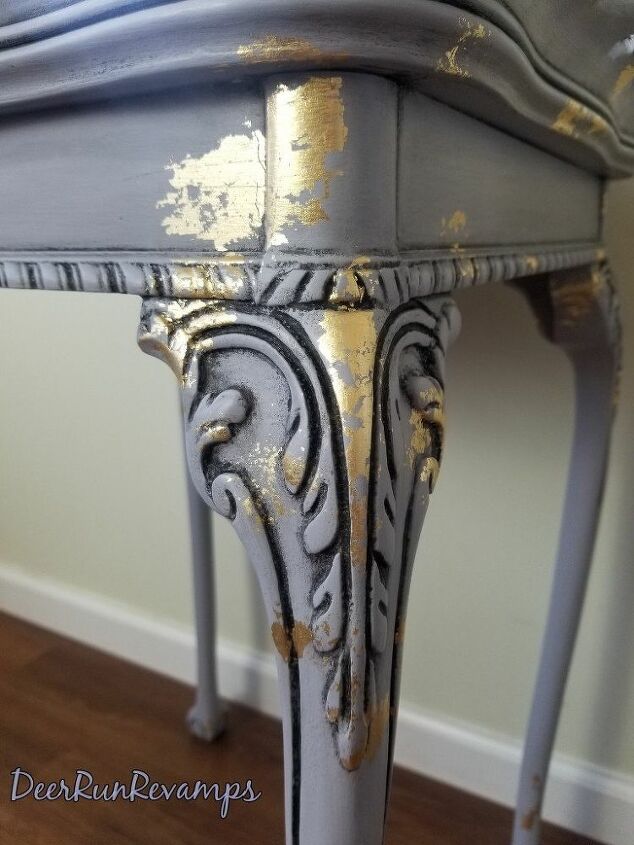
This table is solid mahogany. I decided to leave the top natural while painting the rest. I used a custom color homemade chalk like paint for this project. Using a 12 ounce jar, I mixed about 2/3 valspar paint in tempered gray and 1/3 heirloom traditions in ruffled lilac. I then mixed 4 tablespoons of calcium carbonate with hot water and added that mixture to my paint. This gave me a pale lilac chalk like paint. Then I painted the entire piece leaving the top.
After the first coat of paint has dried, sand using 220-400 grit sandpaper. This softens the texture as well as gets rid of visible brush strokes. Apply your second and final coat, allow to dry, and sand again using 400 grit sandpaper. Remove any dust and wax the entire piece, including the top. I love the new behr clear wax as my sealer! It goes on like butter! You can use a wax brush or a foam pad which is what I prefer. I used both clear wax and black wax on this piece. Always apply clear before any colored wax or glaze. This gives you complete control of the colored wax and you can easily remove it if you mess up.
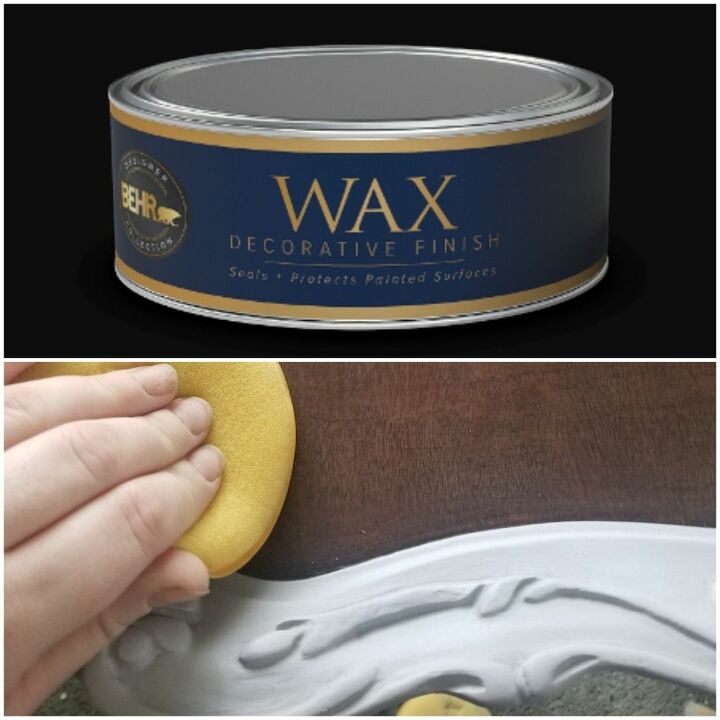
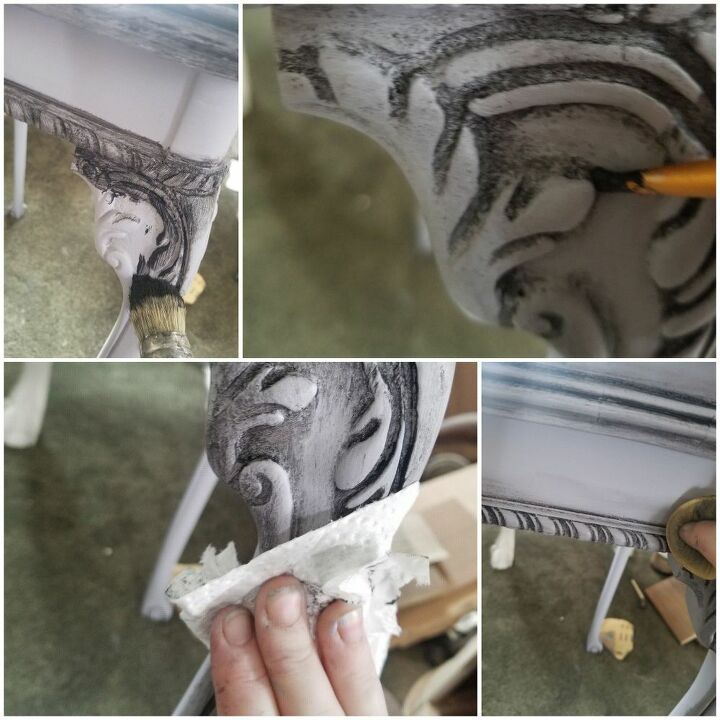
Now it's time for the black wax. I used Dixie Belle's best dang wax in black. Using a wax brush and working in small sections, apply it all over the details, wiping off the excess. I used a small artists brush for areas that I wiped too much from. If you apply more than desired and it isn't wiping off easily, go over the area with a small amount of clear wax, this removes it in seconds!
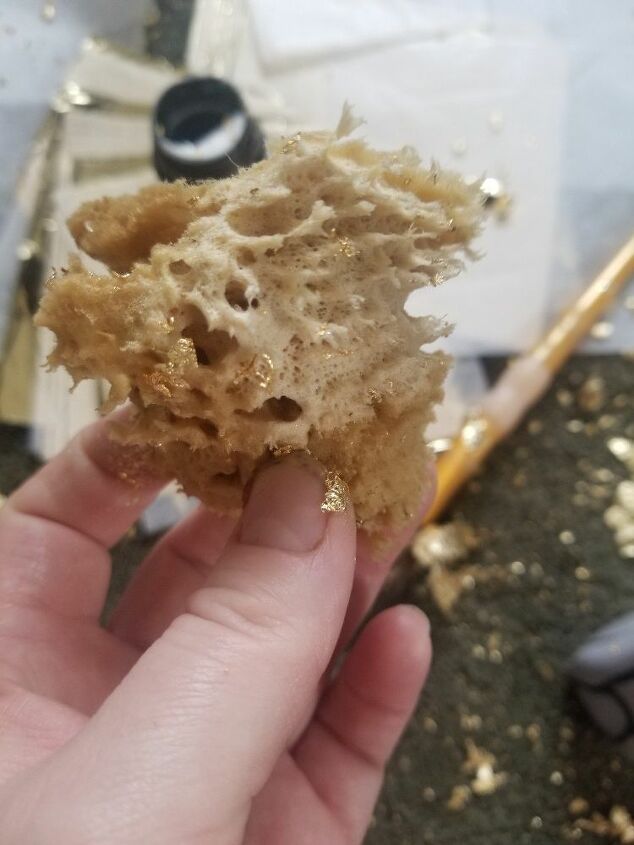
Now it's time for the fun stuff! Gold leaf! I absolutely love the look metal leaf gives a piece. You'll need your gold leaf sheets, gold leaf adhesive, a sponge and a fluffy brush. Cloth gloves help stop the gold leaf from sticking to your hands and wrinkling. I used a sponge for this project because I wanted broken up spots of gold leaf, not solid areas.
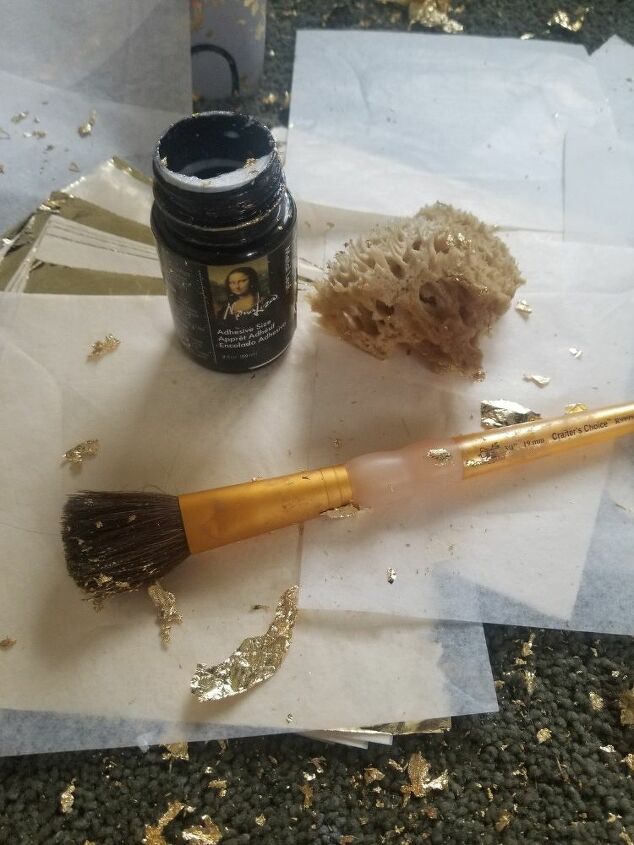
Apply just a little adhesive to sponge and dab it onto the piece where you want the gold leaf to stick. Wait 30 seconds for the adhesive to become tacky, and apply a leaf sheet, pressing it onto the glue with the fluffy brush.
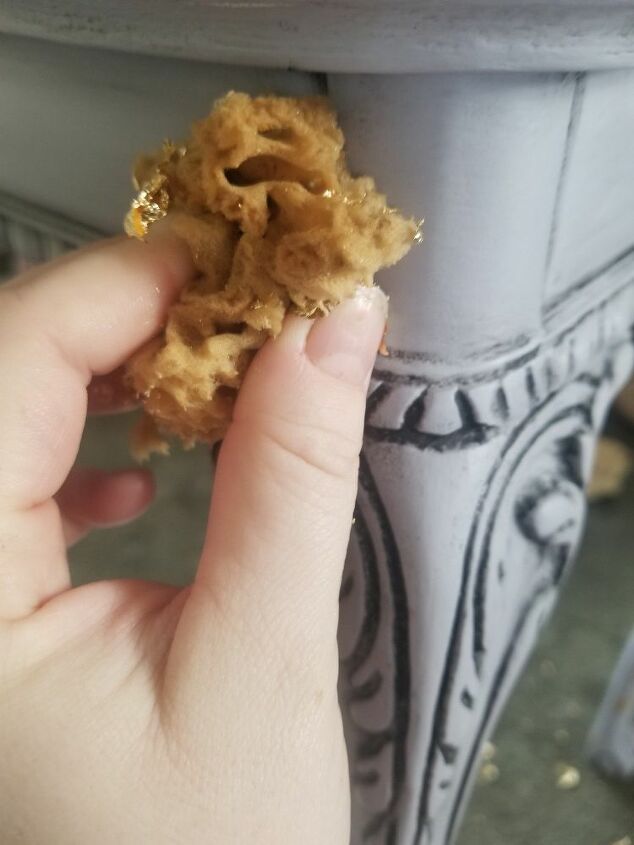
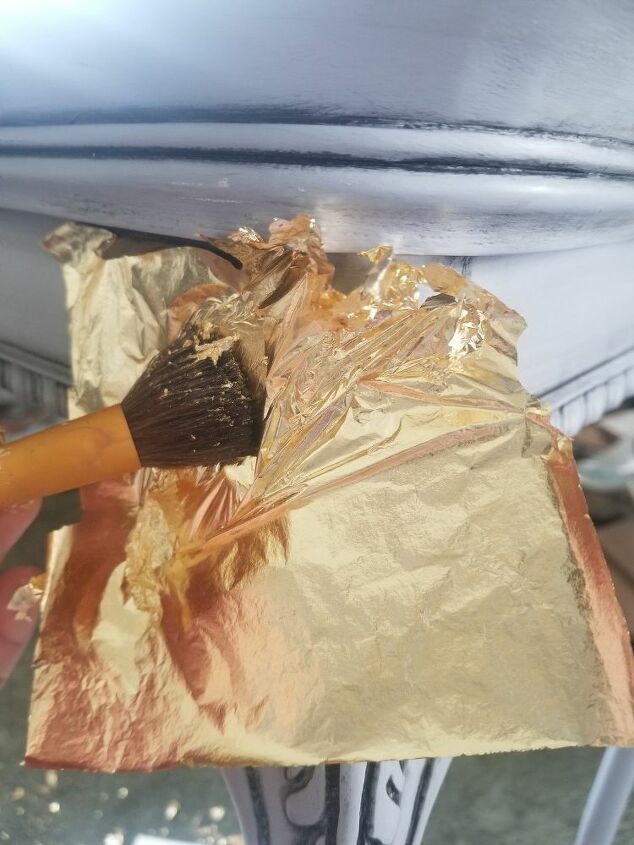
Brush away any loose leaf
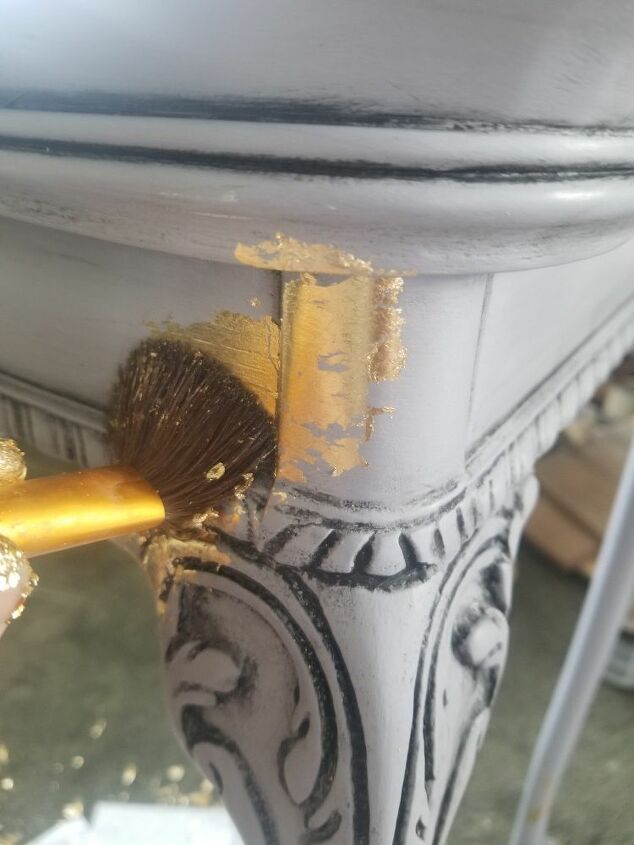
Continue this process until you have your desired look! Then go over the golf leaf with a bit of clear wax to seal and your finished!
Resources for this project:
See all materials


Comments
Join the conversation
-
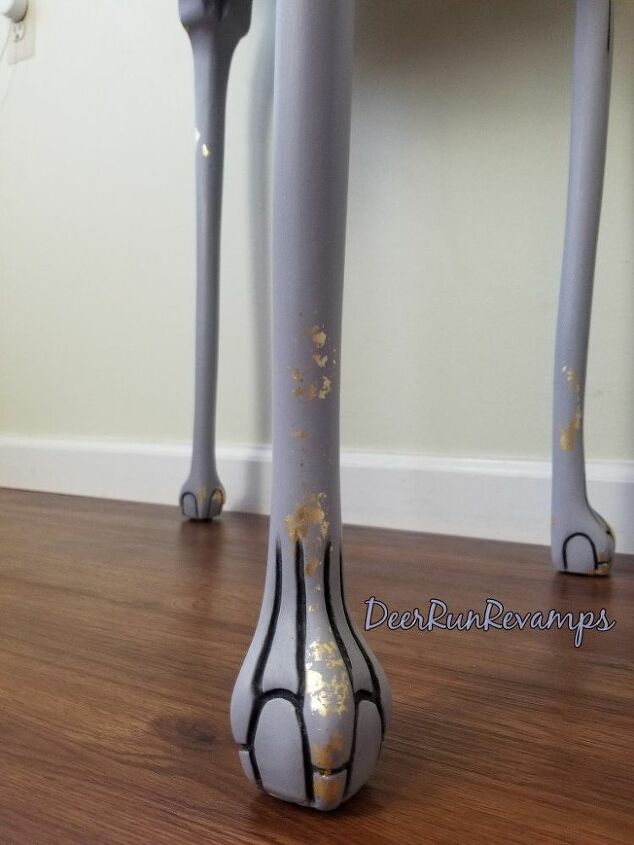
The feet on that table look like cat feet. They are amazing. What a great find!
-
I love it!!!


Frequently asked questions
Have a question about this project?
How much water did you mix with the calcium carbonate? Thank you!
Why did you use calcium carb. Instead of dye, like one of your other videos?
Just asking because I'm new to painting furniture. By the way both ways look fantastic!!