


Empty to Organized
5 Materials
$60
3 Hours
Easy
What can you do with a shell of a cabinet and a base kitchen cabinet?? ORGANIZE!!. Then it dawned on me that I couldn’t fit this cabinet nowhere in the kitchen. So I decided to organize my tools to get: " The She Shop."
The She Shop."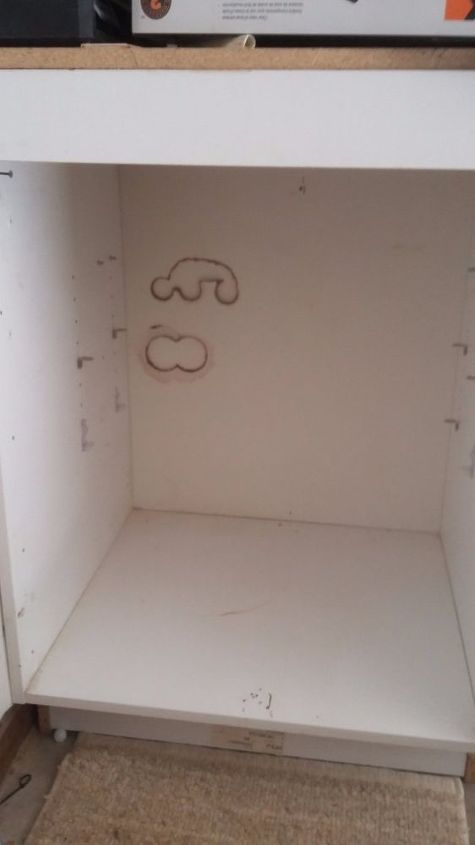
IKEA Cabinet Shell
(1) First, I cleaned out the cabinets from my purchase at Habitat-ReStore. I paid close to nothing for it and I couldn't just let it stay there and collect dust. The cabinet shell from IKEA did not have any shelves or drawers. So I took some M.D.F. board and cut the shelves to length. Cutting the shelves to the width that I need to be able to see each shelf without moving anything out of the way.
1st Shelf
(2) I purchased the shelves earlier in the year from Habitat ReStore. The shelves already had a wood veneer on them that was made from 1” thick of M.D.F. with a smooth surface.
2nd Shelf
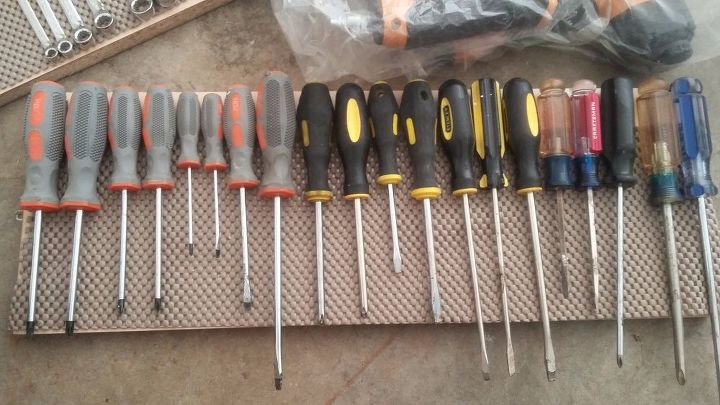
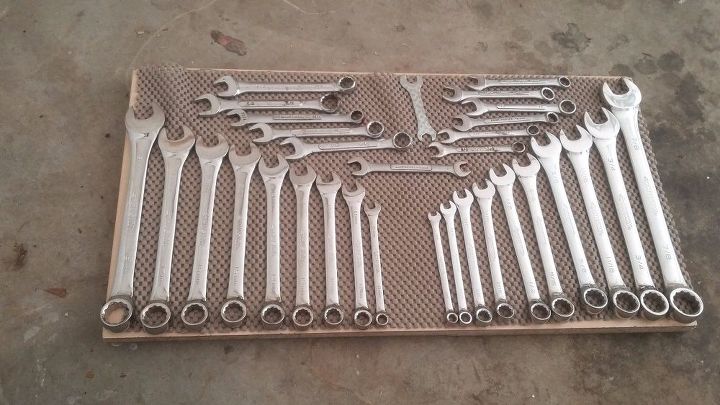
(3) I lined the shelves with a thick shelf linear because the thinner liners moves and I didn’t want the tools to roll or shift. I lined the screwdrivers on one shelf next the wrenches.
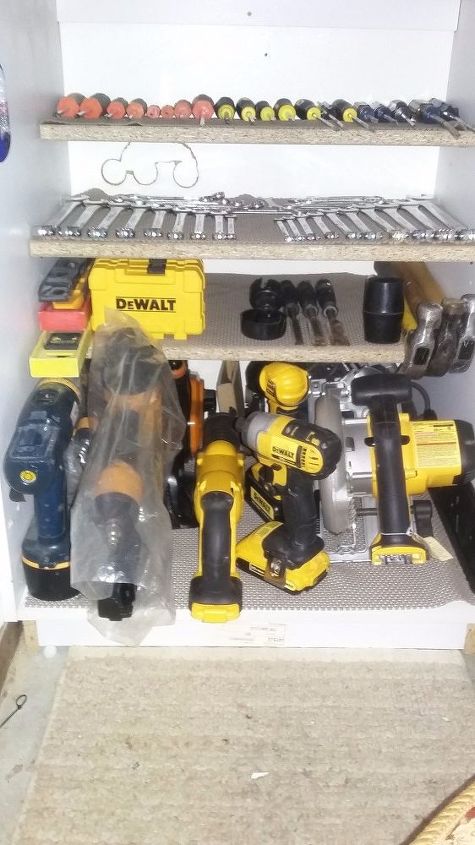
Shelves Installed after Adding Pegs
(4) I added pegs to the shell of the cabinet to add the shelves with the tools on them.
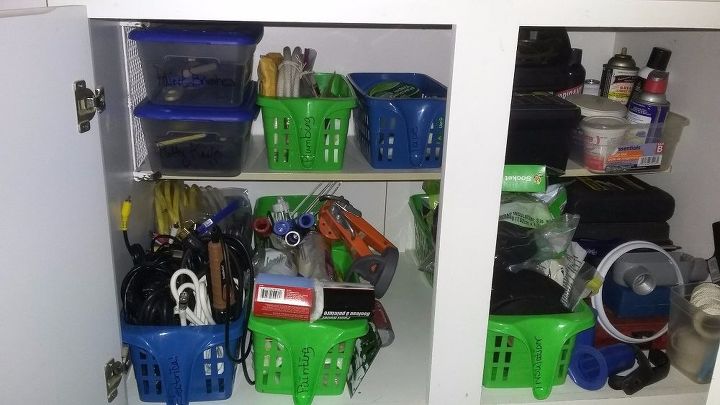
Organized like Things into Baskets & Labeled
(5) For the bottom of the cabinet I organized everything within it’s on group like electrical, painting, insulation, plumbing and so on. I used a black sharpie to label the handle on each basket. Some of the item groups took more than one basket and I just put one in front of the other.
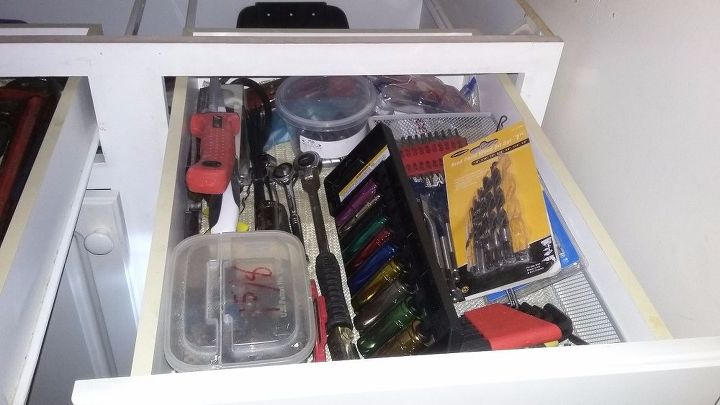
Drawer with Wire Basket
(6) Now the white base cabinet for the drawers I just lined them with the liner and added the drawer dividers.
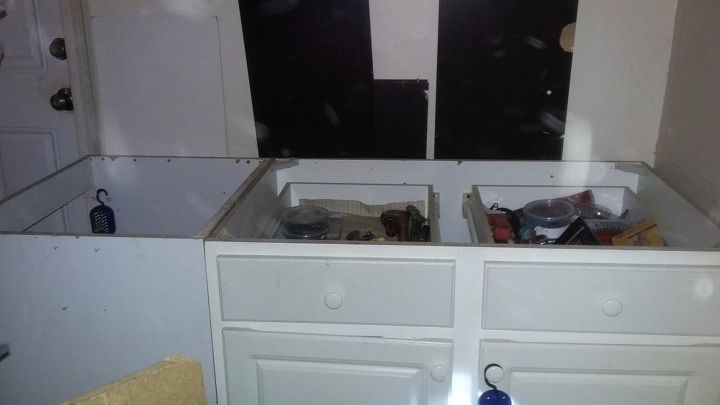
Cabinets w/o a Top
(7) I have a limited space in the garage so I pushed the cabinets together so I can put a top on them. This will give me the space that's need for the larger tools. And smaller storage space that's needed and I didn't have anymore room for them at the bottom. Plus, these items are used more than the items underneath.
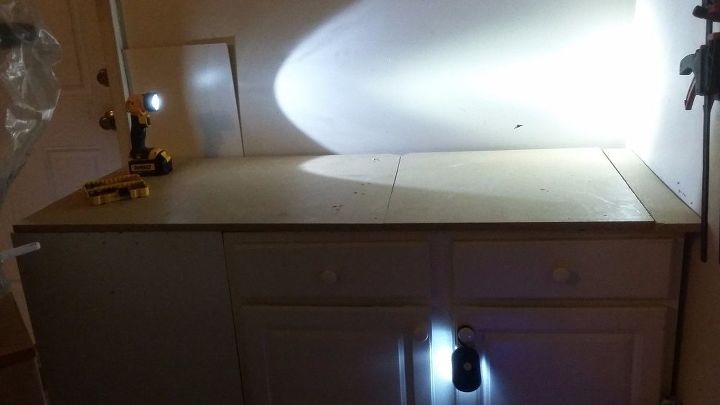
Cut & Covered with M.D.F. board
(8) For the top of the cabinets I cut M.D.F. boards to the lengths desired to cover the top of the cabinets to place some larger tools on top with small storage drawers.
"The SHE SHOP!!"
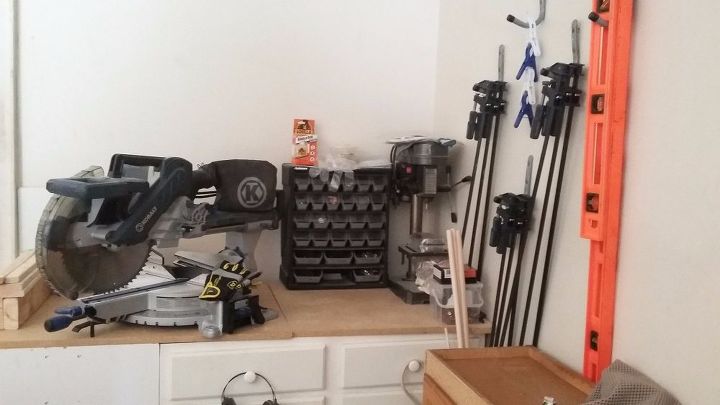
(9) I attached sturdy hooks to the walls for levers, clamps, air compressor hose, and other things.
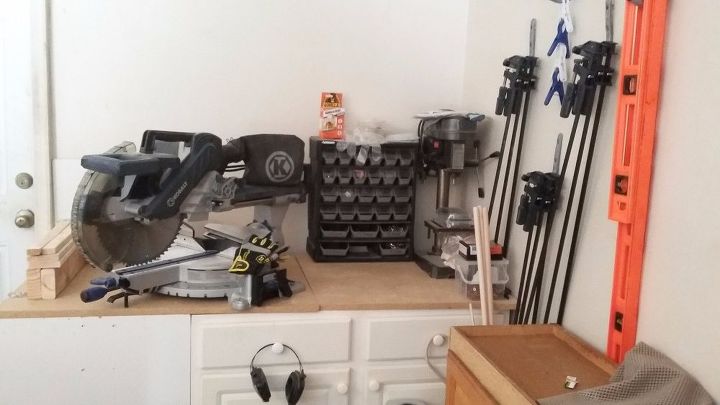
Now, Welcome to : “The She Shop” !! It's small now but I have a good amount of room to grow into my work space.


Any price and availability information displayed on [relevant Amazon Site(s), as applicable] at the time of purchase will apply to the purchase of this product.
Hometalk may collect a small share of sales from the links on this page.More info
Comments
Join the conversation
2 comments
-
What a pleasure to look at! Super organized!
-
Thank you. Have a good D.I.Ying day!!


Frequently asked questions
Have a question about this project?