


Easy Industrial Wooden Store Display

by
Zest it Up
7 Materials
$15
1 Hour
Medium
Sam and I have been having fun getting our shop set up at our Zest studio, to show off all the beautiful products from the local makers that we are so proud of! In this journey, we have scoured the internet for ideas and inspiration for merchandising display, and have discovered that the inspo is in short supply. So, we figured that we would start sharing our projects and ideas on the blog…in hopes of helping other retailers on their journey. Obviously, not all of you are retailers, but a ton of the projects that we will be rolling out over the next couple of weeks would look stellar in your home, as well. So, read on, my friend…it might just be up your alley!
This little project is a Four Tiered Wooden Stand. The simplicity of the design lets whatever you are displaying take the spotlight. I love the industrial feel and warmth of the wood. It would even make a killer candle holder. The best part? It’s stupid easy to make!
Photo Cred: Anya McInroy
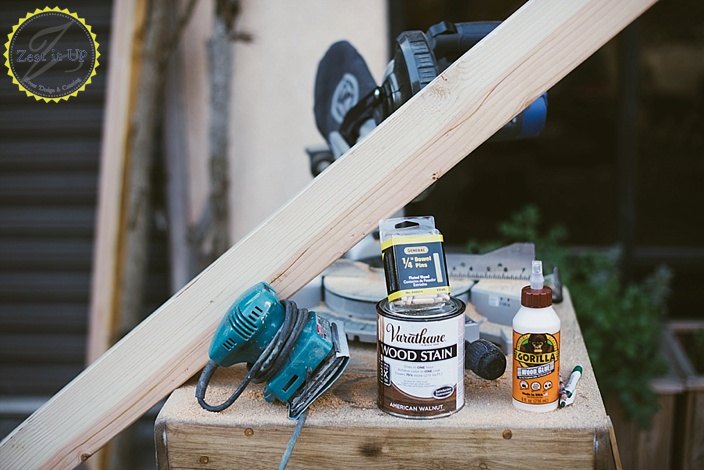
Supplies:
- 1 piece of 4″ X 4″ lumber (mine was pine)
- chop saw
- sander
- wood stain (optional)
- wood glue
- drill (optional)
- 1/4″ wood dowels (optional)
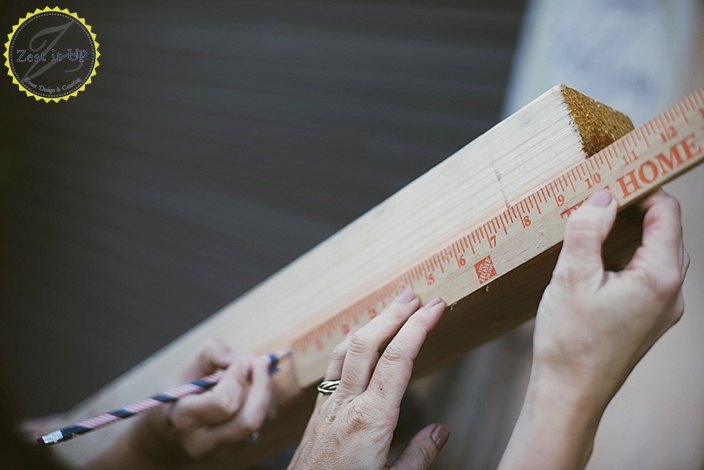
Start off by measuring all the cuts you need to make.
Here is the Cut List:
- 10″ piece of 4″ X 4″
- 8″ piece of 4″ X 4″
- 6″ piece of 4″ X 4″
- 4″ piece of 4″ X 4″
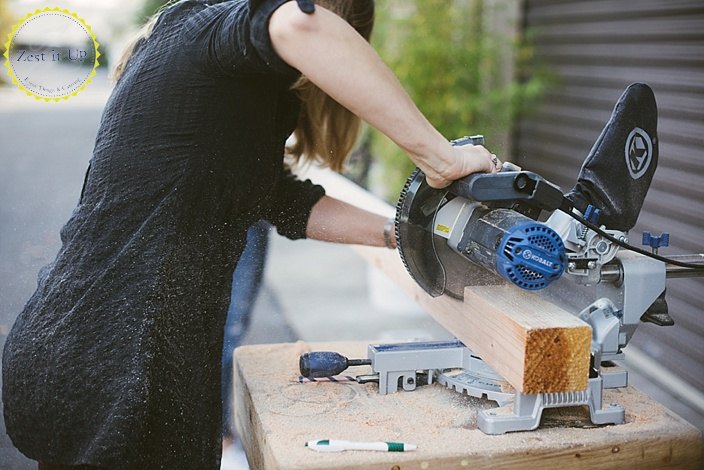
Depending on your saw, you may have to flip your board over and cut through both sides in order to cut all the way through. Obviously, you can make your posts any height, but I like the 2″ differences that are created by the above cut list.
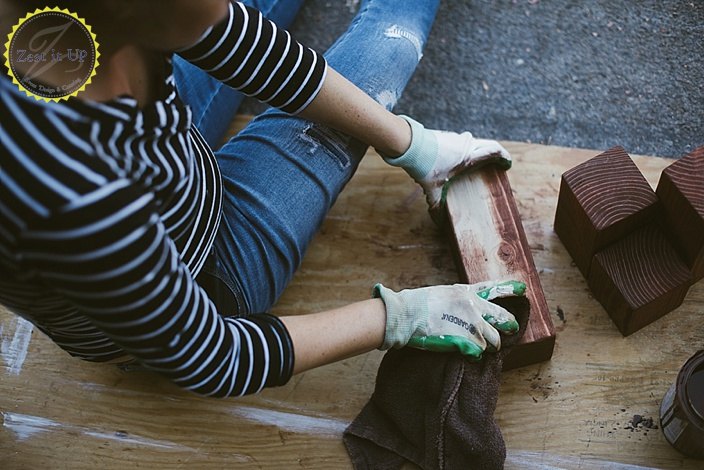
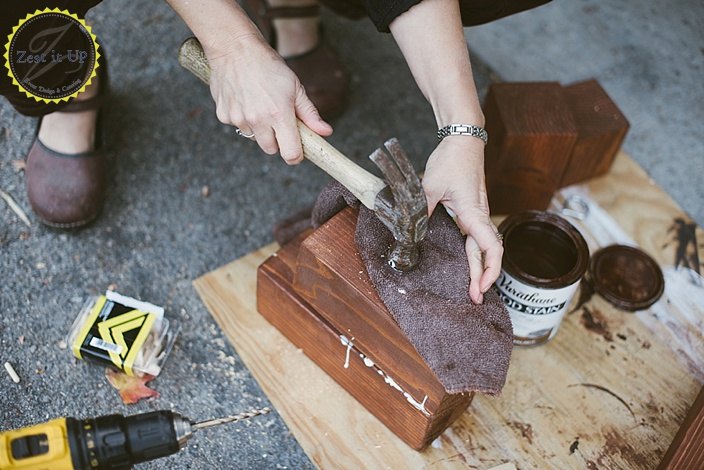
Once you sand the posts smooth enough to your liking, feel free to stain and/or seal your wood. This is completely a stylistic choice. Our shop has a lot of dark walnut, so we wanted them to blend. However, these would look gorgeous kept as a blonde pine and simply finished with a clear coat. Just make sure to follow package directions.
Here is where the optional comes in! I made several of these stands, and made them both ways with great success.
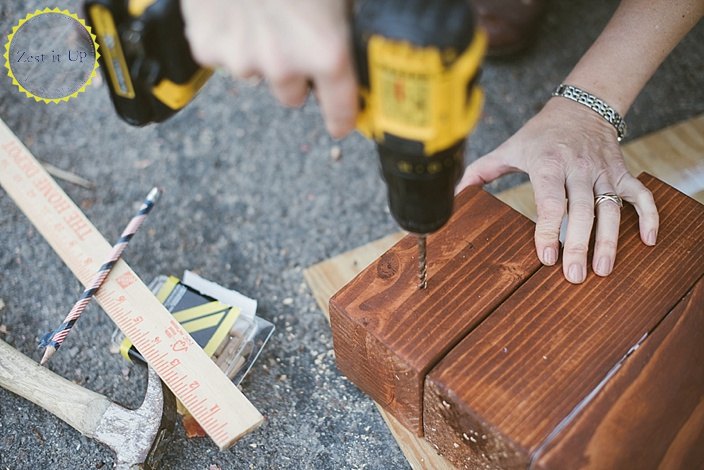
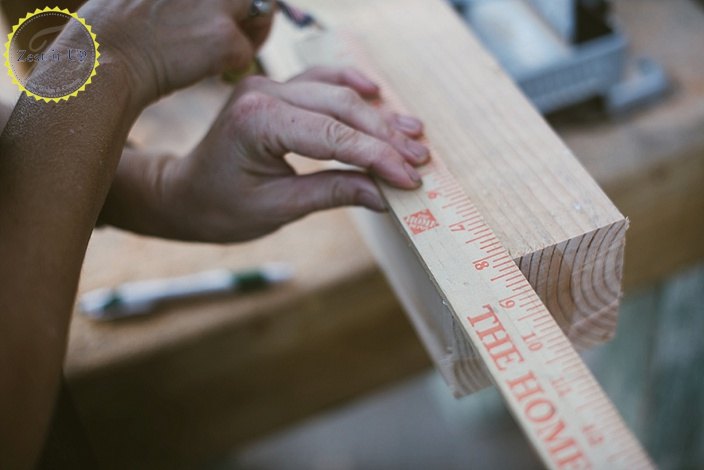
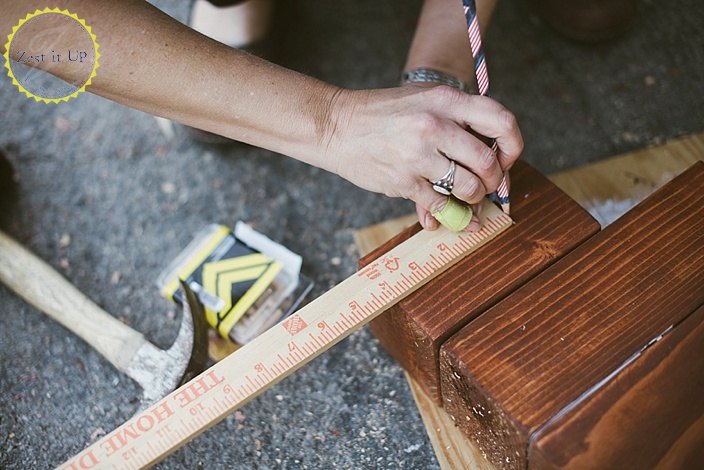
If you are concerned about sturdiness, you can do like above and measure out a location to drill a 1/4″ hole in two spots on your wood.
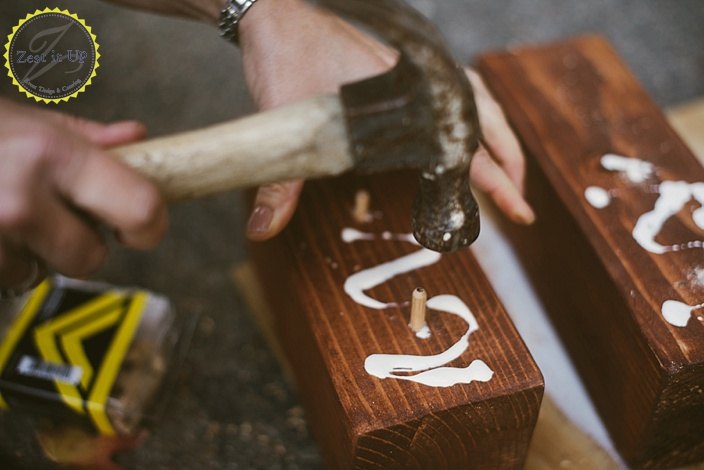
I did this so that I could use 1/4″ wooden dowels to really add strength when holding my project together.
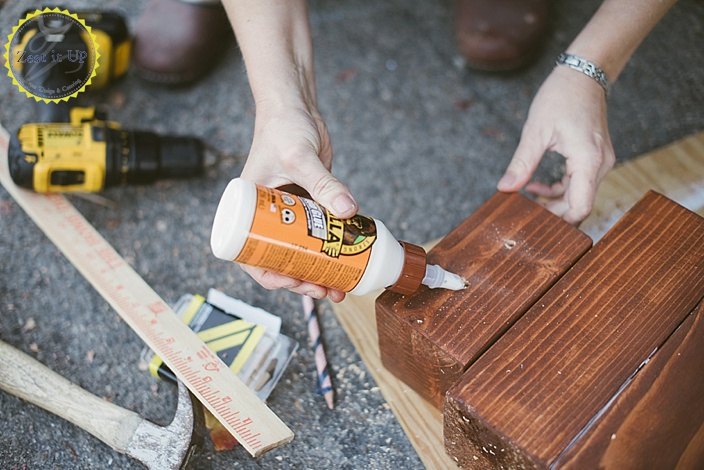
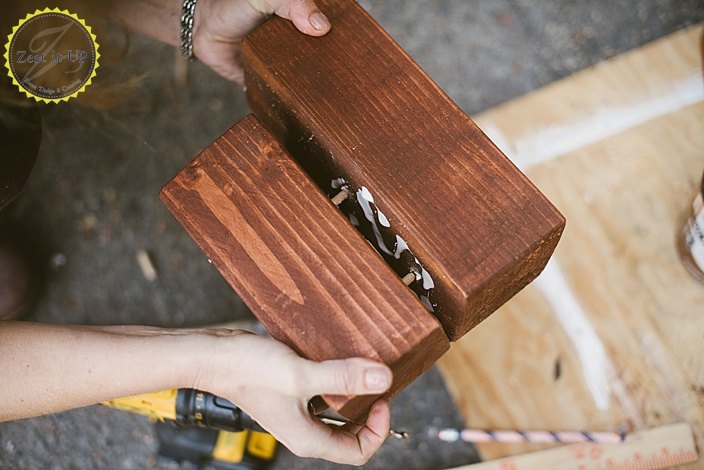
It is kind of like adult Legos. Just fit the pieces together and secure while they dry. However, since I am a big believer in Gorilla wood glue and it’s strength, I went ahead and bypassed this step with some of my other wooden displays.
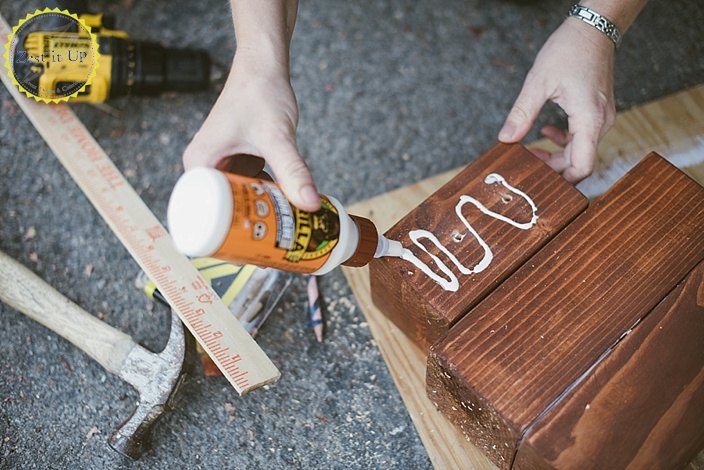
Instead, I simply used wood glue on the posts and secured them while they dried with some rubber bands. Super high tech!
Once you line up the holes with the wooden dowels, use a hammer to secure them.
Feel free to wipe off any excess glue when the pieces come together.
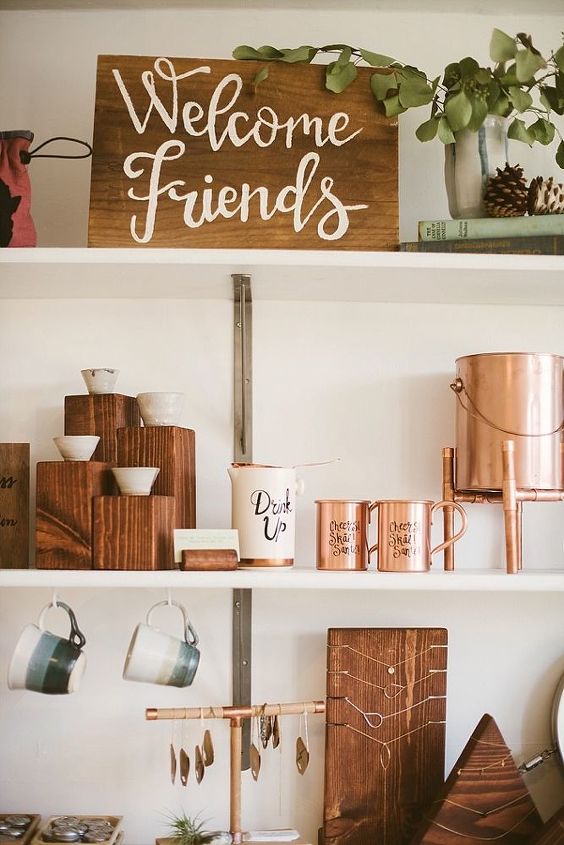
As you can see, I rotated the heights of my four posts around to make a fun stair-step design. I love how it shows off our cute little ceramic salt cellars, but I could see this making a fun display in the home or garden, as well. Have fun playing!
xoxo
Chanda


Any price and availability information displayed on [relevant Amazon Site(s), as applicable] at the time of purchase will apply to the purchase of this product.
Hometalk may collect a small share of sales from the links on this page.More info
Want more details about this and other DIY projects? Check out my blog post!
Comments
Join the conversation
2 of 12 comments
-
Very pretty!
-
Fabulous display.lots of different pieces that compliment each.other


Frequently asked questions
Have a question about this project?
What kind of a business/shop do you have? Those block displays are really handy. My husband uses them for sculpture stands (just a single block) I once had an antiques shop and display was absolutely my favorite part of the work. . . but actually your own thing is all good! Good luck with your business!