


Faux Taxidermy With Gertie the Flamingo

by
Cynthia H
9 Materials
$5
2 Hours
Medium
I've been intrigued by faux taxidermy for a long time. I don't like real taxidermy, but, there is something so cute and fun about the fake stuff. There are patterns out there, but, I decided to draw out a basic pattern (Warning: I don't draw all that well). I looked at pictures online of flamingos, because they are cute, and I wanted to try to get the angle of the neck and beak. Did you know a group of flamingos is a flamboyance? Who knew? The cool thing about designing a faux taxidermy is it only has to be as real looking or realistic as you want! So have fun! I have a group of creatures stirring in my imagination! I had recently been going through a dry spell creatively (winter weather?), and as I was looking at pictures on Pinterest, I challenged myself to make something instead of just looking. Then I challenged myself to make something from scratch and thus was born Gertie the Flamingo.
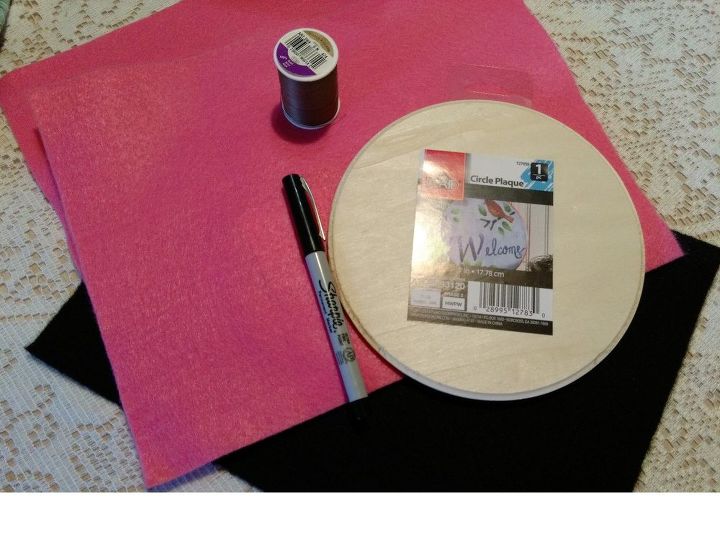
My basic materials were a round piece of wood from walmart (one dollar), two sheets of bright pink craft felt (twenty-three cents each), a sheet of black craft felt (twenty-three cents), stuffing (I had it, but, it's available in most sewing and craft departments). I used Mountain Mist fiberloft. When I mentioned this project, online, a couple of ladies immediately said they don't sew. That's okay, because you could actually glue the seams instead of sewing them. I like to hand sew, so it took me longer. You could also use a sewing machine.
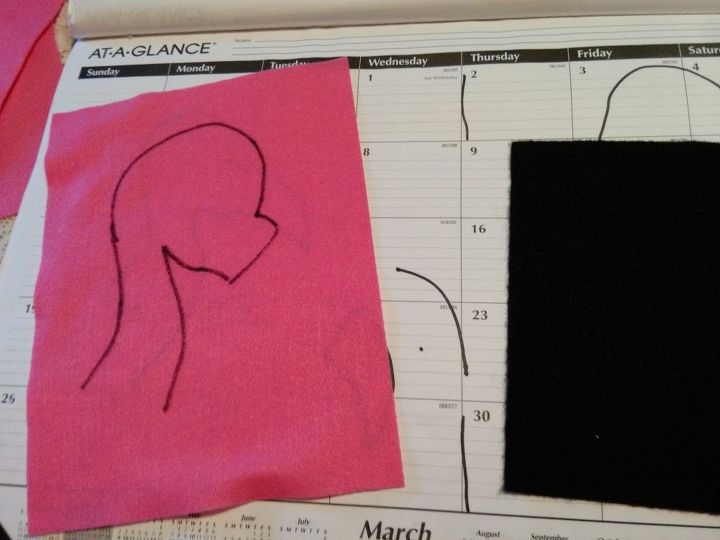
I have an old desk calendar that I used to practice my angles and measurements. Normally I would use pencil or a disappearing marker, but, I used the felt tip marker because it was so much easier to photograph. Once I practiced my angles, I drew it on the felt (it's just the head and neck). If you are nervous about drawing on the material you use, you could draw it on paper, cut it out and pin it to your material. I purchased a couple of extra pieces in case I screwed it up, since they were so cheap, but, I didn't have to use them. Keep in mind you are creating the sew lines or glue lines, so the actual shape will look thinner once sewn or glued. Stuffing will round it out, so you want it a little "fatter" than a drawing would be.
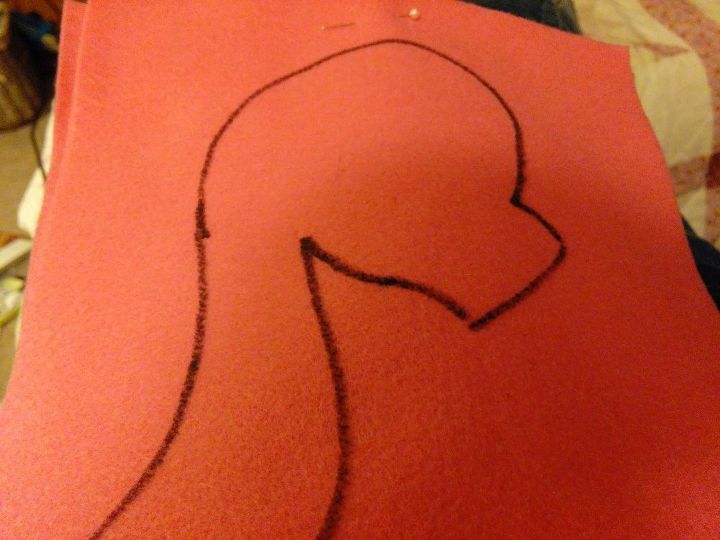
Here is the head and neck minus the beak, which will be out of the black felt. The extra material or flange at the end of the head is to overlap the beak and head to have a good connection You'll be cutting it out along the lines. Try to keep close to the line or right on the line for your stitches or glue. The material is very easy to sew or glue. The first try, I sewed all around just leaving where the beak goes, and the end of the neck open. A mistake if you don't have the right tools to turn it right side out (like forceps or a turning kit). So for sewing purposes, I cut the stitches open at the top of the head and turned it right side out that way (much easier). Then I stitched close and I started stuffing it.
Remember to leave the curve of the head open until you turn it. Unless you have turning tools or forceps, the neck is fairly skinny, and it's easier to turn it right side out from the opening at the top of the head.
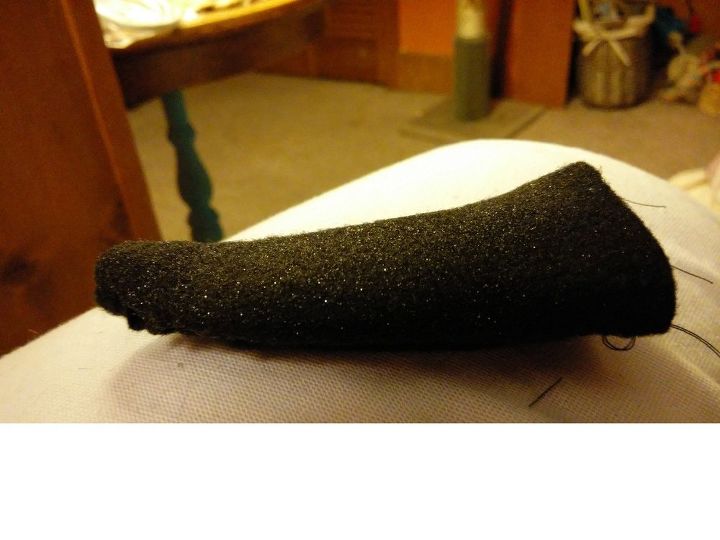
This is the beak. You will be slightly overlapping the beak with the face, so keep that in mind before trimming off excess.
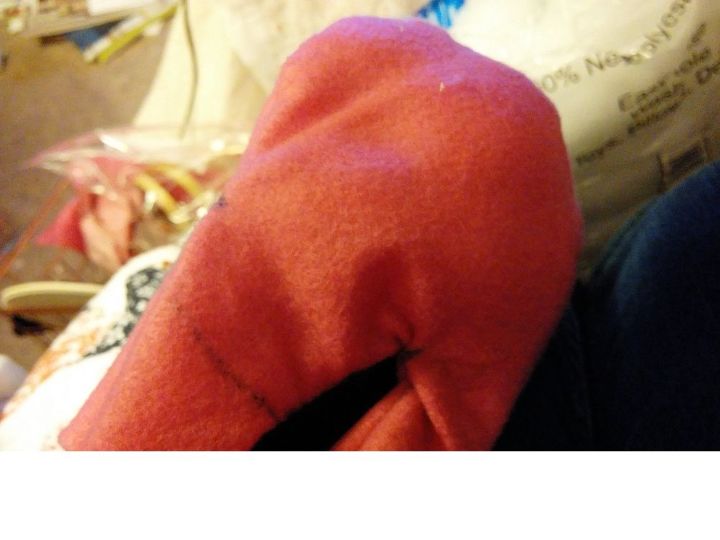
You want to stuff it firmly enough so the neck will support the head. If you've never stuffed before, my rule of thumb is I usually under stuff instead of over stuff, so play with it until you get the firmness you want. Use the eraser end of a pencil or a chopstick to maneuver stuffing into nooks and crannies. I stuffed the beak before adding it to the head.
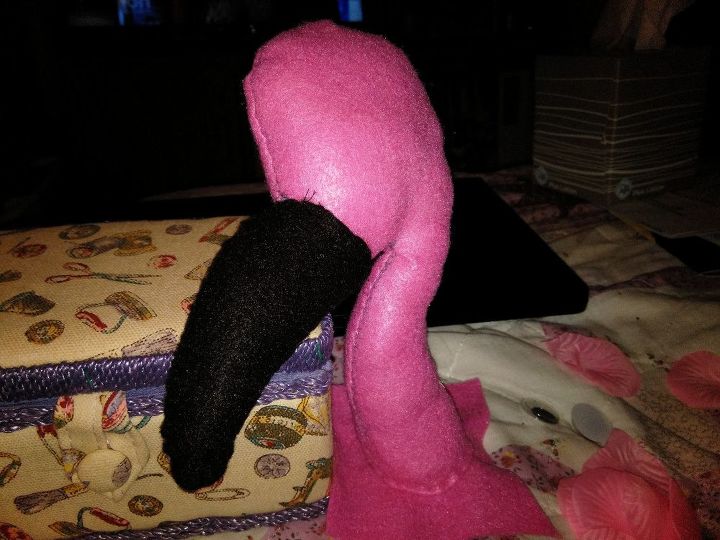
I slipped the beak over the flange on the face, so I had room to stitch it together. If the beak/face connection is lacking firmness, add some more stuffing before closing it up.
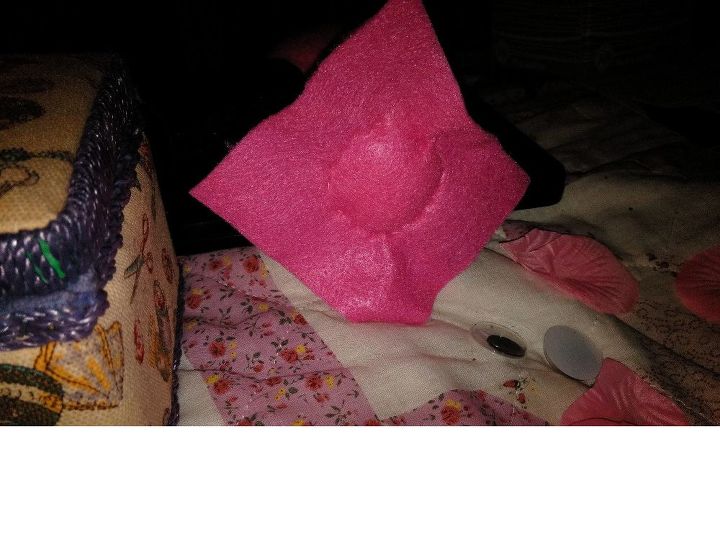
I sewed a scrap of the pink felt to the bottom of the neck after I stuffed it firmly That gave me a flat surface to attach it to the wood and keep the stuffing inside. I trimmed the excess around the neck after closing it.
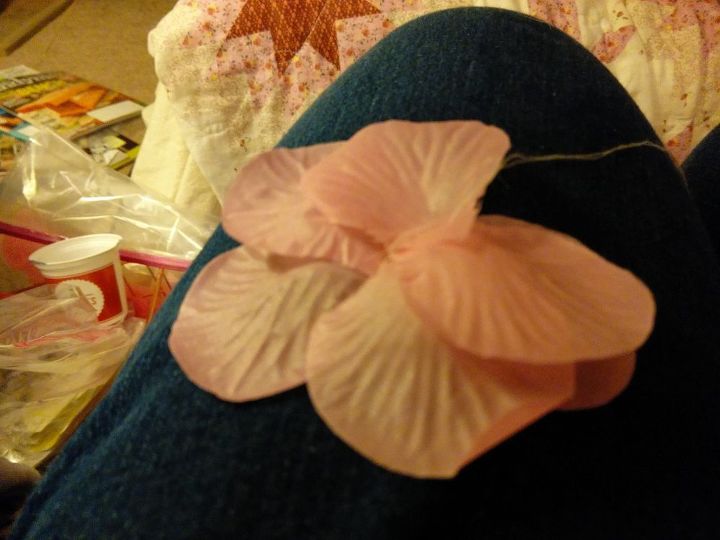
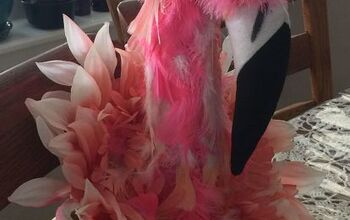
I had some pink rose petals I had left from a project with my granddaughter, so I started loosely sewing them into a garland to go around the neck. I think they look like pink feathers! This will hide where you glue your faux head to the wood, plus it's pretty. You could also use feathers or flowers.
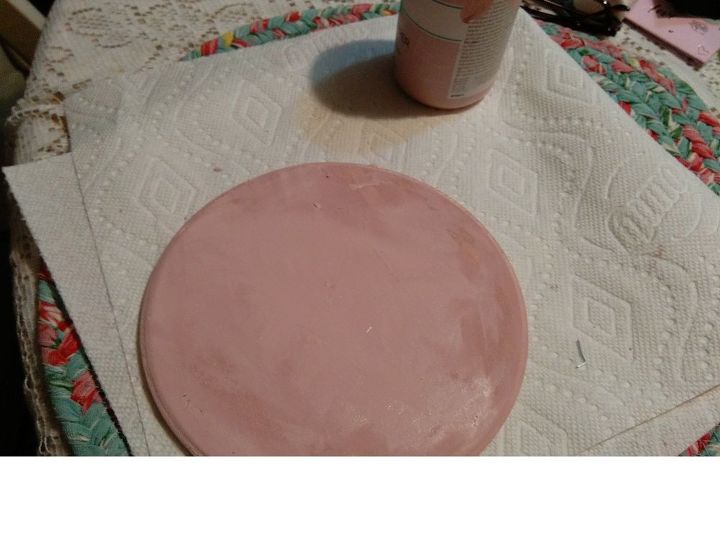
I painted some pink Waverly paint I had on hand on the round wood disk.
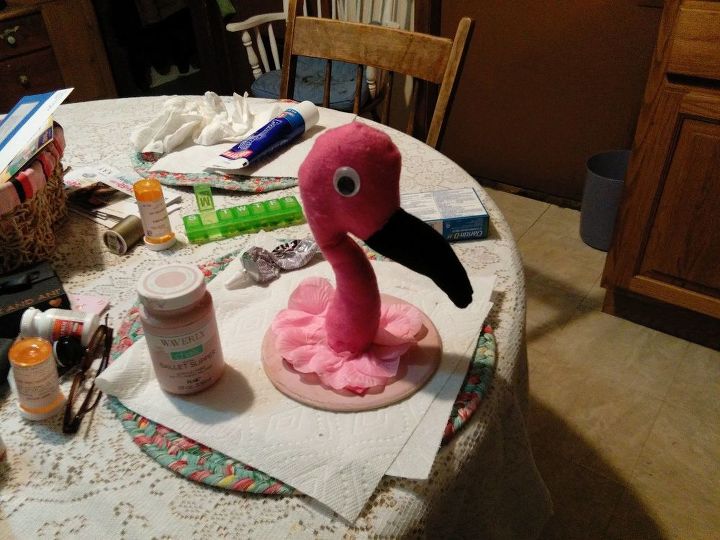
I was originally going to use E-6000, which you can, but, my top was stuck on the glue (I must have been messy the last time I used it, or SOMEONE borrowed it) so I used Loctite construction adhesive, which I had in my tool box. It is great adhesive! I stitched the petals to the neck before gluing, but, if you are gluing them on, you could add them after, to hide your glue line. I had debated how to do the eyes, but, decided to glue on googly eyes I had purchased at the dollar store. You could also use buttons or draw them on. I'm tempted to add false eyelashes too!

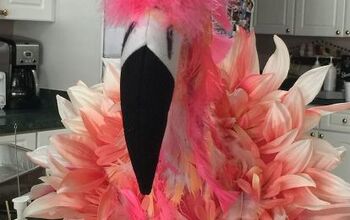
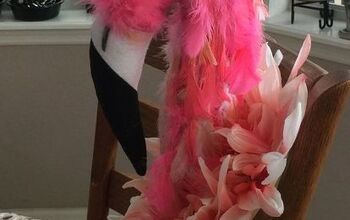
I used a Command picture hanger strip to hang Gertie. What do you think? Because I had so many of the supplies I estimated $5. If you are buying all the supplies, it will cost more. But, you'll have lots of leftover supplies!
Comments
Join the conversation
4 of 8 comments
-
You did a wonderful job! The google eyes are perfect. And Gertie is a great name. ☺️
-
thank you for your inspiration, I've made one for my granddaughter, I've all ready made a flamingo quilt, here it is. I made some changes to it. I guess that's what happens when I get inspired. Than Kyou


Frequently asked questions
Have a question about this project?