


Book Shelves Easy Makeover to Counter

by
Chiyoko Kana
7 Materials
$40
1 Day
Easy
My dinning room needed something to place dishes, a small basket that holds items. It wasn't really necessary to have in beginning because I could just bring dishes directly to table.
But as my daughter and I started putting items on table, our dining area on table got ended up too small. Moreover I wanted to have storage unit that my daughter can store books close to dining/living room where she reads usually.
This is the very simple project and since this is simple and basic, I think it can be in any taste of interior. How to decorate is totally up to you, I think.
Step 1. This is a simple shelf that I purchased for $10. It's plain white and simple, I think this already looks fine in modern interior. But I love colorful and fun interior, I'm going to add more taste to it.
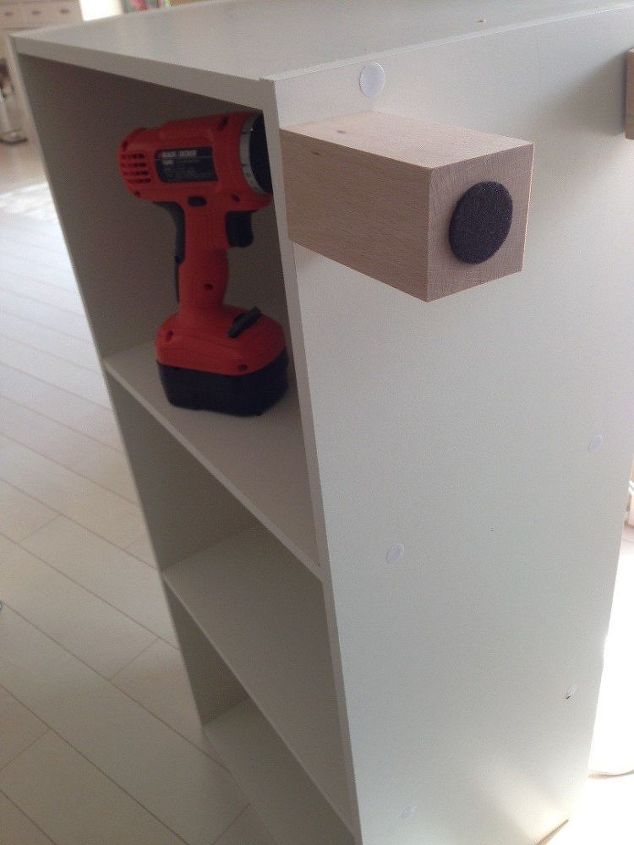
2 shelves are needed. 4 hard wood blocks with felt paper placed would be a nice to add to one of shelves.
First, glue the felt paper on the side of wooden block.
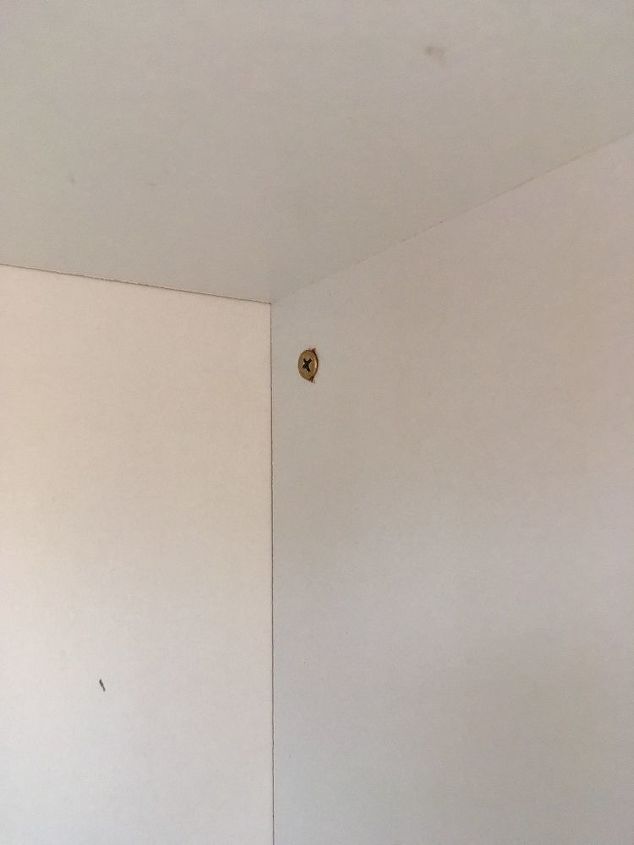
Then screw them from inside of shelf, for 4 of them. If this counter is expected to store heavy books, I recommend to add 2 more legs in middle or add hard wood board at the bottom of shelf so that it will be strong enough.
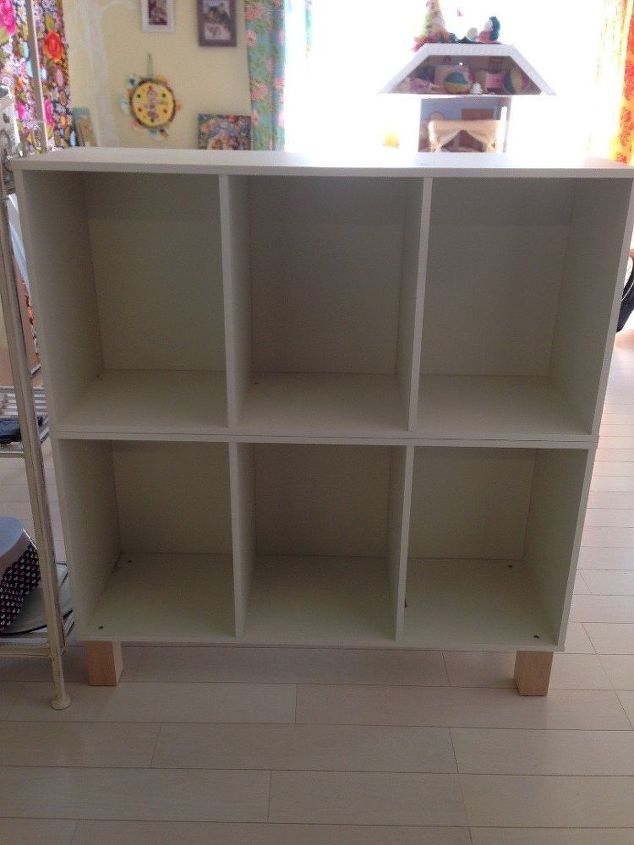
Step 2. Once the legs are attached, place upper shelf on top of lower one.
This already looks like a small simple counter.
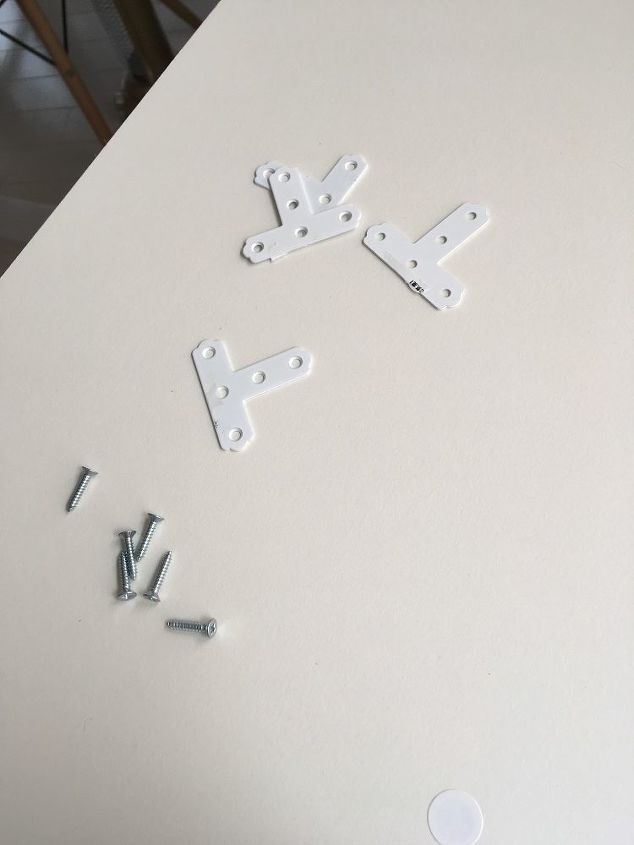
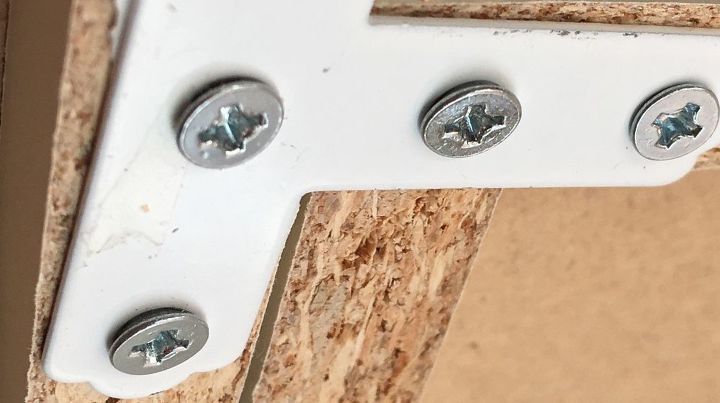
Connect 2 shelves using these T shape corner protectors, make sure those 2 shelves are stable together as one.
Please be noted that even though connecting 2 shelves together in this way could only make them stable when standing.
To make it stronger, screw them would be preferable I think.
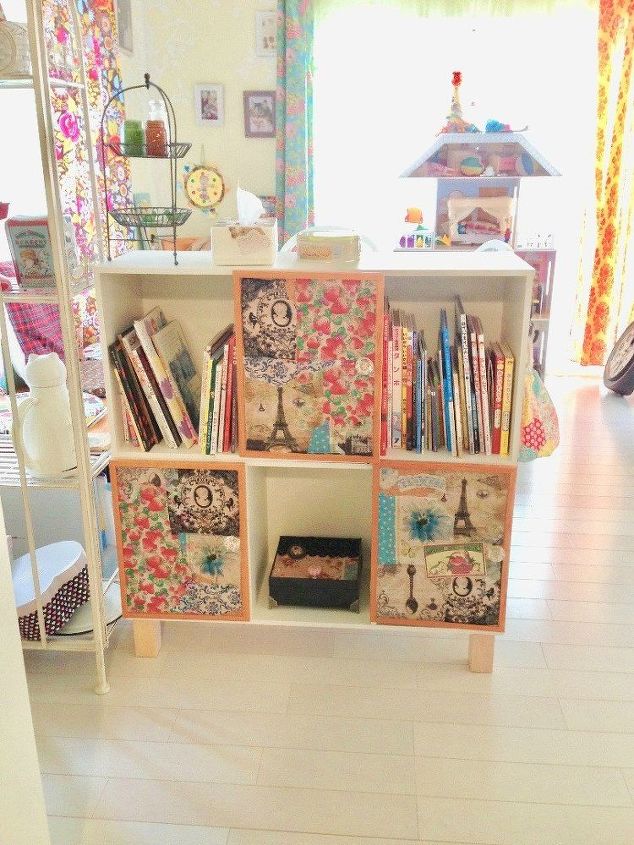
Step 3. Now is the fun part. It is totally up to you to let the shelf open or add some doors like I did. In my case a dollar store cork board was perfect fit to the shelf, so I took hinges to attach them as doors.
To make it more interesting with colors, I did decoupage on those doors and put crystal look acrylic knobs.
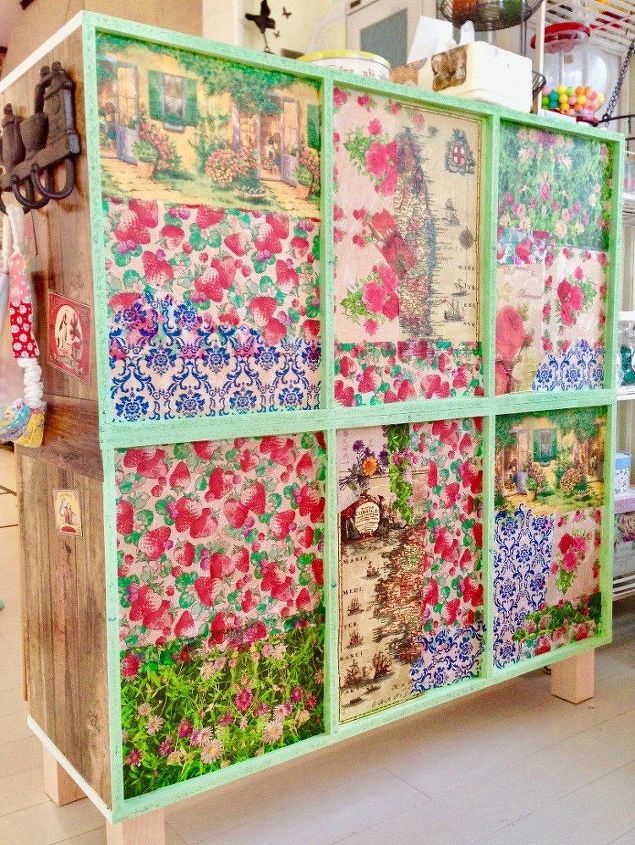
Step 4. Decoration phase continues to back of the counter. Since the back of this shelf was very rough, I painted with bright light green and decoupaged throughout the back.
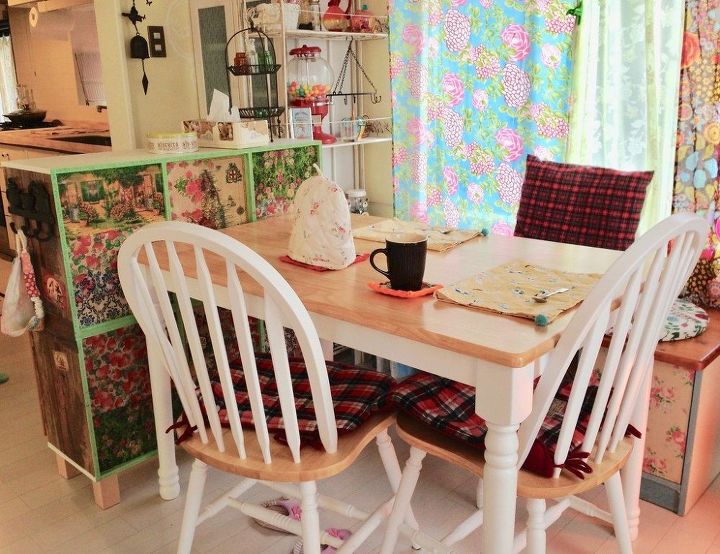
This is how it turned out at last. Finally we are able to use our dinning table fully. In this layout we can't really see the decoupaged back, but it would be nice when I rearrange room in the future.
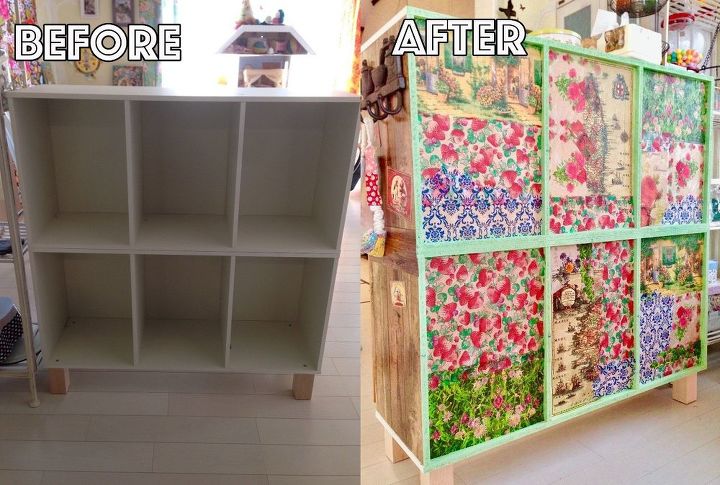
This is before and after photo! I love colors
Thank you for reading!
Comments
Join the conversation
3 of 9 comments
-
Awesome! It's lovely and really fun to look at!

-
For a bit more boyish style use self stick athletic stickers my daughter did a desk in them and red white and blue with his favorite teams.


Frequently asked questions
Have a question about this project?