


How to Add Shiplap to a Kitchen Island - $15 to Add Character
6 Materials
$15
3 Hours
Easy
As we continue to add finishing touches to our kitchen I am always looking for DIY's that add character on a budget. Adding character to your space doesn't have to break the bank. In fact my Farmhouse Cabinet Trim post and this Shiplap a Kitchen Island post I am about to share with you both cost under $25 to complete and they came from the same piece of plywood.
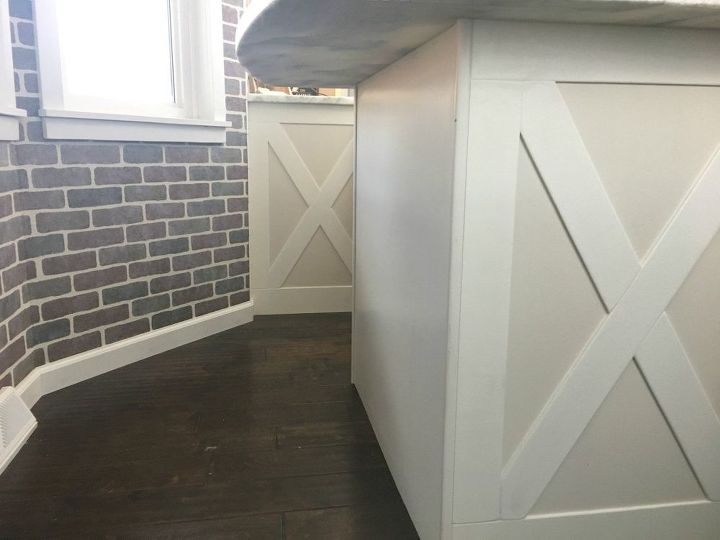
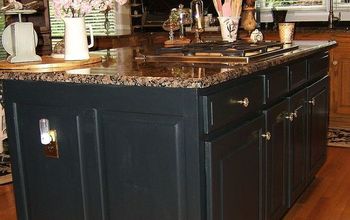
Here is a before pic.
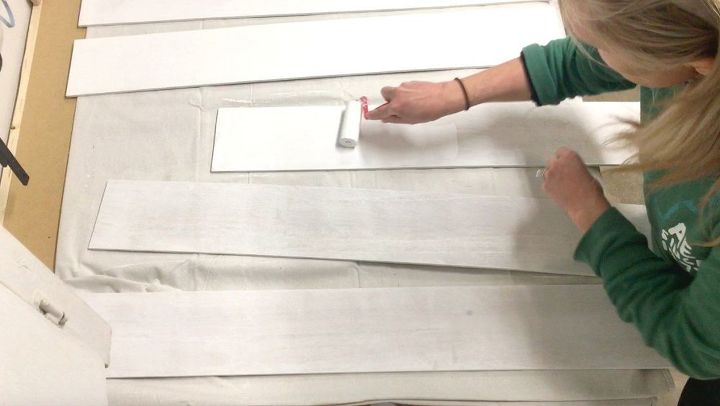
After making my cuts I sanded any loose slivers and applied two coats of a primer.
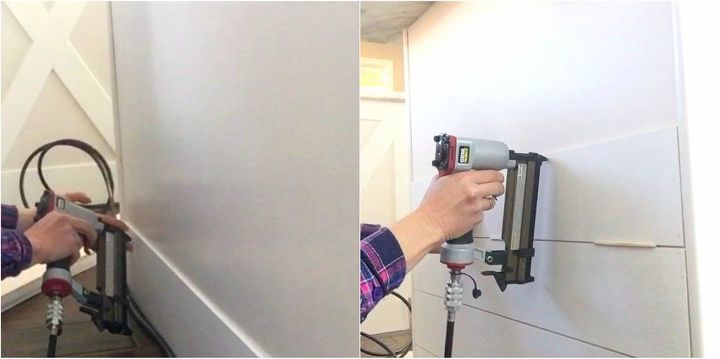
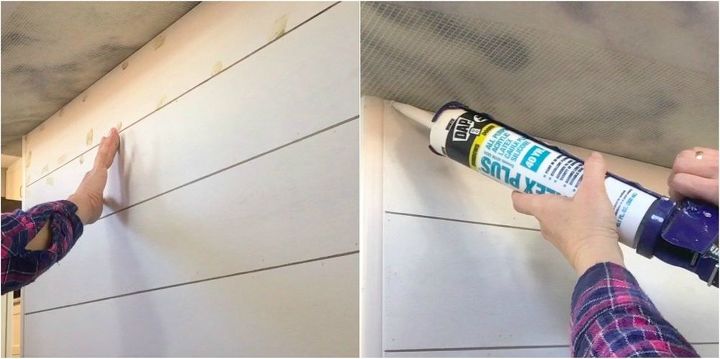
I installed the planks to the island using a pin nailer and 23G 1/2 inch pin nails. I started out by nailing the first plank on the bottom by the floor. Then I placed three popsicle sticks in between the planks to create a perfect gap between the planks. I repeated this until I got to the last board.
I added wood filler to the nail holes and caulk to the edges.
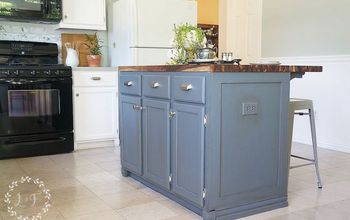
Finally I applied two coats of the custom cabinet paint color.
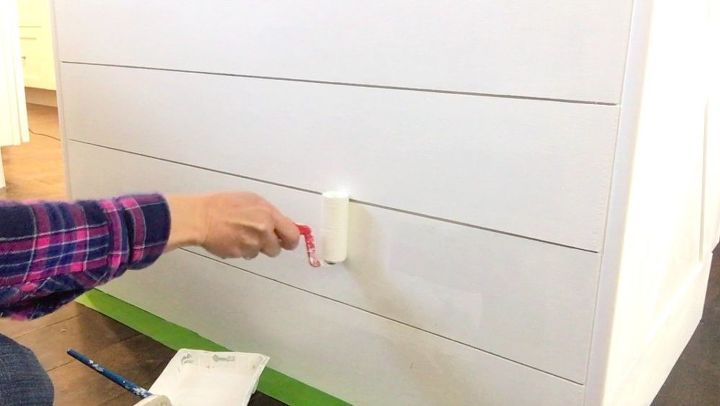
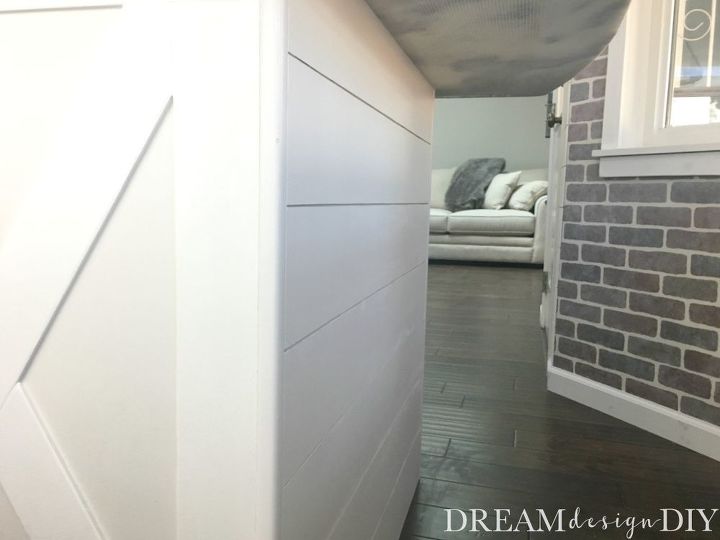
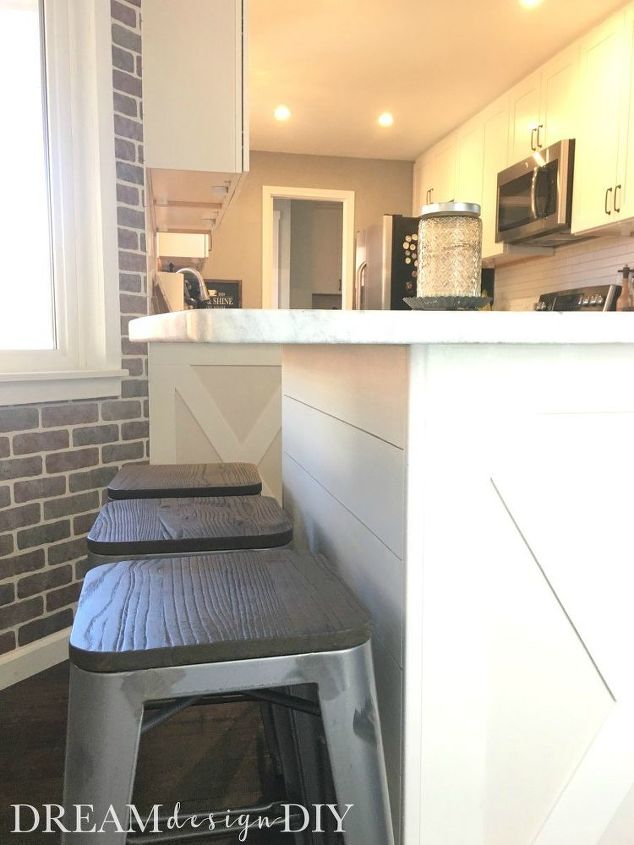
For being inexpensive I think it added a lot of personality and character to the space.
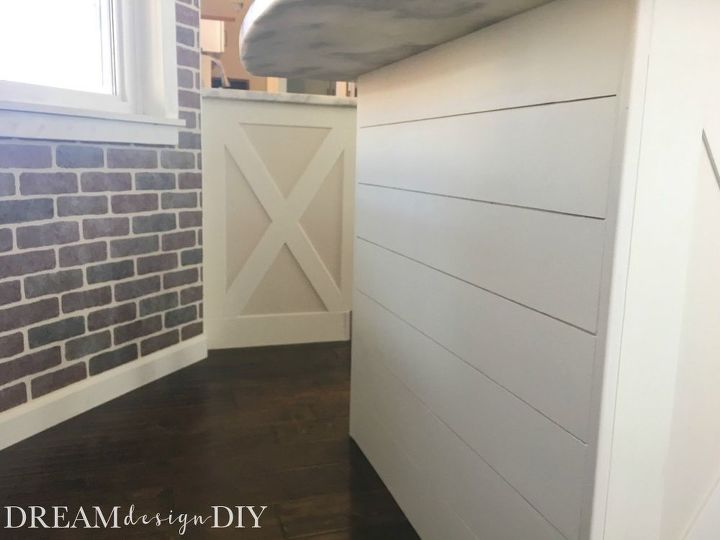
To see another way to add character to your kitchen check out How to DIY a Faux Brick Wall the Easy Way.
Thanks so much for hanging out. If you have any questions about this project I would love to help.
Happy Building,
Tiffany
Resources for this project:
See all materials


Any price and availability information displayed on [relevant Amazon Site(s), as applicable] at the time of purchase will apply to the purchase of this product.
Hometalk may collect a small share of sales from the links on this page.More info

Want more details about this and other DIY projects? Check out my blog post!
Comments
Join the conversation
5 of 10 comments
-
The popsicle sticks is a nifty spacing trick. Thanks.
-
Lovely! This is an awesome look!


Frequently asked questions
Have a question about this project?
Hello! I love your shiplap kitchen island. I was wondering what you used on your corners or edges?
thanks!