


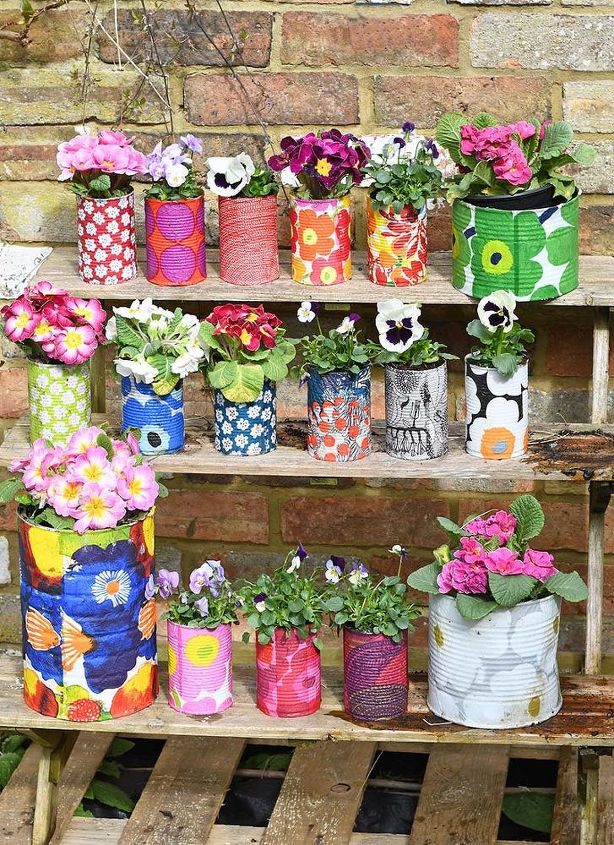
Gorgeous Colorful Planters to Brighten up Any Small Garden.
I live in a Victorian semi-detached house with a lovely but small walled garden. There isn't much space for growing plants, so I tend to grow things in pots that I can then stack on a stand.
I love to make colorful vertical planters for the garden and last year I made an amazing Morrocan one out of a pallet, which you can see here.
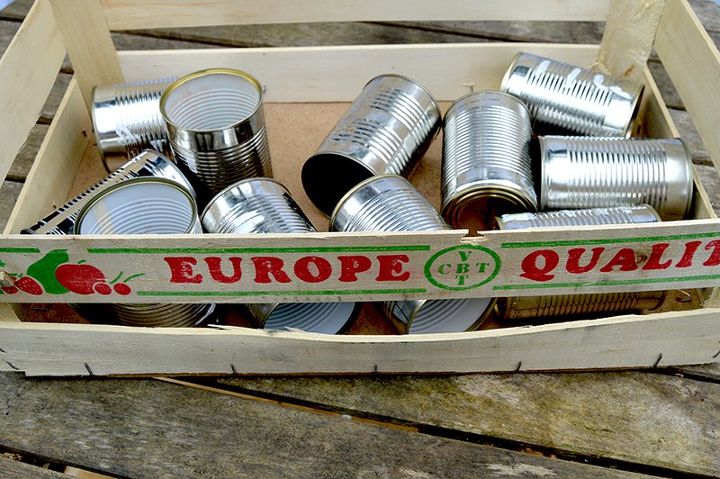
This time I used tin cans and instead of Morrocan I went all Nordic (Finnish) with my styling!
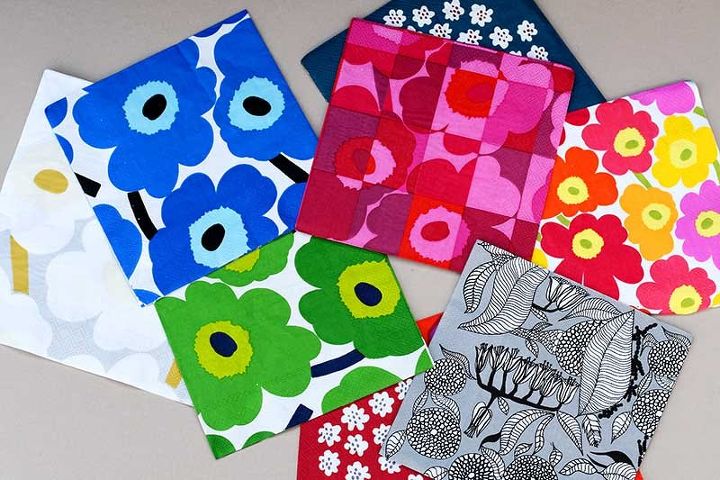
To achieve the Finnish look I used paper napkins in designs from the Finnish interiors company called Marimekko. I had quite a collection, as I love looking round Scandinavian furniture stores but can't afford to buy any of the furniture so I just buy a packet of Marimekko Napkins instead.
I know you may be thinking that you don't want to buy that many packets of napkins there are however sellers on eBay that will allow you to buy a selection of different paper napkins specifically for crafting.
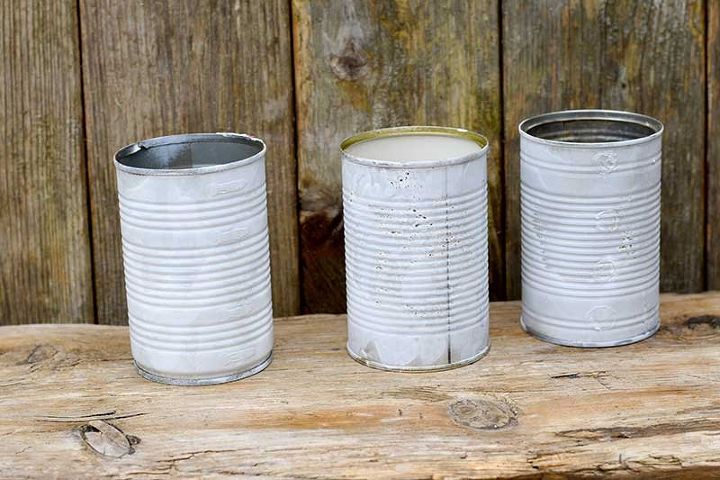
The first thing you need to do is to prepare your tins for decoupage. This just involves painting them with a white/cream spray paint as an undercoat.
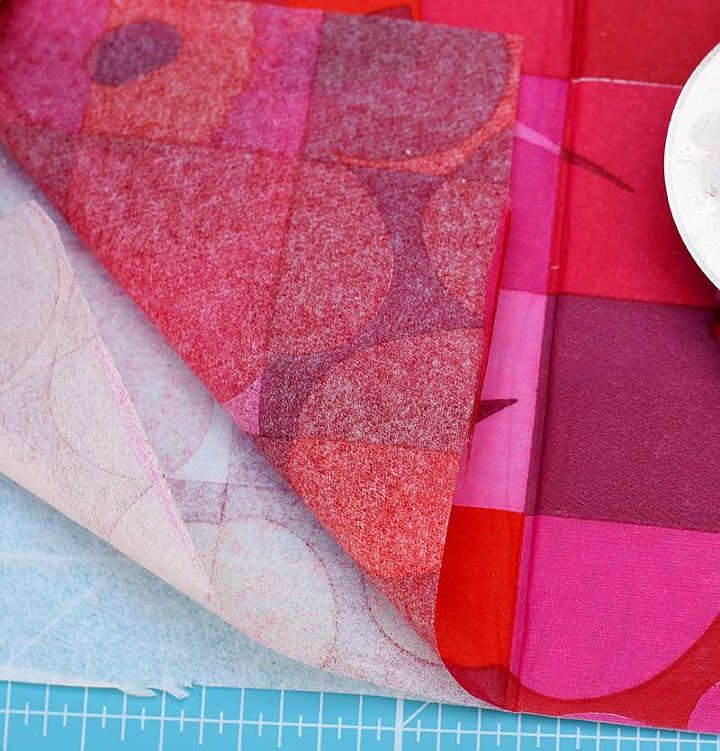
First, you will need to separate out the layers of the 3 ply paper napkins. I only decoupage with the top printed layer.
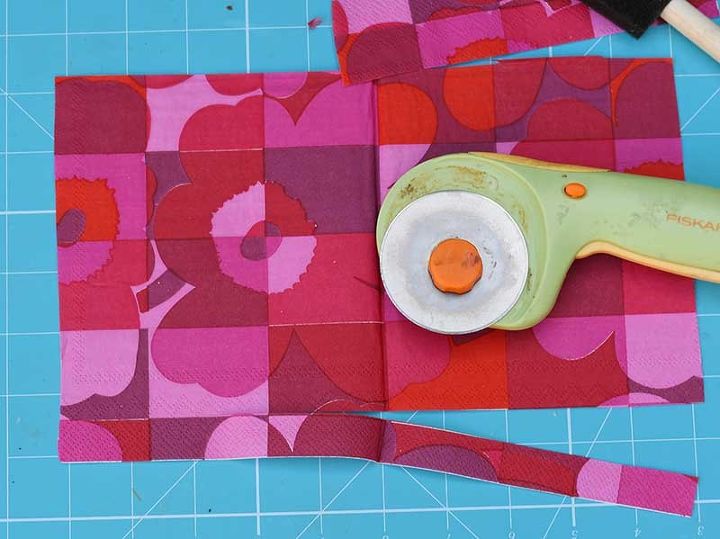
Next, cut your paper napkin to the size of the tin can.
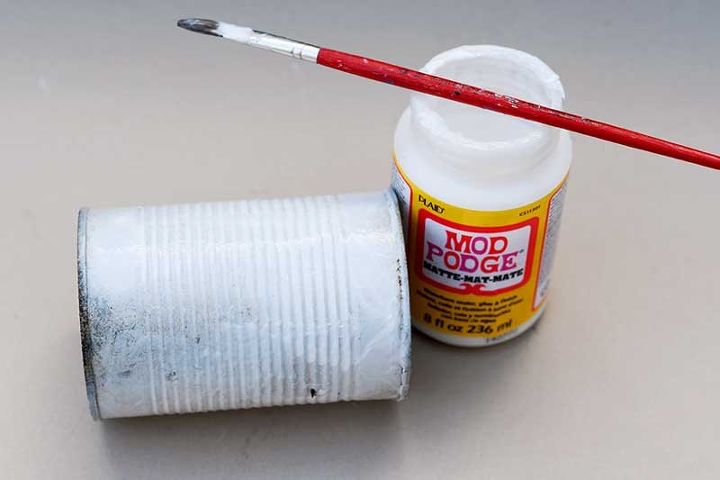
Cover the tin can with a good decoupage glue like Mod Podge.

Then using a foam brush carefully stick the paper napkin to the tin can.
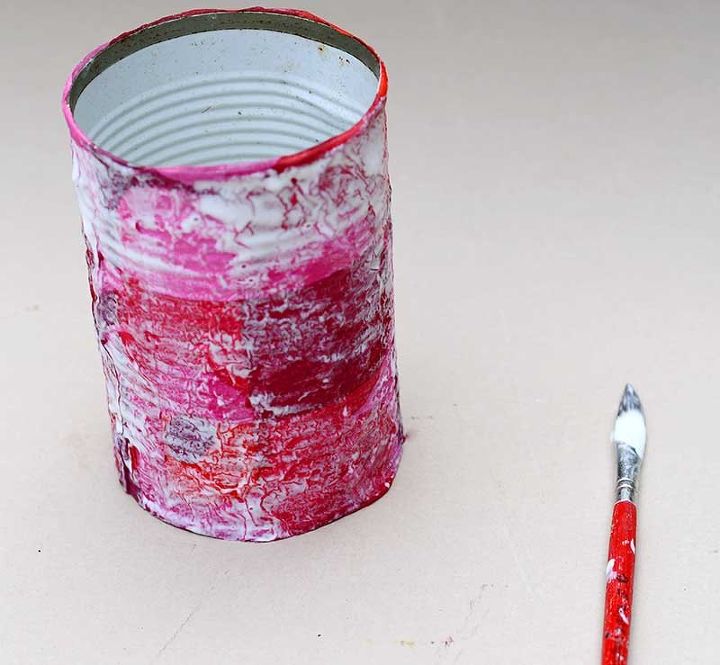
Once dry cover the outside of the tin cans with another layer of mod podge.
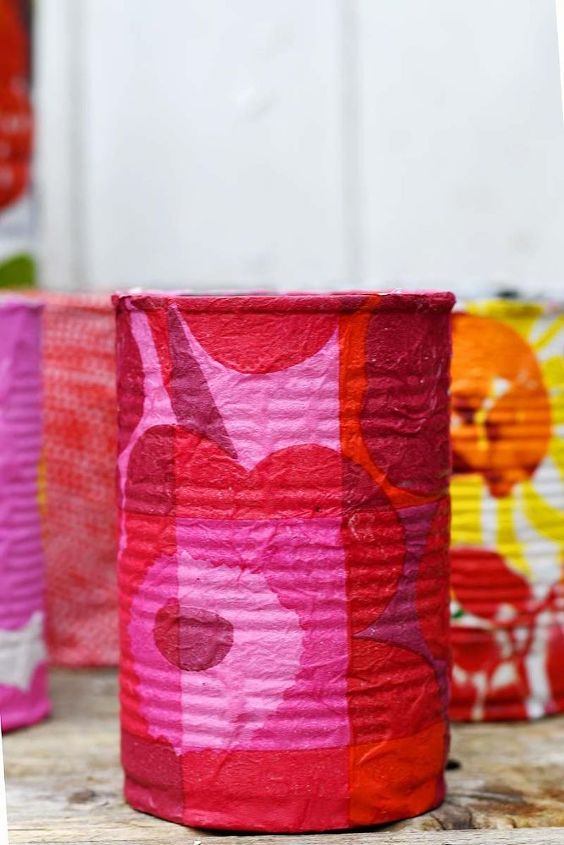
Once the outer Mod Podge layer has dried, you will then need to spray the cans with an acrylic varnish to protect them from the elements. If you are just using them indoors you can skip this.
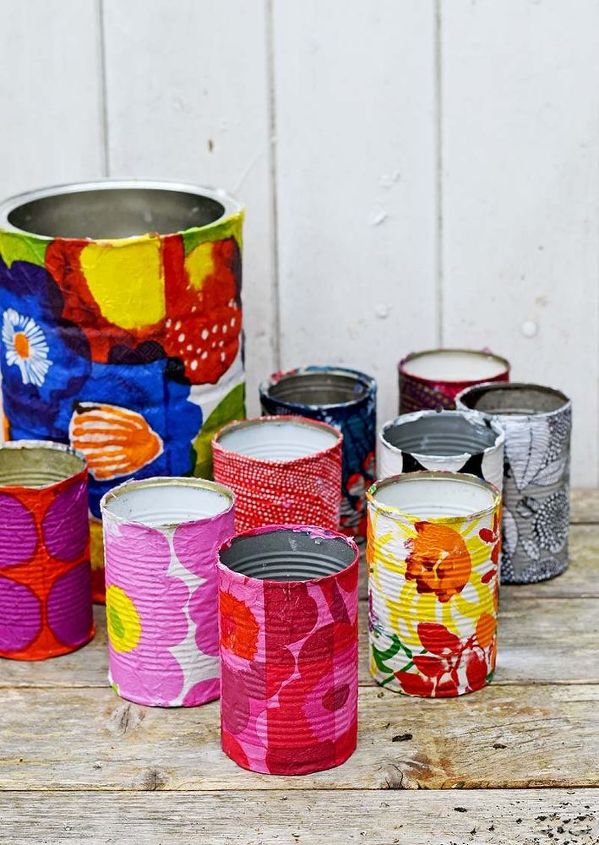
Carry on covering each tin can with a differently patterned napkin.
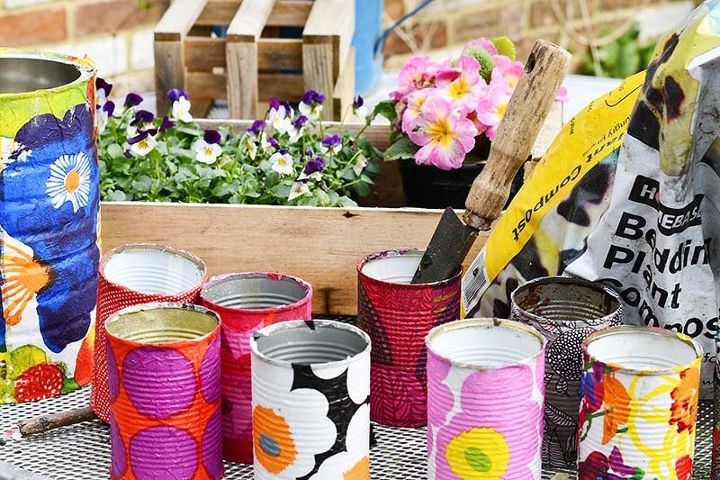
To use your decoupage as planters, drill a couple of holes in the bottom to allow for drainage.
Then add a layer of pebbles or broken stones in the bottom followed by potting compost and your plants. For more details visit the blog.
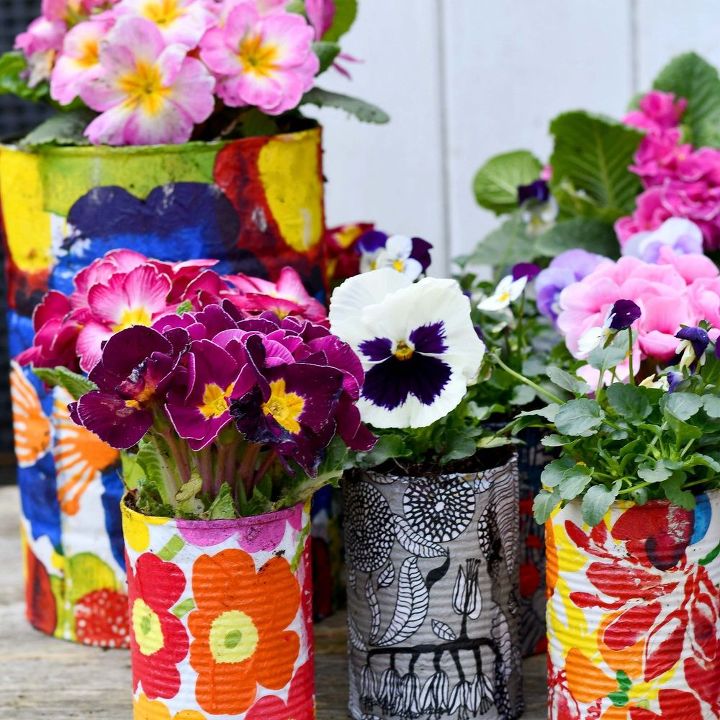
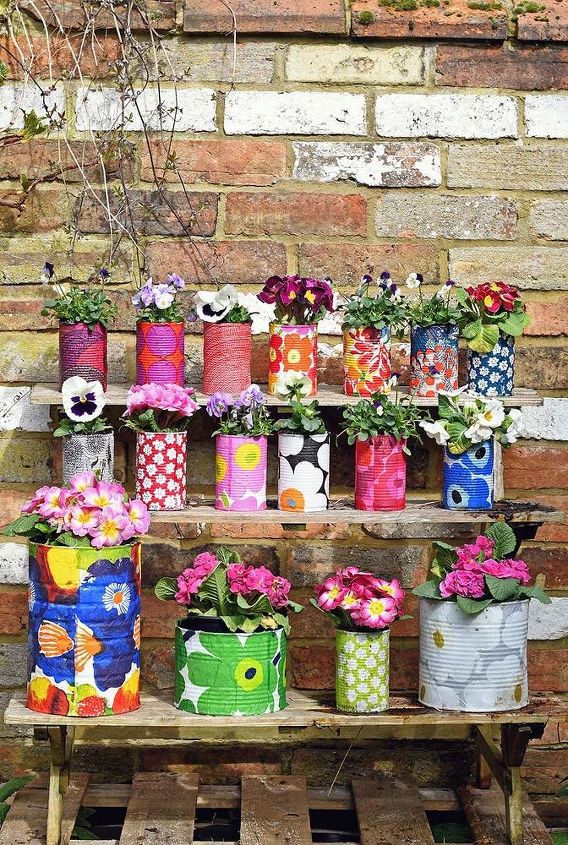
As you can see, these planters are a riot of colour in the garden. They will brighten up any small space. Also, as I'm a massive fan of the designs of Marimekko, it's a great way to show them off.
You can, of course, use paper napkins in any design you prefer; look at eBay, where you can buy mixed packs of napkins as you only need one per tin can.
You should check out these 5-minute planters made from old tiles.


Comments
Join the conversation
-
Another beautiful and easy project. I always love your ideas.
-
I don’t think with Mod podge this would ever last outside in the weather


Frequently asked questions
Have a question about this project?
Did you use some kind of sealer or paint inside. I did this last year and they all rusted up.
Did you treat the inside of the cans with anything?
Wouldn’t they rust in a few months?