


Make a West Elm Plant Stand for FREE

by
DeeDee
11 Materials
$10
1 Hour
Medium
Did you see that title? Yes, we made this plant stand for FREE using scrap wood from our wood stash. Even if you had to buy the wood, its going to be less than $10 to make!
I wanted a stand for my vintage crock so it would lift the fiddle leaf fig tree off the floor a bit. I went to Pinterest, found one I liked, showed my honey and he put it together for me.
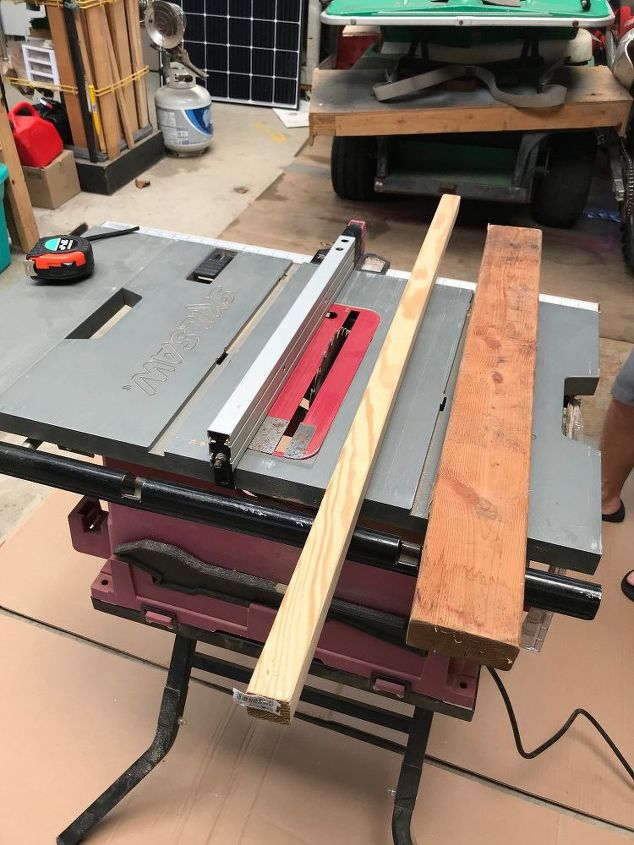
These two pieces of wood made that lovely plant stand. We keep all leftover pieces of wood that we think would be usable in another project. Sometimes we have to dig for a while to find just the right piece, but its worth it every time!
This project uses 2 x 2 pieces of wood, so if you're having to buy your wood, just purchase the 2 x 2 size and you won't have to do as much cutting. Your measurements may vary from ours because you'll want to make your planter to fit the pot you're wanting to put in it. Our crock pot measured 12 inches across, so that was the goal for our planter.
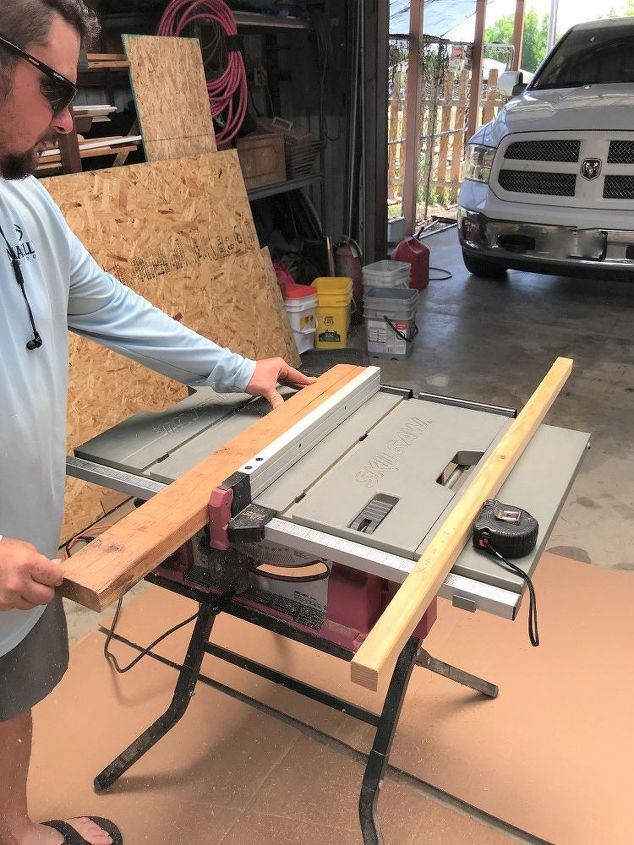
My honey used a 2 x 4 and ripped it down to size. The piece on the right is an actual 2 x 2, so he took measurements from it to cut down the 2 x 4.
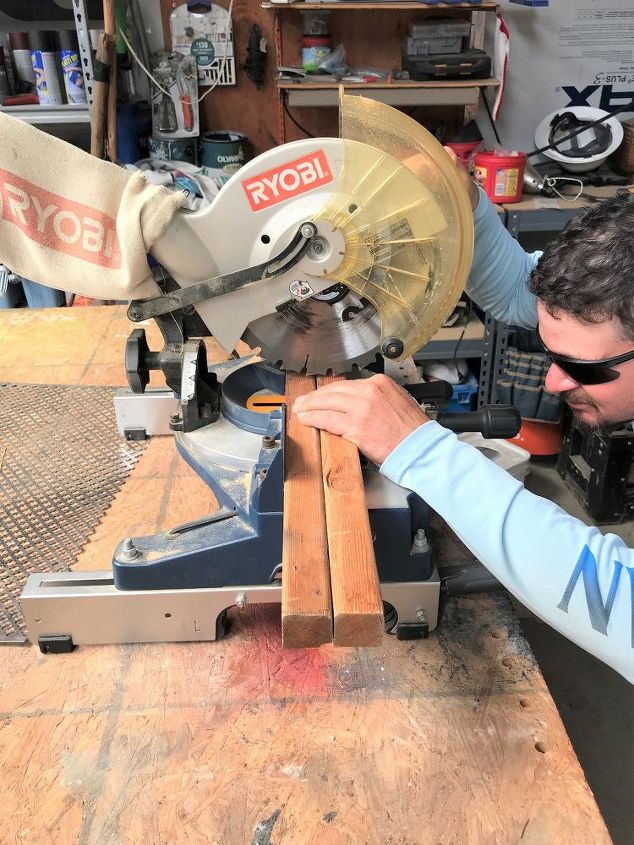
The 2 x 4 was used for the legs. Using our chop saw, he's cutting them to size here which is 16" long and of course, that's times 4.
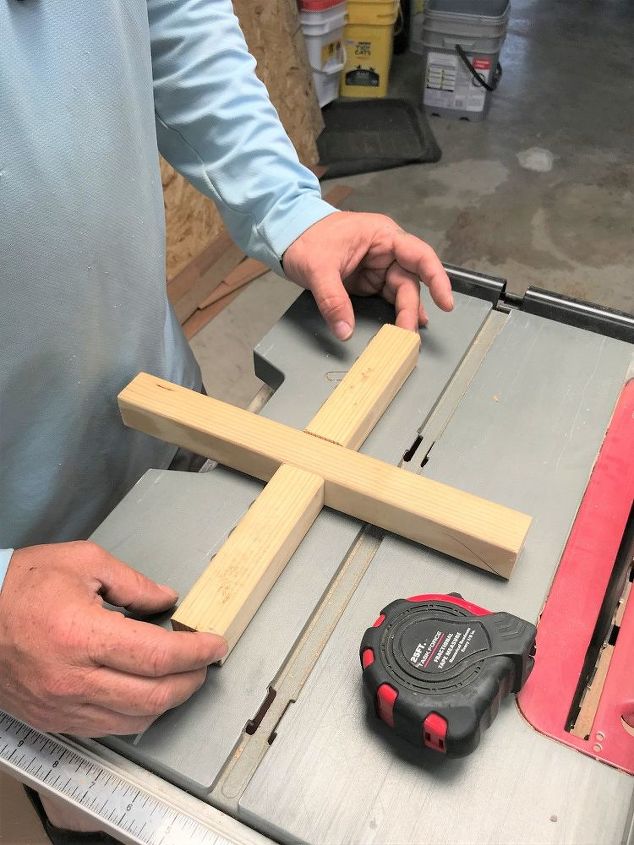
Like so. X marks the spot! Now you're ready to make your pocket holes so you can screw all the pieces together. This is the center piece that the crock pot will rest on. We cut one (1) at 12" and two (2) at 5-1/4".
Visit our blog here to see how to easily find the center mark for each piece to fit together perfectly.
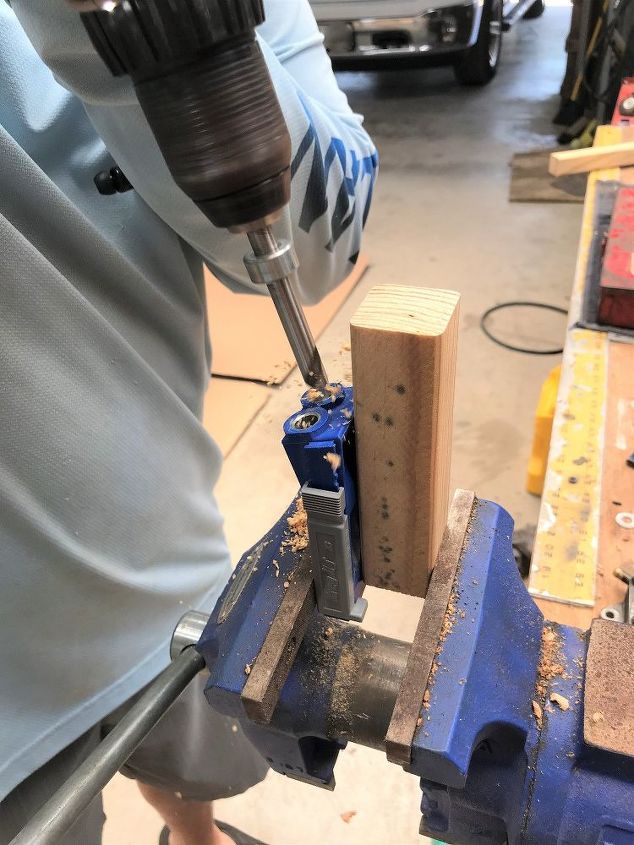
We used our Kreg Jig Junior for this task. It makes everything so much more simple. My honey used his vise to hold the piece of wood while he drilled the holes. You will drill one (1) pocket hole in one end of each of your short pieces.
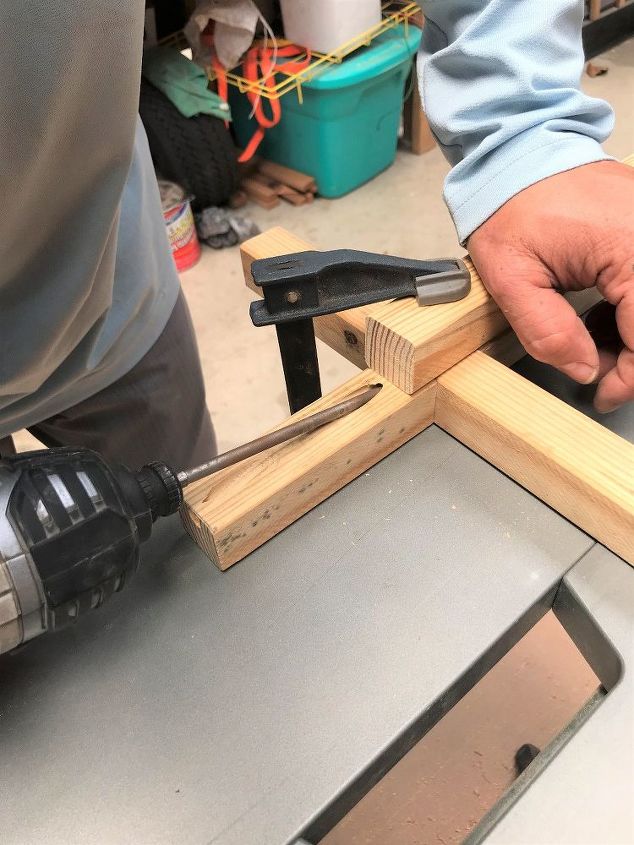
He's using a wood working clamp to hold everything in place while screwing it all together. The piece of wood on top is to hold down the pieces he's attaching so they don't pop up while he's screwing in the wood screws.
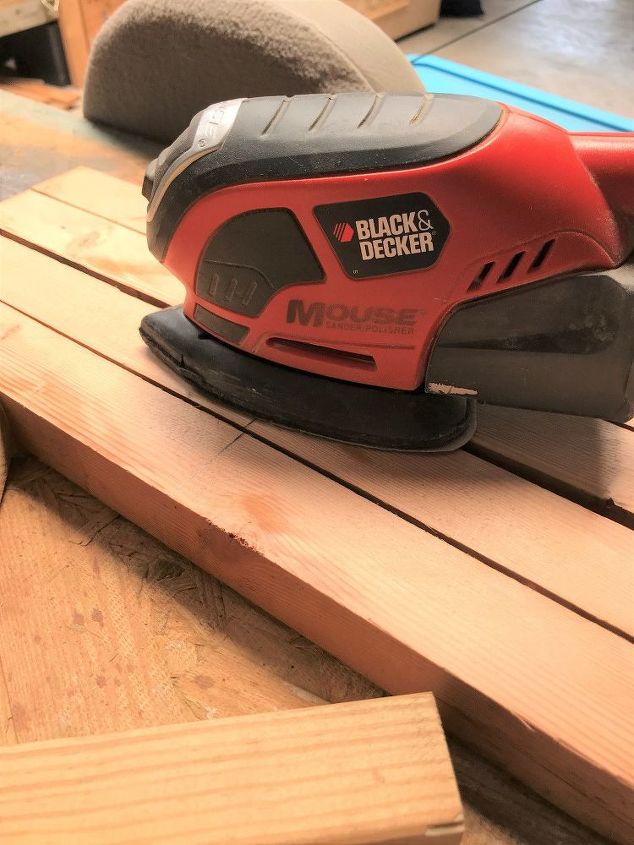
Next, I sanded everything smooth using our mouse sander. I used a 120 grit sand paper to go over all the edges.
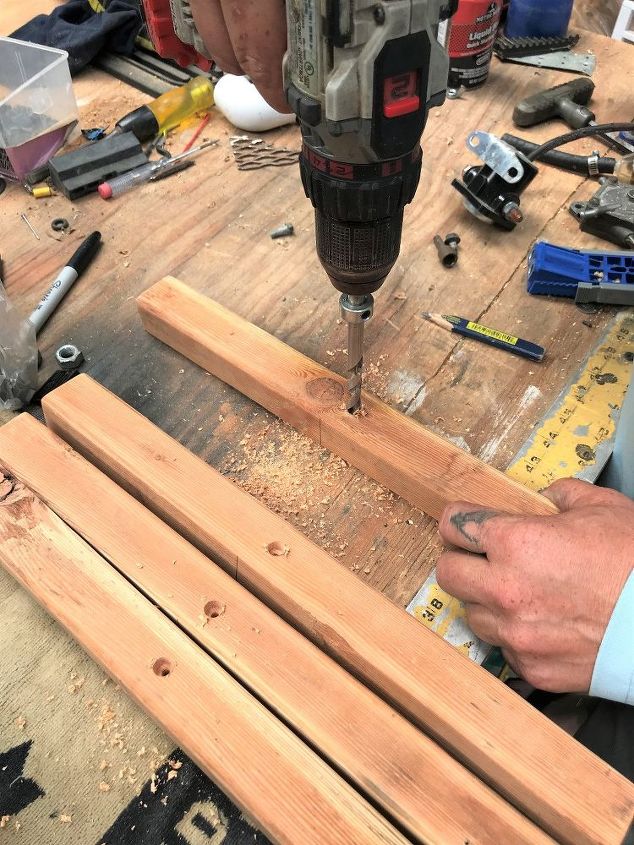
We decided that the base will sit 8" up from the bottom. Here he's drilling holes for the legs to attach to the base. Again using the Kreg Jig Junior set to make inset holes so the screw heads aren't protruding.
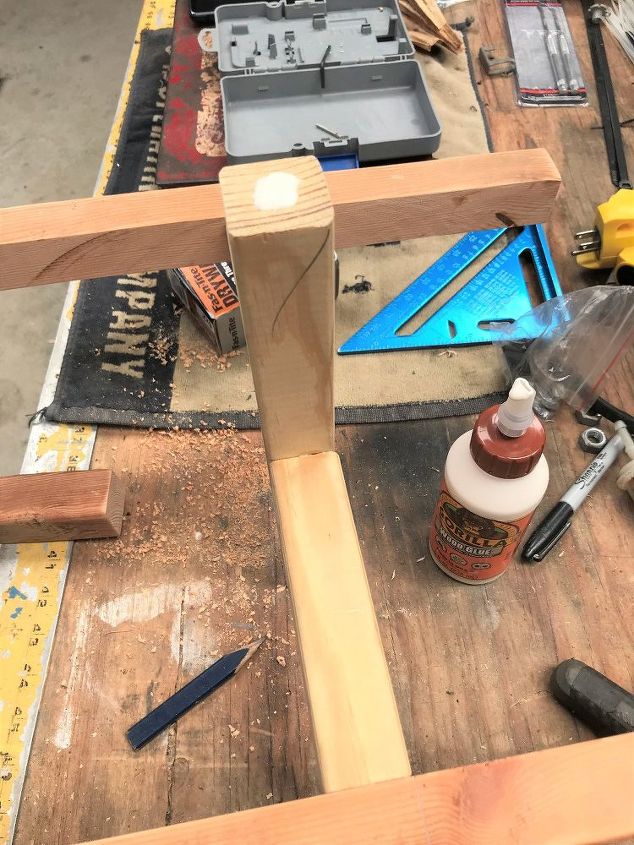
I forgot to mention, but before you start screwing all your pieces in place, use a small amount of wood glue at each joint to ensure a good sturdy hold in the end. We love using Gorilla Wood Glue for all of our wood working projects.
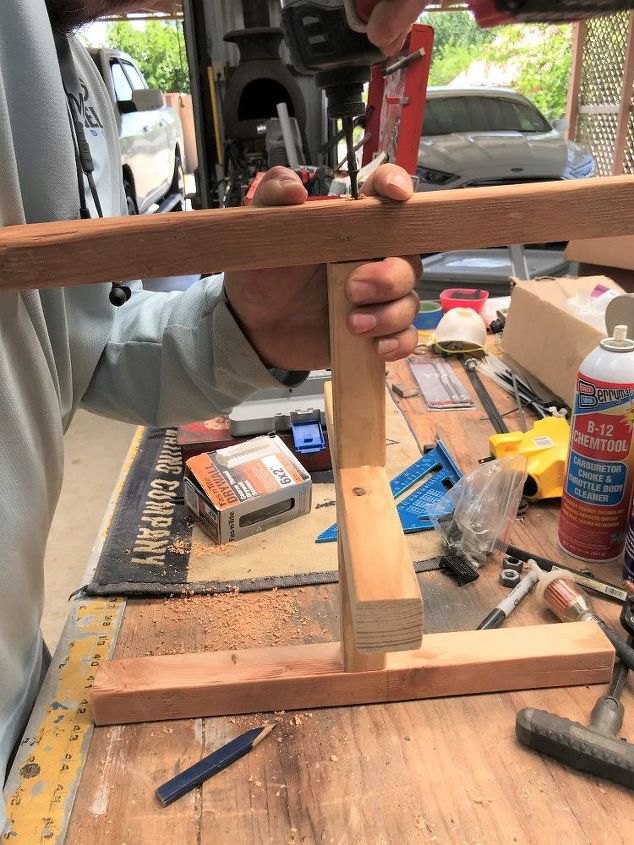
On each leg up from the bottom, he made a pencil mark at 8". This is the mark he used when attaching the base to the legs. The base sat below each pencil mark. We used 3" wood screws to hold every piece in place.
Recap:
Using 2 x 2 wood, cut the following lengths:
4 each - 16 inches long
1 each - 12 inches long
2 each - 5-1/4 inches long
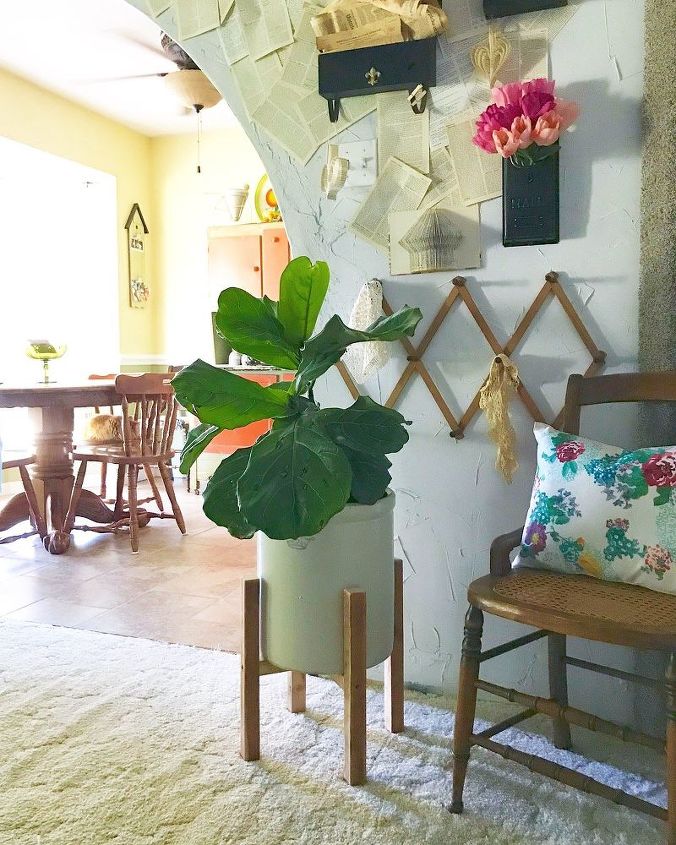
Here's the end results. It's just what I wanted and AGAIN, just like the last plant stand, he used no instructions. He just looked at a picture I showed him and made it! People like him are AMAZING to me!
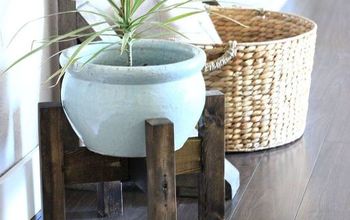
Because this plant stand will be living inside, I didn't seal it. However, if your plant stand is going to live outside, you really need to seal it somehow.
I hope I explained this well enough for you to make one too, because unlike my honey, I need some instructions! Haha! Please visit our blog for more pictures and tips. Thanks for looking!
Resources for this project:
See all materials


Any price and availability information displayed on [relevant Amazon Site(s), as applicable] at the time of purchase will apply to the purchase of this product.
Hometalk may collect a small share of sales from the links on this page.More info
Want more details about this and other DIY projects? Check out my blog post!
Comments
Join the conversation
4 of 53 comments
-
I love your plant stand! It’s a perfect fit for your crock. Nice job. I also love your decor.
-
That looks so good! Really ties in with the natural wood in your decor. Beautiful!


Frequently asked questions
Have a question about this project?
Wow! And it is obviously very sturdy. What does West Elm charge for this? ☺️
Is there a drain hole in the crock, or is the plant artificial?
Where can I get a guy like that?!