


West Elm Stool Knock Off

by
Cynthia H
10 Materials
$43
2 Days
Medium
West Elm has some lovely pieces of furniture. I can't afford most of their prices, but, for a lot less and some do it yourself work, you can have something pretty, without the hefty price tag. I love the Mongolian lamb stool on West Elm, but as of today's writing, not at today's price (on sale) of $319.00! So what's a girl to do? Well, with upcycling one side of a cable spool, a faux Mongolian lamb throw ($27.99 with enough left to do a throw pillow or small throw), some padding ($22.10 with enough to do two more projects), a little paint ($2.48), some legs for the stool ($19.56 plus $7.66 for the connectors) and voila a faux Mongolian lamb stool with enough of the throw left to make a gorgeous pillow cover and/or lap robe! I also decided to add some additional padding, with quilt batting ($4.97), with enough material that I can make a second one. So for 84.76, enough materials for TWO projects. So the actual cost for one stool, less than $43! Much better than the on sale price of $319! Here's the original: https://www.westelm.com/products/mongolian-lamb-stool-h1660/?pkey=cottomans&isx=0.0.2720&group=1&sku=6044122
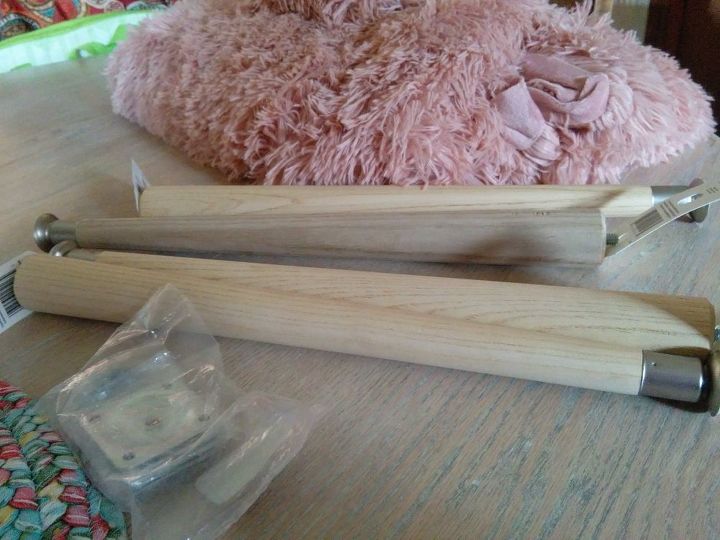
Materials I used
I bought the legs, anchors and throw from Amazon. Love the dusty pink of the throw. The legs are well made and highly recommended on Amazon. The legs are fifteen and a half inches.
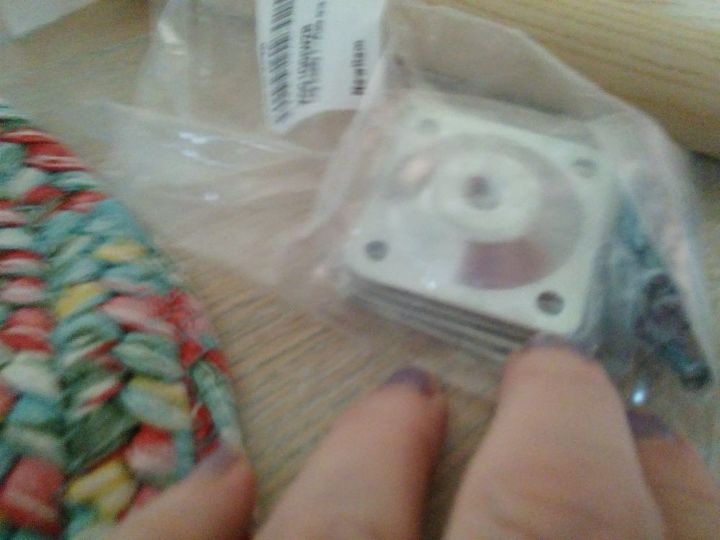
the brackets for the legs
These are the brackets to screw the legs into.
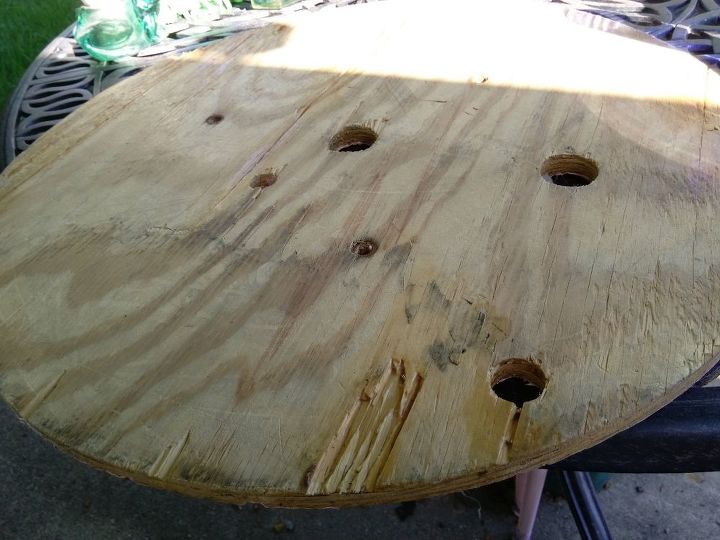
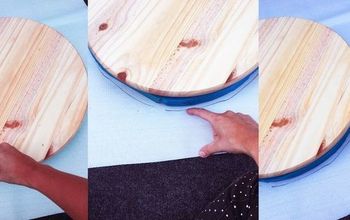
My upcycled circle
I had an old cable spool with a cardboard center divider. I decided to take the two round parts off, and toss the collapsing center. My husband kept the super long bolt that held it together for "future use".
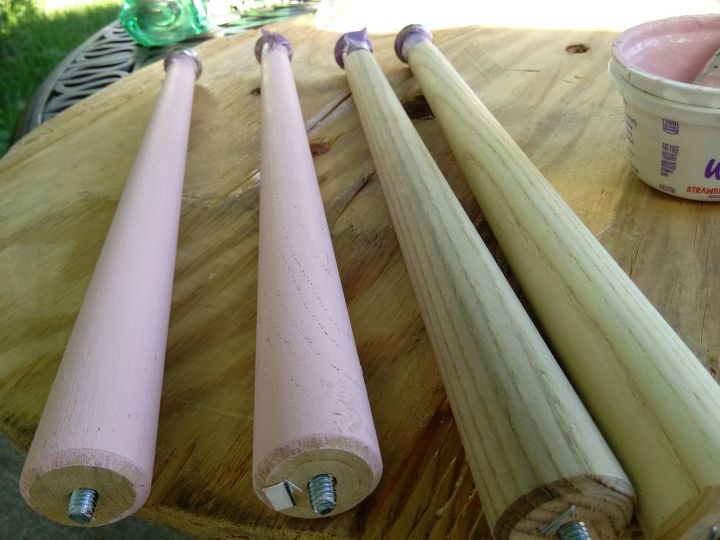
Legs painted and unpainted
The West Elm legs were metallic, but, I decided to go with a soft pink, Ballet Slipper chalk paint, and Cameo pink craft paint, in equal parts. The chalk paint (Waverly) was sample size and cost less than two dollars. The craft paint was fifty cents.
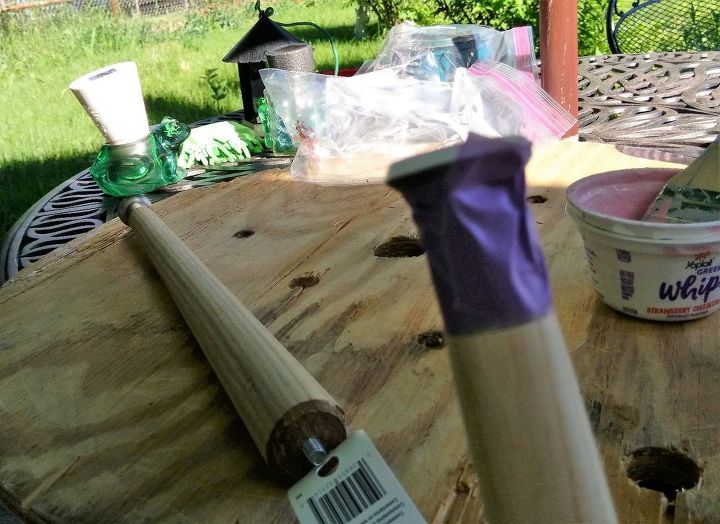
Taping
I used some painter's tape to protect the metal ends and glides on the end of the legs.
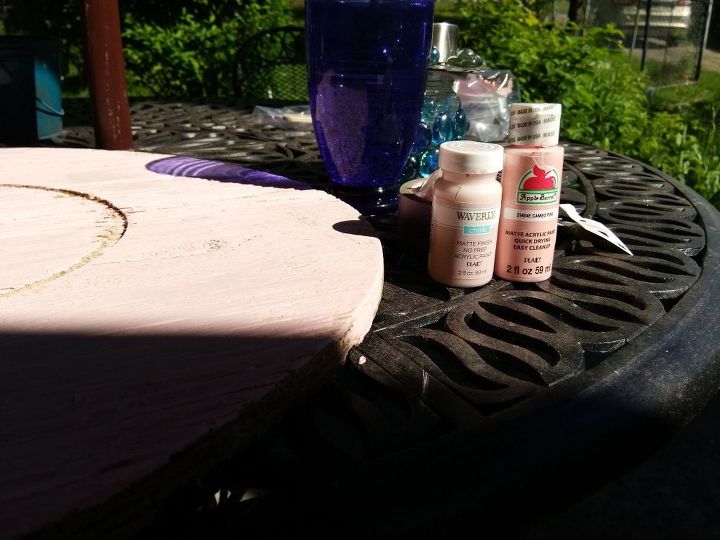
the paint I used
I painted both sides of the wood circle with a coat of paint, too, after smoothing it out. I decided to use the size of the circle (24" diameter) although if you wanted to do an exact duplicate, the West Elm version is just a hair under 18" diameter and 17.25" high. I actually like the slightly larger circle. I also considered using hairpin legs, but, decided to go with the wood for this one.
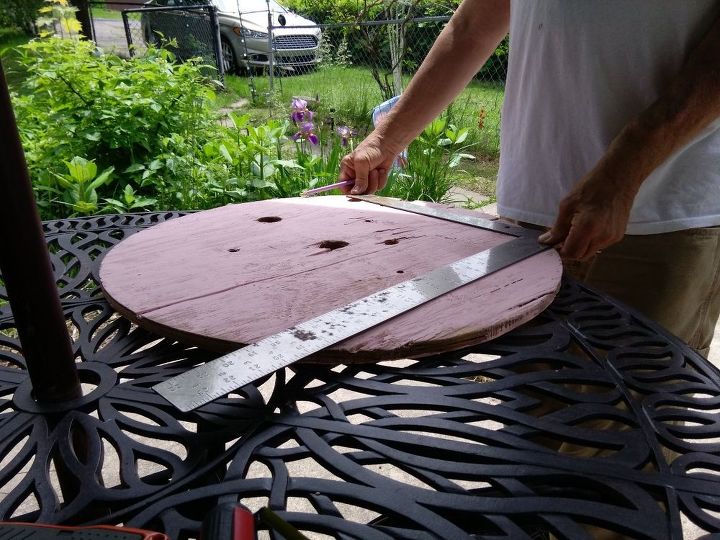
Geometry!
Who knew that geometry could actually help you in real life? Here is my husband marking out the grid to install the legs so that they would be even.
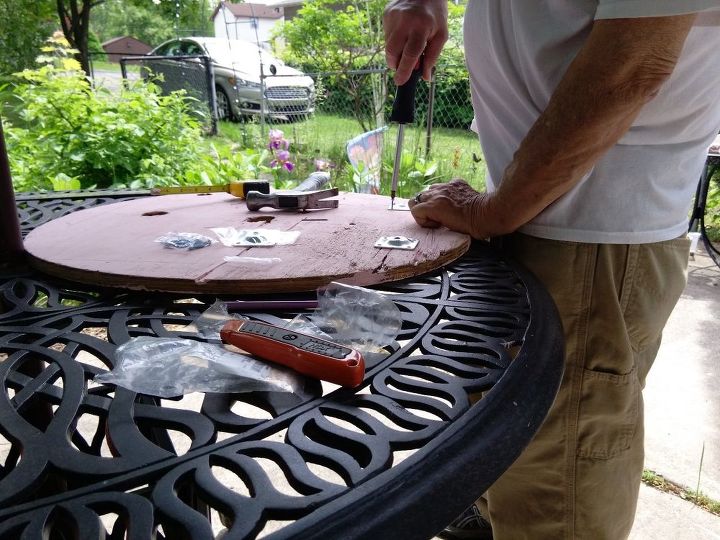
Brackets being installed
The type of legs I'm putting on require a bracket, which is what is being screwed on using the lines drawn on it. We did a dry run first to see if I liked the placement and we ended up moving them in an inch.
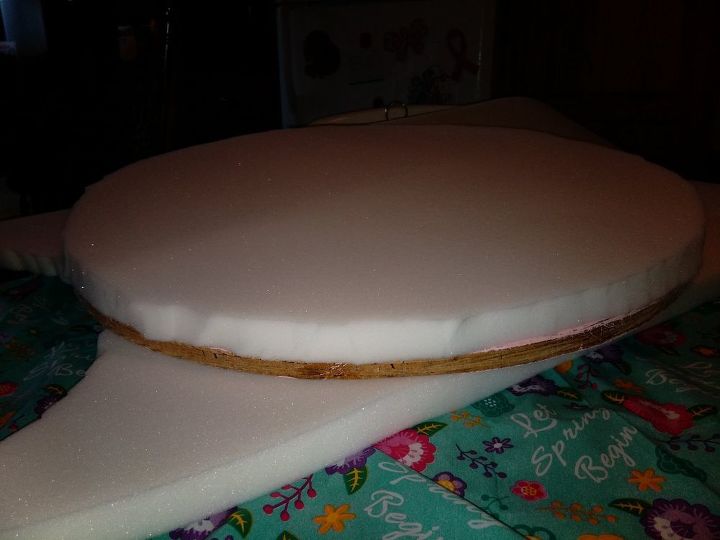
Memory foam
I used my wooden circle to trace the outline of my wood onto the foam, and then did the same with a double thickness of batting. I cut the memory foam with scissors after tracing it with a marker.
Then I spread out the throw to cut a slightly larger circle to cover the batting and memory foam. I added about an inch to the circle before clipping the edges together with craft clips and then hand sewing the material. The backing on the throw created a sort of envelope for the foam and batting.
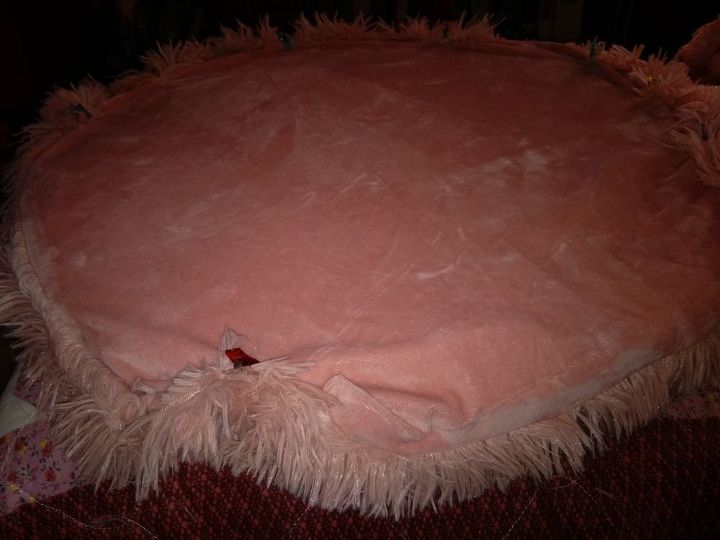
Ready to be sewn
Then I spread out the throw to cut a slightly larger circle to cover the batting and memory foam. I added about an inch to the circle before clipping the edges together with craft clips and then hand sewing the material. The backing on the throw created a sort of envelope for the foam and batting.Here is the underside as I started to sew the "envelope" together. I'm sure you could glue or use tacks to attach it. This was my method.
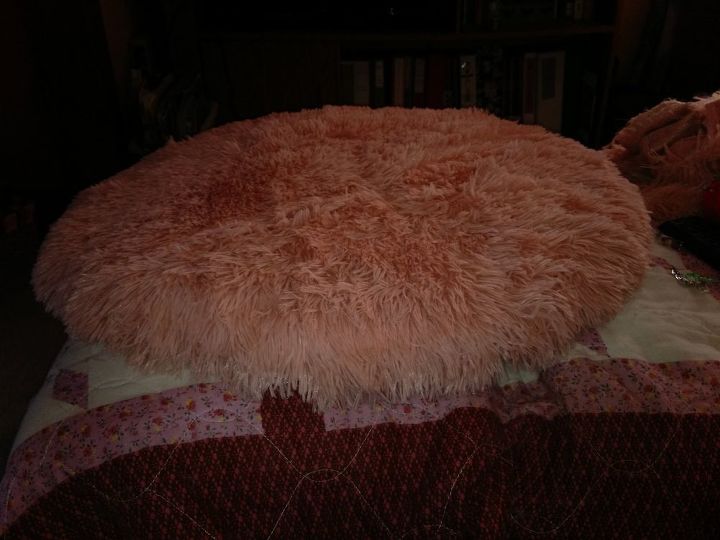
Finished cushion.
Here is my circle of batting, foam and throw. It took about an hour to hand sew, while I watched TV.
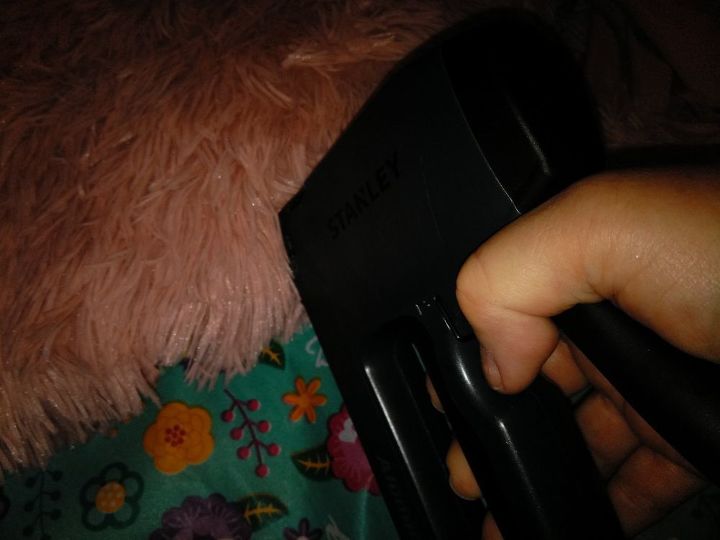
attaching it to the wooden circle
The material is nice and shaggy, so hid the edge where I stapled it down.
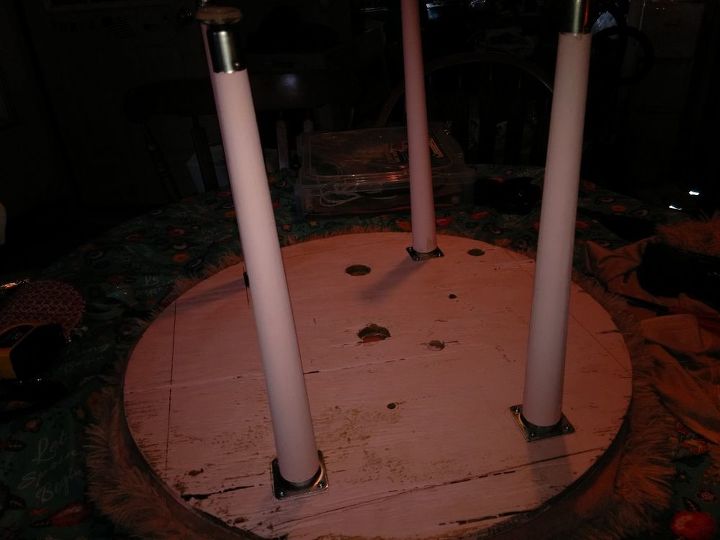
finished base
Next I screwed the legs on. They were easy to tighten by hand. It would be easy to cover the bottom if you wanted a more finished side, but, as I never intend to look at it, I'm not worried about it.
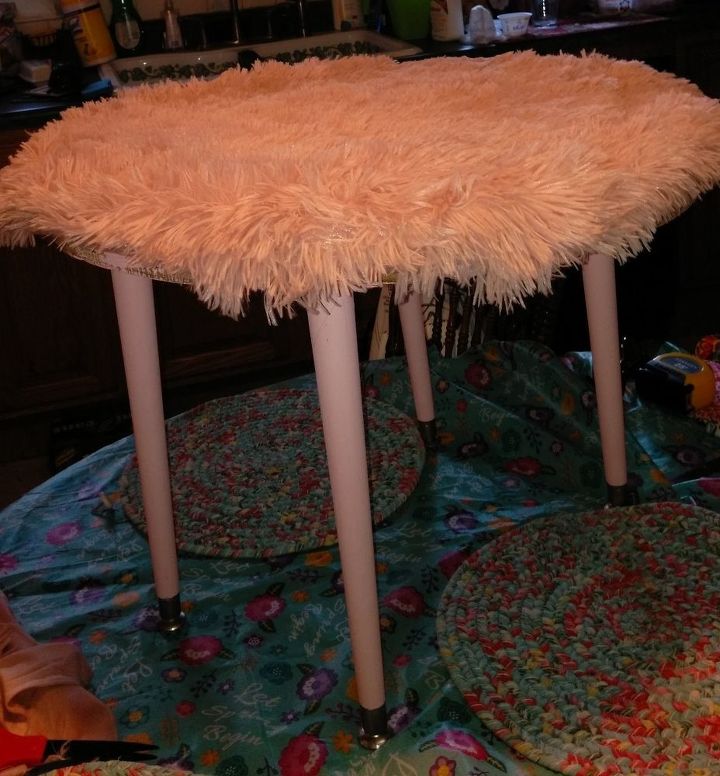
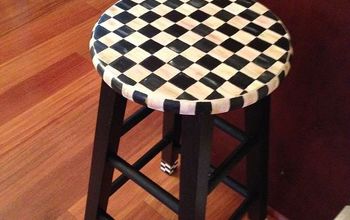
stool
Here it is, slightly larger than the original at considerably less cost. I now plan, in the near future to add some cording around the wooden edge, maybe in pink or silver. I think I'll just glue it on, when I find cord I like. It will be quite pretty next to the dressing table!
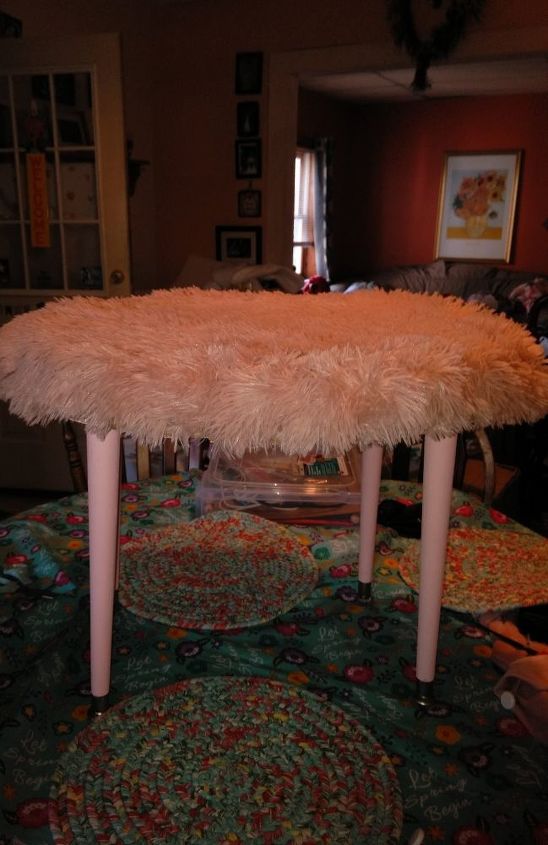
Isn't she pretty?
Resources for this project:
See all materials


Any price and availability information displayed on [relevant Amazon Site(s), as applicable] at the time of purchase will apply to the purchase of this product.
Hometalk may collect a small share of sales from the links on this page.More info
Comments
Join the conversation
4 of 21 comments
-
looks very comfy
-
It reminded me of a bathroom rug I saw the other day at Ross, at the time I couldn't think where or how I could use it....but now I know!!


Frequently asked questions
Have a question about this project?
I think I think I would like to do that in a zebra print but I have to change anything?