


Our DIY Kitchen Window Flower Box
3 Materials
$100
3 Hours
Easy
One of the things I wanted to do when we first moved into our cottage was take off the heavy awnings that hung over the windows. They made the house feel smaller once you were inside as they completely blocked the view of the sky. Moreover, they kept the sun from shining into the home, and one of the things I love most about a house is the way the afternoon light bounces off of it. So, we removed them in favor of custom shutters that our general contractor graciously built for us. As a parting gift once the entire remodel was over, he helped us create a custom flower box to go in front of the kitchen window. Here is what we did and how we decorated around it.
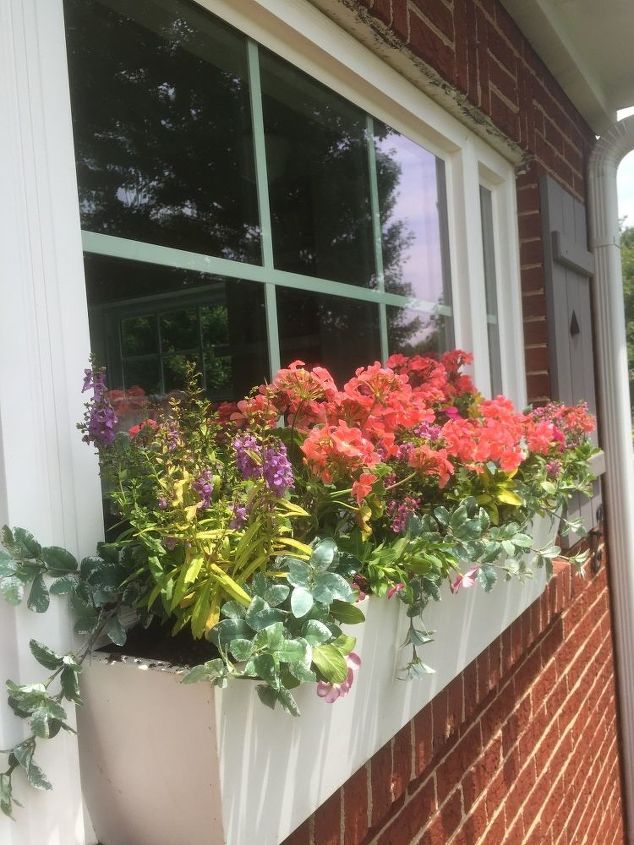
First, we chose to make the box out of a faux wood composite material that will not rot. This was important to me because my in-laws have real wooden flower boxes and I’ve seen how over time, the rain and weather can wreak havoc on them and cause them to decay. We opted for a stark white shade and worked with our contractor to build a box that covered a majority of the big picture window in the kitchen.
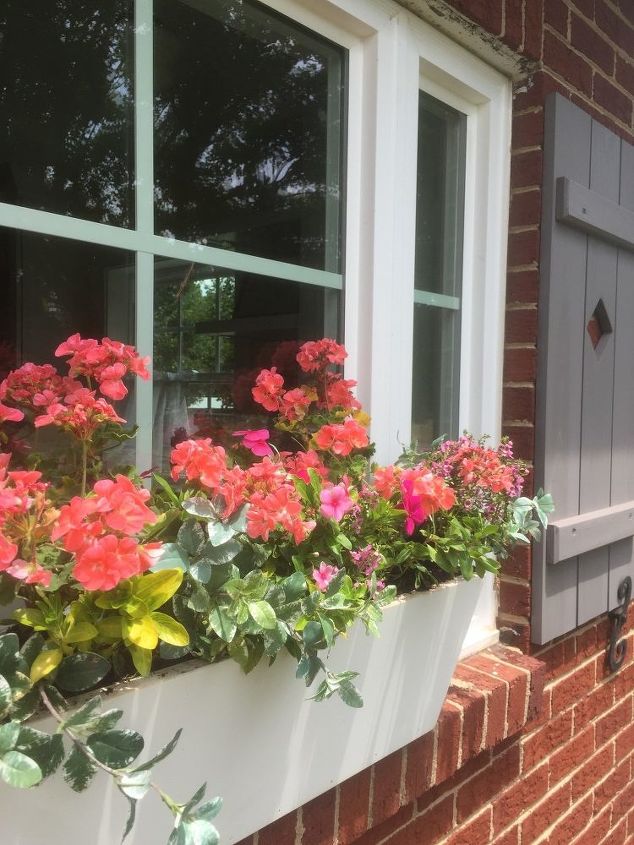
First, we chose to make the box out of a faux wood composite material that will not rot. This was important to me because my in-laws have real wooden flower boxes and I’ve seen how over time, the rain and weather can wreak havoc on them and cause them to decay. We opted for a stark white shade and worked with our contractor to build a box that covered a majority of the big picture window in the kitchen.
Once the box was built, I poured in about two inches of pea gravel along the bottom of the box. Our contractor had drilled tiny holes in the bottom to allow water to seep out, but I also wanted to give the flower roots space to grow and drain as well. After pouring in the pea gravel, I experimented with several planting techniques and floral arrangements before landing on one that fit.
For me, I found that it is much easier to simply buy smaller containers of plants and stick the entire container into the flower box, then fill in around it with potting soil. In the past, I have taken the flowers out of the plastic container they come in, then planted them directly into the soil. This has worked on some occasions, but many times the plants ended up dying from root rot, which I attribute to not being able to establish a solid root system.
So, I just choose to keep the existing root system intact, use scissors to open up the bottom of the plastic container a little so the roots have room to move and expand, then just put the container into the top of the window box!
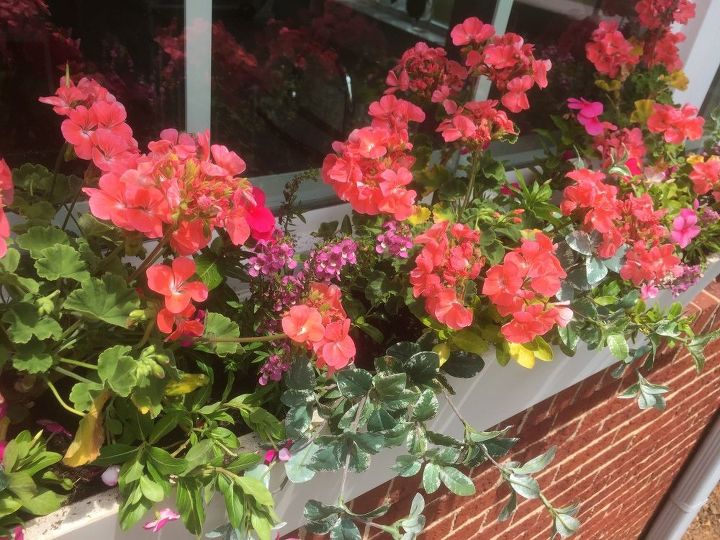
I also experimented with several varieties of plants before finding some that fit the bill. While these in the picture look healthy, they actually didn’t make it two months into spring before burning up. I realized that the window the box is installed in gets a ton of afternoon light. That’s one of the reasons the kitchen is so lovely during golden hour! Yet, it limits the kind of plants I can put into my window box.
I’ve found that begonias actually thrive in this climate and environment and since making the switch to that variety of flower, I’ve been pleased with the results. You can also buy fake flowers at hobby shops that look so real no one will be able to tell the difference from the curb. I’ve used fake greenery and ivy to fill in around my plants before they really take off and bloom.
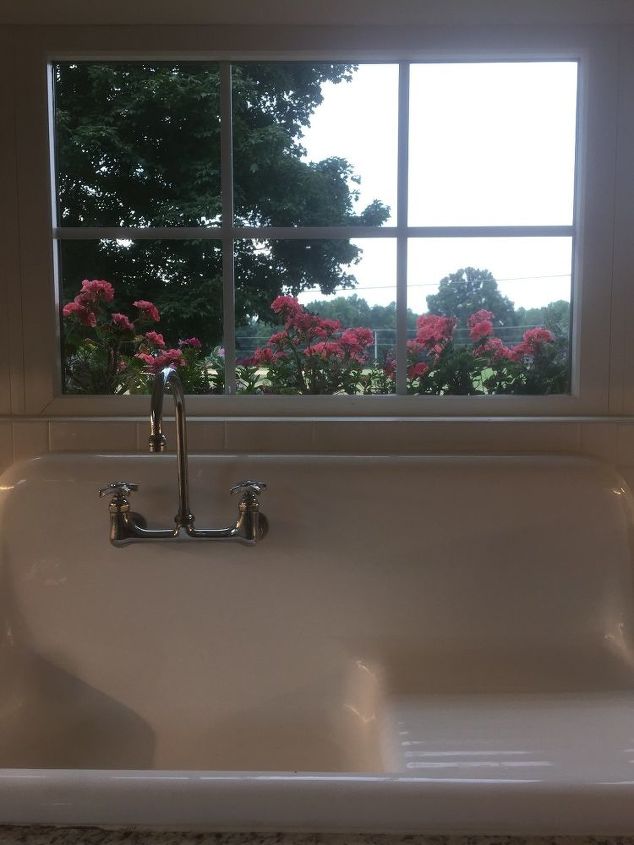
From the inside of the kitchen, the flower box looks so lovely. I wish I would have made that picture window an openable one, as I could plant herbs and then just reach out and grab some when I needed them for a meal. My kitchen might be a retro throwback when it comes to decor, but I have plenty of smart appliances, such as my smart coffee maker, that make it decidedly modern.
Still, adding this simple element of organic, natural beauty has done a tremendous job of completing the look. Now, it’s a modern kitchen with a sweet and colorful twist, and it only took a few hours and a little bit of trial and error to complete.

Want more details about this and other DIY projects? Check out my blog post!


Frequently asked questions
Have a question about this project?