


Oak Table Update From " SO , SO " to " OOOHHH La LA "

5 Materials
$150
5 Days
Medium
I purchased this Oak table years back from money left to me by my uncle. It gets a lot of use and it was looking a little beat up. For sentimental reasons I couldn't part with it. Plus it's hard to find good solid wood furniture and a table with 4 leaves that make it huge. I had seen a similar post here on hometalk and saved it to show my husband. He liked the idea. I had to wait for a week of yucky weather cause I love being outside working in the yard. So here is my first week of summer project.
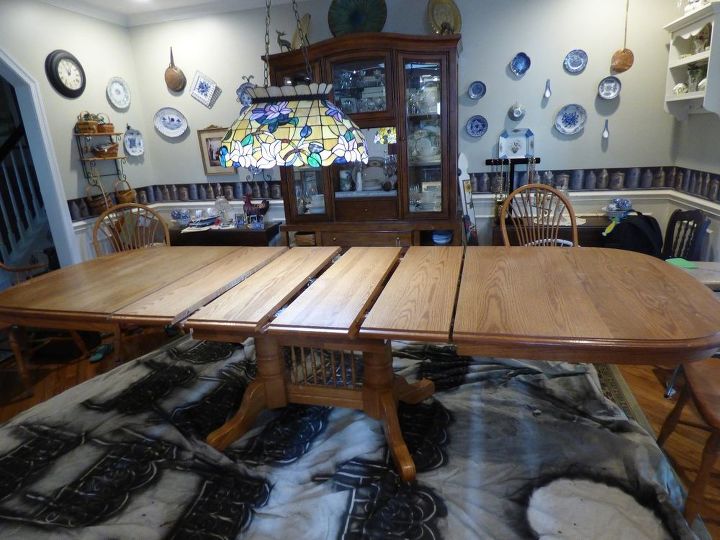
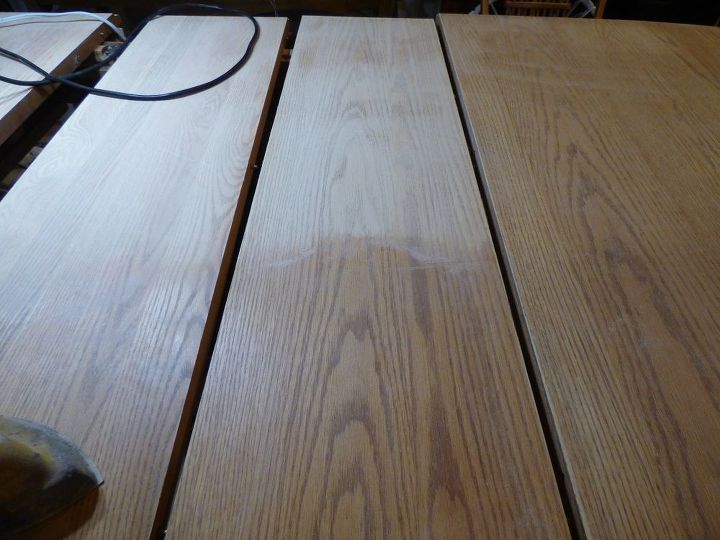
First I put all the leaves in place. The company I bought it from was so particular that the leaves are numbered underneath and the grain lines up when they are put in place right.
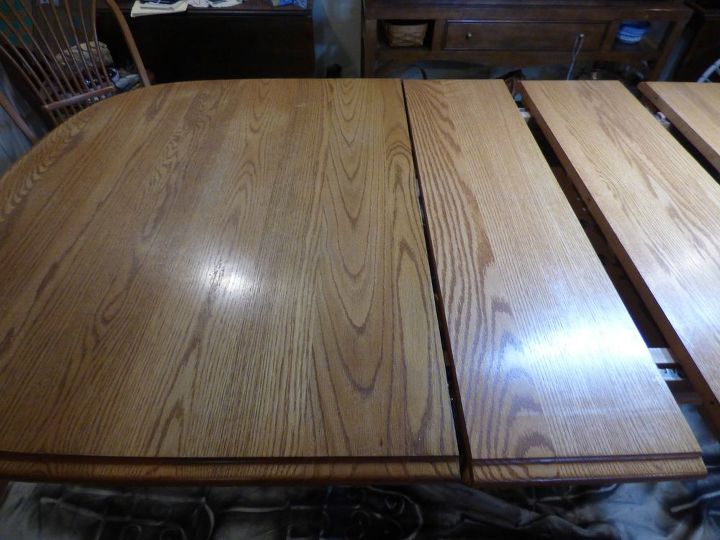
This a close up of the way the grain lines up .
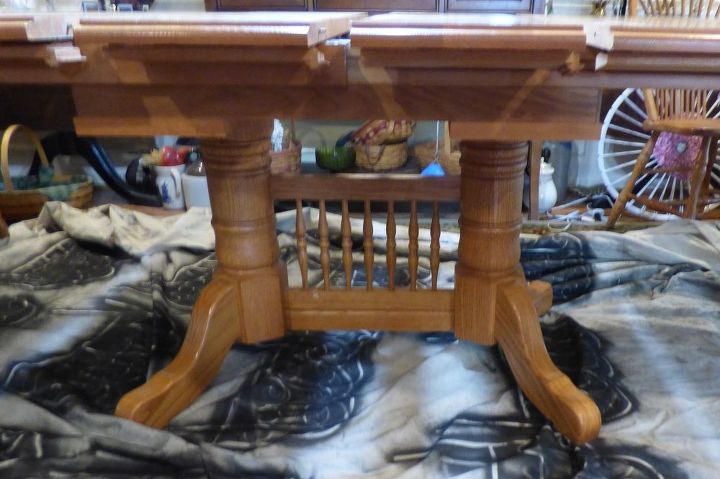
This is a picture of the pedestal . Small little doggie chew in one spot.
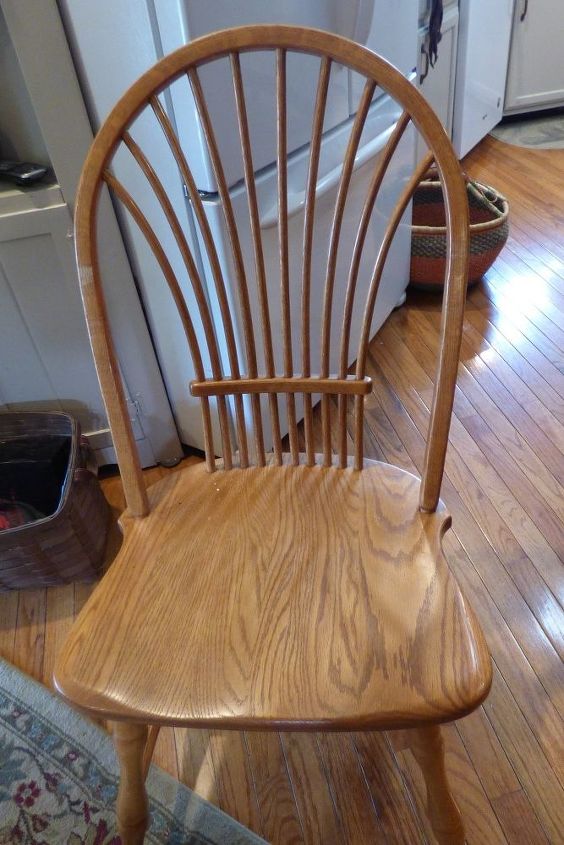
This is one of six chairs . There two that have arms .Lots of spindles to paint.
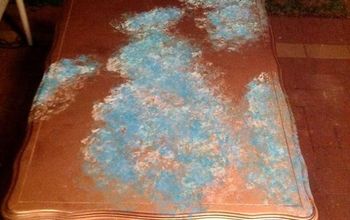
I started sanding by hand but realized I wasn't even close to getting all the way down to bare wood. I wanted the black stain to really soak In good and even. I used True black by Minwax penetrating stain . Not the one with Polyurethane in it . I used Helmsman Spar Varnish fo the finish coat to make it more durable .
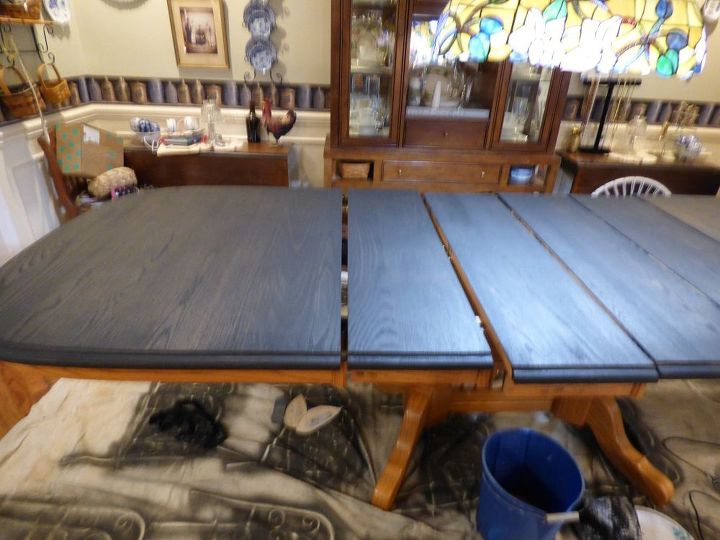
This is after the stain dried over night . What a smell in the house .
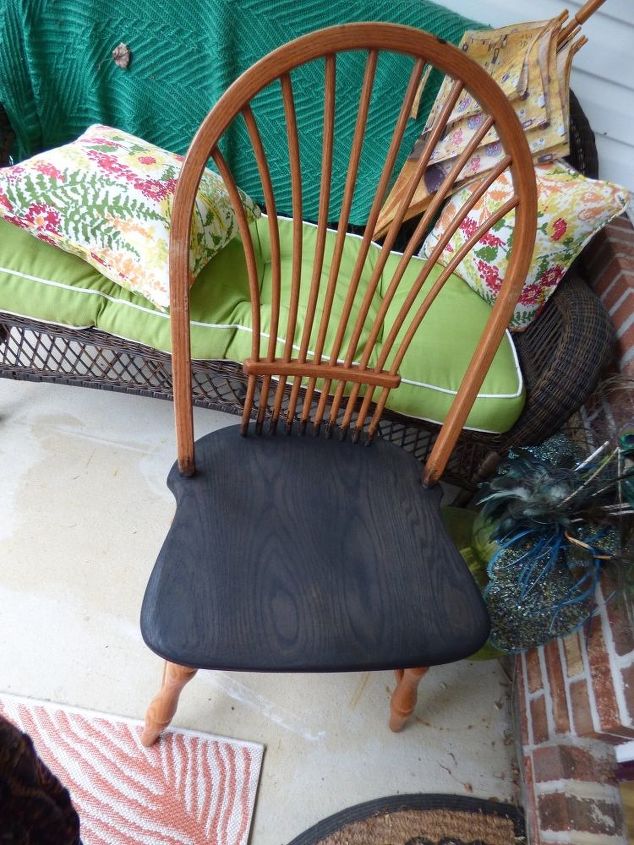
Stain on base of chair . Was able to move them to front porch to dry.
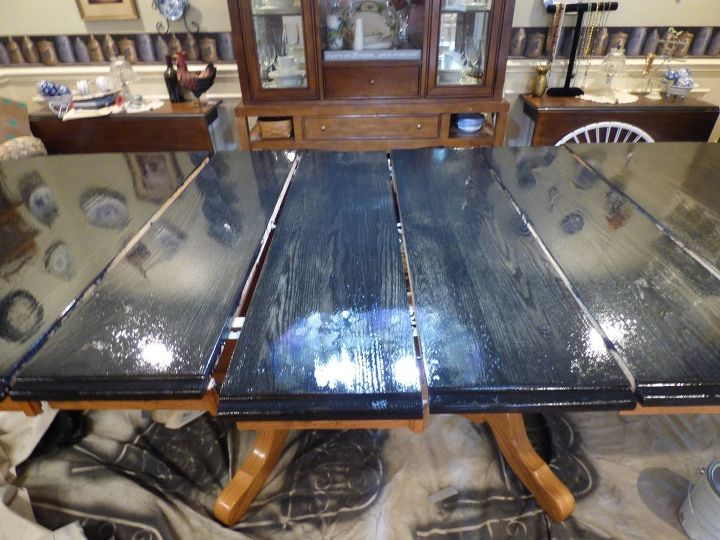
This was after the first coat of Helmsman . I did three al together because this is our main table . We tore out the wall between the kitchen and the formal dining room because we never used that room. Note the china hutch in back of the table. The two little side tables areone table cut in half and mounted to the wall and the drop leaves on them flip up for extra table space.
Lining up the chairs Sixty spindles not counting the side arms on the two end chairs .

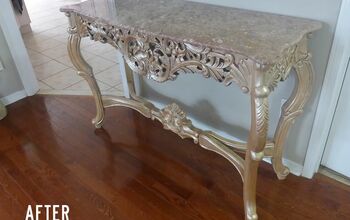
Finished project . Note the guilty looking Yorkie trying to quietly leave the room. The next photo shows why.
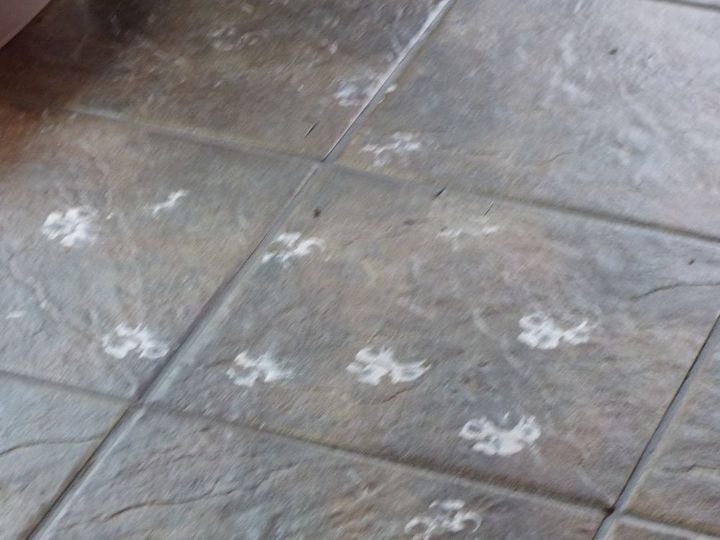
Some body did a happy dance in my paint tray and then took off running across the newly polished sunroom floor. I may leave it there for awhile . But a little goof off will clean it up.
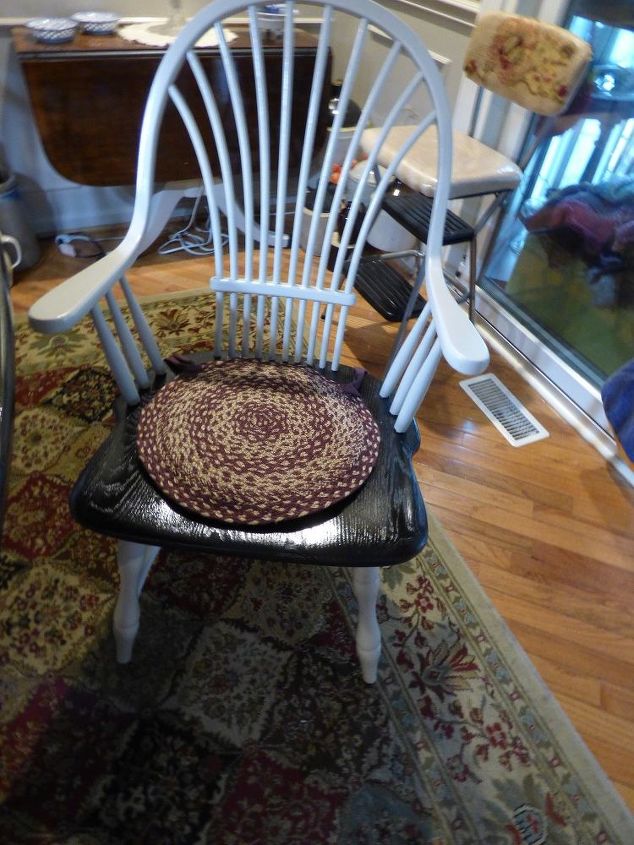
This is one of the arm chairs.
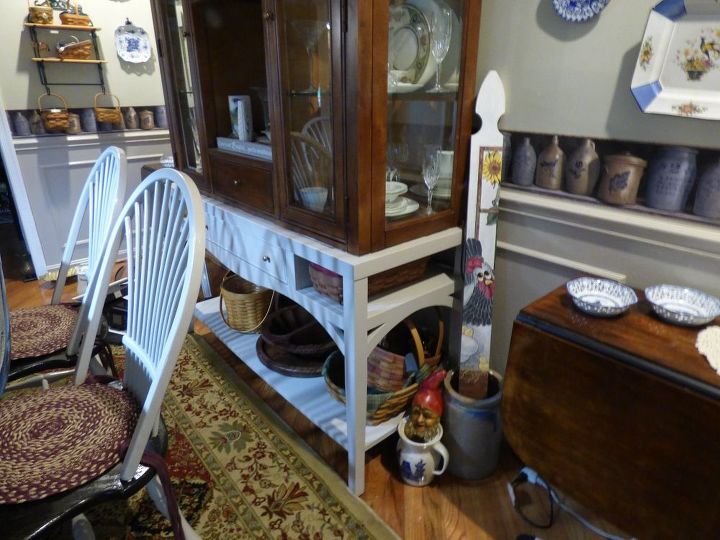
Here is the base of the china hutch . It comes apart to mix and match with what I have turned into a center island. I used the same Valspar paint on everything that I painted the cabinets with so it will hold up and match. Even the lower half of the wall.
This is the other base that is interchangeable with the one the hutch sits on . The other side is a big buffet . I only painted the back of it to make it look more like a built in Island.
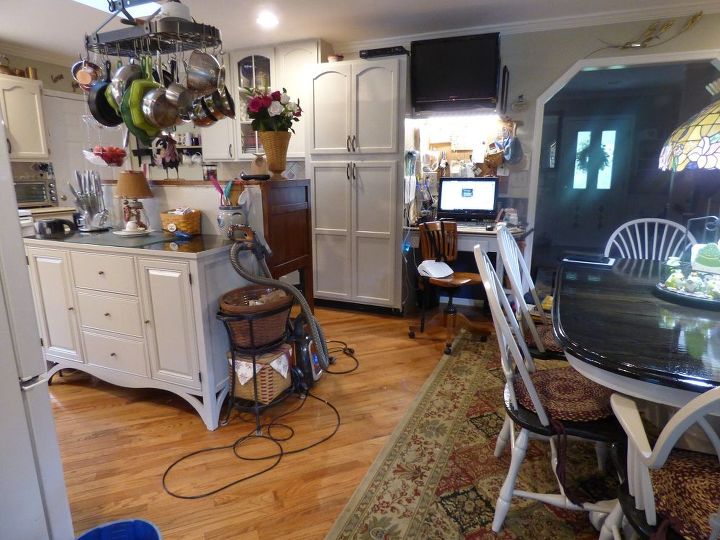
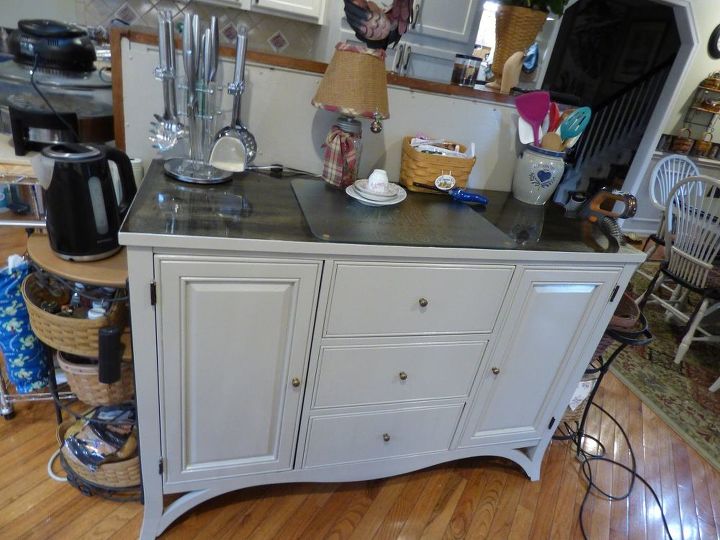
View of center island which is actually a buffet and a hutch base pushed back to back.
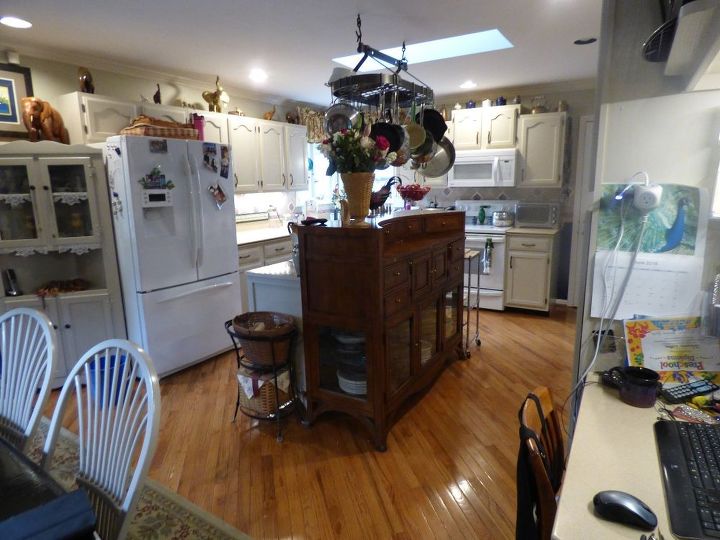
Another angle of the over all Kitchen are. Does any body see the face on the fridge ??? The 2 upright handles are the nose , The freezer handle is the mouth and he is winking . LOL
Resources for this project:
See all materials


Any price and availability information displayed on [relevant Amazon Site(s), as applicable] at the time of purchase will apply to the purchase of this product.
Hometalk may collect a small share of sales from the links on this page.More info


Frequently asked questions
Have a question about this project?