


Peacock Designed Table and Chairs

When it comes to rehabbing furniture I usually stick to things that people are throwing away because they are in such bad shape, or pieces that need work and people just don’t know how to fix them. I don’t know what got into me but I decided on trying to make my own table top, I already had the base and a set of chairs. I am really into stain shading and the majority of my pieces have art on them, so I thought what a great way to have a big blank canvas to work on. The project was definitely not as easy as I had hoped, I give props to those that build furniture...this will probably be the last piece I build for a while. The main reason is tools, your work is only as good as the tools you have to work with. Thankfully I was able to accomplish my goal with this piece. I hope you enjoy it. You can see more of my pieces at www.facebook.com/memawslovelyglass
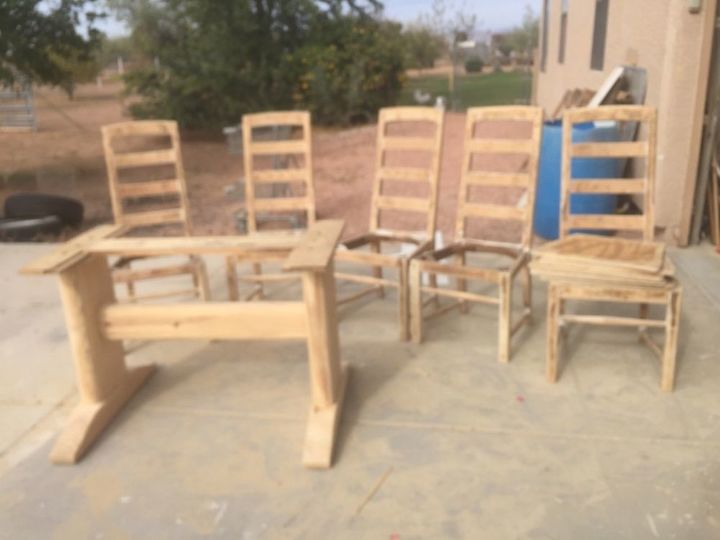
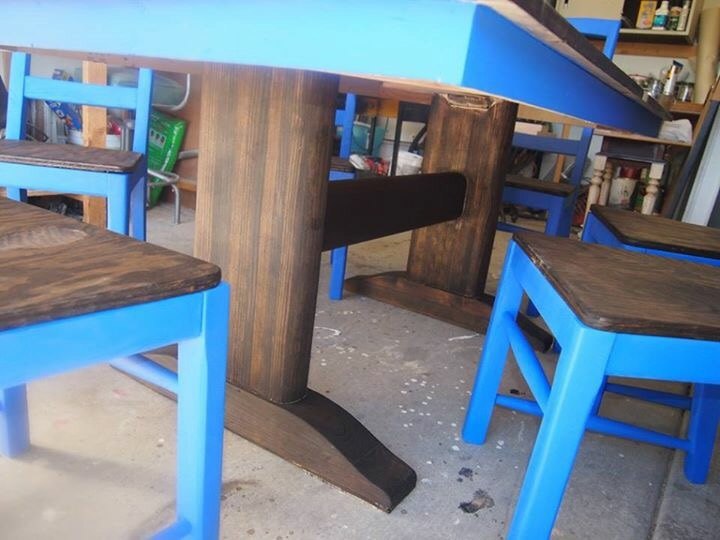
Here is the base and chairs I had. In this pick everything is already sanded down and I have removed the upholstered seats. It was a very heavy base and really sturdy chairs. I sanded with a 120 and finished with a 220.
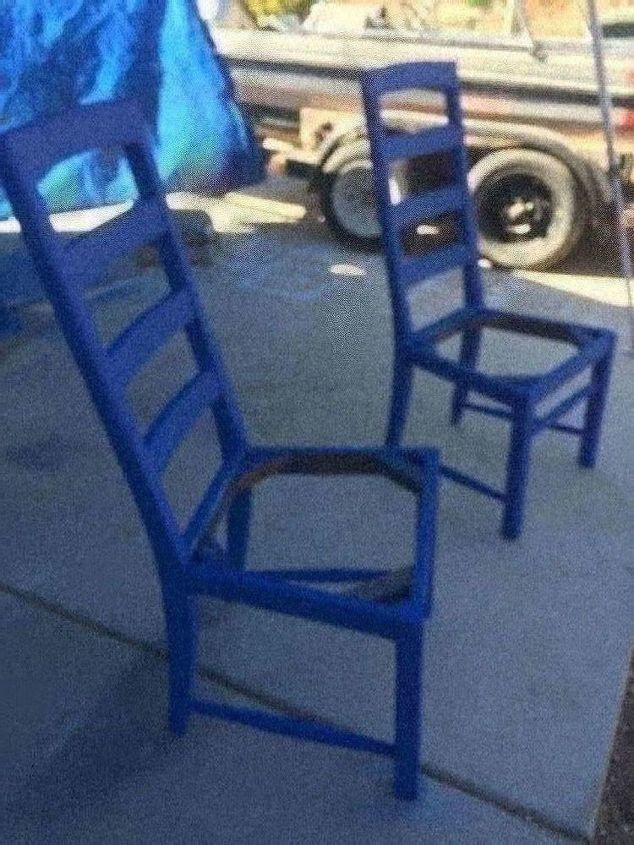
I chose sapphire blue for the chairs and around the table, not the base or the table top. Believe it or not I use a paint sprayer to paint chairs and I mention this because I put chalk paint in my sprayer, as long as you clean up right away it works great.
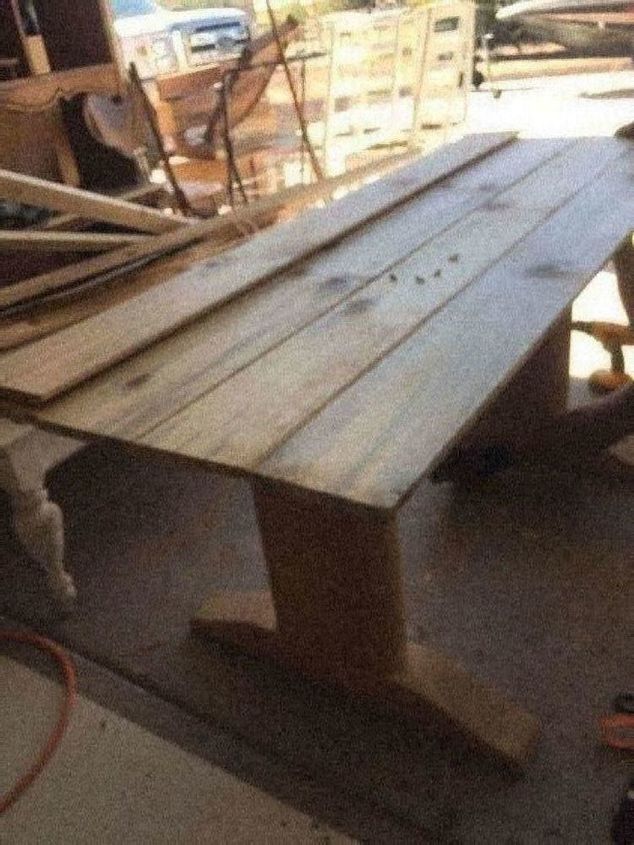
Here are the pieces of planks being laid out. I used 1x6 pine shiplap pieces for the table top. I cut the tongue and groove off of each side and used a Kreg jig to join them together, also wood glue was used. There are tons of tutorials out there on how to use a kreg jig, I had to watch them many times!
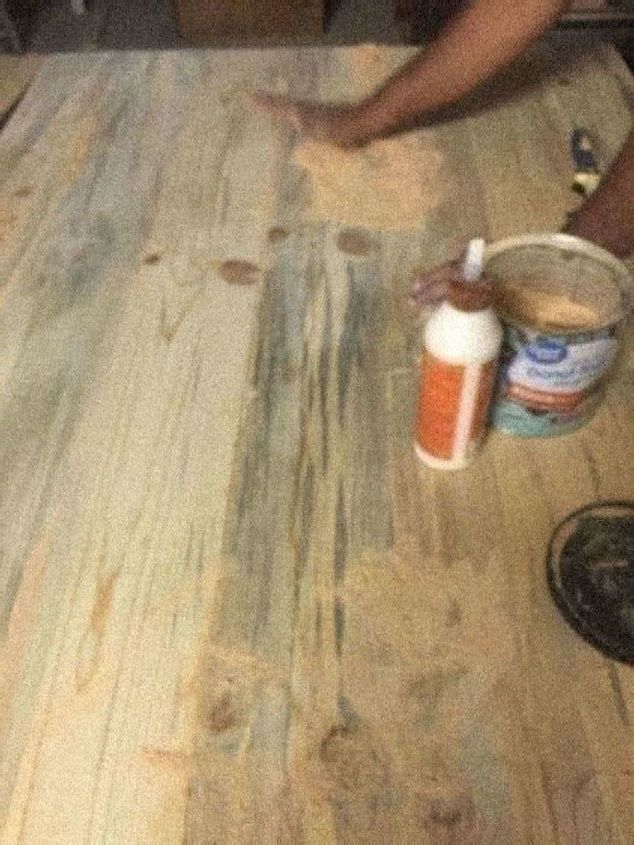
After everything was fastened together I used the saw dust that I always keep (it makes good wood filler when mixed with wood glue). I worked in a circle motion to fill in any cracks. Let dry complete, 1 day, and sanded with 220 to get it ready for my peacock design.
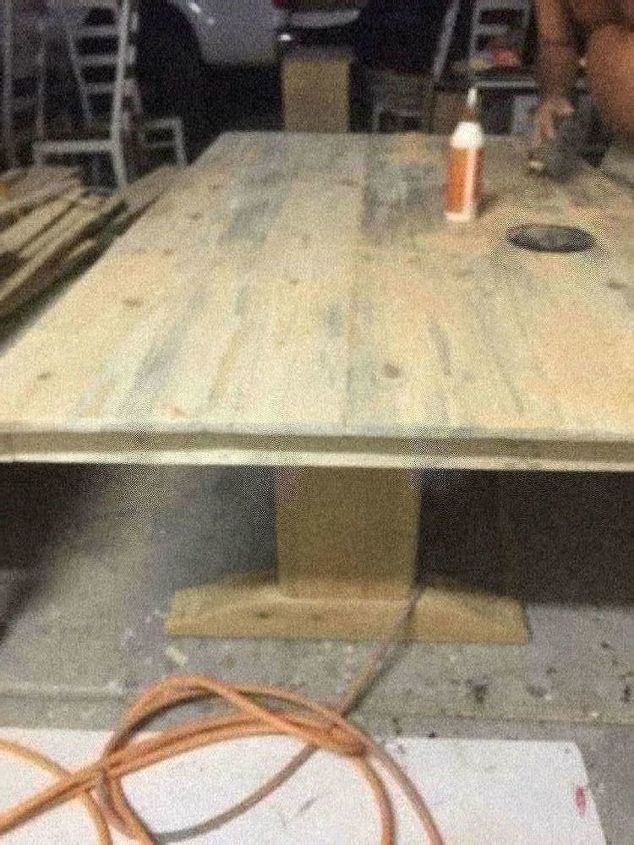
All ready for stain and paint.
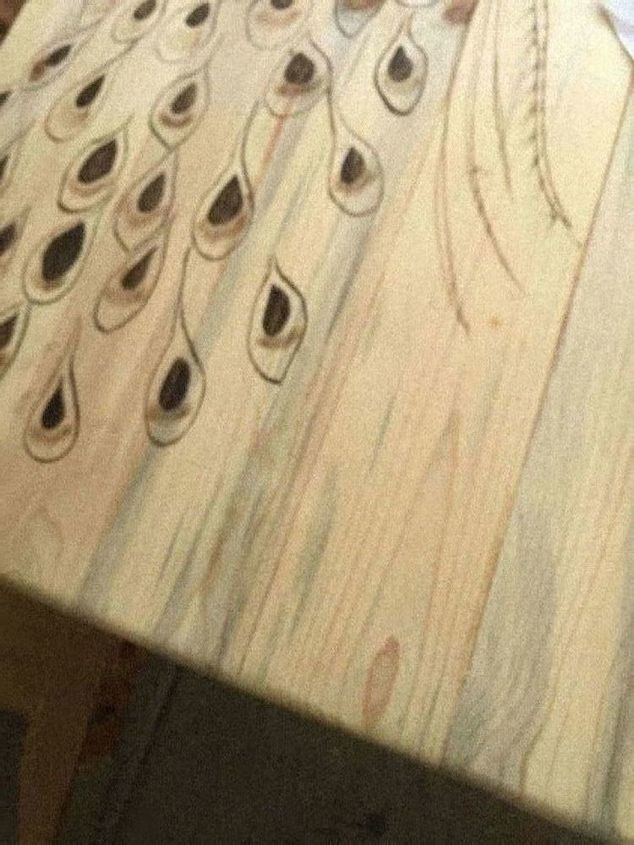
Close up of table top and some of the feathers taking shape
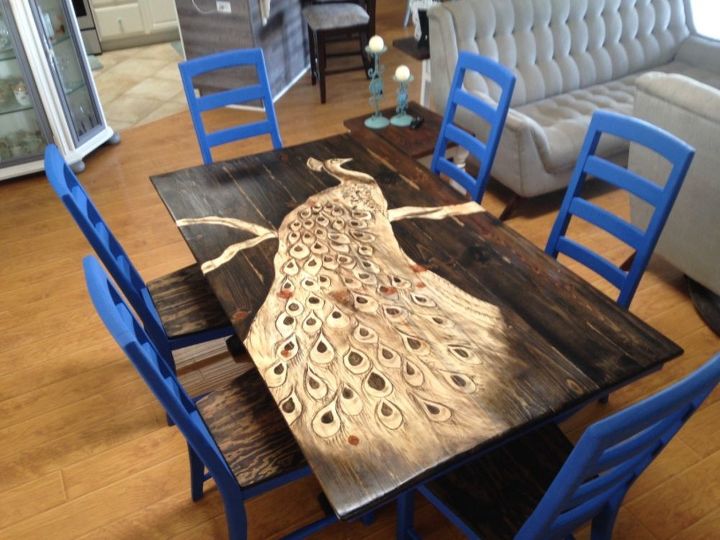
This is what stain shading looks like. I draw out my image with a pencil and use stain like you would use paint to create your image. The whole design is just stain. I use various brushes and my fingers to get the look I want. When doing this make sure you use regular stain. You cannot use quick drying or stain that has poly, it will not work.
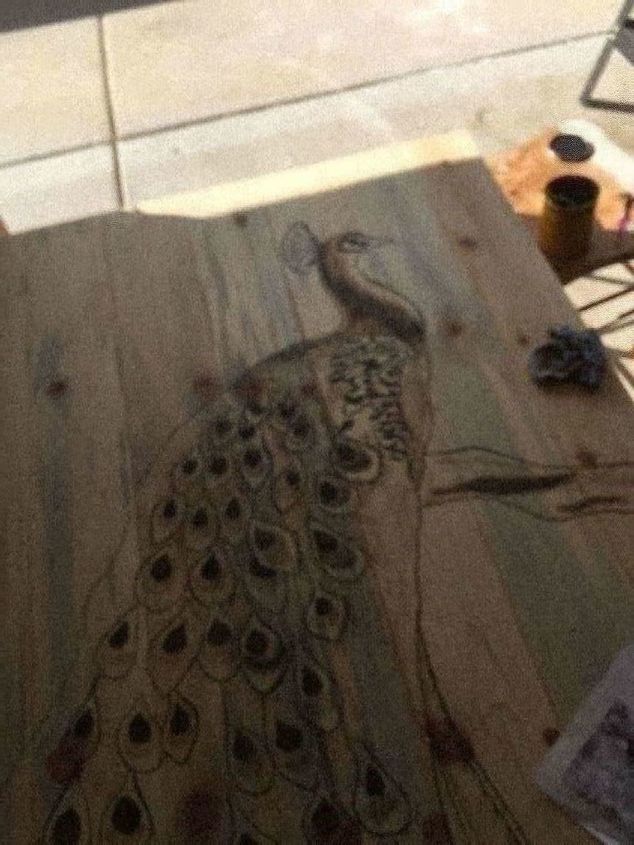
First coat of stain is done. I like to go over a few times.
I used Jacobean stain by miniwax. I make my own chalk paint.
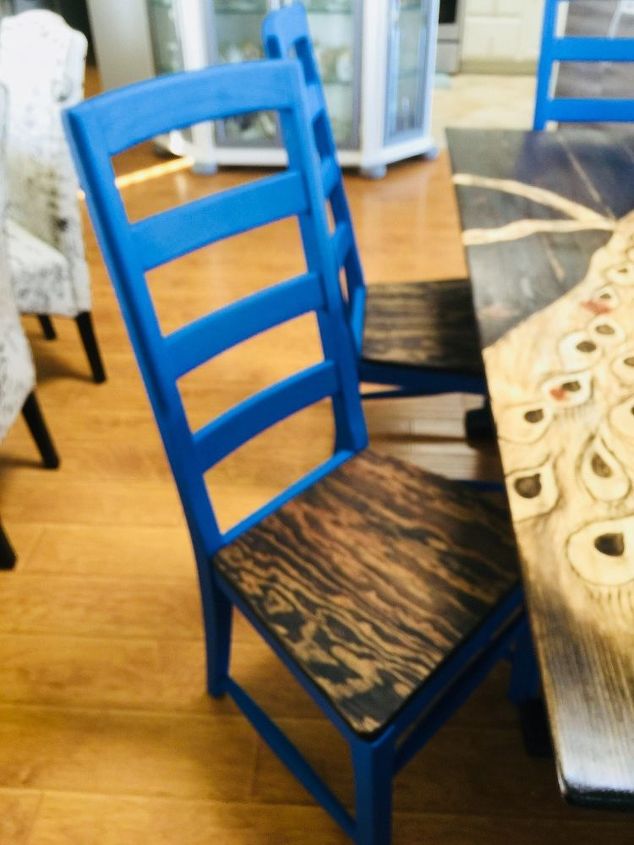
I did not reupholstered the chairs, I sanded and stained the seats to look like the table top. Again used a 120 and finished with a 220.
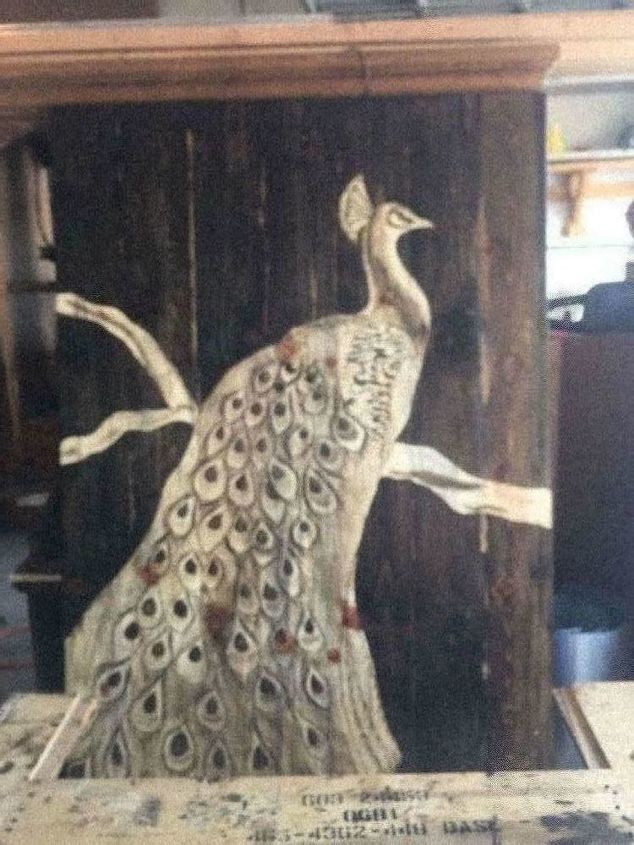
I sealed the chairs and base of table with wipe on poly and the top with 3 coats polyurethane semi gloss.
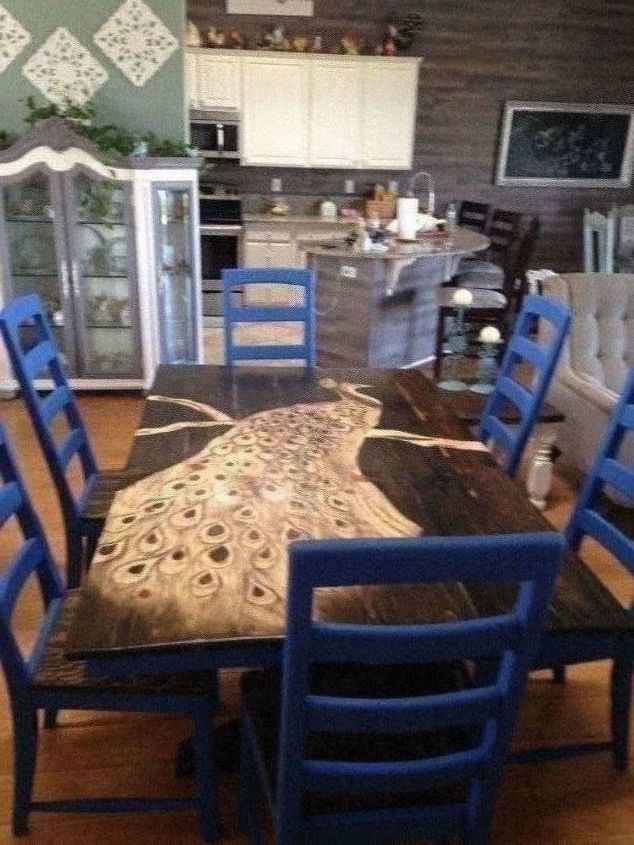
All finished! It was fun Project and I learned a lot from trying something new.
Resources for this project:
See all materials


Comments
Join the conversation
-
I was mesmerized through out this post thank you for sharing
-
I love your peacock!!!! I collect them.


Frequently asked questions
Have a question about this project?
That is just awesome !!! I love Peacocks I think they are one of the most beautiful Birds ....also My sister lives in Wittman Az also and I will be there visiting her for about 10 days and I sure would like to see this in person ...can you message me on Facebook?...Please ....(Maude LaFountain )..
You have answered a giant question for me: can you spray chalk paint? I’m happy to see you can, with proper sprayer cleanup. What do you add to paint to make your chalk paint? I LOVE the peacock.