


Tea Tin Planters
4 Materials
$5
30 Minutes
Easy
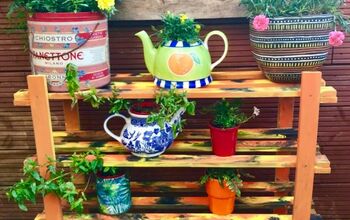
Our favorite new tea flavor {green tea with coconut} came in tins too pretty to toss. So I turned them into vintage style planters instead.
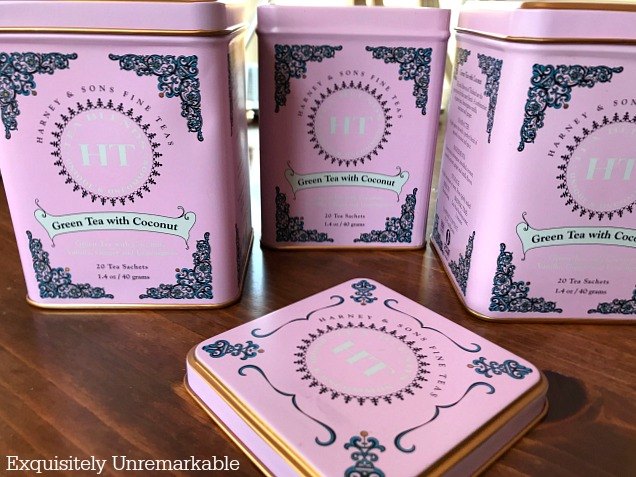
The tins were just so sweet, I couldn't bear to send them off to the recycle center. I knew they'd look great with a few colorful blooms, but it was kind of risk, because I'm not a great gardener.
My husband is the one who has cultivated everything in our charming cottage style garden and pond area, but I figured I would give it a try.
I mean how hard could it be right?
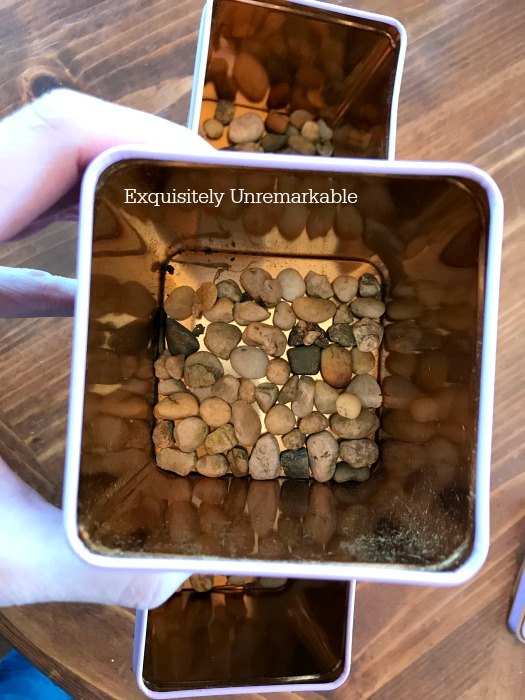
Since the tins had no drainage and I didn't want to pop holes in the bottom and have them make a mess of my beautiful kitchen countertops every time I watered them, I did the next best thing and placed some small stones in the bottom.
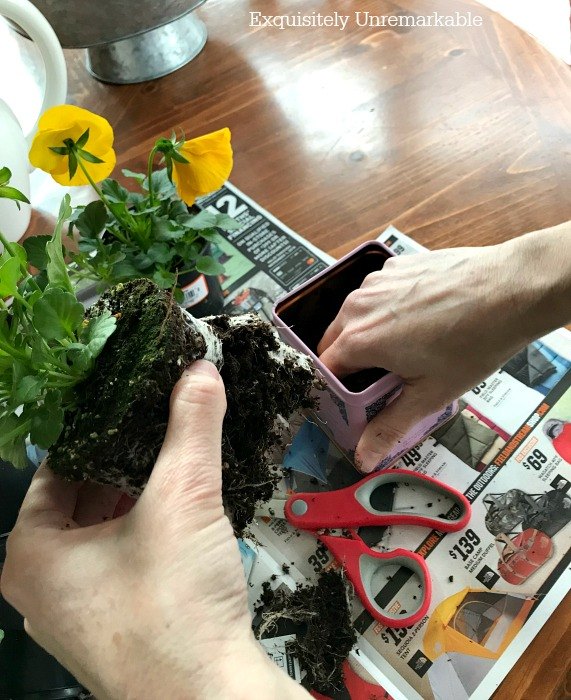
Next, I added dirt to my tins. I would say that I filled each tin up about one quarter of the way. Then I added a pansy. Pansies are very hearty...and I definitely needed hearty!!
I don't care how pretty the tins are, nothing looks good with a dead plant in it!! 
Once the flowers were in, I added more dirt to cover the roots. Then I packed it down firmly with my fingers and gave everyone a little drink.
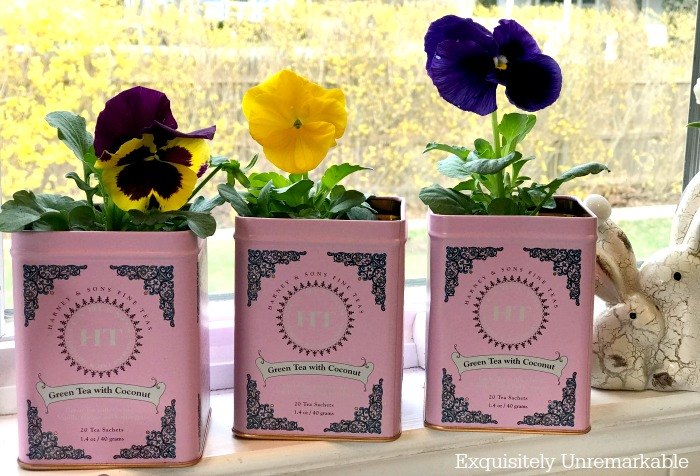
When I was all done, I had three {free!} of the sweetest little vintage styled planters decorating my kitchen. And believe it or not, they lasted in my care all season. Bright, happy and best of all alive!
Fabulous.
For more thrifty, recycled fun and fabulous crafts check out my site!
Resources for this project:
See all materials


Any price and availability information displayed on [relevant Amazon Site(s), as applicable] at the time of purchase will apply to the purchase of this product.
Hometalk may collect a small share of sales from the links on this page.More info

Want more details about this and other DIY projects? Check out my blog post!


Frequently asked questions
Have a question about this project?