


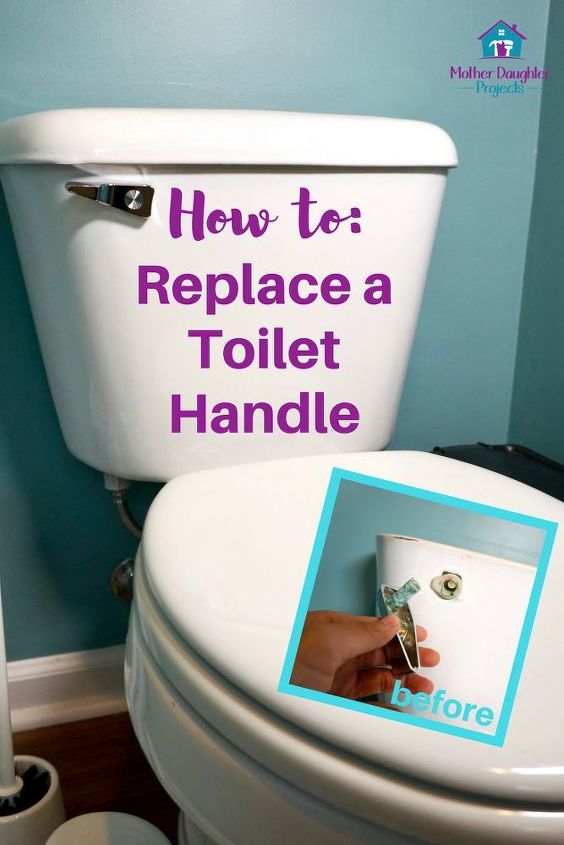
How to Fix Your Toilet Flush Handle
Here's a home maintenance project to save just in case you need it! Anything in your home with moving parts will more than likely fail at some point. That is what happened to the toilet flush lever at Steph's house.
Toilets can flush without the lever--you simply take off the top, put your hand down into the tank and pull up the lever. Well, she got tired of doing that and looked into how to replace it.
And she found it's a simple fix!
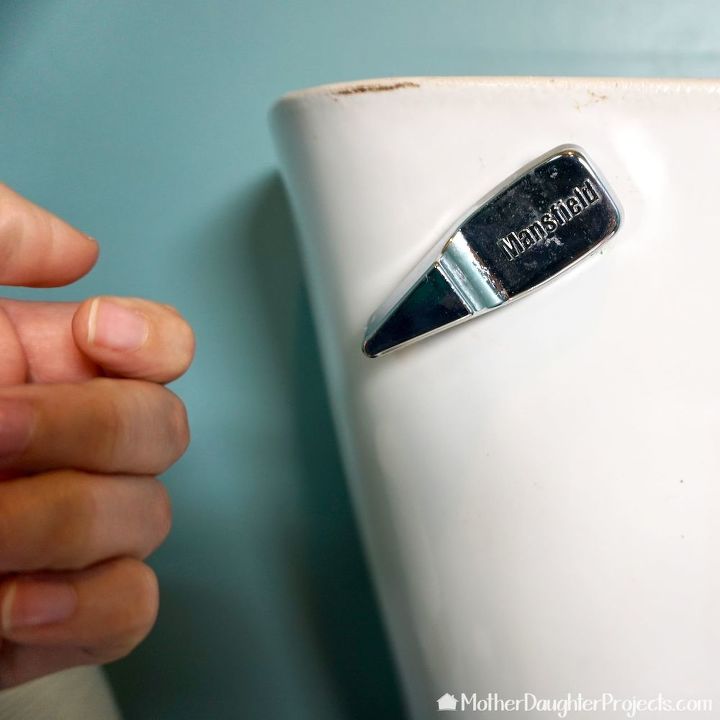
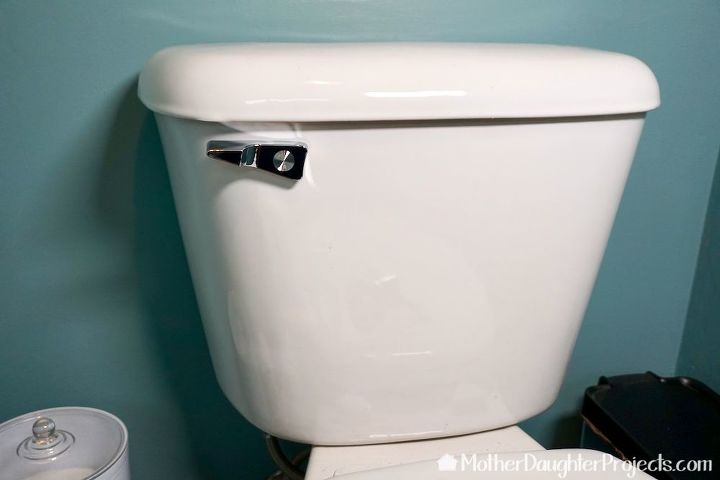
The handle is not supposed to hang at an angle like this. It was time to replace it!
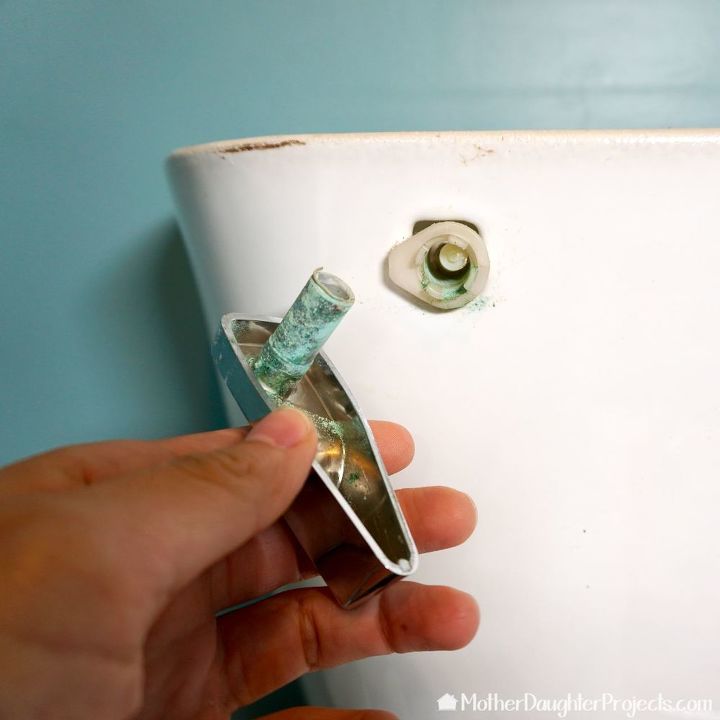
This part was already broken so it was easy to remove. The other parts you need to remove, simply screw and lift out.
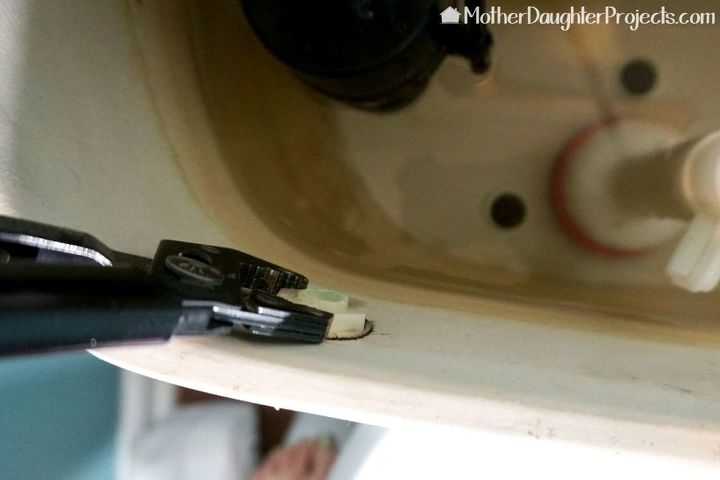
You'll need to use a wrench to loosen this plastic nut to fully remove the parts.
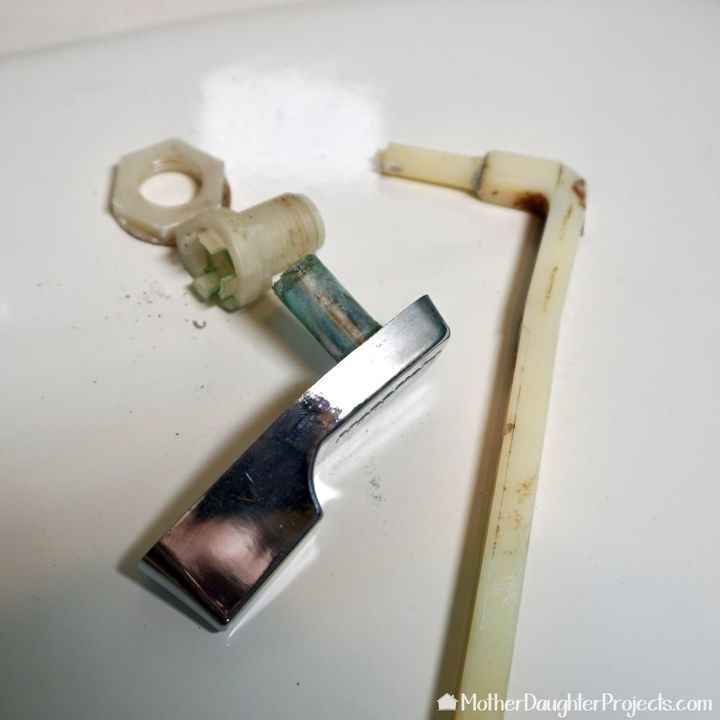
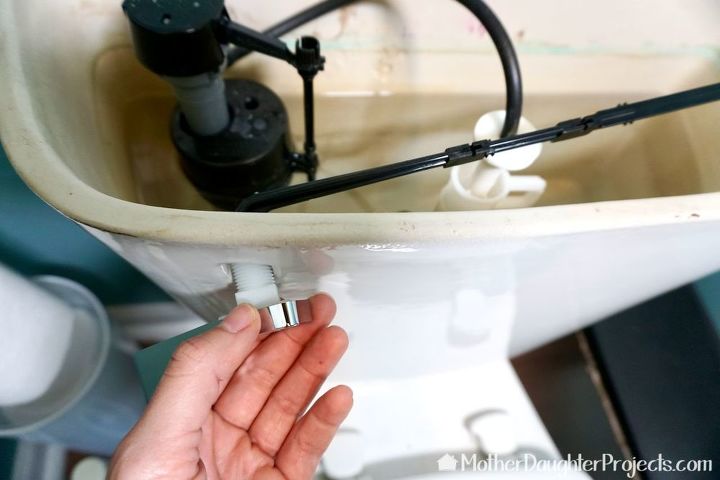
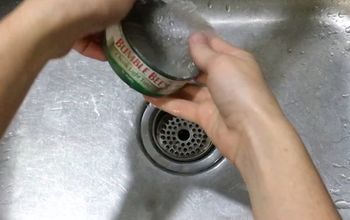
These are all the removed parts. Take a picture or actually take the parts to the store so you can get an exact or close replacement to the original.
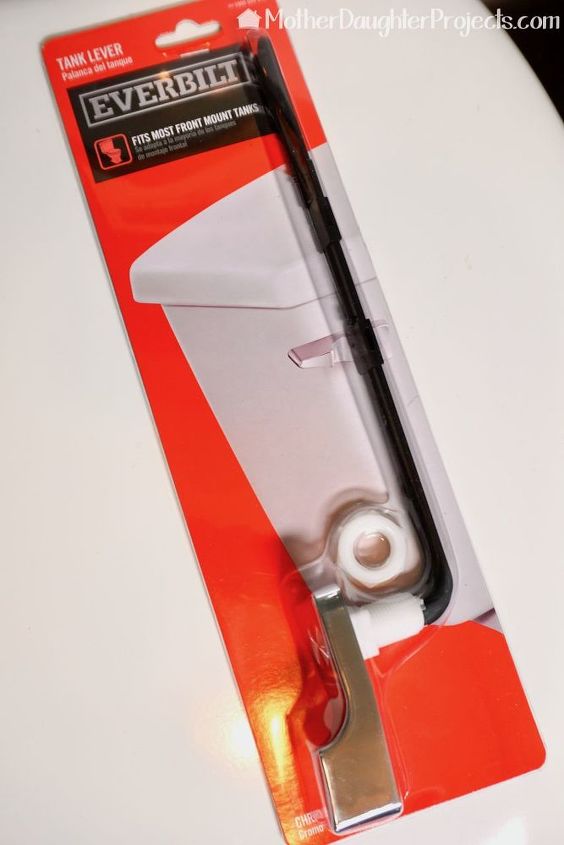
You will be buying one of these which has all the replacement parts you need.
To replace, you'll need to work the lever assembly into the hole.
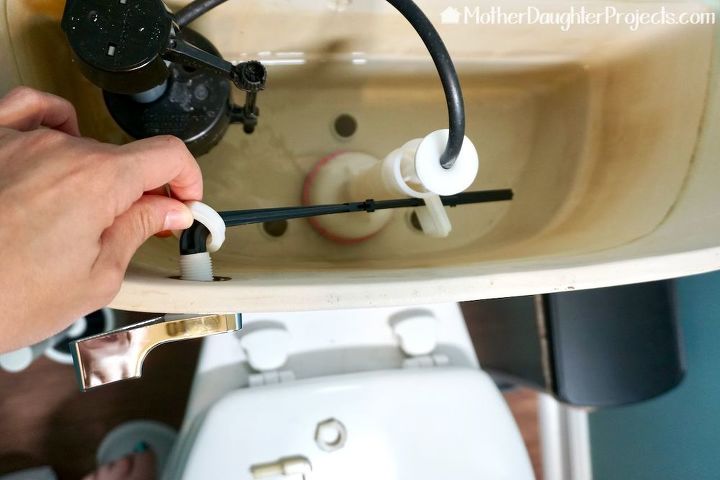
The nut is put onto the long lever and the lever is then put into place into the flush valve. (Before you take the old parts out, take a picture so you can be sure you get the new one put back in the same position.)
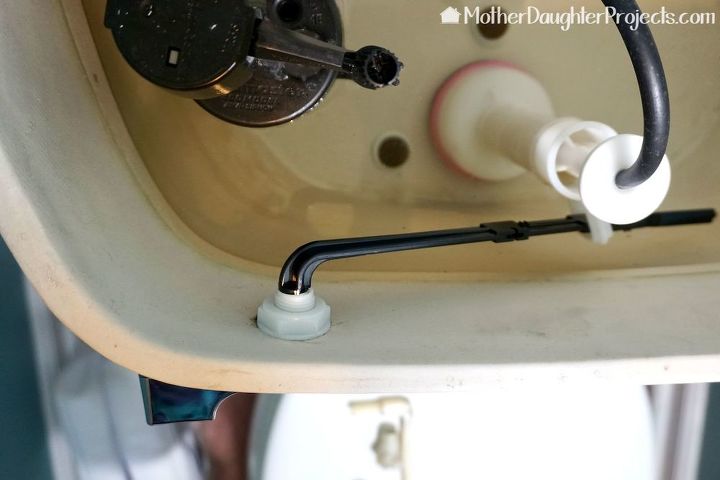
The nut is then tightened into position. Don't over-tighten as you don't want to strip the threads on the plastic.
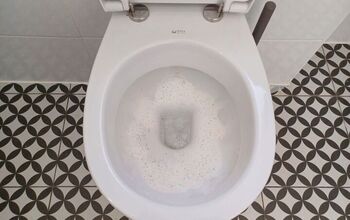
Finished! All done and ready for action. A simple fix for an all to common problem!
Be sure to save or pin this for the future.

Comments
Join the conversation
-
Good share! Valve replacements and even putting in a new toilet aren't as scary as they seem. It is worth trying on your own. My aunt told me she just paid over $300 to have a toilet replaced!!!
-
When I saw this on the Hometalk feed just now, my thought was "How did you know I need to replace the level on my toilet!?!?!??!" - I'm so excited you made this tutorial! Thank you for sharing - you've given me tremendous inspiration!


Frequently asked questions
Have a question about this project?