


Master Bath Remodel

We finally started on the master bedroom ensuite which was 4 rooms, a 15x16 BR, walk in closet, dressing room/sink room and toilet/shower room. A very challenging project since the the toilet shower room had to be taken down to the studs and build up. The shower build is on another posting, click on my name/photo to see the other postings! Too many pictures so I broke it down by room.
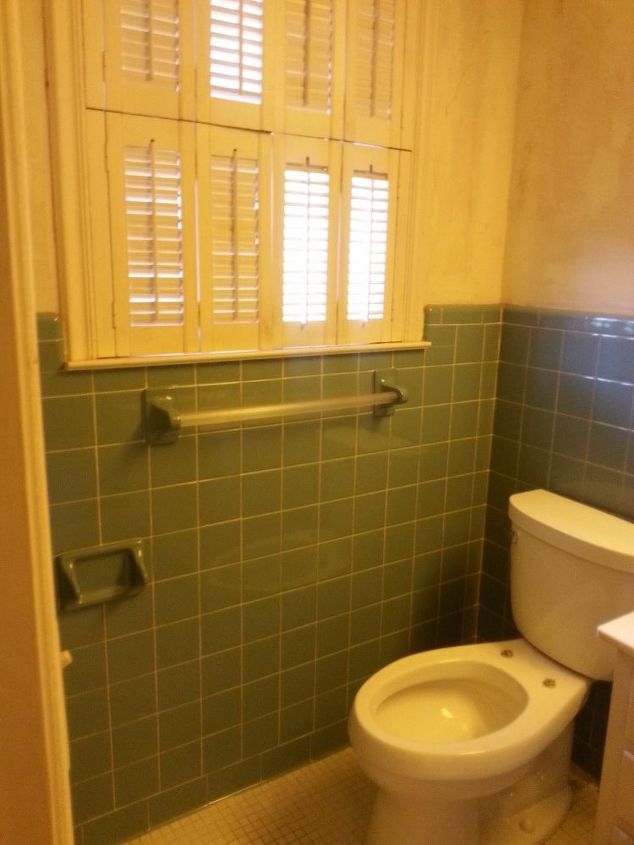
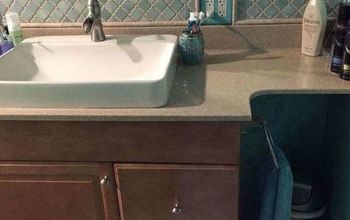
So the first step was to remove the wall paper, the pop corn ceiling (after testing for asbestos) and begin the demo. Had to be careful, since we knew there were holes in the wood below the tile. This room had one sink to the right of the toilet, and there was one in the other room. We opted to create 2 sinks in the other room and can this one. I capped off the water going up the wall later after removing the small vanity.
This room had one sink, and there was one in the other room. We opted to create 2 sinks in the other room and can this one. I capped off the water going up the wall later after removing the small vanity.
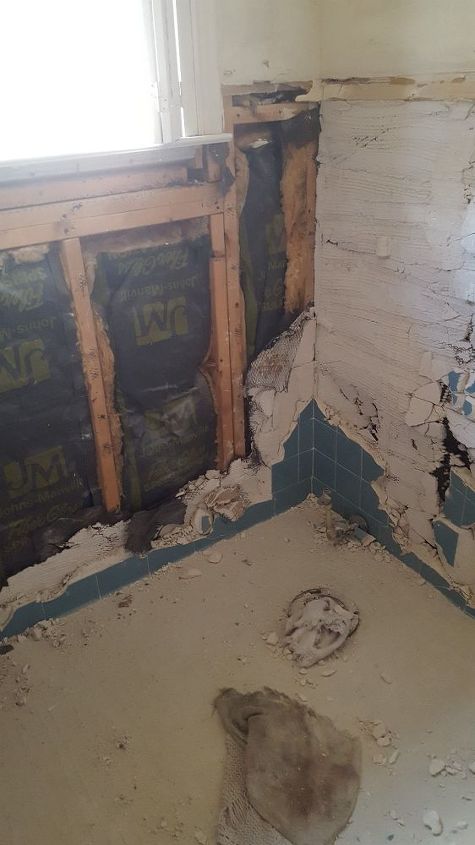
The tile was mounted on 6 inches of concrete on top of chicken wire nailed to 2x4s. Took a 10 and 20 lb sledge hammer to knock it off the wire, then pulled or cut (using a sawz all) the wire/concrete off the wall. We used a shovel and a 5 gallon bucket to empty out a window into other containers we could take to the dump.
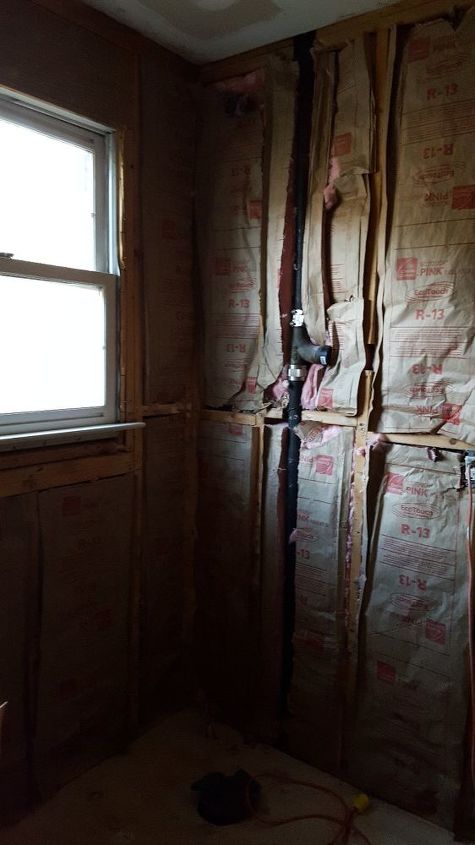
Took down all the dry wall, installed new and upgraded batting, new plywood flooring.
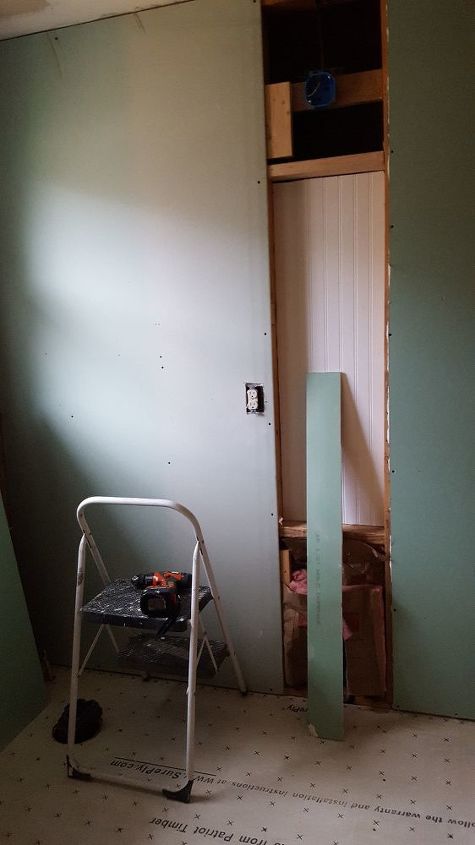
I wanted a built in medicine cabinet and left a piece of wall cut out between 2x4 studs to create it. I later bought nice poplar wood to frame the inside of the area and put shelves in using a track system so they were movable if needed.
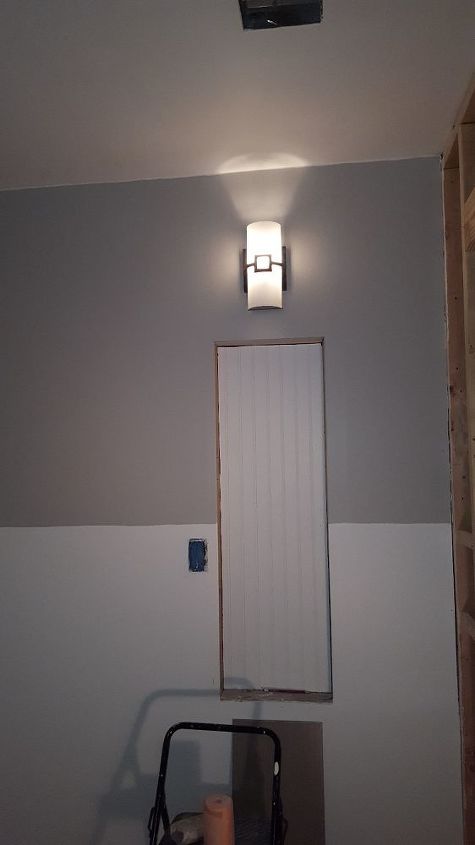
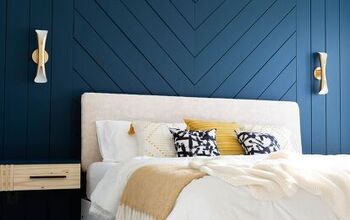
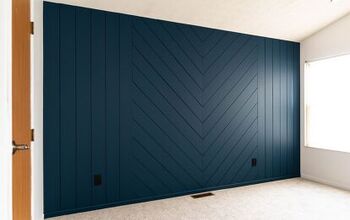
time to paint the walls and install the new light
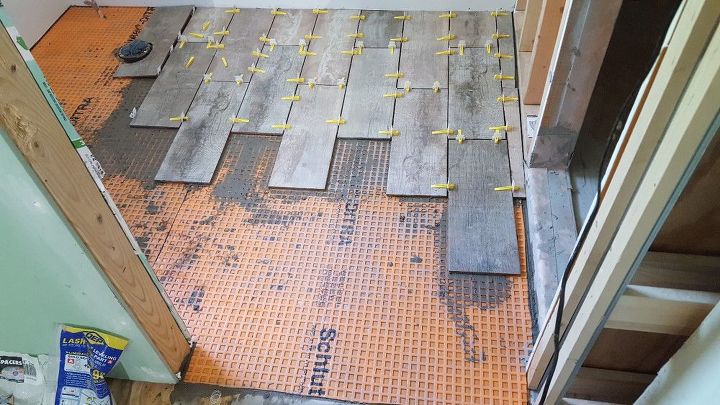
Install detra to put down the tile and waterproofed it with Schluter tape near the entrance of the shower stall (we opted for no door entry, just a slight curb.
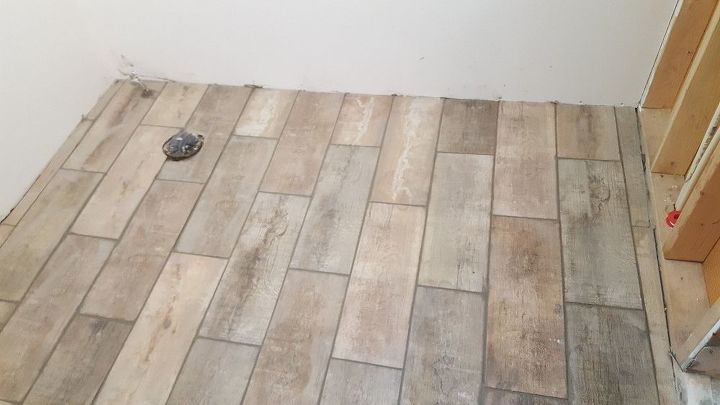
Tile finished and grouted. We didn't like the dusty look, it was so much prettier wet! We fixed that later with a shiny tile sealant.
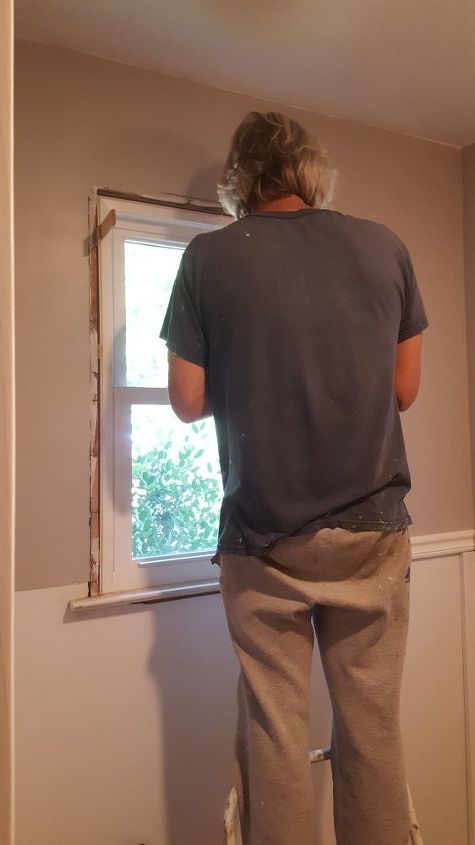
We have lots of old windows in this house, and having never replaced one, went to viewing lots of youtube videos. Not so hard it seemed (when compared to building a shower!) So we measured, went to Lowes and bought a replacement window. Here's my better half shimming up the edges of the window for screwing down to the frame.
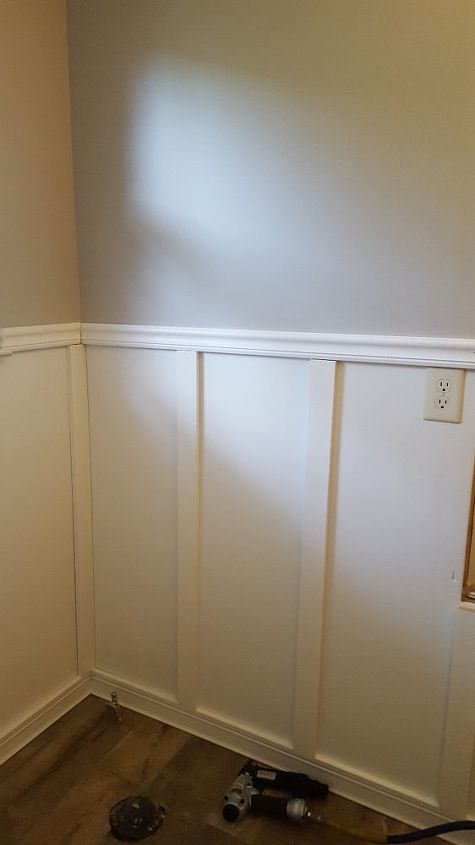
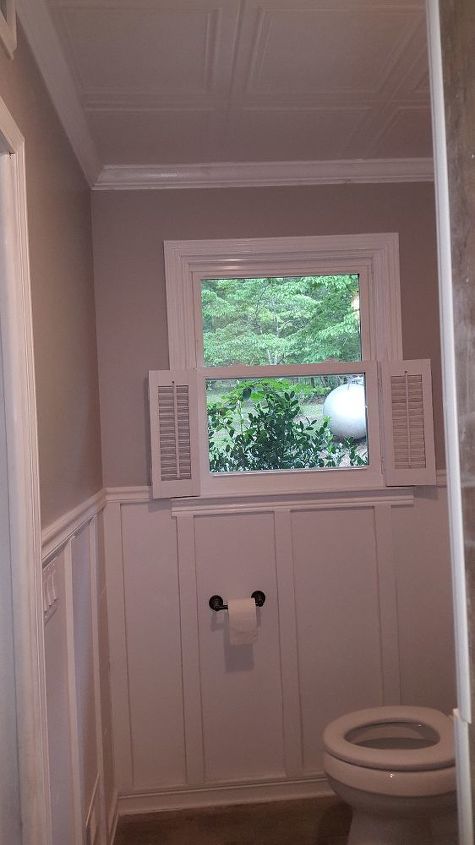
I ordered the wainscoting kit from Home Depot (chair rail and baseboard) and ordered 2.5" boards to cut. I thought a 13 in gap looked great and it worked out pretty evenly around the room. After installing the horizontal board, I caulked all 4 edges prior to painting. We also installed new switches and covers on the outlets.
Time to put the toilet back in place. Had it setting outside for months!
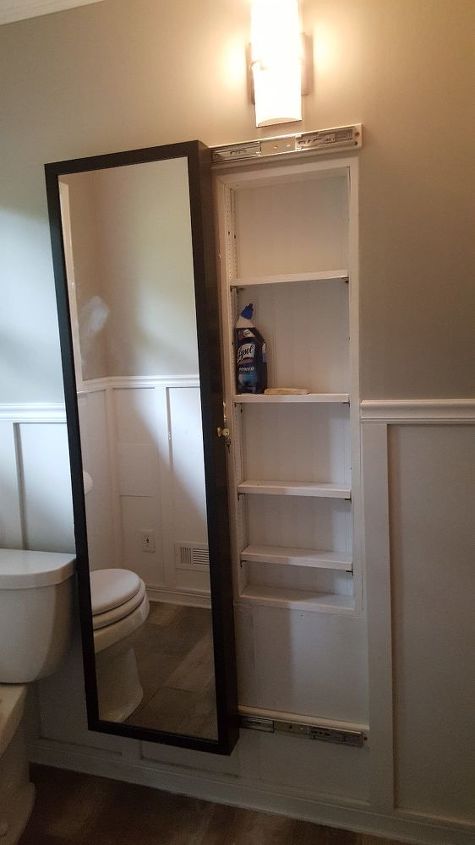
I had a hard time finding a quality mirror that fit/covered the medicine cabinet (I had planned using it as a cover, build on drawer slides! Saw that on the web. So I stumbled on a jewelry armoire that was perfectly sized!
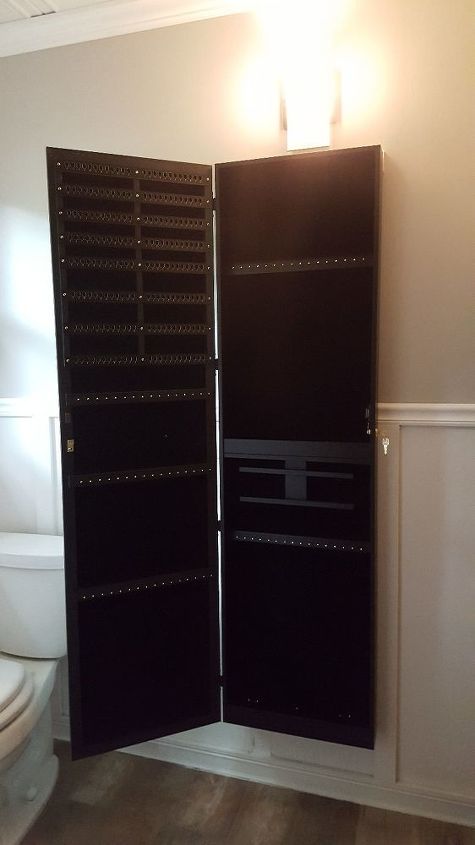
I actually filled this puppy up with jewelry, earrings galore and bracelets, necklaces.
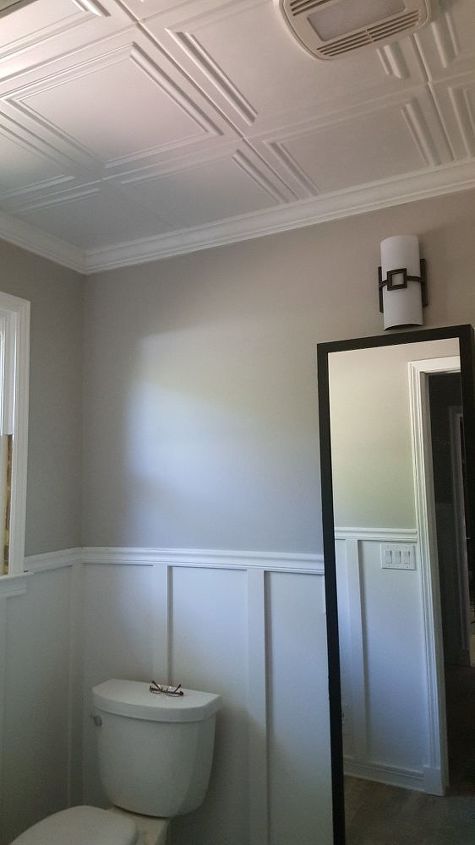
The crown molding was new for me, learned how to cut and install it in the 2 bathroom rooms. Worked out great and gave it a nice look. I also bought the ceiling tiles on line, only took adhesive caulk to install straight to the ceiling. They are actually made of styrofoam and are as light as a feather, took 2 hours to put up with a knife and caulk.
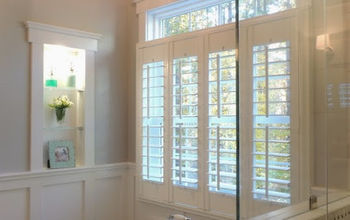
All the other rooms in the home had crown molding already. All the bedrooms and bath had plantation shutters, which we saved, painted and reinstalled. Love them!
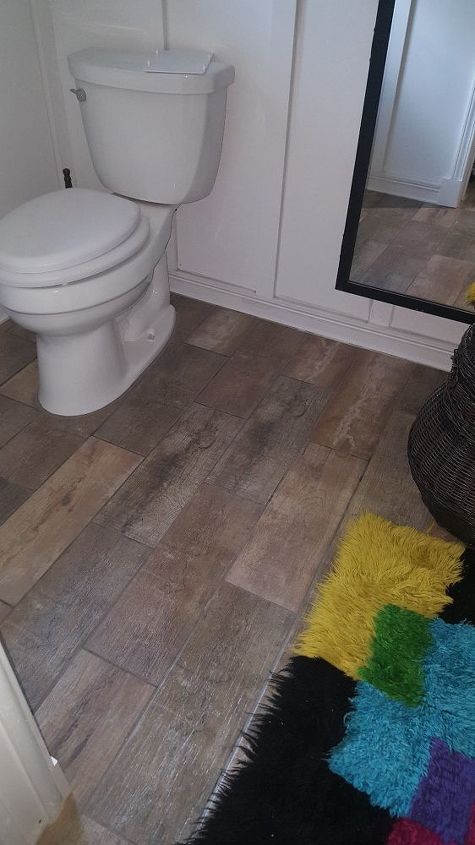
This is the floor with 2 coats of high gloss sealant, Makes it so easy to clean too! Finished and ready to use!
Comments
Join the conversation
-
That jewelry holder is amazing, great work!
-
Looks amazing. Love the wainscoting and the ceiling. Superb job.


Frequently asked questions
Have a question about this project?