


Halloween Tree From Jewelry Organizer

by
Teri.jeffrey
4 Materials
$3
3 Hours
Easy
After finishing my Halloween Shadow Box, I had some clay ornaments left over which seemed perfect for a Halloween Tree. As luck would have it, I also had a jewelry organizer in the shape of a tree.
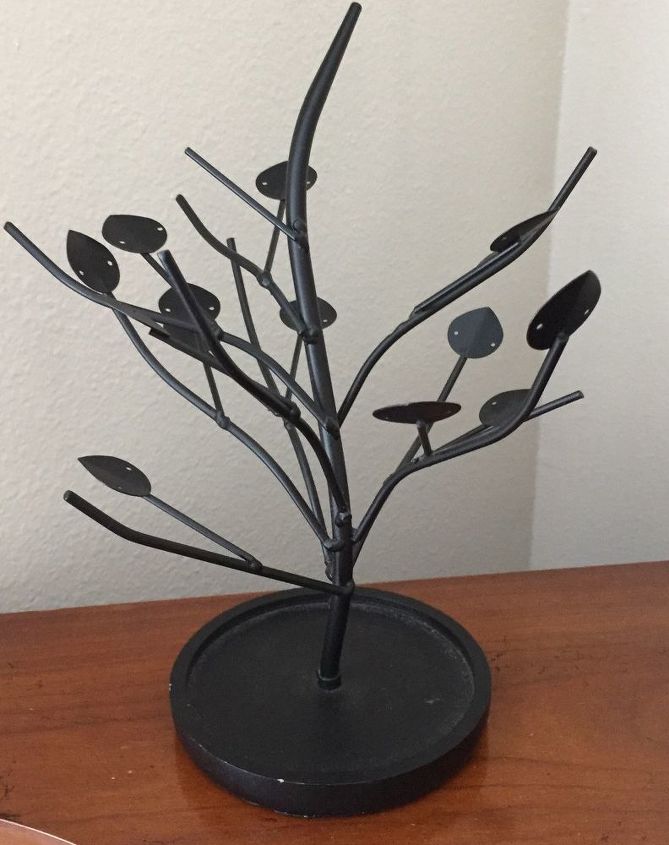
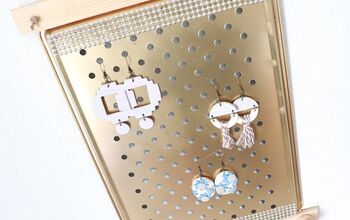
Jewelry Organizer
The jewelry tree was black metal with branches and leaves. Perfect!
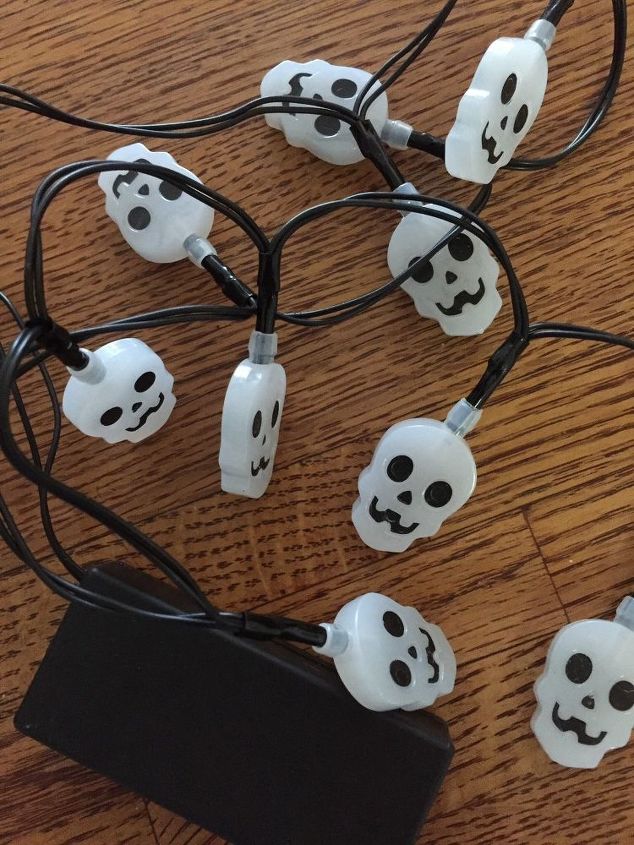
Dollar Tree Skull Lights
After checking out the variety of battery operated Dollar Tree Halloween lights, I opted for the skulls as they went with my black & white theme.
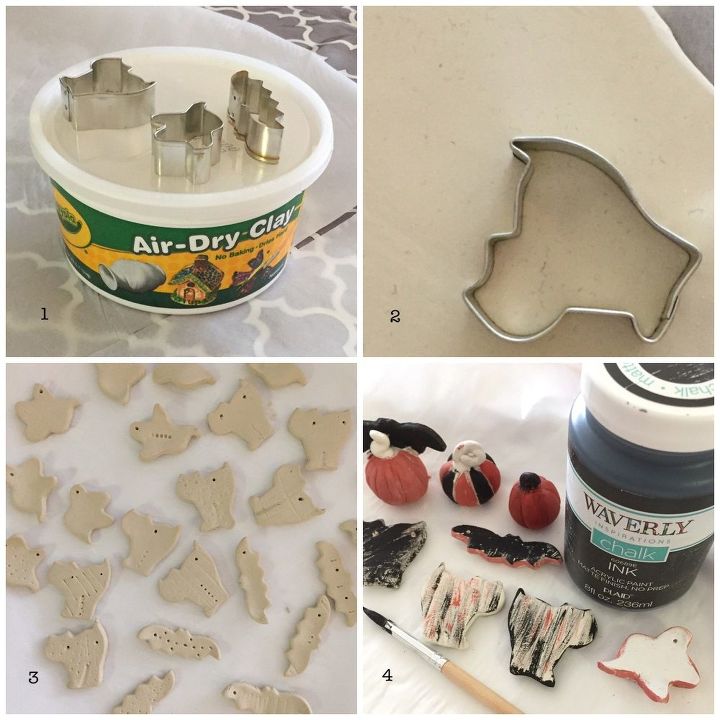
Ornaments
Using Crayola Air Dry Clay, I had made ornaments for the Halloween Shadow Box previously posted.
Attaching Ornaments
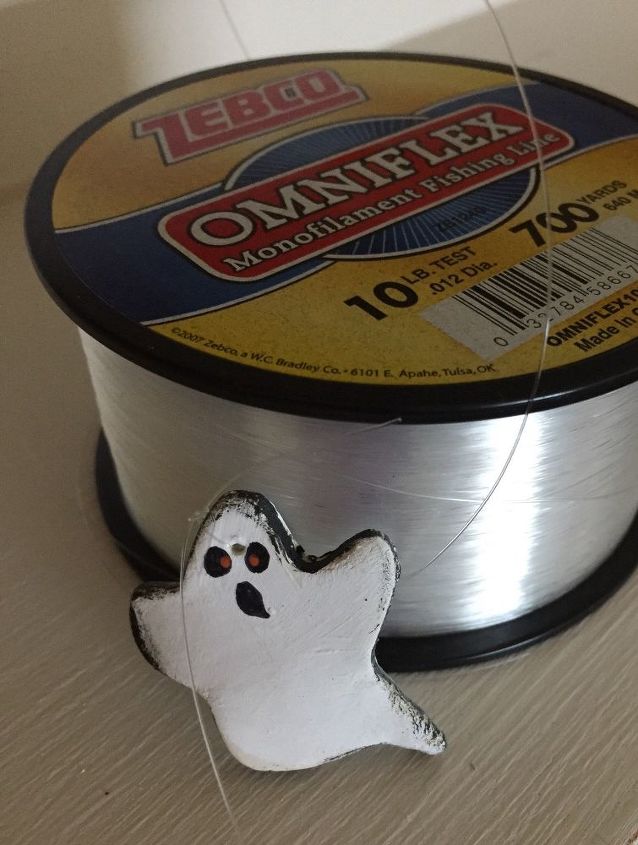
The jewelry tree leaves had holes for hanging earrings. By threading the ornaments through those holes with thin fishing line, I could adjust the length to fill out the tree.
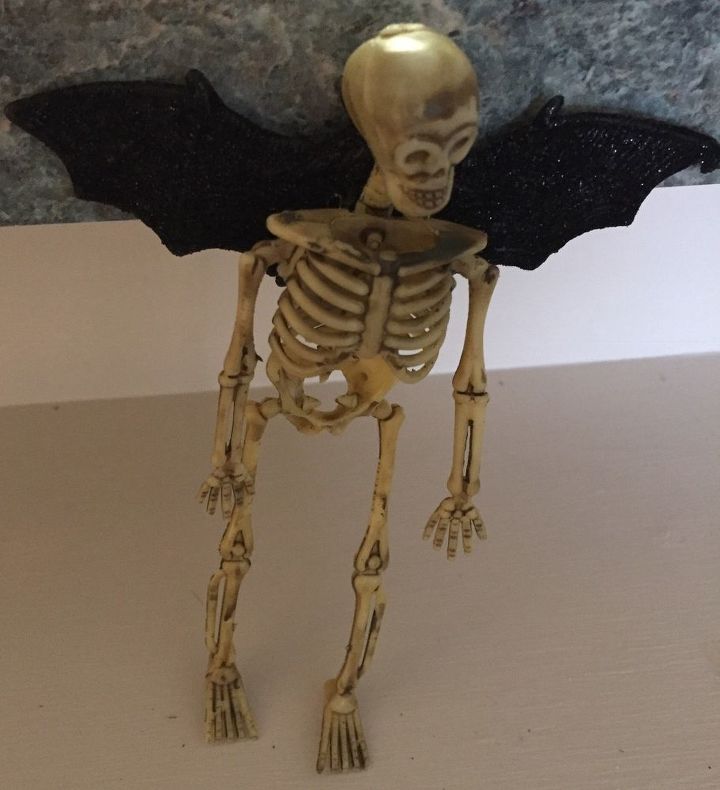
A Batty Skeleton
My Dollar Tree Halloween stash contained skeletons & bats which seemed like a perfect combination for a top piece.
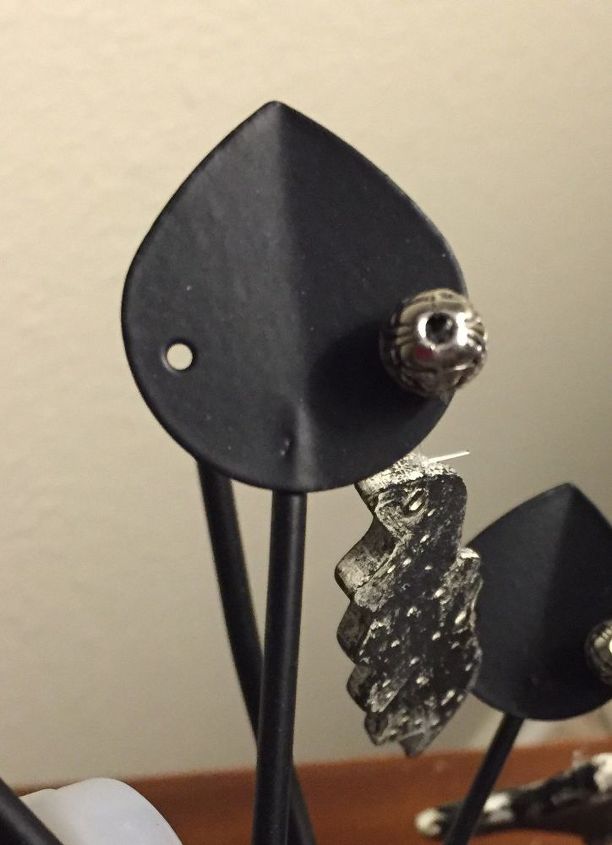
Securing the Ornaments
By threading the ornaments through the holes on the leaf and inserting a silver bead before knotting, each ornament was hung at different lengths.
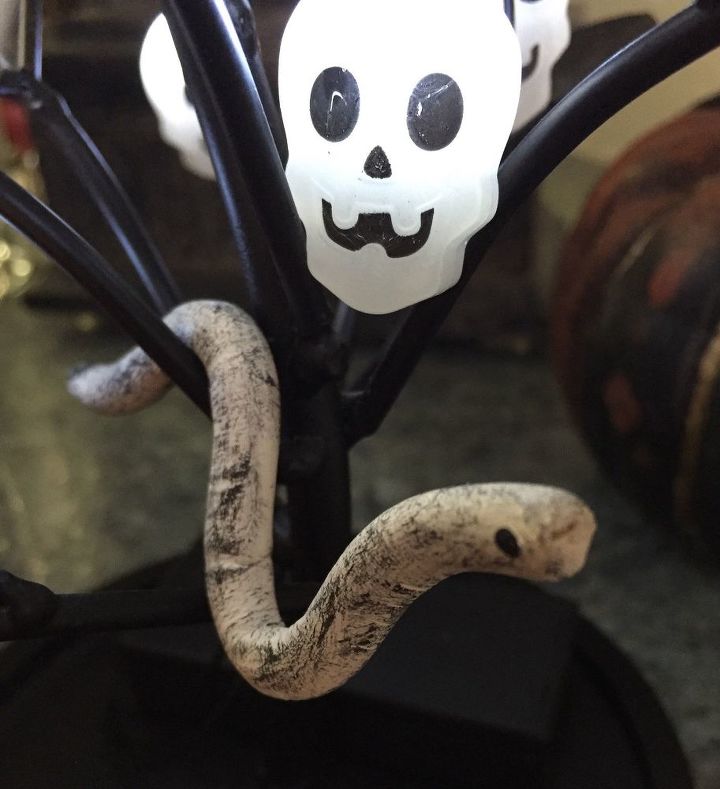
Slithering Snake
Decided that the lower branches needed a snake, so a thin twisted clay roll came to the rescue.
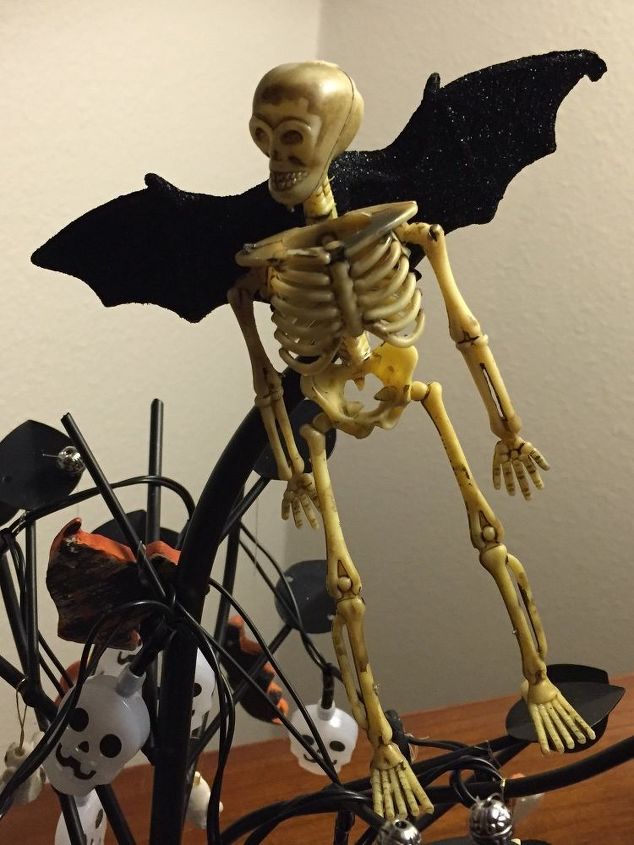
Topper Tied
The batty skeleton was tied to the curved top branch with the fishing line.
With little cost & effort, I have another whimsical Halloween table decoration.
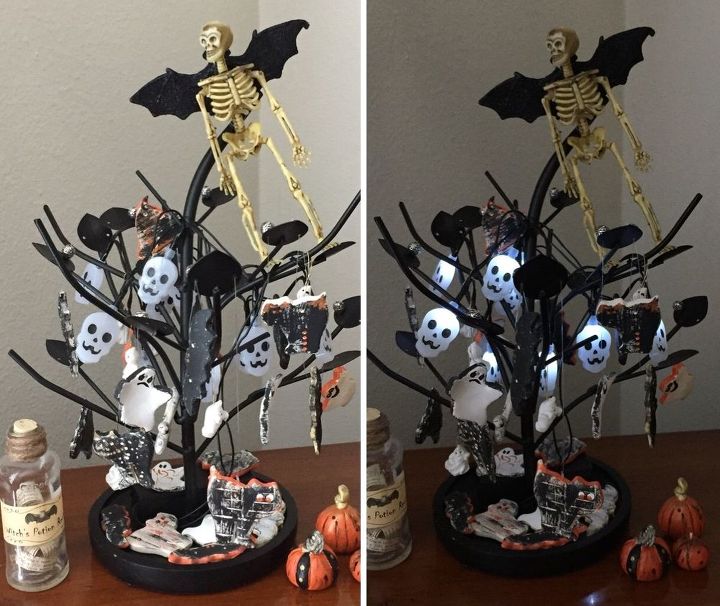
Voila!
I added some miniature clay pumpkins and a potion bottle to complete the decor. And by hanging ornaments at different lengths with fishing line, the ornaments swing when you blow on them.


Frequently asked questions
Have a question about this project?