


How to Make an Easy DIY Earring Organizer Picture Frame
If you are looking for a unique way to organize your earrings, check out this easy earring organizer picture frame do it yourself project.
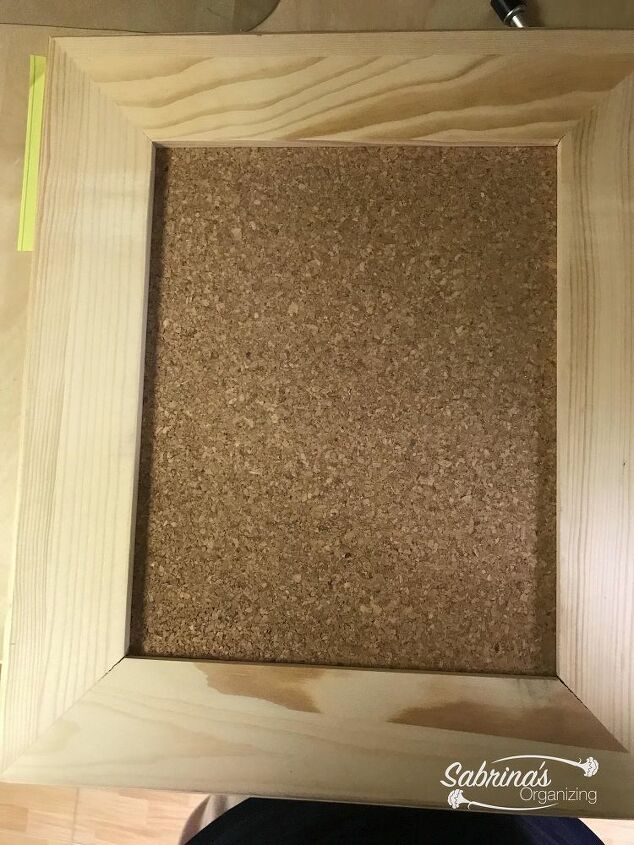
Remove the back of the 8×10 frame and the plastic cover.
Lay the plastic that was inside the frame over the cork square.
Trace around the 8 x 10 plastic. Then, cut cork to an 8 x 10 size. Cut with scissors.
Hot glue the cut cork to the back of the opening where the picture would lay using hot glue around the edges on the back side. Then affix with hot glue.
Hot glue the 8 x 10 back with the stand to the cork that is glued.
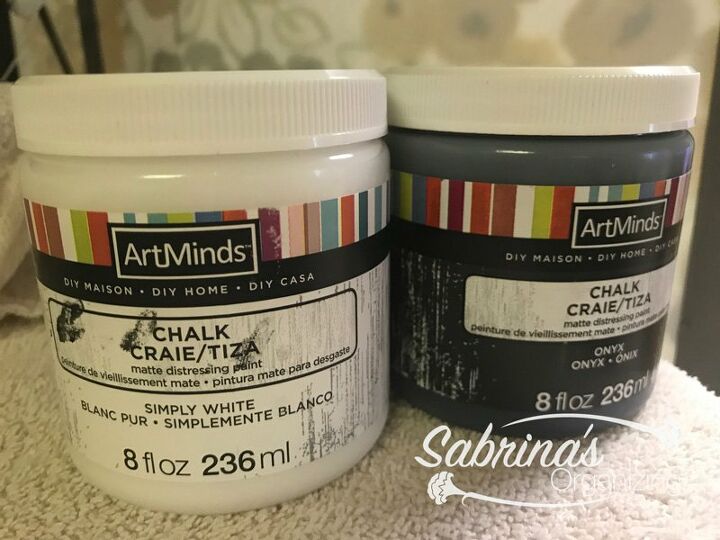
Paint the frame with chalk paint. Mixing white and onyx chalk paint together, create this color. Paint two coats and let dry completely.
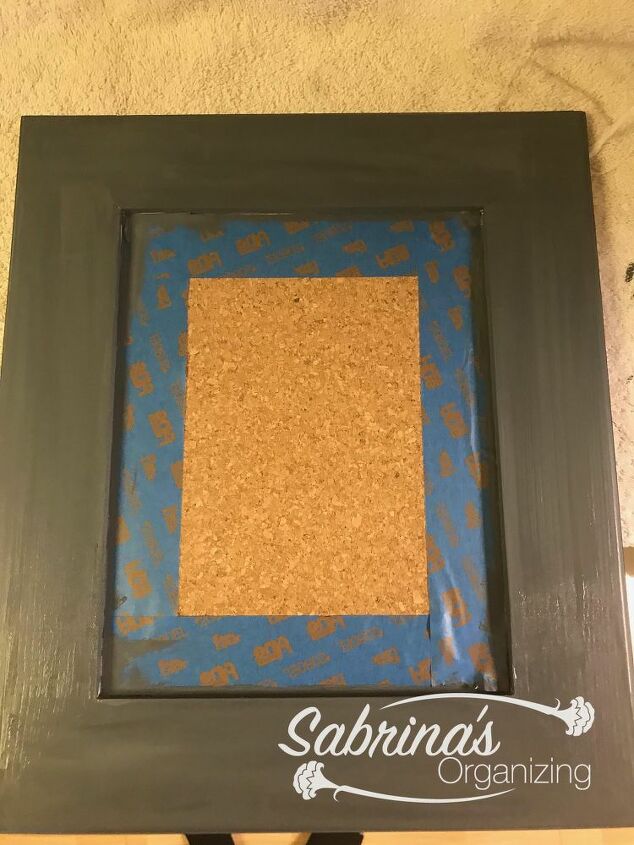
It may take a few hours for each layer. Note: You can also paint this before putting in the cork.
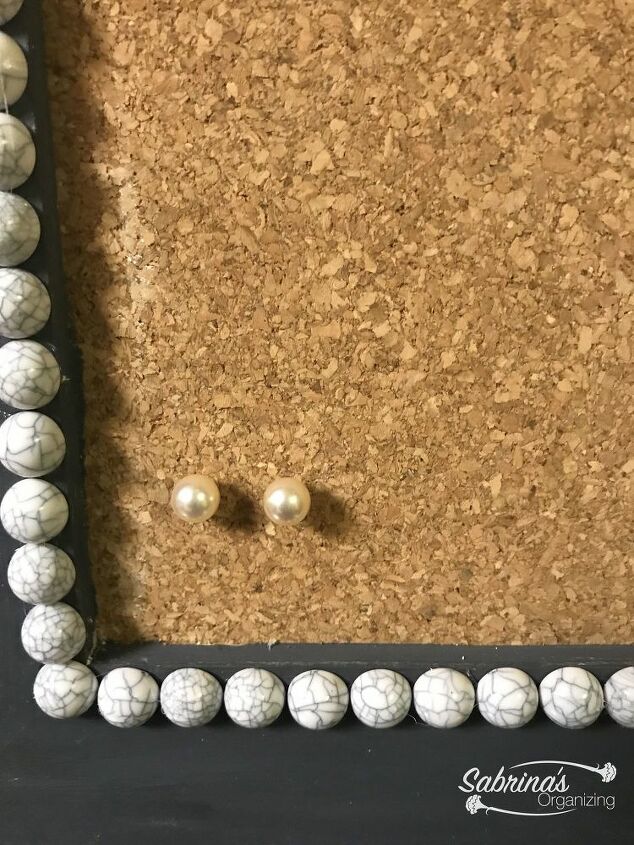
Add the half-moon beads to the edges of the frame opening affixing with the hot glue gun. A little dab of hot glue works fine. Continue around the four sides.
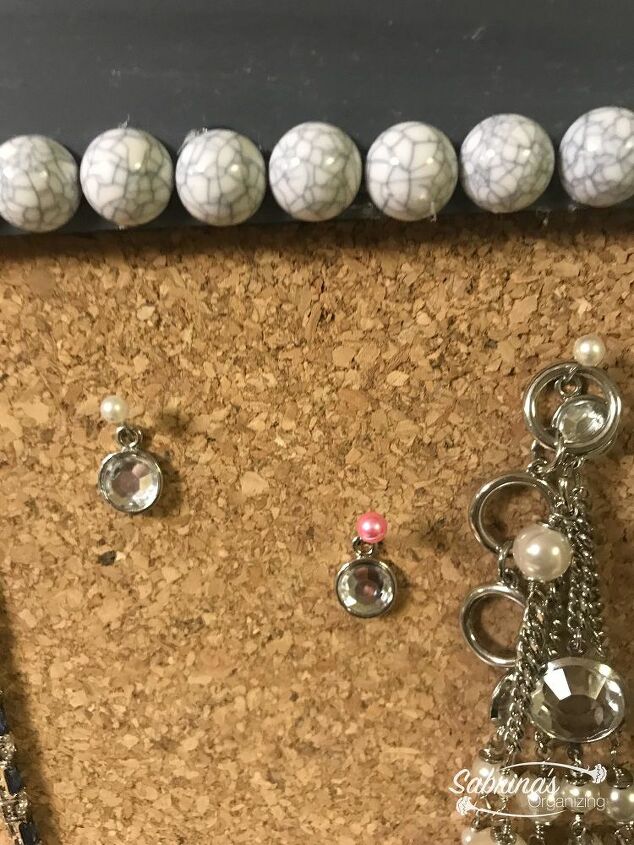
Cut the 1-inch fabric pins to about 1/2 inch using a knelt nose pliers. Trash the tips you cut off.
Place the pins and the gems into the cork diagonally. The earrings can be pressed into the correct directly. The other pins can be used for bracelets and necklaces too.
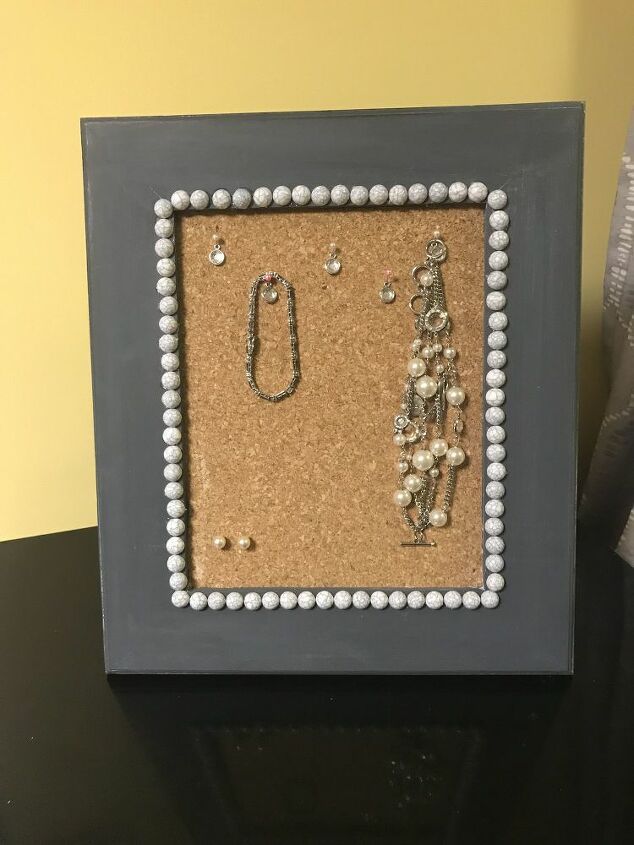
Here’s the finished product! What do you think? Would you make this? Visit our blog post for more details.


Frequently asked questions
Have a question about this project?