


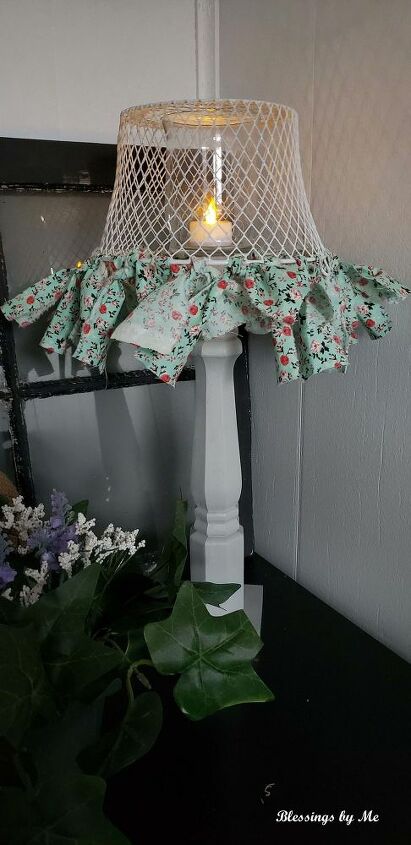
DIY Shabby Chic Lamp

This beautiful shabby chic lamp can be done in just a few hours. The materials are not very expensive, so the whole project doesn't cost you a lot of time or money! Follow these instructions to make your own shabby chic lamp.
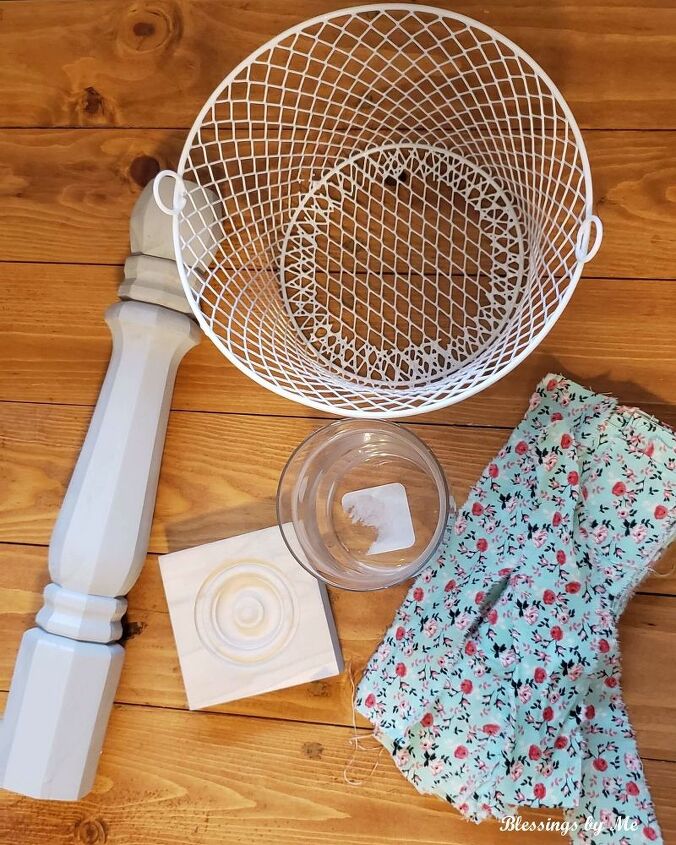
Materials used:
- Table Leg
- Corner Block Moulding Accent
- Spray paint (optional)
- Wire Basket
- Glass candle holder
- Battery Powered Tea Light Candle
- Fabric
- E6000 Adhesive
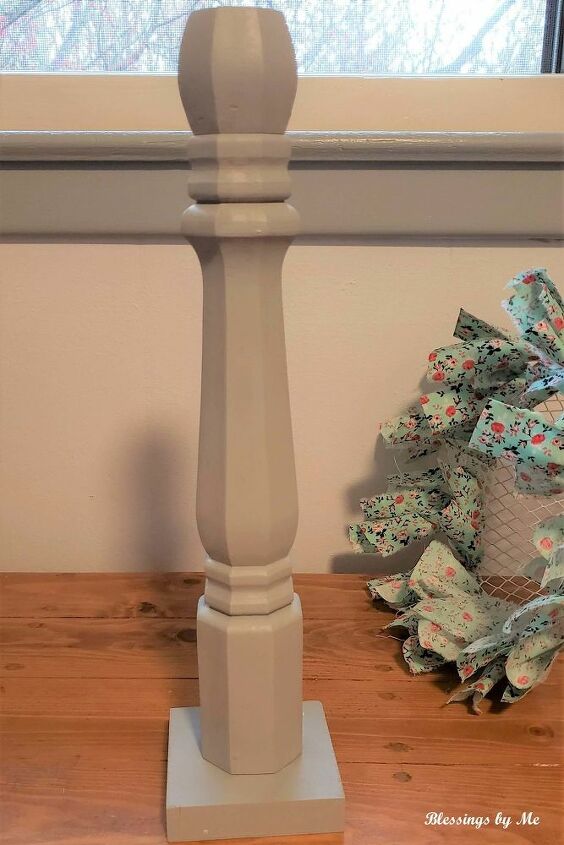
Step 1: Paint the table leg and corner block if you want it a different color. I painted mine a light grey color. Lay them aside and let them dry for a few hours.
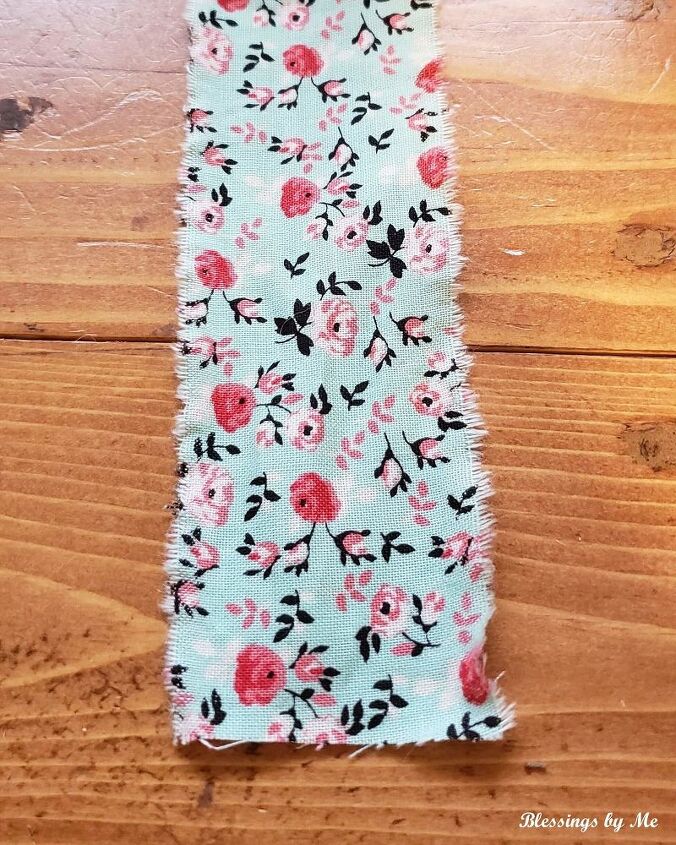
Step 2: Cut the fabric into strips. Mine were 9″ long and about 1″ wide. You can make it the length and width you want. I used 27 strips of fabric, but you may need more or less. You’ll see why in a minute.
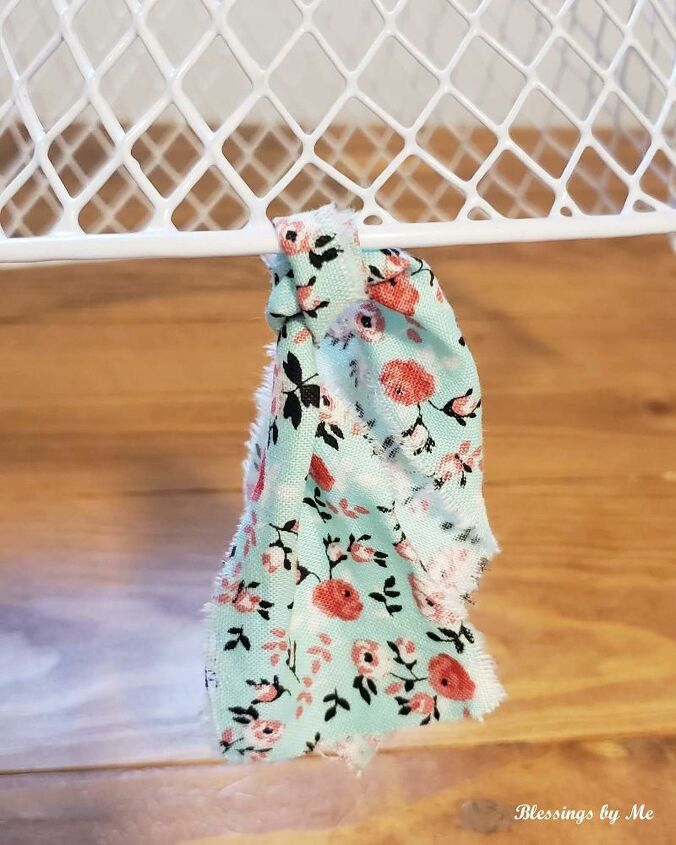
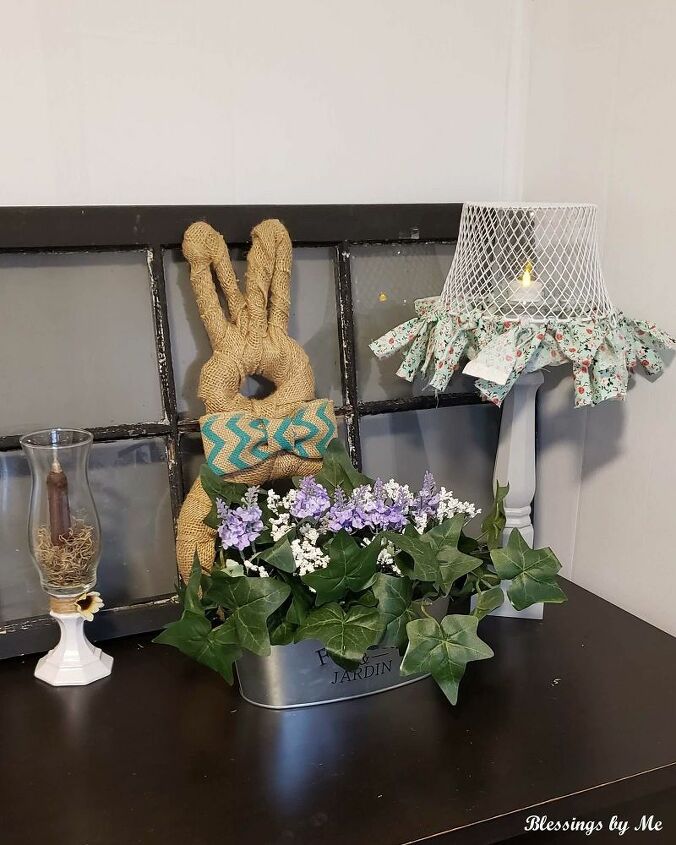
Step 3: Tie the fabric around the top of the wire basket in every other hole. Your basket may have more or less holes than mine or you may want to put your fabric in every hole around. It’s totally up to you and how you want your “lamp shade” to look.
Step 4: After the paint dries to the base part, glue the table leg to the corner block with the E6000. If you need it to dry really fast, you can also add some hot glue. I didn’t do this because I wasn’t in a hurry for mine to dry.
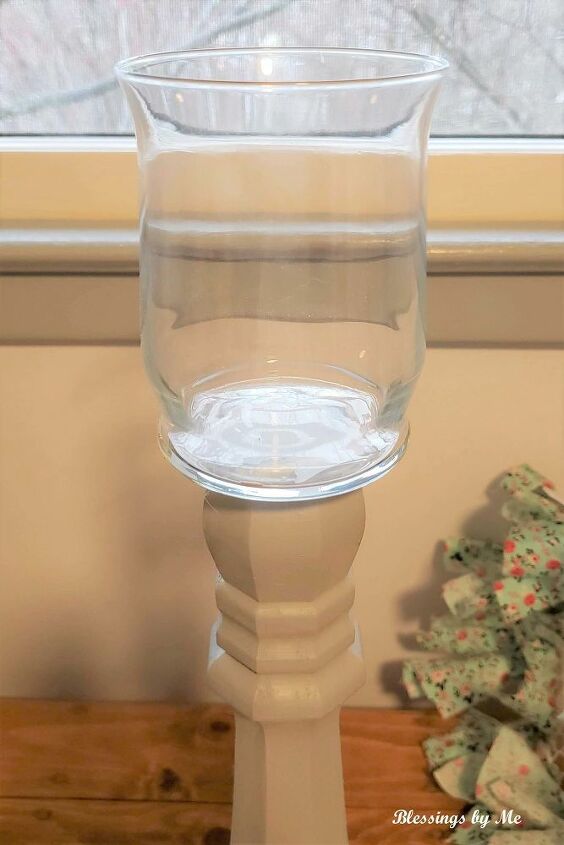
Step 5: Using the E6000 Adhesive, glue the glass candle holder to the top of the table leg.
Step 6: Put your tealight in your candle holder and place the basket upside down over the candle holder. Put your new shabby chic lamp anywhere you want!


Frequently asked questions
Have a question about this project?