


How to Make an Acrylic Memo Board in 4 Simple Steps
Did you know that it’s actually possible to make an acrylic memo board in 4 steps?! Measure, Drill, Screw and Slide. I’ve practically ruined the tutorial. Not really though, there are a few things you need to know about the spacers. I’ve included plenty of images and tried to show how you can literally hang one of these anywhere!
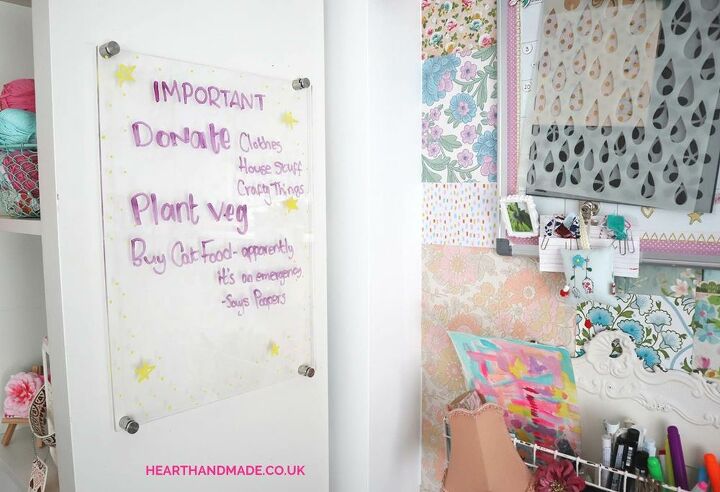
My acrylic memo board is on the end of my that I use in my home office and I decided to make an acrylic memo board where I could keep the really important tasks!

Poopers was NOT happy that her food was on the bottom of the list.
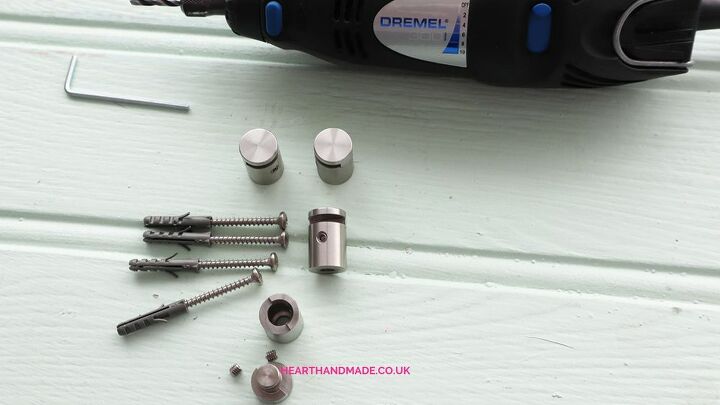
Gather your supplies!
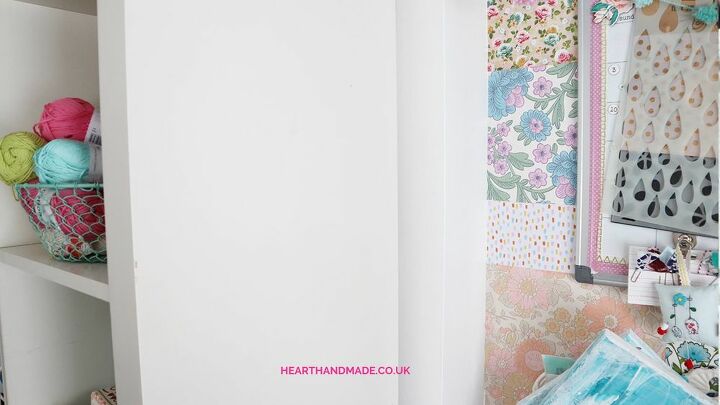
To make an acrylic memo board, you first need to find an ideal location! Then start measuring.
First you must ask yourself where you would like the spacers to appear on your board.

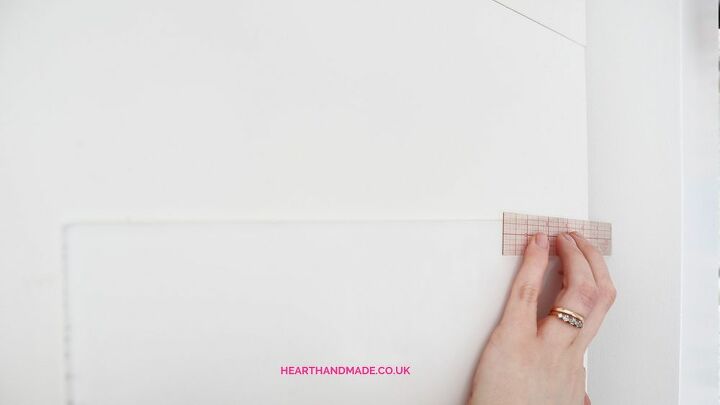
I played it safe and measured an inch from the edge of the plastic. As the spacers simply hold the edges of the acrylic sheet, you don't need to drill into the plastic.
Drill a hole in your chosen location and add a rawl plug. Then you add a screw and then insert the piece that will hold onto the acrylic sheet.
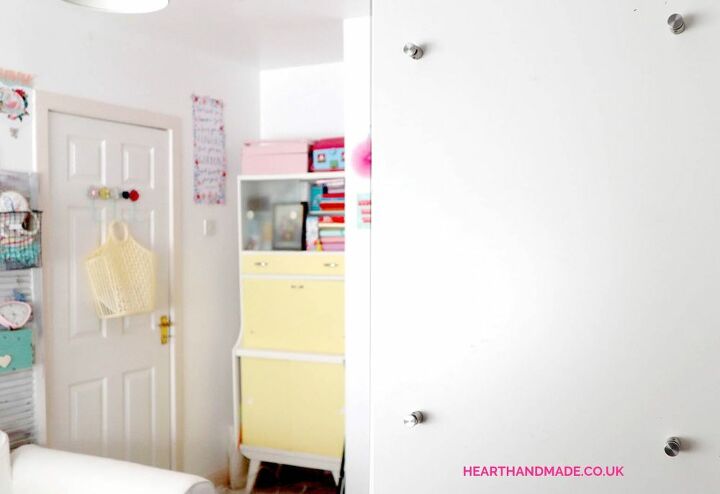
Drill a hole in your chosen location and add a rawl plug. Then you add a screw and then insert the piece that will hold onto the acrylic sheet.
Ta daaaaah!
Resources for this project:
See all materials


Comments
Join the conversation
-
Love it! Years ago my son mounted one of these on the back side of my pantry door and it has proven to be so very helpful. Even tuck recipes I want to try behind the acrylic so I see it and am reminded to try it soon. Oh! He also placed one on the outer side a garage cabinet door and it, too, has been so helpful. We placed Velcro strips along one edge and Velcro on dry-erase markers and erasers so they are handy. Enjoy!
-
Excellent idea, and beautiful job well done. Thanks!


Frequently asked questions
Have a question about this project?