


WhiteWashing a Stone Wall With Diluted Chalk Paint
Whitewashing a stone wall doesn't have to be complex or time consuming. You can skip the power washing, etching with acid, priming, and expensive paint, but our secret to a natural looking whitewash was to underpaint with a gold tone. Gold underpainting warms up stones that have a lot of natural blue tones. This extra step made a nice bridge between the blue and white colors.
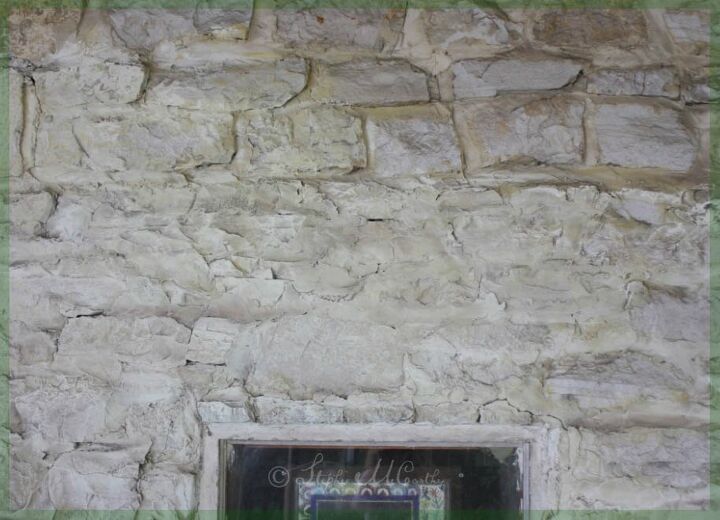
We wanted to improve the look of the mortar but leave a lot of the natural stone texture natural on this 200 year old summer kitchen.
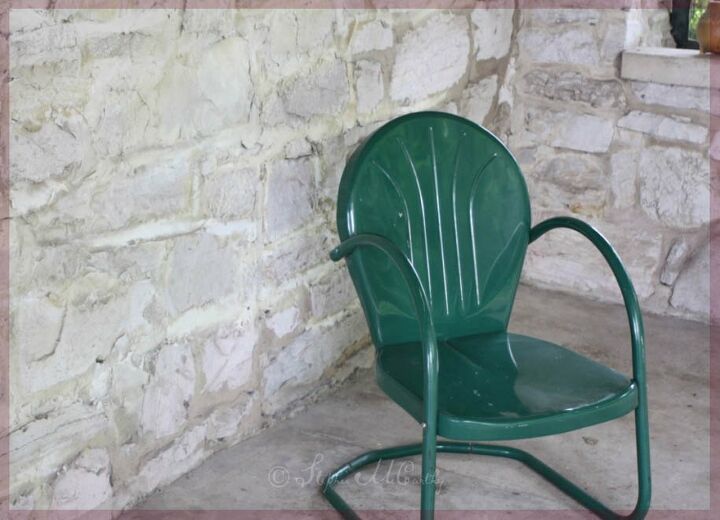
Afterwards, as you can see, whitewashing with diluted chalk paint really freshened up the stone wall and covered some terrible looking mortar.
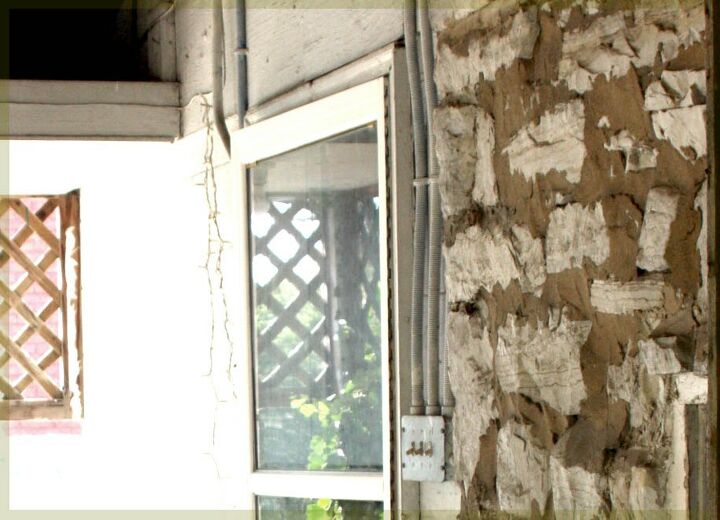
Here's a look at the mortar before whitewashing. We wondered if someone had used motor oil instead of water to get this dreadful finish. But no way were we chipping it out. Even with lots of cracks, this wall was sturdy and strong.
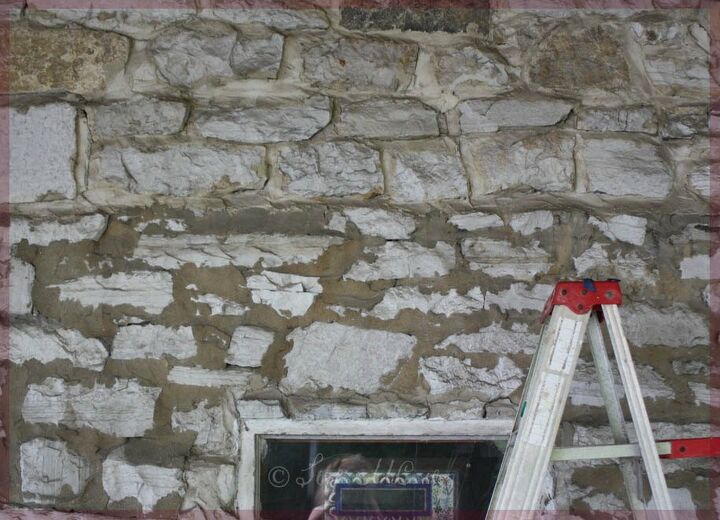
Another before photo. The quarry stones are beautiful, but the mortar work leaves a lot to be desired …
… But now look! WhiteWashing really made a big difference.
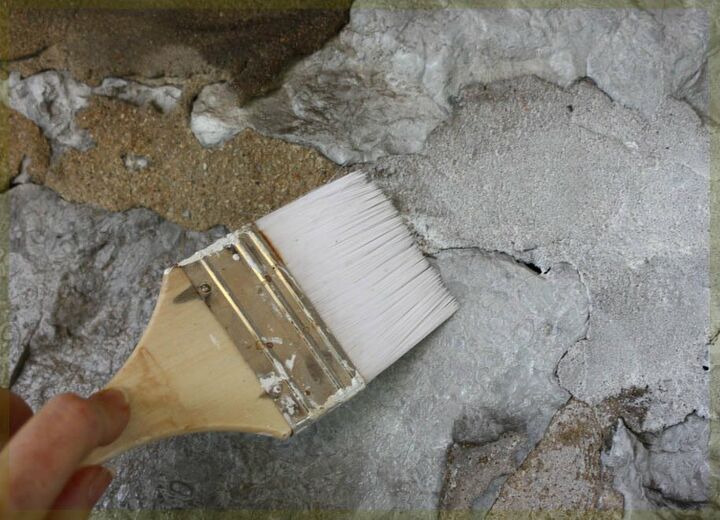
In our first test patches we noticed how the whitewash looked cold and emphasized the blue tones in the stone. On the positive side, these stiff white chip brushes from Plaid were fantastic! Hours of scrubbing them into stone and they didn't lose a single bristle. Highly recommended! We posted the link in the materials section.

Here is a view of the gold chalk paint we used first on the terrible mortar, so that the whitewash would have a warmer finish.
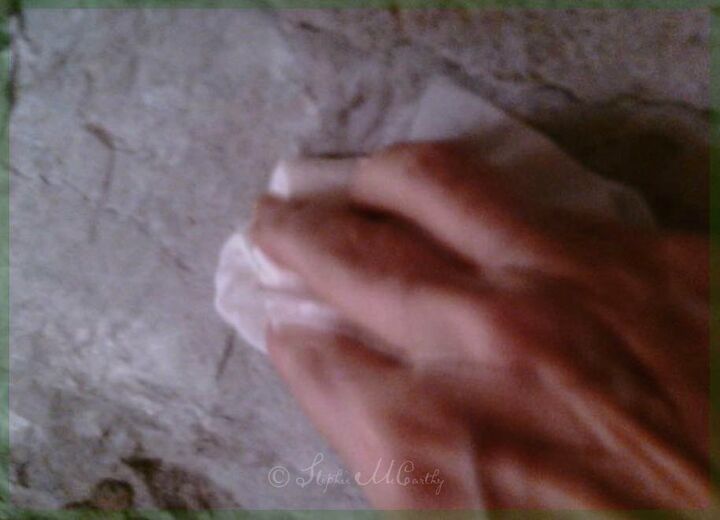
We used lots of baby wipes to smooth and blend the paint. You'll be surprised at how much paint comes off with a baby wipe.
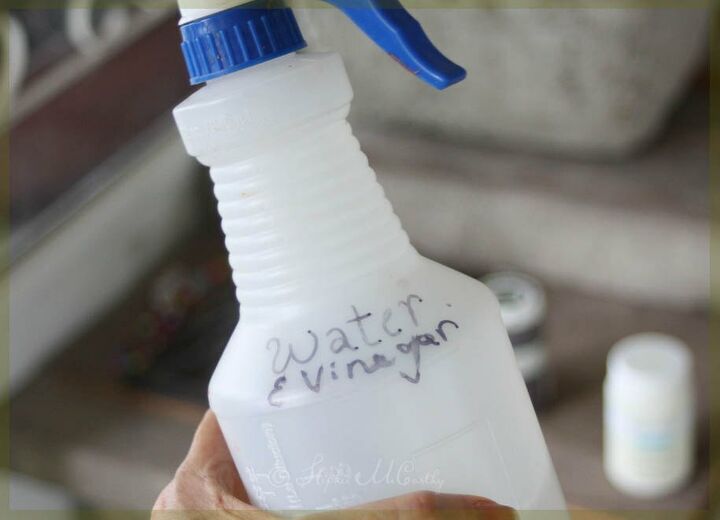
We also sprayed the wet chalk paint with 50/50 water and white vinegar which seems to "boss" paint around a bit more than plain water. Spray and follow up with brushing and wiping when you want to blend your paint into the masonry.
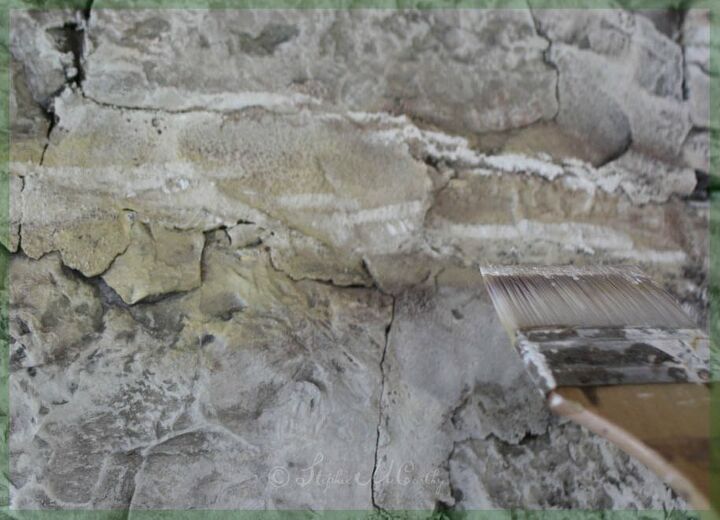
We roughly applied our colors. Neatness is not recommended for this kind of work. We let the paint overlap both mortar and stones. We wanted an uneven, natural looking whitewash as if the paint had weathered with time and was nearly as old as the summer kitchen.

We used a medium brown paint to create a few dark details so that the final whitewash did not look too flat. These brown patches draw the eye and look like deep recesses. This made our wall look further way, and the space by the wall look larger.
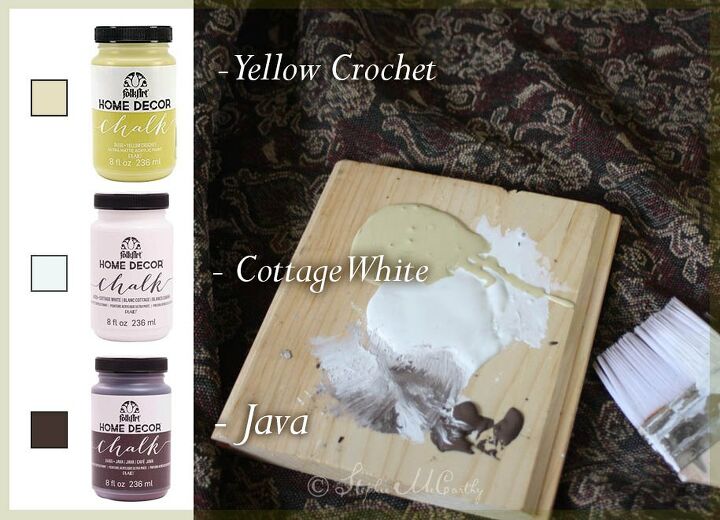
The three shades of paint needed for this whitewashing are shown above made by Plaid HomeDecor. You can use any chalk paint brand. We used Waverly Inspirations in Maize, Plaster White, and Java. We didn't need sealer for this sheltered wall, but we've listed a water-based sealer in the materials section to use if your wall will come into contact with a lot of water or friction.
We're excited that this summer kitchen is starting to look so much better though it still needs a lot of work. The makeover is off to a really good start. We have more details for this project on our blog, here. And we've posted our first HomeTalk video above showing the brushwork techniques! -- Stephie
Resources for this project:
See all materials


Comments
Join the conversation
-
Love this look. I’m trying to muster the courage to try it on an ugly, indoor, tan brick wall.
-
You did a wonderful job fixing that unfortunate mortar!


Frequently asked questions
Have a question about this project?