


Tips For Styling a Shelf Using What You Already Have
Today we’re going to learn how to make a shelfie like you mean it. Sure you can toss a bunch of knick knacks on a shelf and call it a day – but there are actually some specific techniques that you can use to create a perfectly styled shelf. Keep reading to get started!
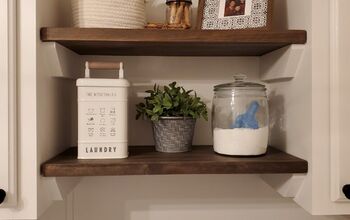
Pick a color scheme. Choose a few colors that you plan to focus on. I decided to go with gold, blue and green, with a few darker browns and blacks mixed in since that's what I had a lot of. You’ll notice there are no warm colors (reds, pinks and oranges) which keeps the overall feel very cohesive. But you could choose to focus on all warm colors instead.
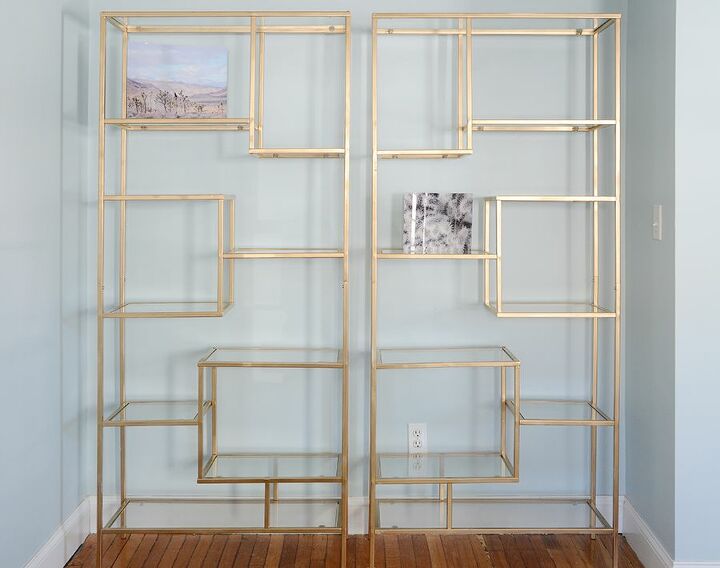
Place large items first. Begin with your bigger focal pieces. For me, those were my two new curved metal prints from Mixbook. I uploaded photos from my recent trip to Palm Springs, California and they printed them on these awesome freestanding curved metal backings.
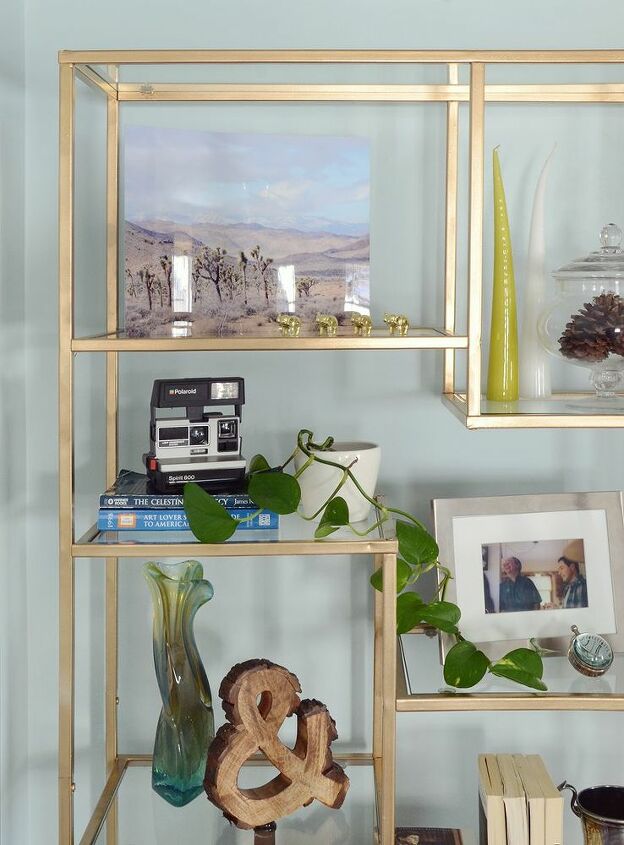
Place colorful items next. Again, make sure to spread them evenly throughout your layout. Stick to your chosen color scheme, and don’t be tempted to digress. Now is the time to add a plant or two also… green is a color after all.
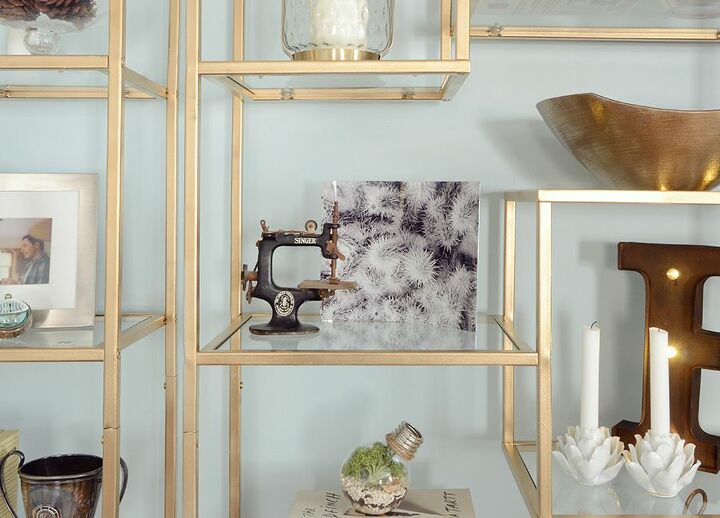
And as you’re working, keep in mind that darker, heavier objects will look more natural on lower shelves, while lighter items will feel more appropriate towards the top. This will give the overall composition a grounded feeling.
Add books. Most of us have tons of books lying around, and piles of books can provide visual interest on their own... but they are also handy to use as a pedestal to raise items up or draw attention to smaller items (case in point: the terrarium). Consider turning paperbacks around if you’re only displaying them for decorative purposes so the spines don't detract from your shelfie (see the books next to the trophy).
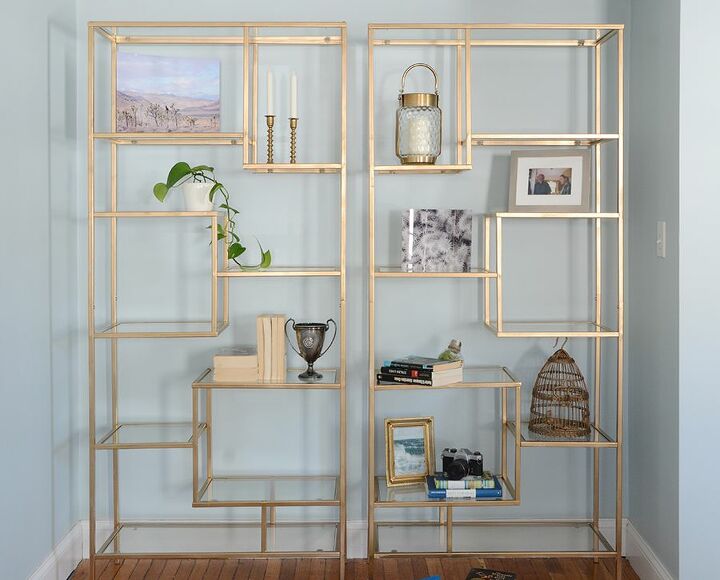
Take a closer look. Revisit each shelf individually, making sure to layer different heights and textures to create pleasing vignettes. If one particular area looks off, try replacing an angular item with something more rounded or a tall piece with something a little shorter.
Here are two tips: groupings of objects look more visually pleasing in odd numbers, especially in threes, so remove or add an object if it’s not looking quite right. And diagonals always look best – if you were to draw a line connecting the tops of each of the items on my shelves, you’d see a lot of diagonal lines.
Step back. Now it’s time to look at the overall composition of your shelving. It should feel balanced, with a mix of soft and hard lines and a variety of textures. Swap out any last items that feel out of place, and that’s it! The perfect shelfie.
Be sure to visit my blog for a list of ideas for things to put on your shelf (you probably already have many of them lying around the house) and to see photos of my final shelf layout! https://design-fixation.com/2017/03/how-to-style-shelf-coupon-code.html


Frequently asked questions
Have a question about this project?
I always have trouble dressing shelves. Thank you. This was very helpful. Also love the shelves. Could you tell me where to purchase them?