


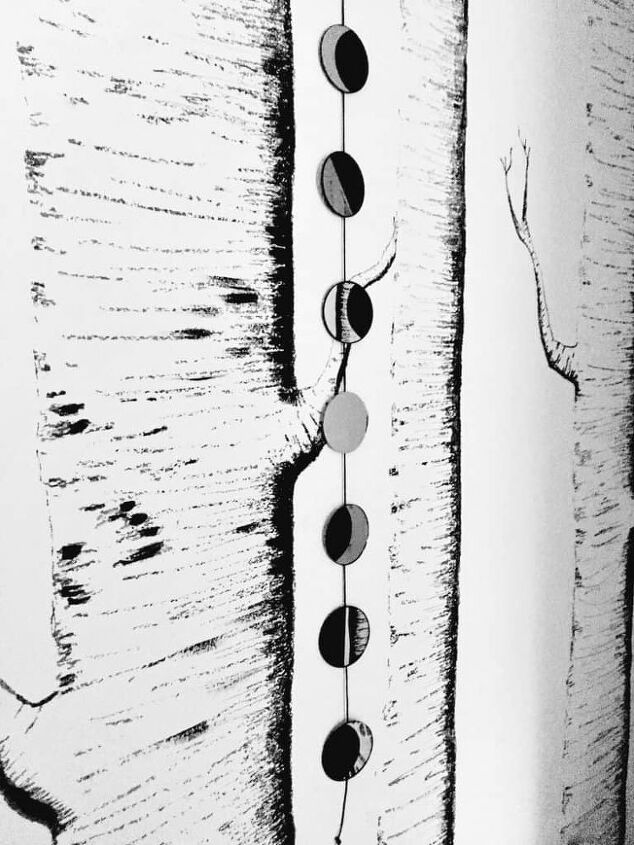
Moon Phase Wall Hanging
Lunar phase and astronomy themed home decor items have continued to trend for the past several years. Make this fun moon phase wall hanging with inexpensive items from the craft store. This project only takes about an hour and is a great project for teens or anyone who loves to gaze up at the night sky.
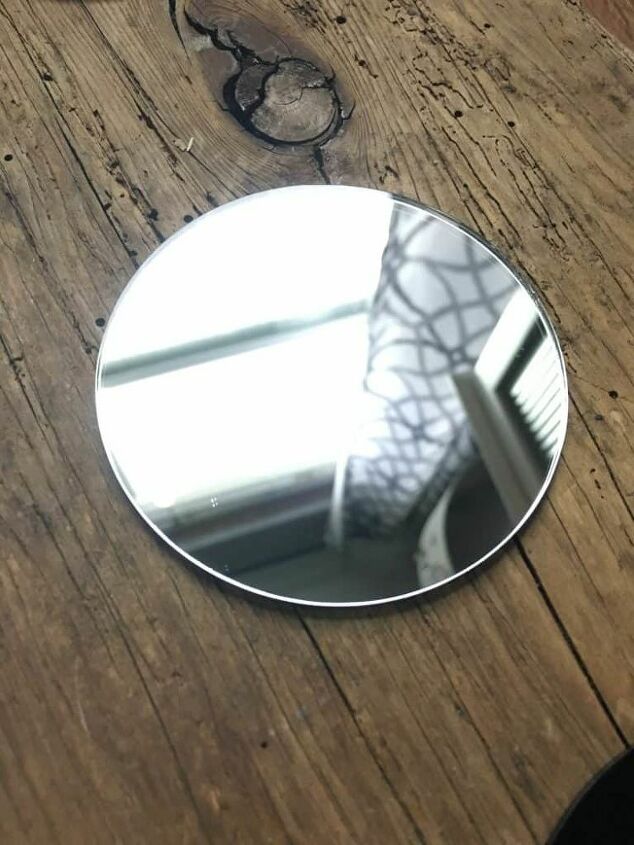
Begin by cleaning off the mirrors. Use glass cleaner or rubbing alcohol to wipe off any dirt, dust, residue or fingerprints.
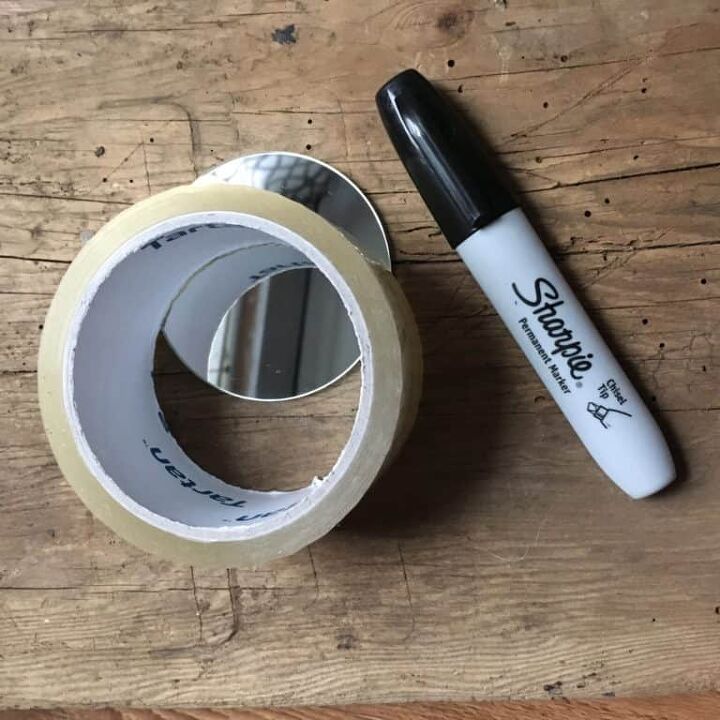
Trace the shape of the moon phase onto the mirror using a black permanent marker. I found the best way to get the curved shape was to use a roll of packing tape and trace around it. Simply move the packing tape around on the mirror to make your moon shape bigger or smaller.
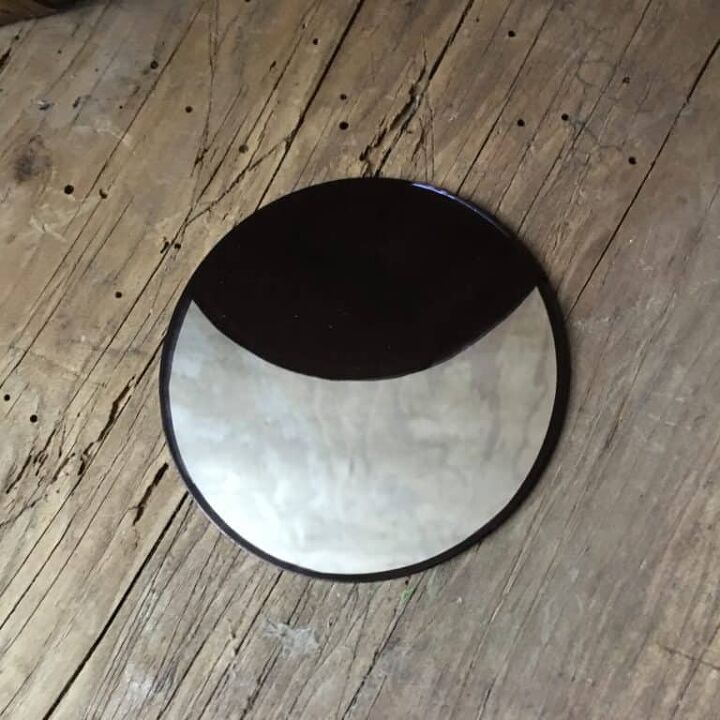
Trace around the perimeter of the mirror with the marker to outline your mirror for a more “finished” look. Leave one mirror blank to make it the Full Moon and for the Half Moon use a ruler to divide the mirror into two areas, light and dark.
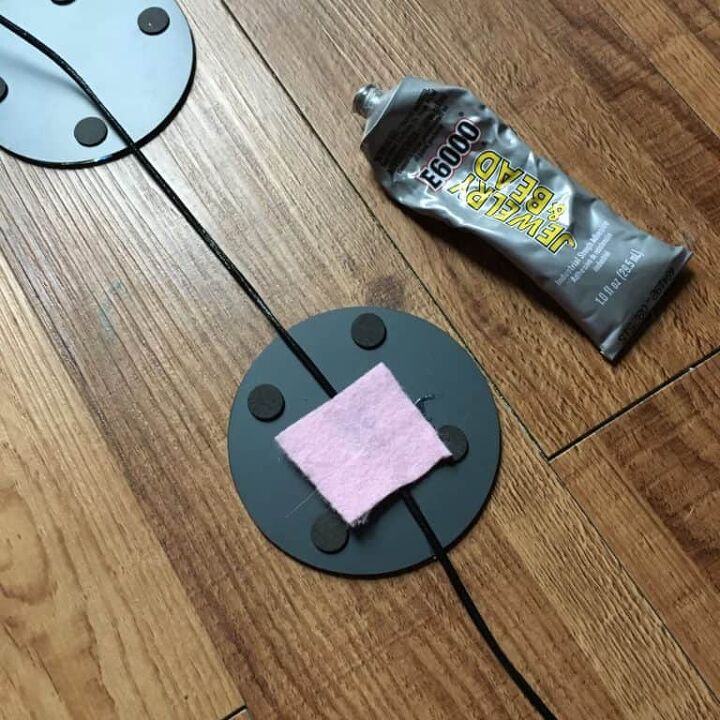
Take your cord and glue it to the back of the mirrors using the E6000 glue. Place a small square of felt over top to help everything stay in place and stick together properly. Make sure the moon phases are in the right order and direction when you glue them. You can see in my photos of the finished project that one of the mirrors was a bit crooked. It doesn’t bother me but if you are one of those anal types who would be bothered by this then double check everything before you glue.
Alternatively, another mirror can be glued to the back with the cord sandwiched in-between. This will make your moon phase wall hanging double sided (ooooh fancy!)
Let dry for 24 hours and then hang up.
Resources for this project:
See all materials


Comments
Join the conversation
-
Saw the comment about *glow in the dark* and there IS paint that does if applied to light colored surfaces... lasts about two hours if its exposed to several hours of direct light. One could use primed wood discs and get the same effect, I would imagine... 🤔
-
Very cool indeed!


Frequently asked questions
Have a question about this project?
Do u have any other finished product pictures that u can share so I can get a better idea of what it will look like. Be great if there is a way to make it glow in the dark!