


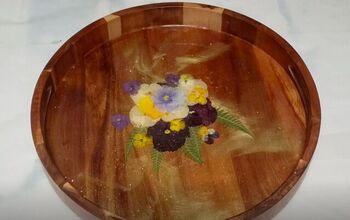
DIY Halloween Tray Decor
Trays are such a fun piece of decor to add to any space and to use for any occasion! This DIY Halloween tray decor in particular was super fun and easy to create and can be personalized any which way you like.
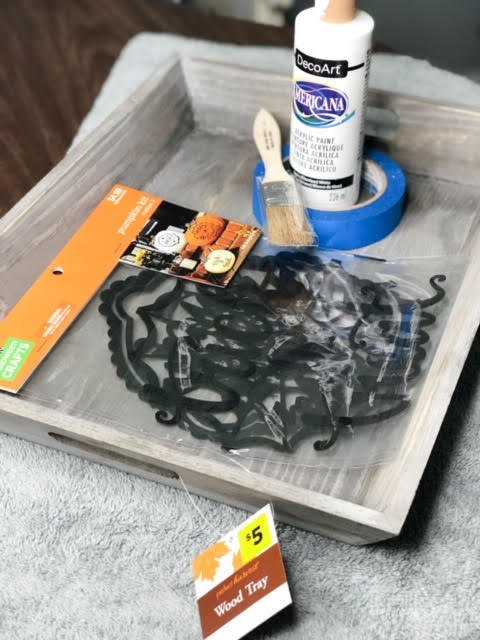
Supplies for DIY Halloween Tray
- Wooden tray (this one was from Dollar General)
- Paint (mine was DecorArt from Walmart in white)
- Painters Tape
- Paint Brush
- Halloween Style Pumpkin Decorating Stickers (from Hobby Lobby)
Easy to Follow Instructions
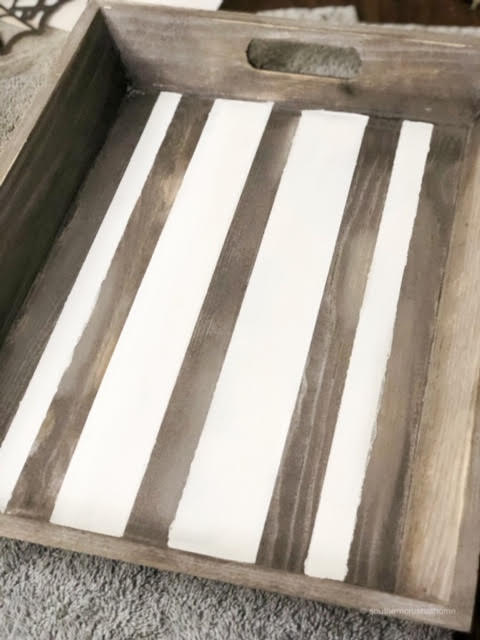
- Measure out where you would like your stripes to go. (I completely ‘eye-balled’ mine, but I don’t recommend this method if you’d like them to be straight or a particular way). You can go with one, two, three or even four stripes like I did. A variety of sizes is fun, too!
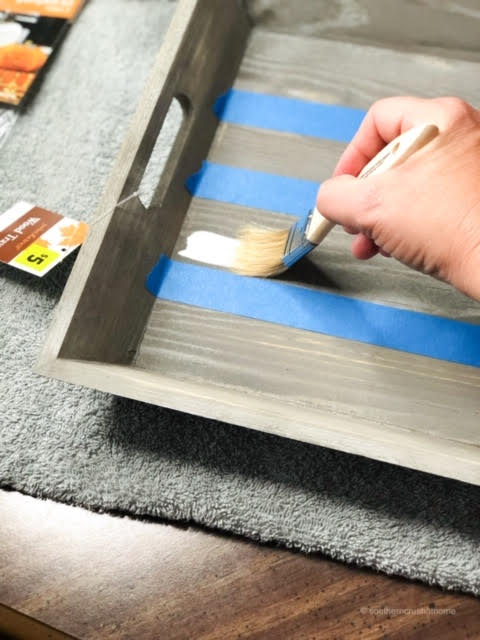
- Place the blue painters tape in between where you would like the paint to be and press down pretty hard to avoid bleeding.
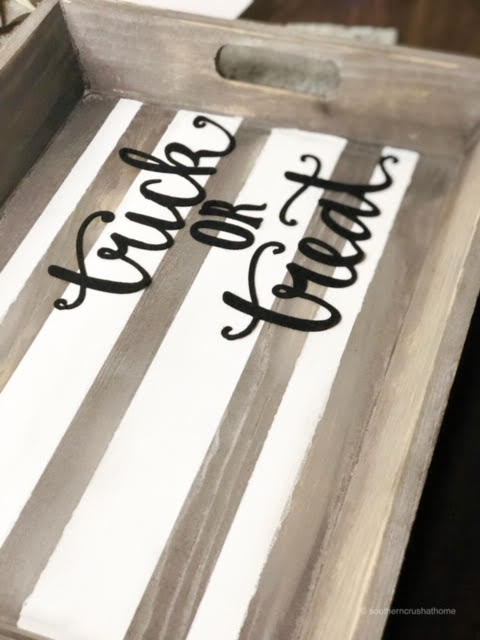
- Paint your accent color (I used white) in between the painter’s tape and allow to dry thoroughly before attempting to remove the tape–it’s tempting, I know.
PRO TIP: Use a light sanding with 120 grit fine sand paper over any areas where the paint bleeds out from underneath the tape in order to clean up your lines.
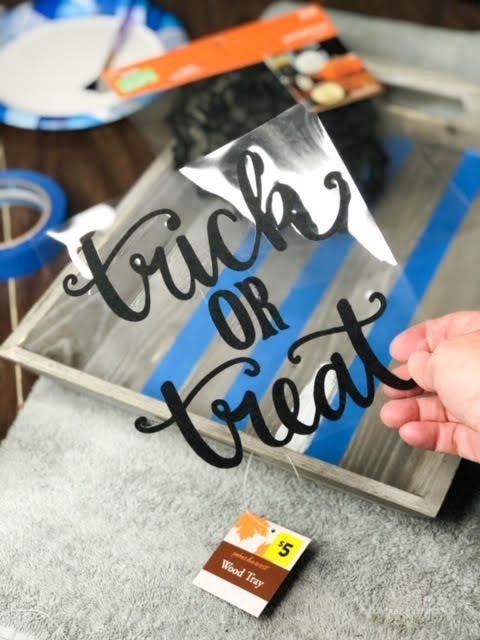
4.Choose your favorite Halloween Pumpkin Decorating Sticker from the package of three and peel and place in your desired location on the tray one section at a time. These stickers were originally intended to be used by kids on Halloween pumpkins in lieu of pumpkin carving designs or painting. They are heavy duty stickers with a felt front to them. Use extreme care when peeling them off of their backing as they tend to want to stay stuck and if you pull too hard, they will tear. You can easily repair them by putting them exactly into place.
5.Decorate and accessorize your tray. I used a handmade Halloween wooden beaded tassel and an inexpensive plastic orange Dollar Tree pumpkin.
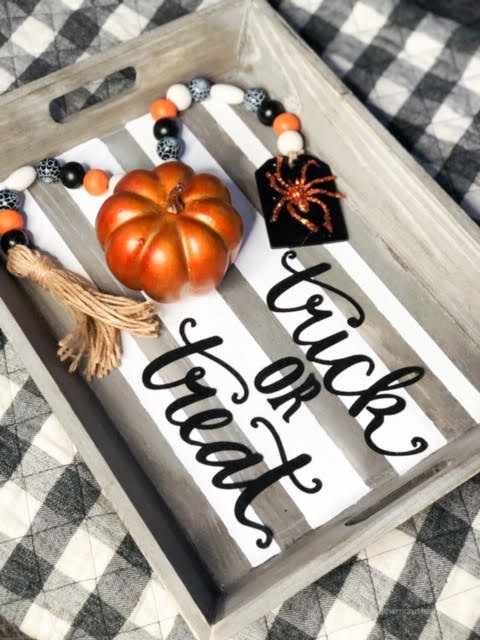
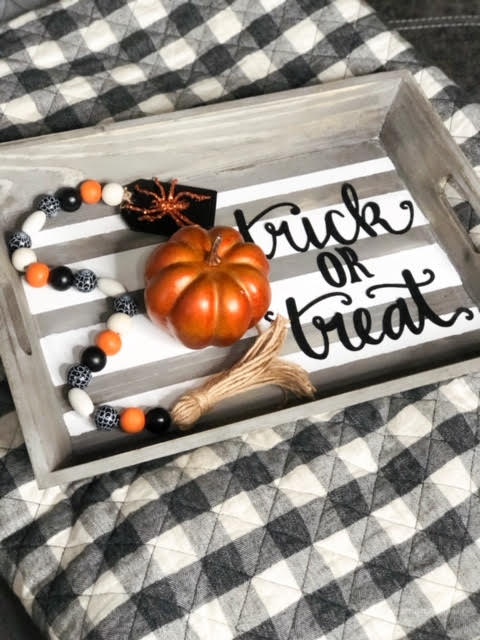
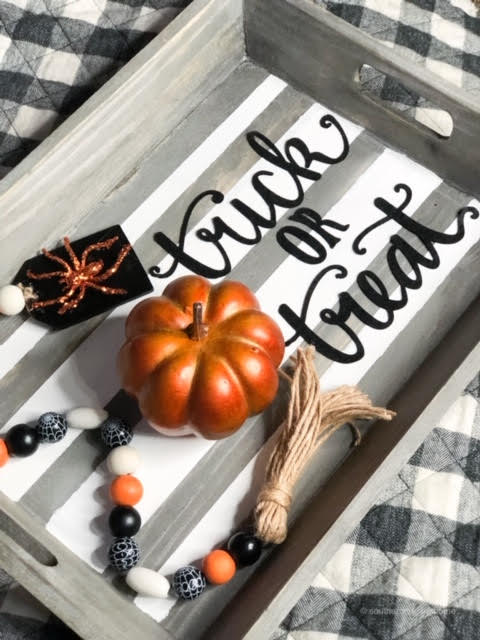
The felt sticker lettering makes it look like it was professionally made. If you cannot find the stickers, you can always easily cut similar lettering from a silhouette or cricut machine.
This project was so easy and reminds me of my another easy Halloween banner project seen here.

If you love these kinds of DIY projects, you need to be getting my emails, friend! Each week I send out a couple of emails that include updates, crafts, shopping experiences and decor inspiration. Be sure to get yourself signed up HERE. I can’t wait to meet you!
Resources for this project:
See all materials


Frequently asked questions
Have a question about this project?