


DIY Skull Candlestick Halloween Decoration
It’s officially spooky season, so I thought it would be fun to share a few affordable Halloween DIY projects, starting with these skull candlestick decorations. Whether you’re planning a Halloween party, decorating because your kids love Halloween, or creating a spooky tablescape, you’ve come to the right place!
Watch the video above to see how you can easily make your own, or keep reading for step by step instructions. Enjoy!
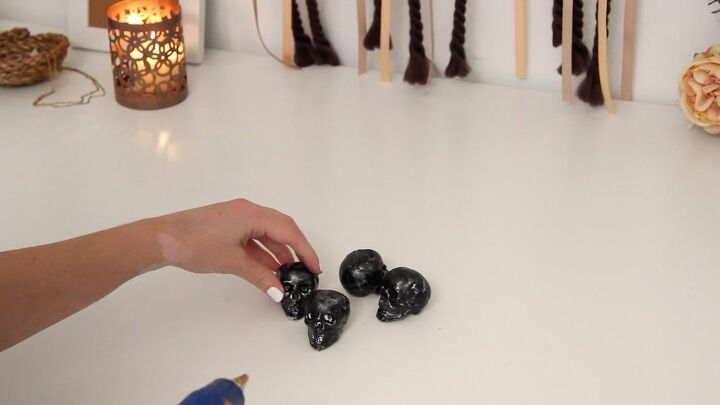
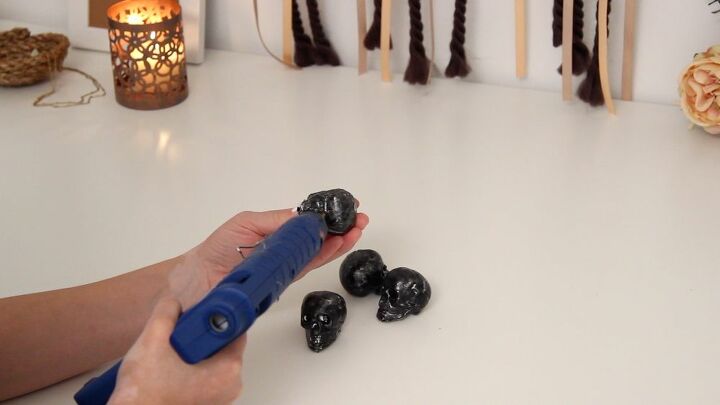
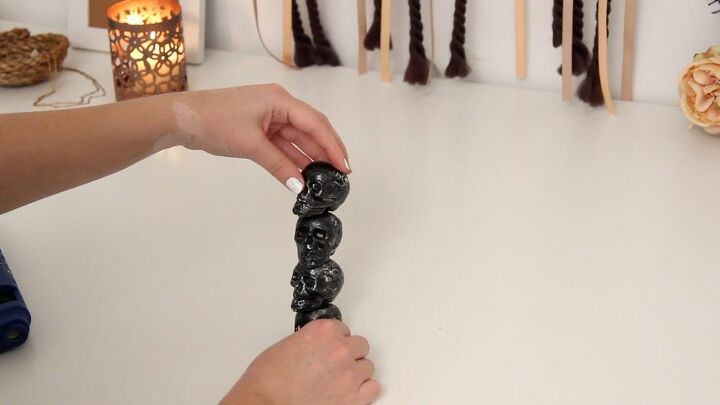
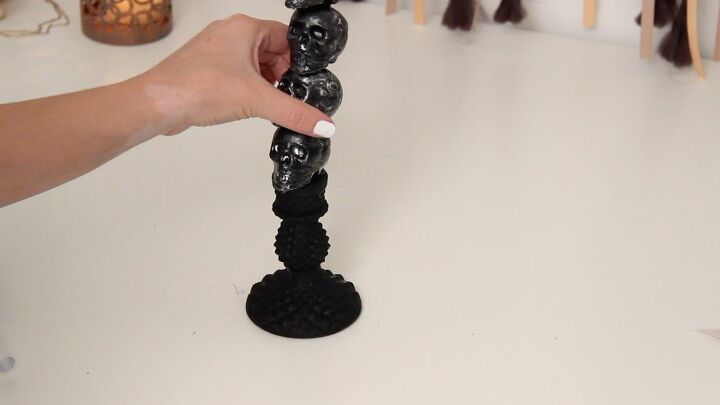
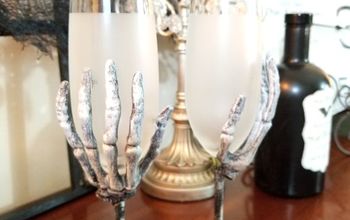
You will need small plastic or foam skulls, which you can find at most craft stores and dollar stores this time of year. Add a bit of glue to the bottom of one skull, then glue it on top of another at an angle.
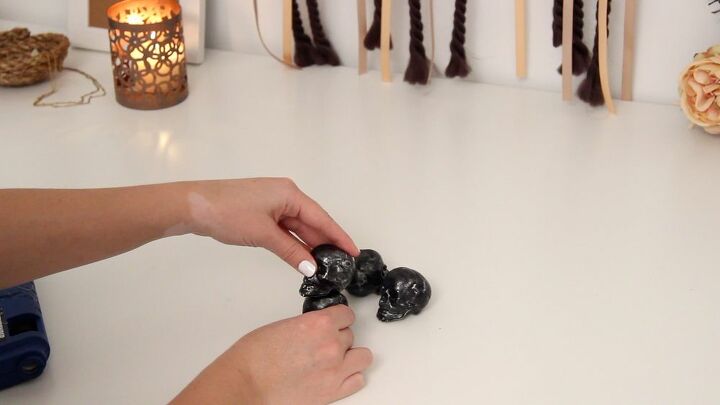
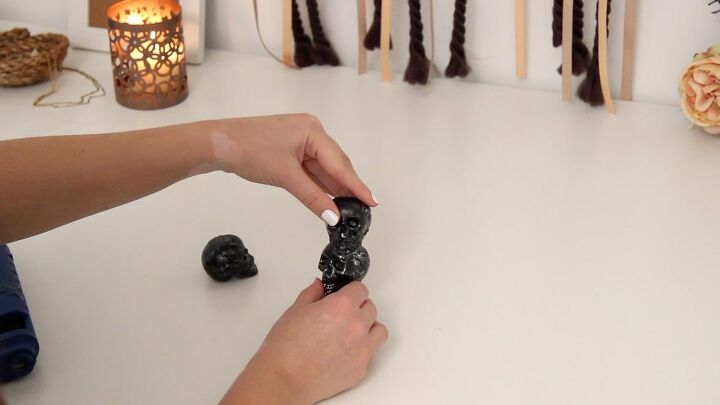
Repeat this process until you have 4 skulls glued together in a stack. I glued them tilting in opposite directions, but you can also glue them all facing forward if you prefer.
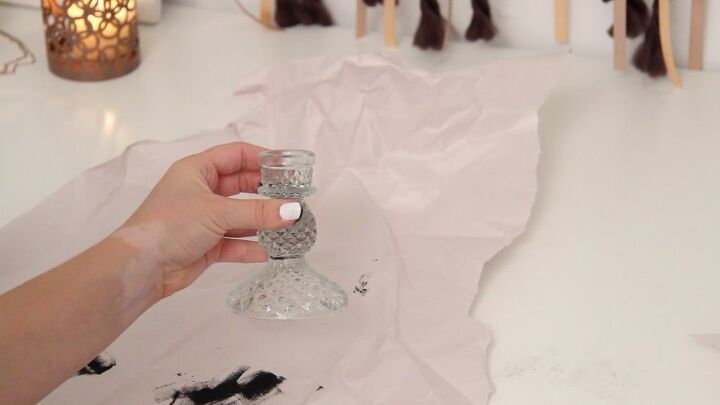
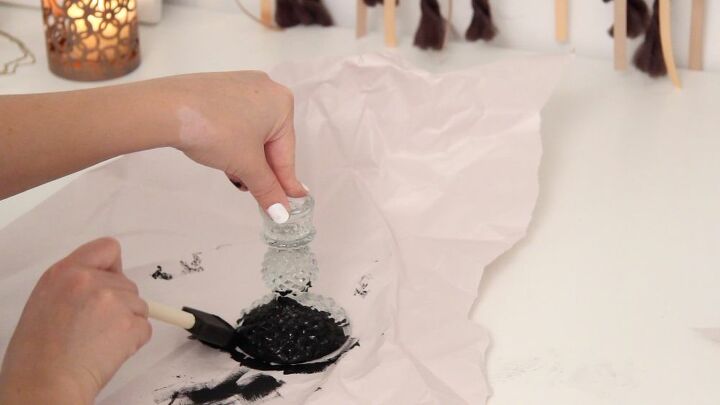
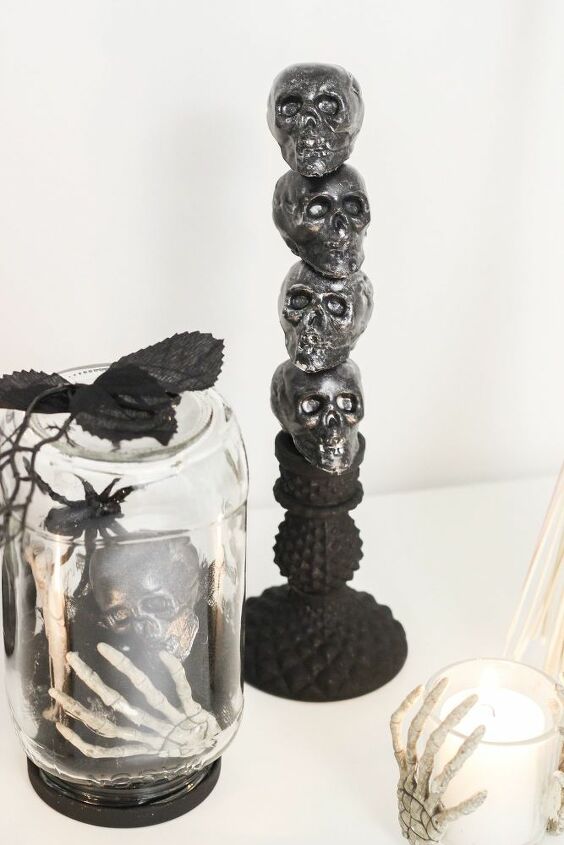
You will also need some sort of a candlestick in the color of your choice. I found these glass candlesticks for $2 each on clearance at the craft store. I painted them black with some acrylic paint and a sponge brush.

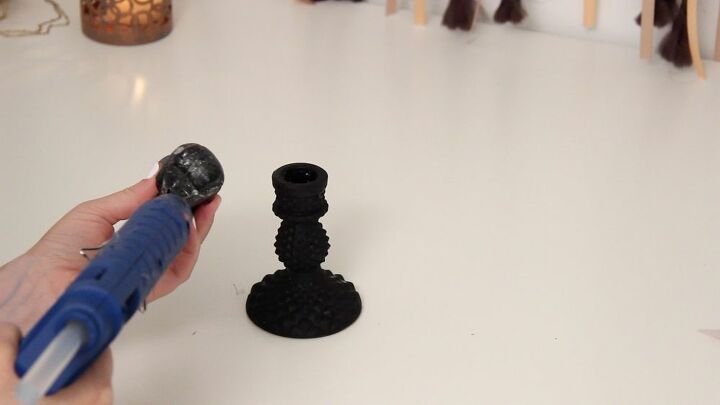
Once the paint has dried, glue the stack of skulls right to the top of the candlestick.
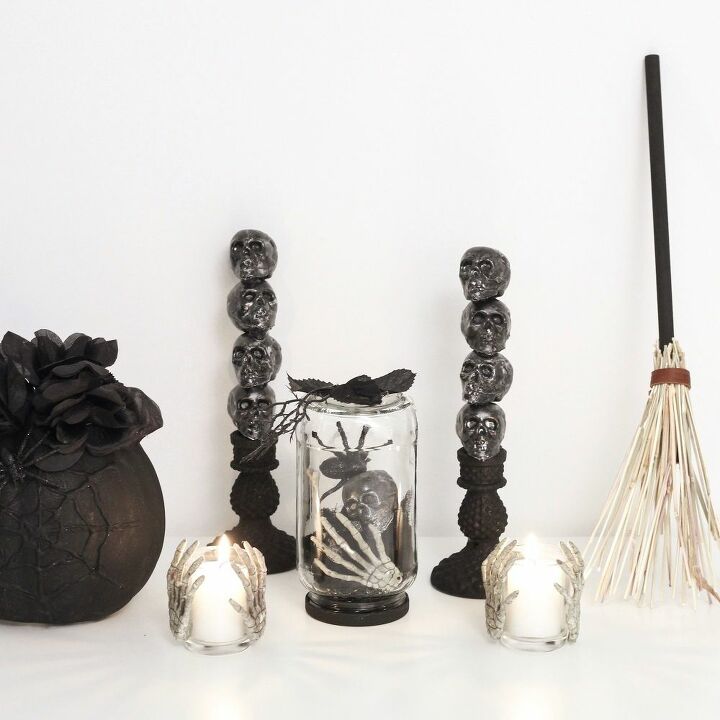
I think that these are the perfect amount of spooky for a Halloween tablescape, mantel decor, or whatever you dream up! If you like this project and want to see more, visit my YouTube Channel. Don’t forget to share your DIY photos with me on Instagram or Facebook, I can’t wait to see what you make.
Resources for this project:
See all materials


Comments
Join the conversation
-
They are so cute. So Halloweeny.
-
so cute, and scary!! thanks for the idea


Frequently asked questions
Have a question about this project?
Arent these more candlestick holders?