


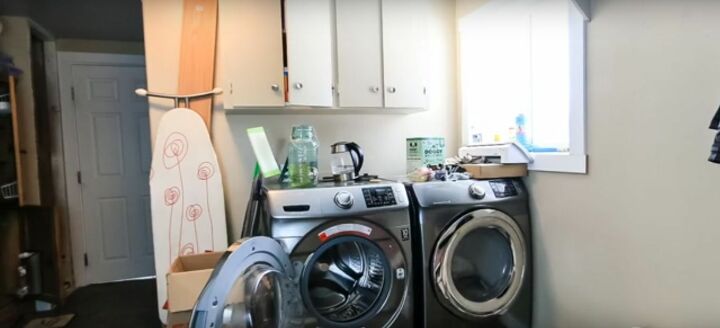
How To Build Pipe Shelves: Laundry Room
Wanna learn how to build easy pipe shelves?! This video tutorial walks you through the whole process of how we added laundry room shelving.
If you love this project, grab your quick start DIY guide & subscribe to our blog!
Spoiler alert: they are pretty much the easiest DIY shelf EVER! So even if you don’t have much DIY experience or tools, you can totally do this.
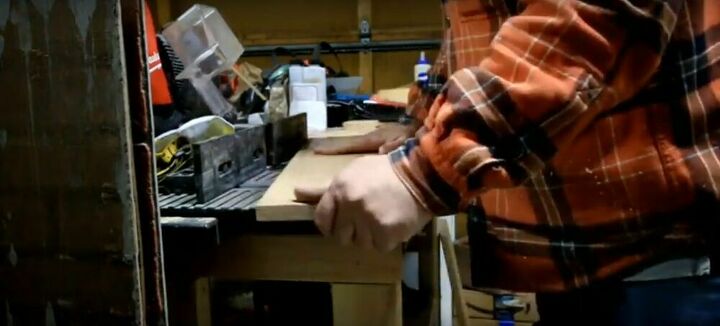
Step 1: Cut the wood to size. Our shelves are about 28 inches wide, so we just cut two pieces of wood down to size.
Step 2: Chamfer Edges. For the edges of the shelves, we chamfered them with a chamfer bit on the router table. f don’t have a router, no worries. You can achieve the pretty much same thing by simply sanding the edges by hand.
Step 3: Sand wood. Next, give the wood shelf a light standing. I used our orbital sander, but you could do this by hand pretty easily too.
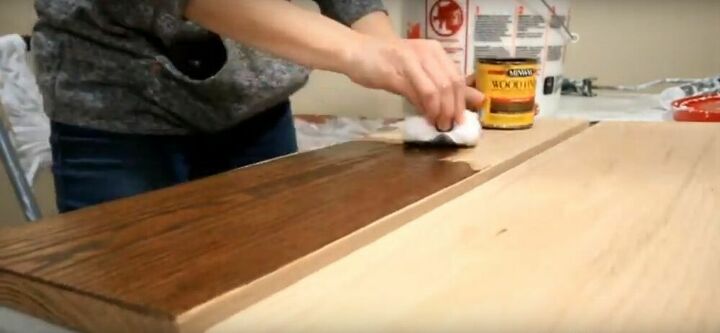
Step 4: Stain wood. After sanding, wipe everything off and get some stain on that wood. We used 2 coats of this stain and wiped everything clean when finished.
Step 5: Seal Wood. Once the stain has fully dried (check packaging), you can seal the wood. We used this to seal it.
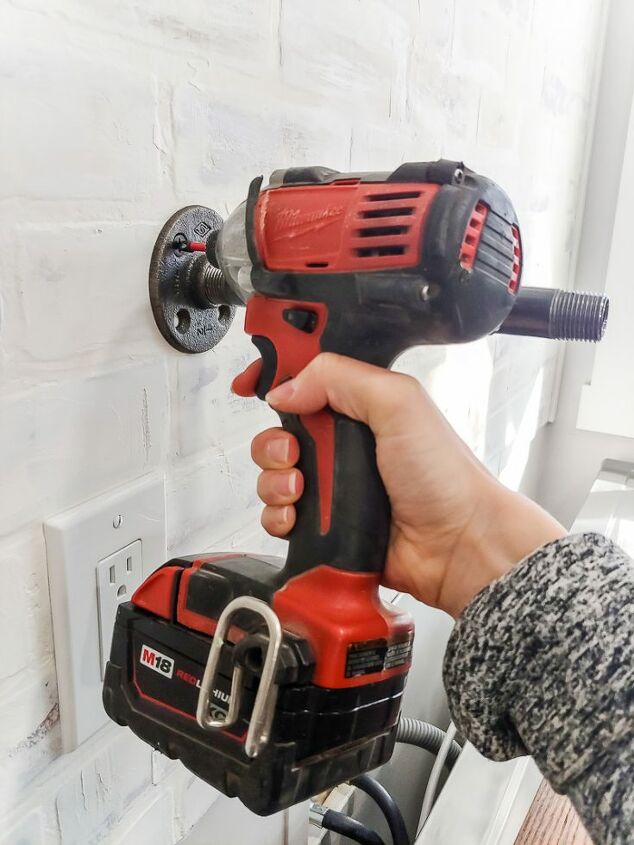
Step 6: Add 1st pipe shelf bracket. First, find a stud in your wall. Ideally, both brackets would be in studs. We spaced our brackets out exactly 16 inches so they both were able to be drilled into studs. This was perfect for our shelf, which is 28 wide – so the wood overhangs about 6 inches on each side of the bracket.
Once you find the stud in your wall, you can attach the flange by drilling into the wall with the screws.
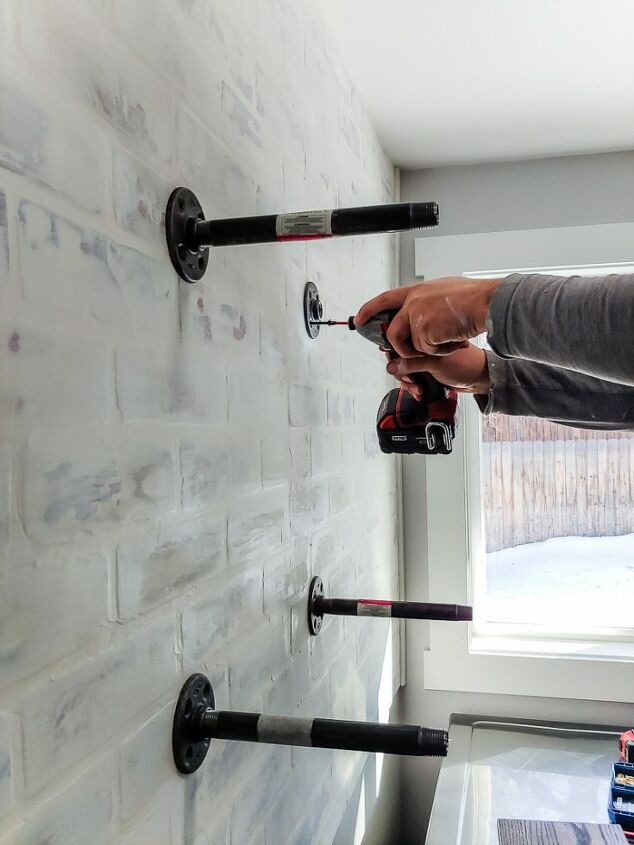
Step 6: Add other pipe brackets to wall. Once you have the first pipe bracket into the wall, use a level to make sure your other bracket is lined up correctly.
Step 7: Set you wood on top.
Step 8. Finish by adding caps to the front of the pipe ends.
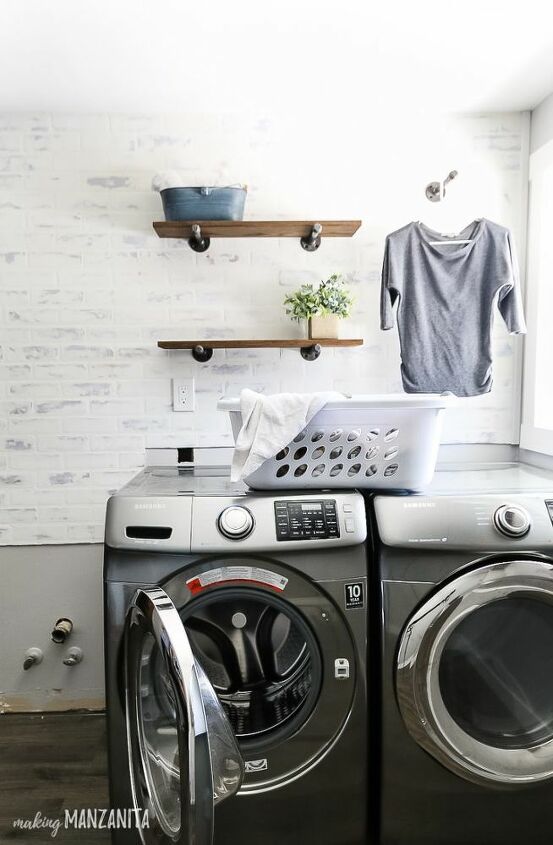
Decorate and Smile!
Get those shelves decorated and filled up and then step back, pat yourself on the freakin’ back and smile! You did it!


Comments
Join the conversation
-
Great idea! Thanks for sharing.
-
Those pipes are so useful, I used them to make towel rods in my bathroom. They are incredibly sturdy and attractive. Your shelves are beautiful , even in a kitchen!


Frequently asked questions
Have a question about this project?
How do you keep the shelf/board from moving/tipping with different weight items?