


DIY Vintage Feather Christmas Tree

I love Christmas trees of any kind. I also love everything vintage. So when I saw these cute little trees on Instagram, I knew I had to try one too!
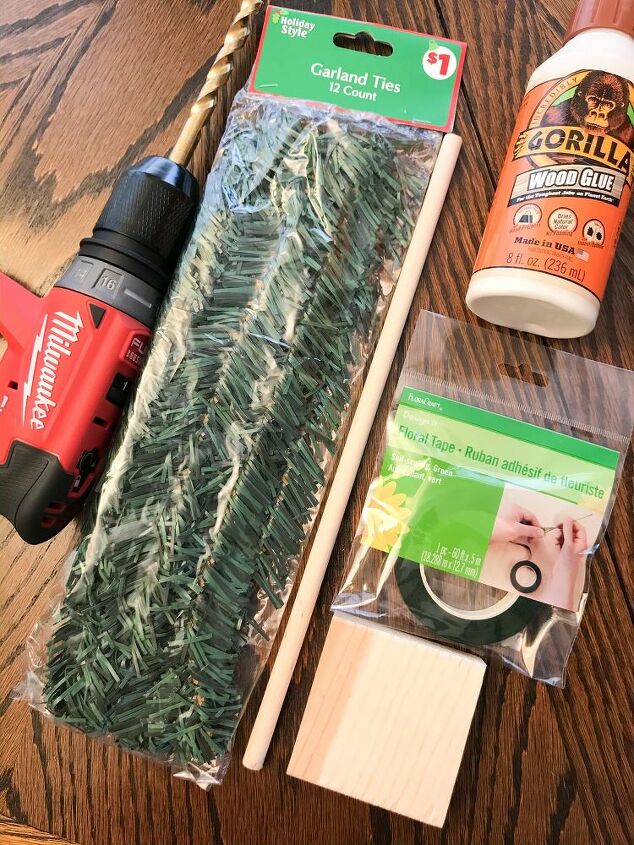
Here's what I used to make mine:
Garland ties (Dollar Tree)
3/8" Dowel Rod (WalMart) - cut to 12"
Scrap block of wood - cut to 3" x 3"
Floral Tape (WalMart)
Drill and 3/8" Drill Bit
Wood Glue
Wire Cutters
Scissors
I also used our chop saw to cut the wood and a scrap piece of sand paper to smooth the cut edges of my dowel rod and wood block.
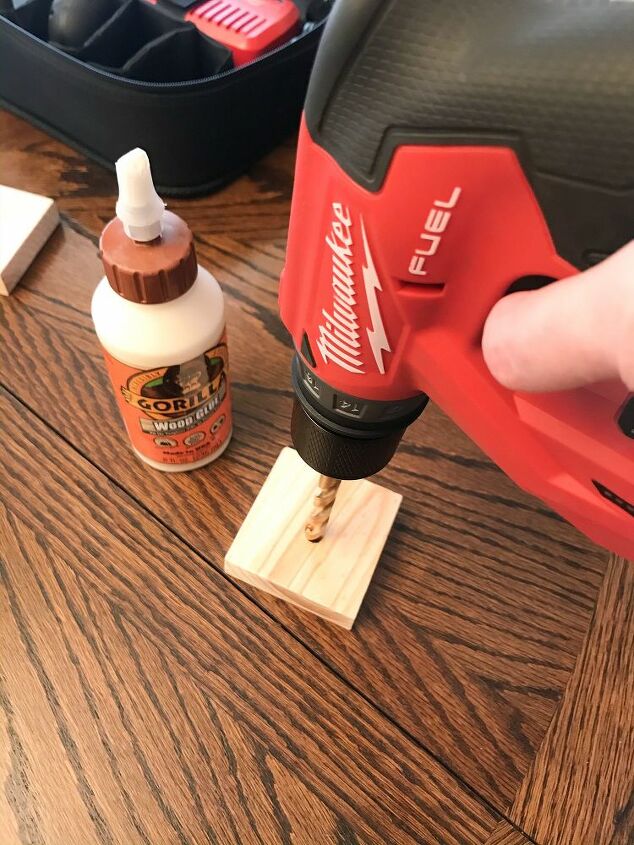
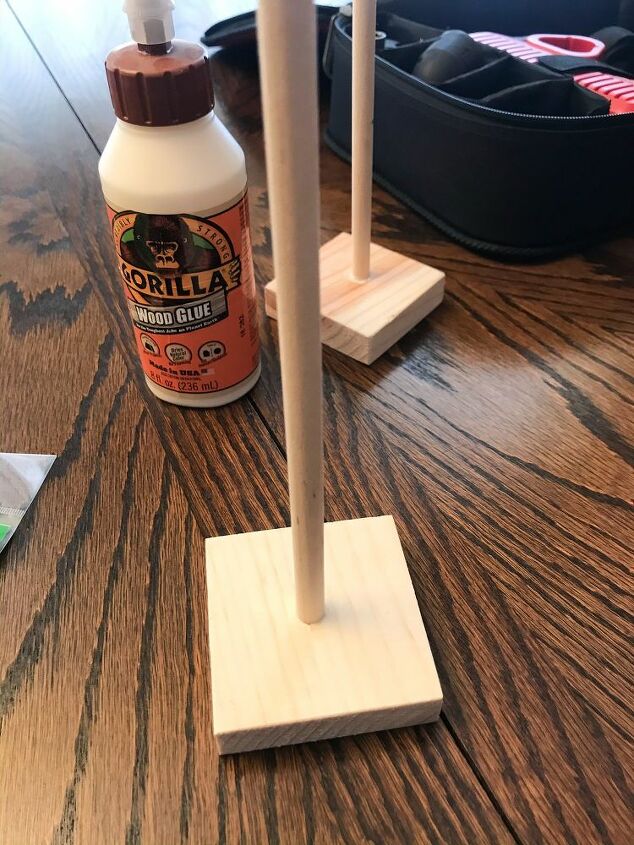
NO! DO NOT drill a hole in your wooden block on your dining room table that took you 16 hours to refinish! Don't be silly! I drilled the holes outside on the patio where it was safe! I just snapped the picture inside where the lighting was better. Heehee!
NOTE: Only drill a very shallow hole in your wooden block, its unnecessary to drill all the way through. It's ok if you do though, but it will let your glue leak out.
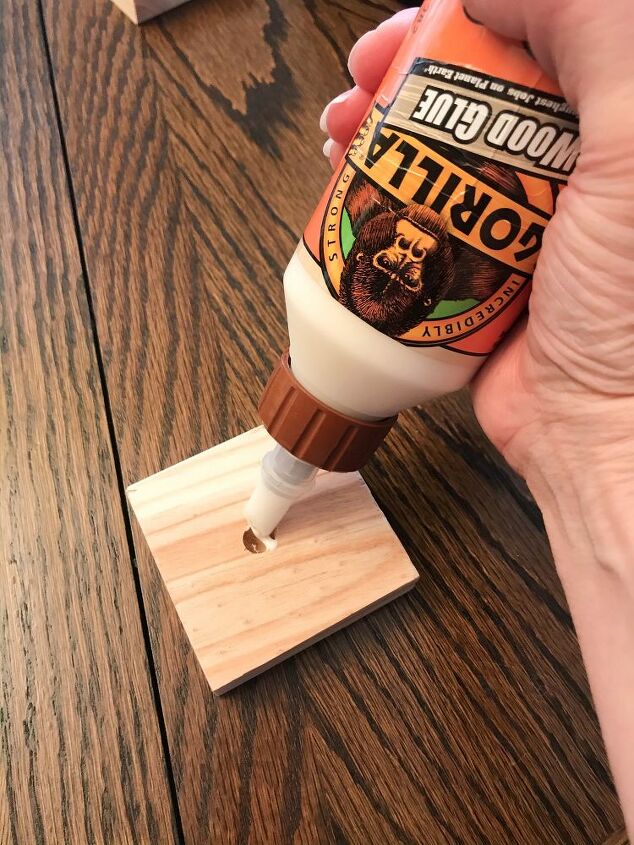
Add a small amount of wood glue to your freshly drilled hole. I prefer to use Gorilla Wood Glue, but any wood glue will do, or hot glue would work too if you prefer.
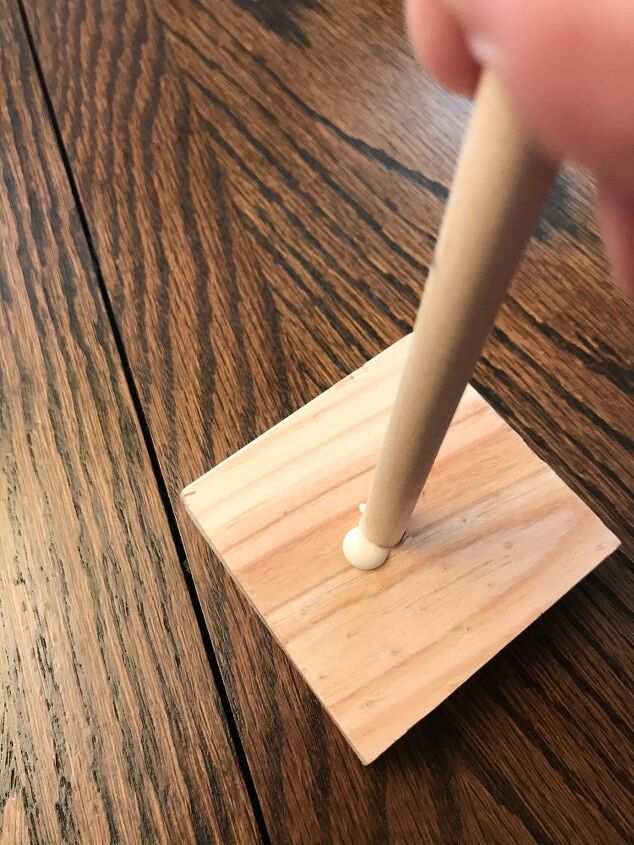
Too much glue looks like this! Press your dowel rod into the glue, wipe off excess and let dry while you're completing the next steps.
At this point you can paint or stain your base if you want to, but I chose not to paint or stain mine because I'm impatient!
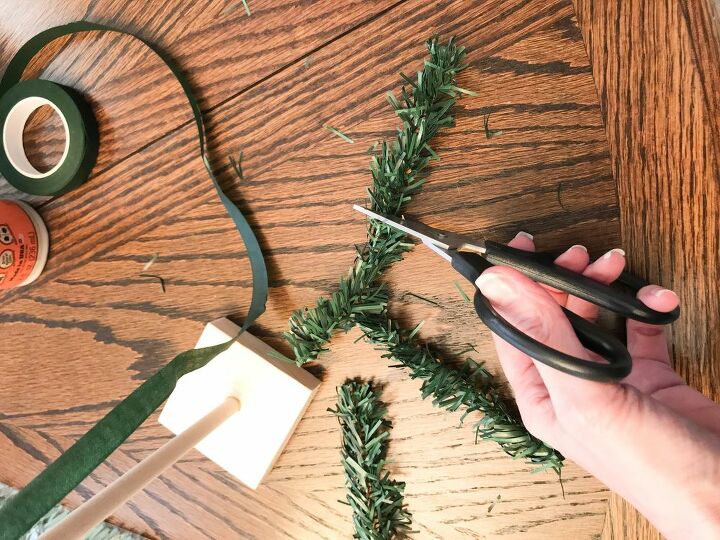
Use your wire cutters to cut the lengths of garland ties you need. This part is totally up to you on what lengths you want each branch to be. I didn't measure, I just started out short at the top and then made them longer as I went down.
NOTE: You can also use old faux Christmas tree branches as well instead of the garland ties.
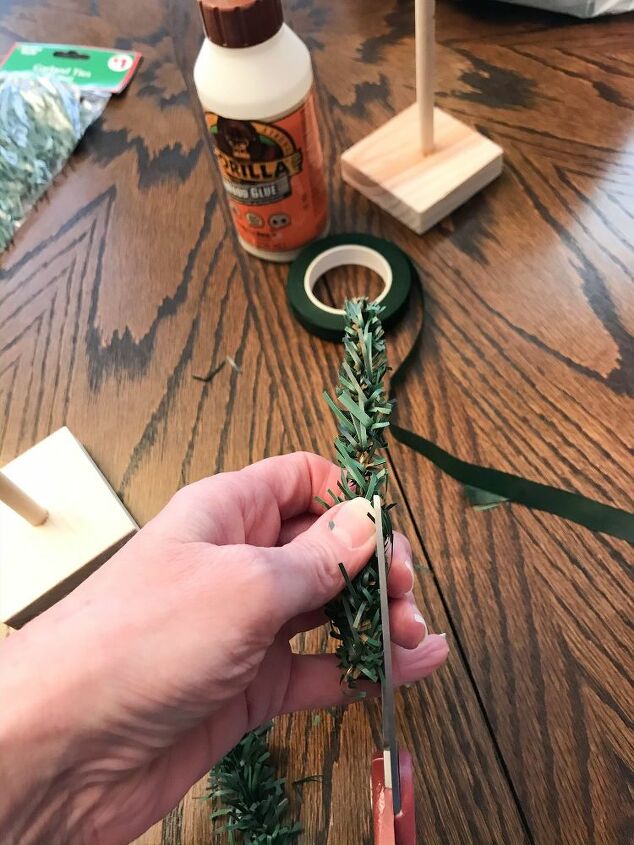
Next you'll want to trim the stems as short as you can, trimming really close at the bottom where you will be attaching them to the stick with the floral tape.
NOTE: This is extremely messy and I suggest you doing it outside if possible. Static and little tiny plastic pieces resulted in a giant mess to clean up!
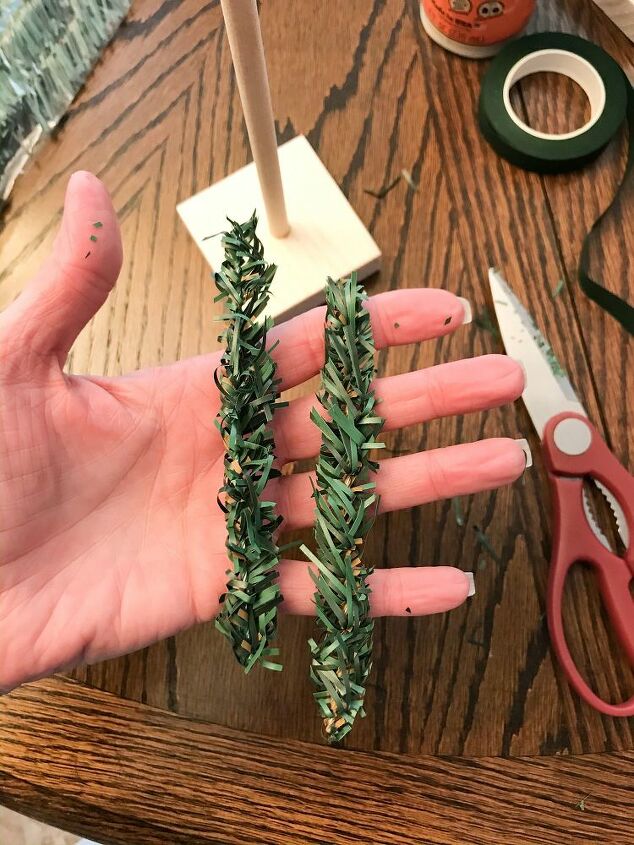
This is how I left my branches, I did go back and trim the bottom end very short so I could attach it to the stick.
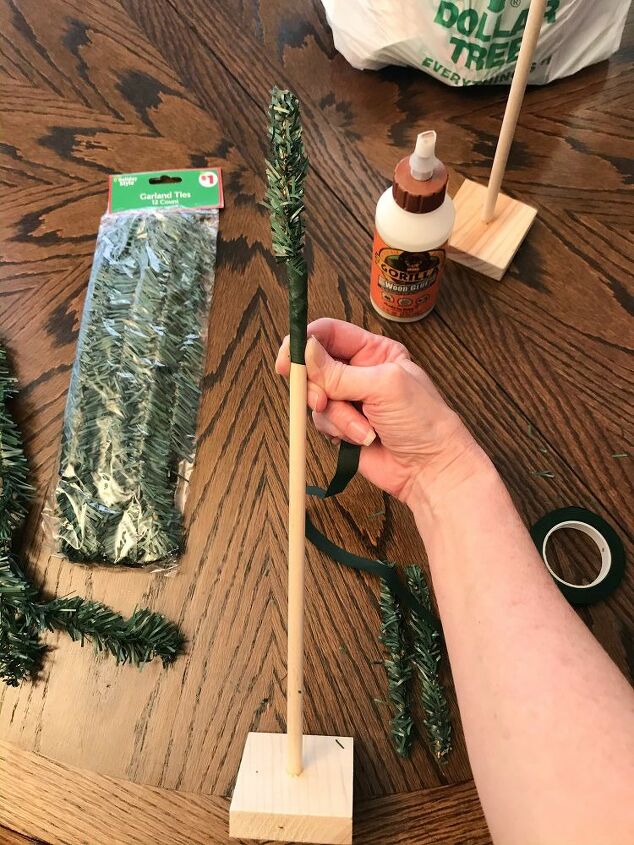
Taking your shortest branch, attach it to the top of the stick using floral tape. The tutorial I watched used brown tape, but our WalMart did not carry anything other than green, so that's what I'm using. Read the directions on the tape package as to how to use it. I'm not going to lie, I've never used floral tape before and it was very hard to get use to. I think if I keep making these, I'd get the hang of it. FYI. I ended up cutting this top branch shorter in the end.
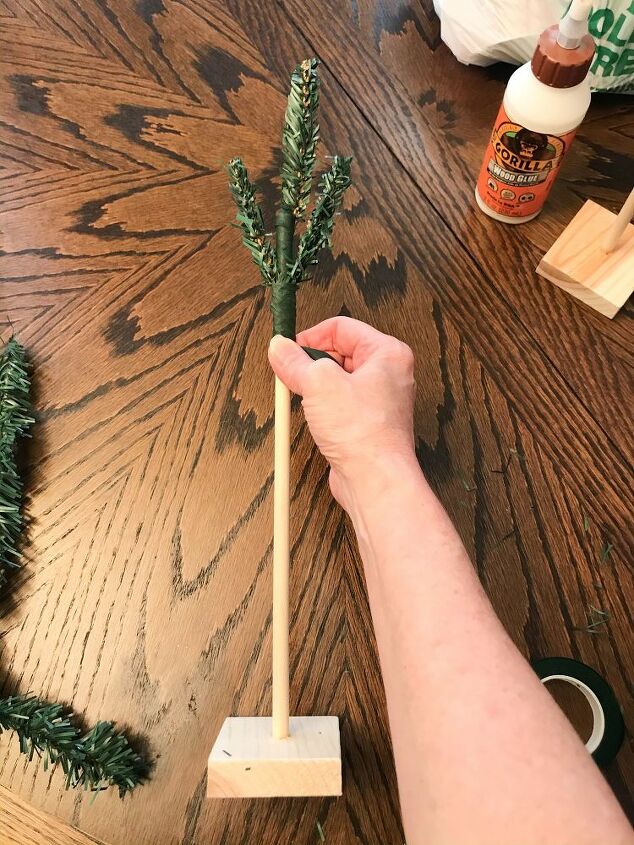
Keep on adding your branches every few inches until you have three rows. My top two rows had three branches and my bottom row had four. Remember, your branches will get longer as you go down to the bottom of the tree. I wrapped the floral tape all the way to the bottom of the stick just so it looked the same all together. After I was finished, I went back and trimmed my branches to a more graduated look.
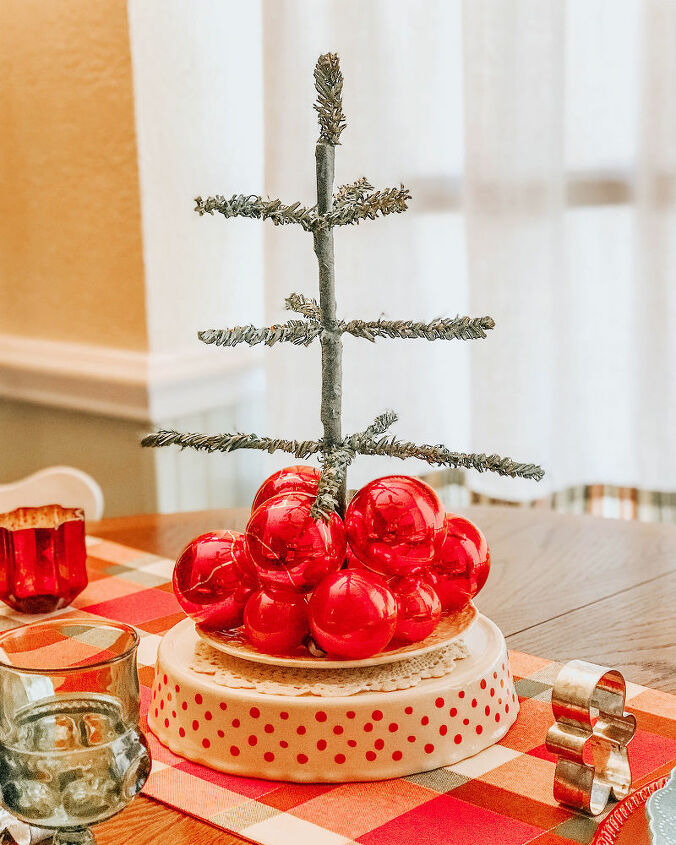
I decided to use mine as a centerpiece for my Christmas table setting. I set my finished tree on a plate and added vintage red ornaments all around it. I think it's so cute!
You can decorate your tree if you want or just leave it plain like I did. Good luck and have fun! Thanks for looking! :)
Resources for this project:
See all materials


Comments
Join the conversation
-
Beautiful!
-
It’s different so that’s a plus!👍🏼


Frequently asked questions
Have a question about this project?
Where's the vintage feathers?
Did I miss something here?