


Art Deco Drinks Cabinet Upcycle

7 Materials
$80
3 Days
Advanced
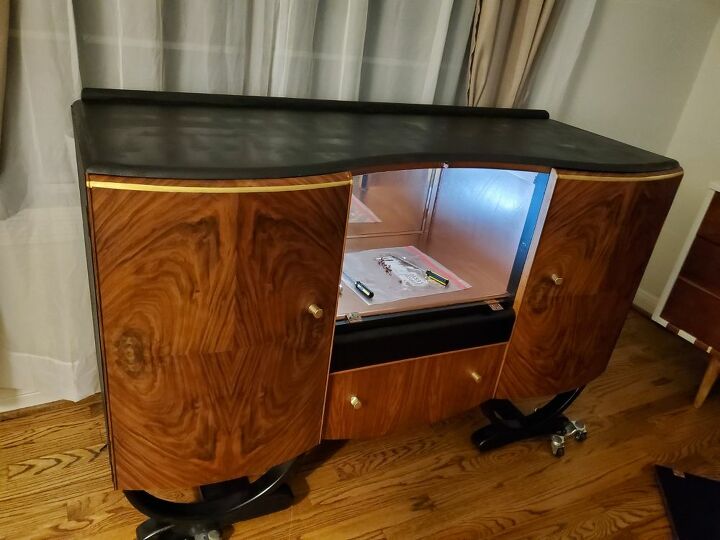
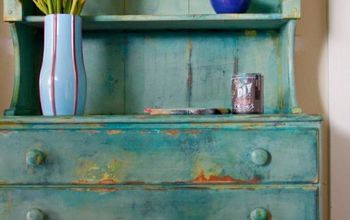
I'm a sucker for drinks cabinets. If you have been following me here or on Instagram you know that I have previously refinished and art deco drinks cabinet that was much smaller than this one. I knew this one was going to have amazing wood grain just like the last one did and that is going to have serious great Gatsby vibes once I was done with it! Check out this transformation and if you want to see more follow me on Instagram @andreapalmai
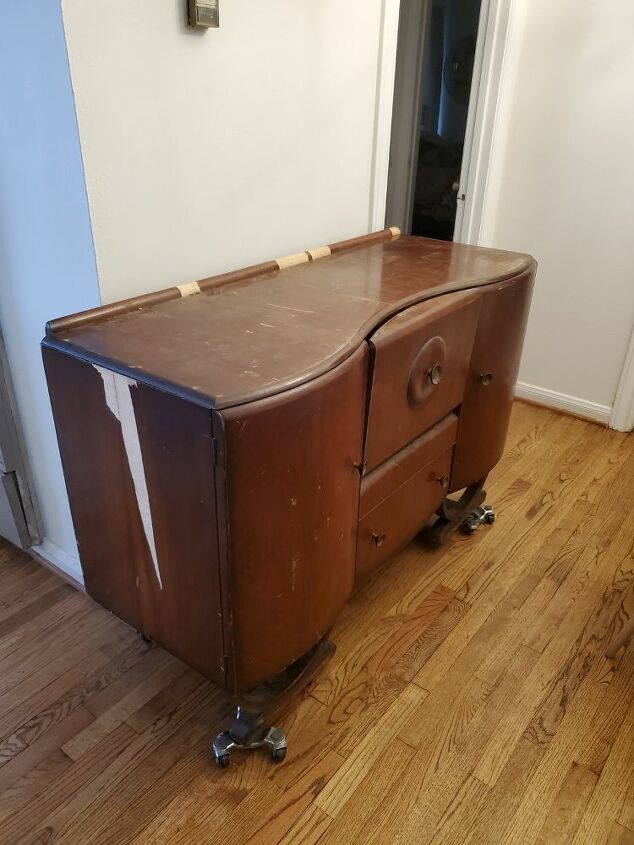
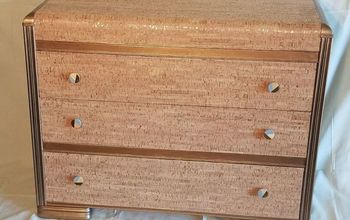
Before
Here is what it looked like before. The veneer was coming off on one side and since knew I was going to paint the sides I just peeled it off. Luckily it came off pretty easy, I didn't have to use any tricks
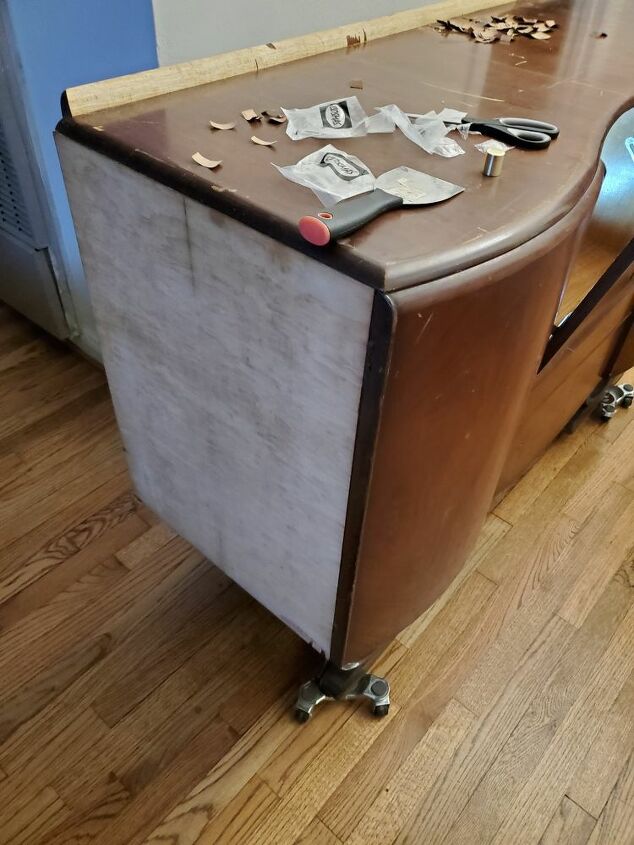
Veneer off
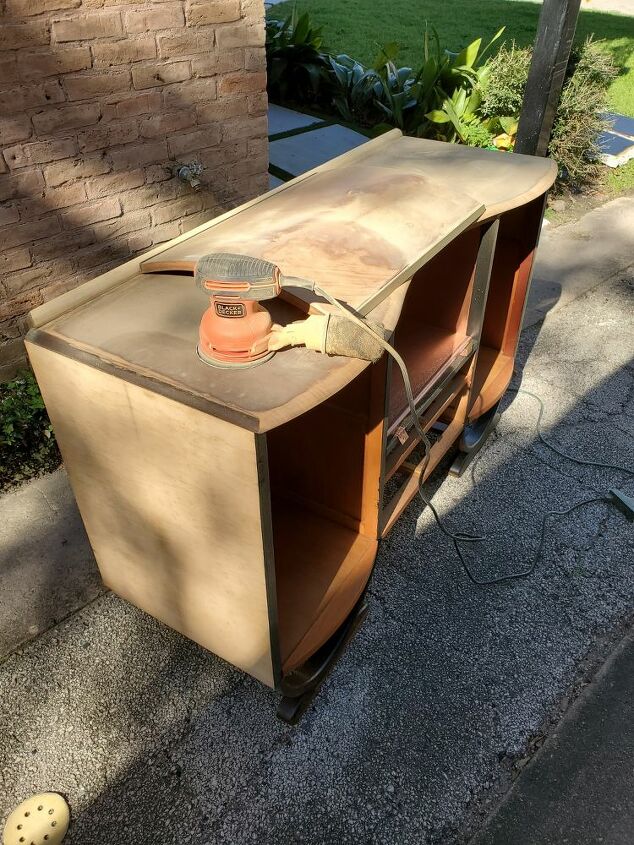
Time to sand
Once all the doors and hardware was off it was time to sand. I sanded the wood parts that were going to be exposed with 120 220 then 320 sand paper grit. I also sanded the now raw side without the veneer. Then it was time to paint
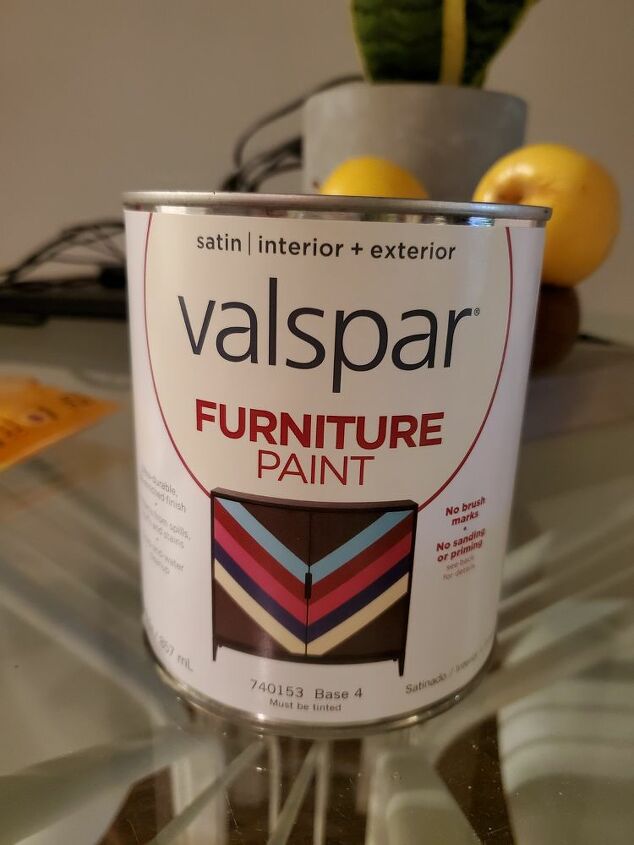
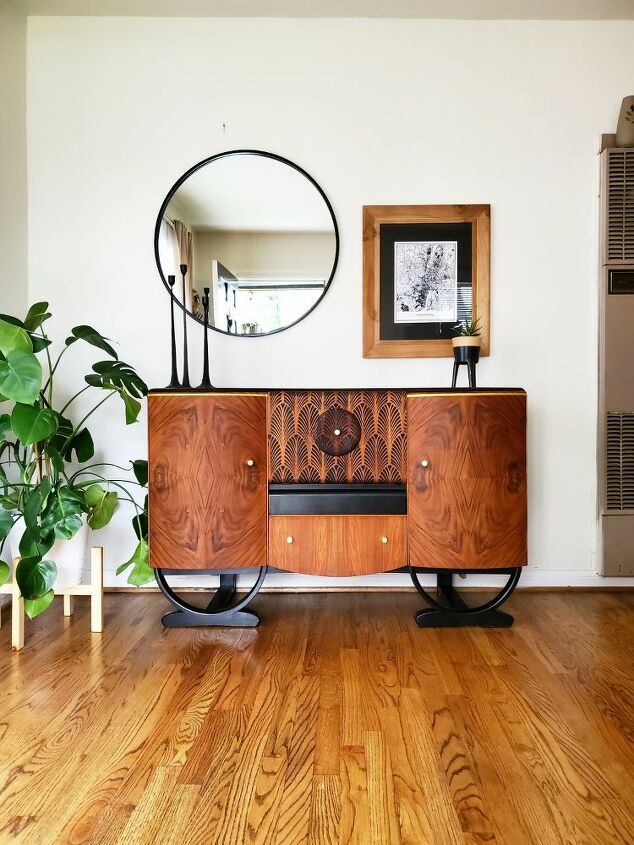
It was my first time using valspar furniture paint and I must say I like it. I tinted this one black and applied 2 coats with a paintbrush and the finish was smooth and no visible bristle strokes. This paint also requires no sanding so it's a win. Once it dried it had a nice satin shine to it at the end.
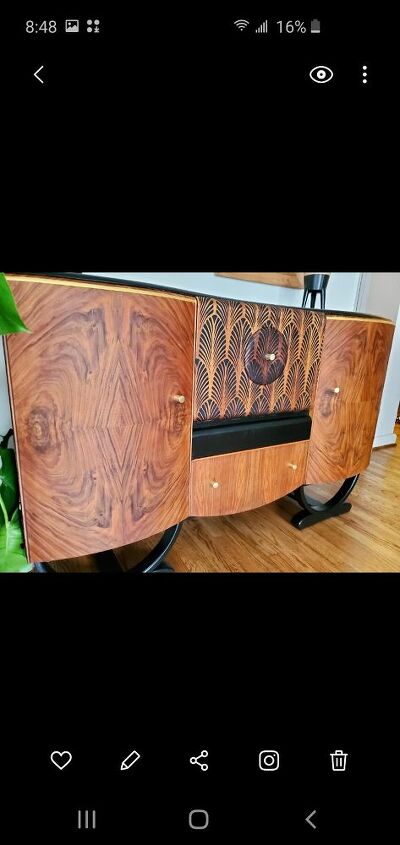
I painted the top and the sides and one of the drawers. I added new knobs because the old ones were bent. I applied 2 coats of boiled linseed oil on the doors to make that wood grain pop.

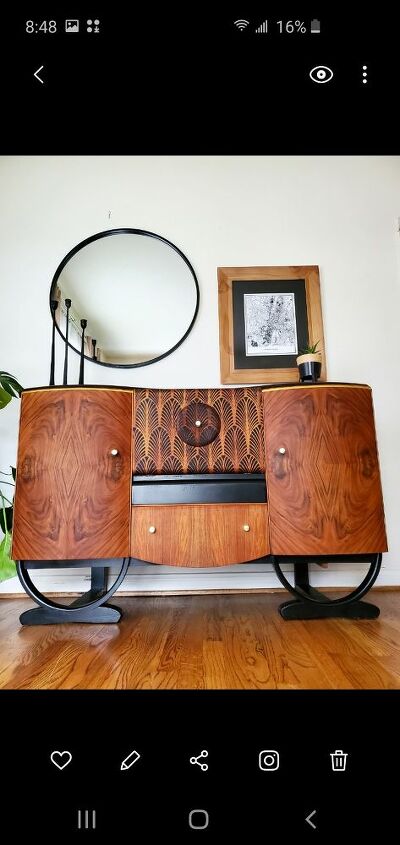
The woodgrain on the doors were amazing but I still wanted something cool and unique on this piece, so I decided on an art deco inspired stencil for the middle door. The stencil was purchased on Amazon
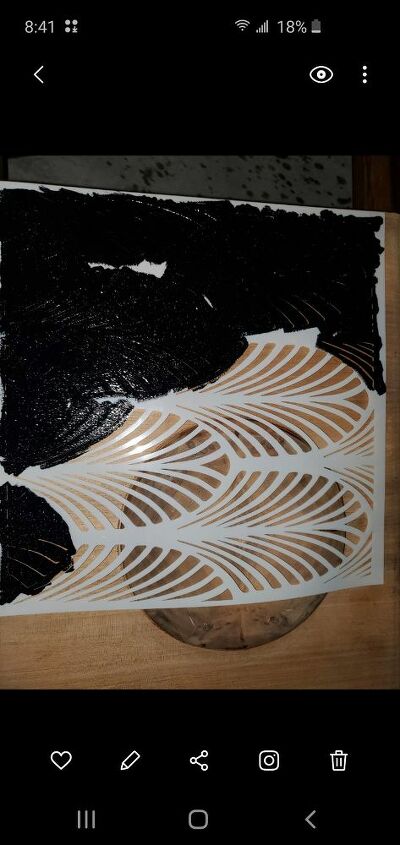
Stencil
This was a bit difficult because the door wasn't a flat surface. It had a circular bump around the pull as well as a curve on top. I worked slowly but the paint still got under the stencil... I waited till the paint dried then lightly sanded where I "colored outside the lines" to make the lines sharp I used a black sharpie where it was needed. I applied the linseed oil once the stencil was complete.
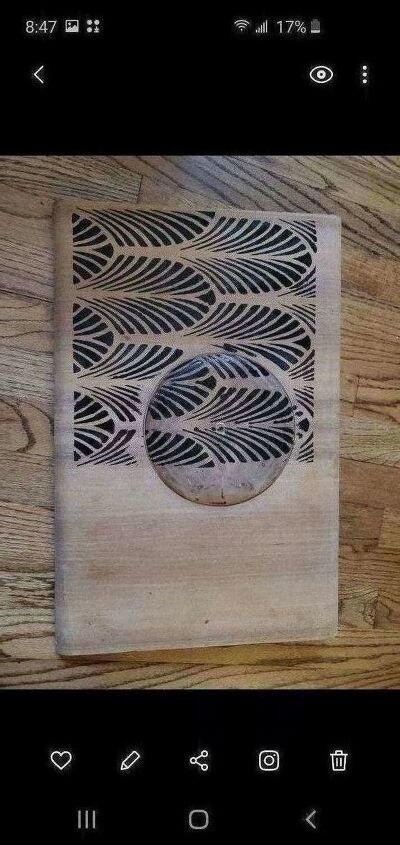
Suggest applying stencil on a flat surface

It was tedious work but was totally worth it!
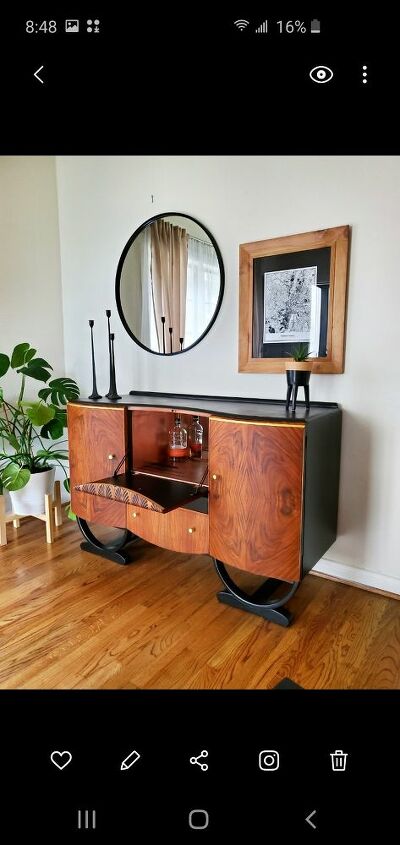
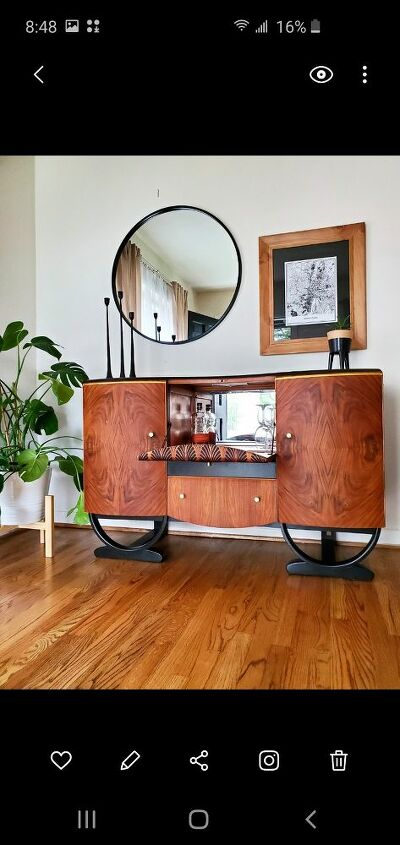
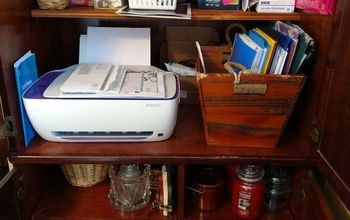
I also added motion sensor LED lights inside the cabinet so it lights up when you open the door! I just love how this turned out
Resources for this project:
See all materials


Any price and availability information displayed on [relevant Amazon Site(s), as applicable] at the time of purchase will apply to the purchase of this product.
Hometalk may collect a small share of sales from the links on this page.More info
Comments
Join the conversation
2 of 286 comments
-
BEYOND WOW!!!
-
Awesome!


Frequently asked questions
Have a question about this project?
Very nice. Love the idea of motion sensor lights. Would you share what other things you did to the inside of the cabinet? How was cleaned? Any repairs to shelves or painting? Thank you
Did you change the legs as well? If so, please share where you got them. They are so freaking cool. And well done again. I always love to see what you create.
Very nice!