


Update an Old Lamp Shade With These Simple Steps

I’d been looking for the perfect lamp shade for forever but everything was either really expensive or not my style.
So the obvious answer to that is; make it my style.
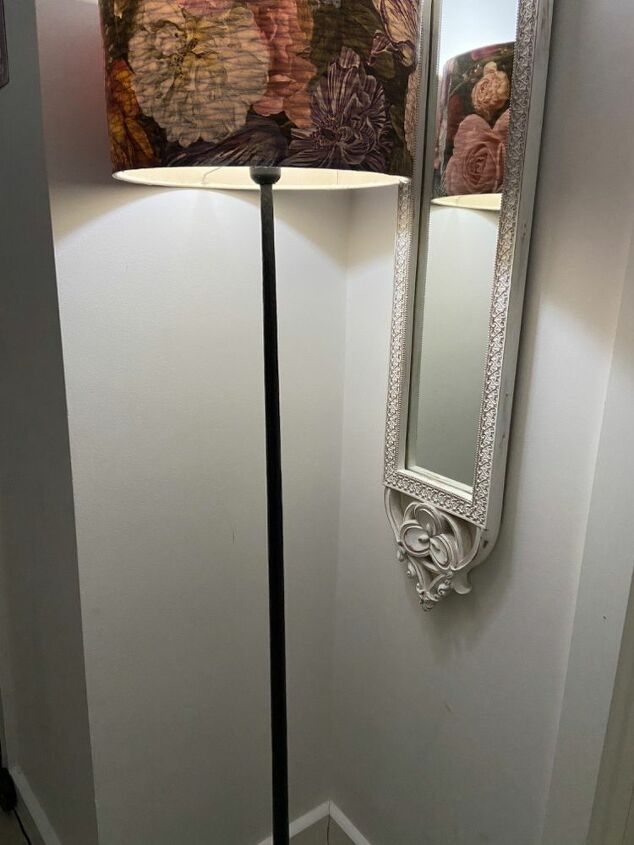
I found a floor lamp on Facebook for £6.
The base was exactly what I had been looking for. Something plain, black and sturdy.
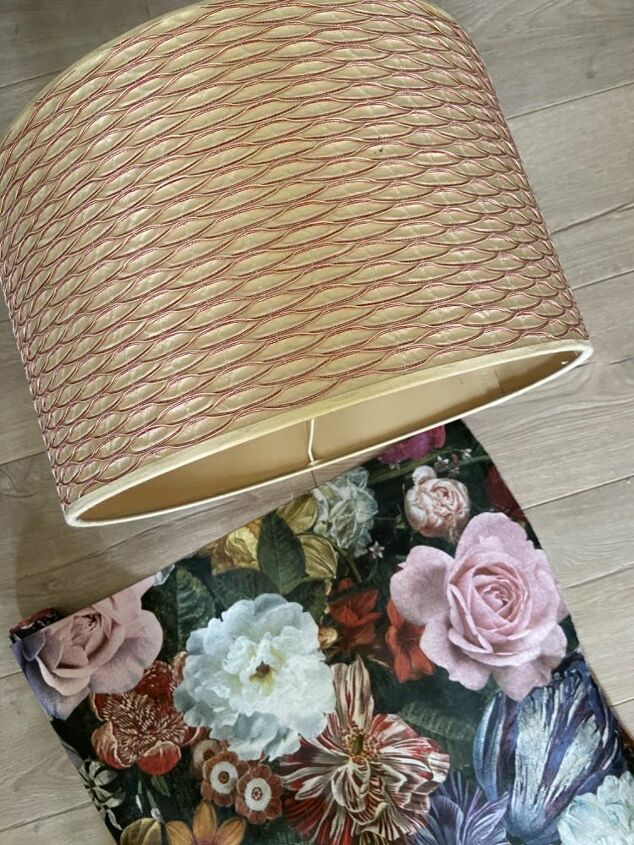
The shade however was ugly. I fell in love with a velvet floral shade with tassels.
Similar fabric was pretty pricey, and I’m yet to find the tassels in the right colour but I’m pretty pleased with the result of this.
I used wallpaper, a sponge brush and decoupage glue. A Stanley knife and a cutting board.
I got the glue on amazon for just over £9. And it’s a huge bottle. Very pleased with this glue too.
Deco Art Americana Decou-Page Glue-16oz Matte, 16 Ounces https://www.amazon.co.uk/dp/B004VD3JZ0/ref=cm_sw_r_cp_api_i_QkbsEbF5BHD05
This video explains the plans.
Basically I trimmed down the torn edges and used the straight edge as my starting point.
poured glue onto the wallpaper and used the sponge blush to evenly spread the glue over the paper. I didn’t cover all the paper as it was too long. I covered enough and slightly over the space I needed.
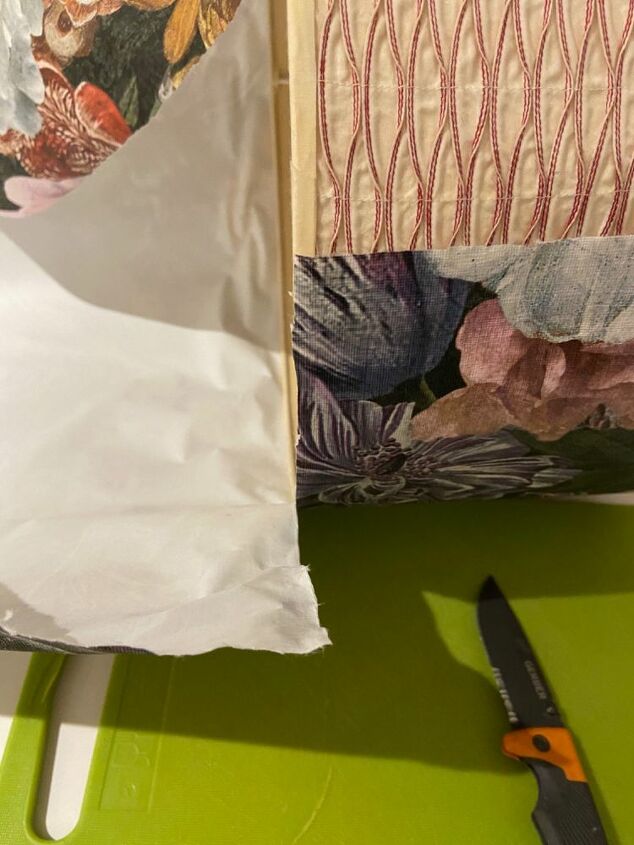
My paper was too short so I had to patch mine up. If you have longer paper I’d suggested cutting it to length before you start.
Lining up the shade to the edge of the paper start to roll the lamp shade across the paper so they stick together.
Once you get to the end leave to dry.
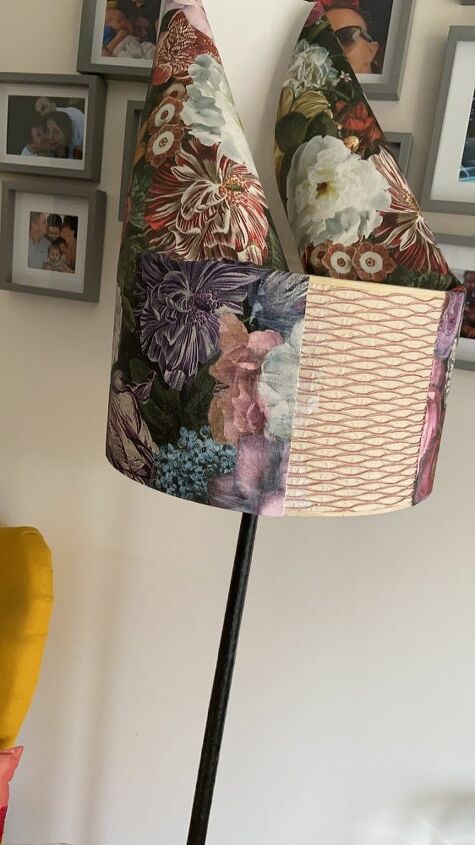
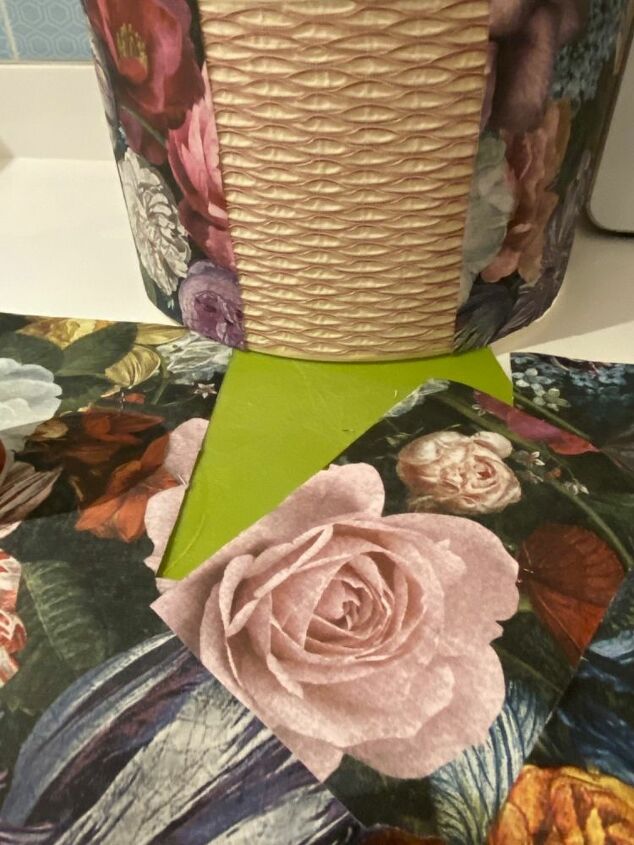
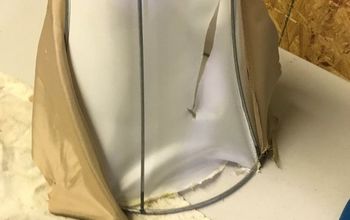
This is what my lampshade looked like as I let it dry.
It was a huge cone shape with lots of excess paper. Once it is dry, it will be time to trim it.
It’s easier to get a straight line when using the lampshade as a marker.
For those who didn’t have enough paper to go all the at around or if your wanting to match it up this is the best time to do so.
I will use this as the back, as won’t be able to match it up.
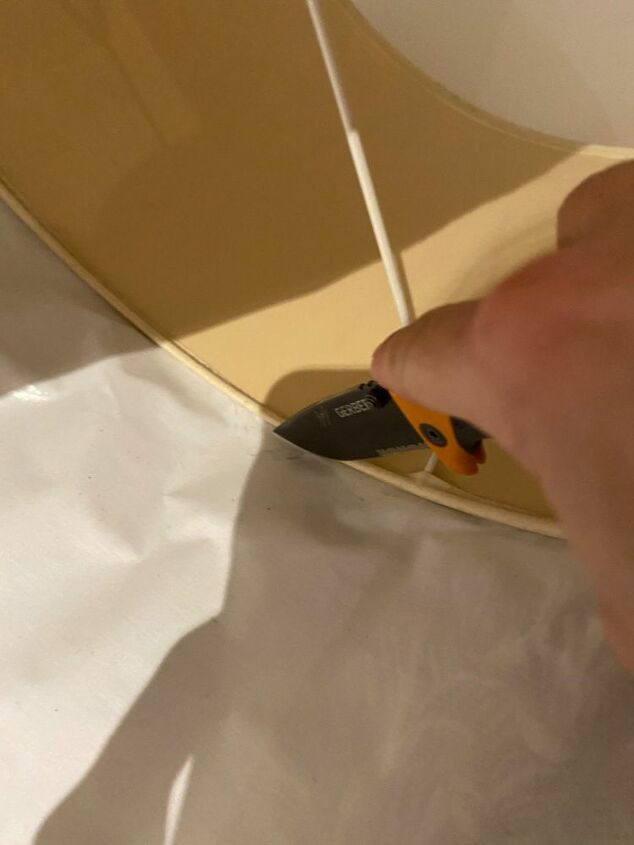
Now your glue is dry, run your Stanley knife against the edge of the lampshade to get a straight line.
Top tip: do a little at a time, only cutting the bit against the cutting board to make sure you don’t rip or damage the perfect line.
With the left over paper I had after trimming the paper off I cut out a section to fill the gap.
I repeated the same as the first step. Once it is dry I will trim it down as well.
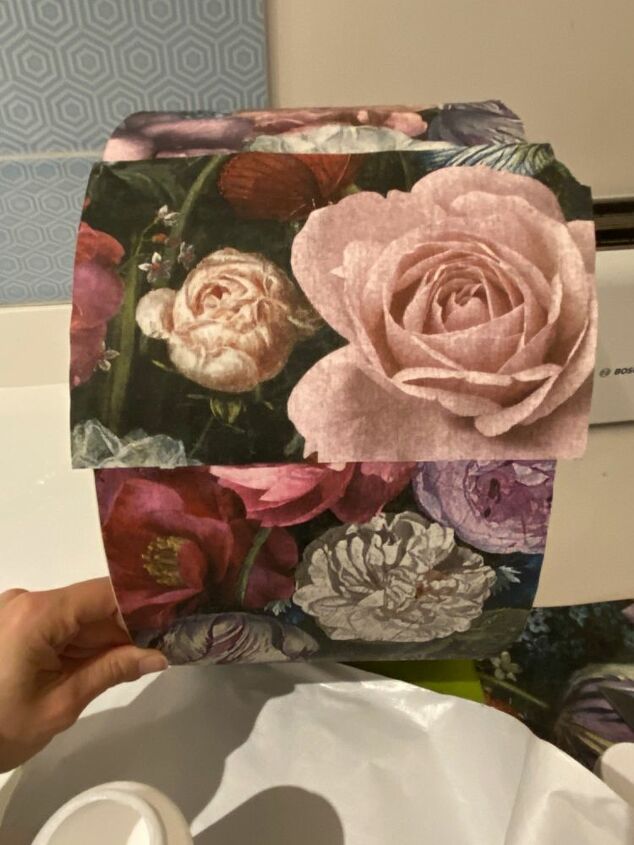
Now cover the wallpaper in glue. Be sure to cover the edges to prevent them from peeling away.
I used a sponge brush as the sponge brush doesn’t leave any brush marks.
You can use a paint brush instead if you wish.
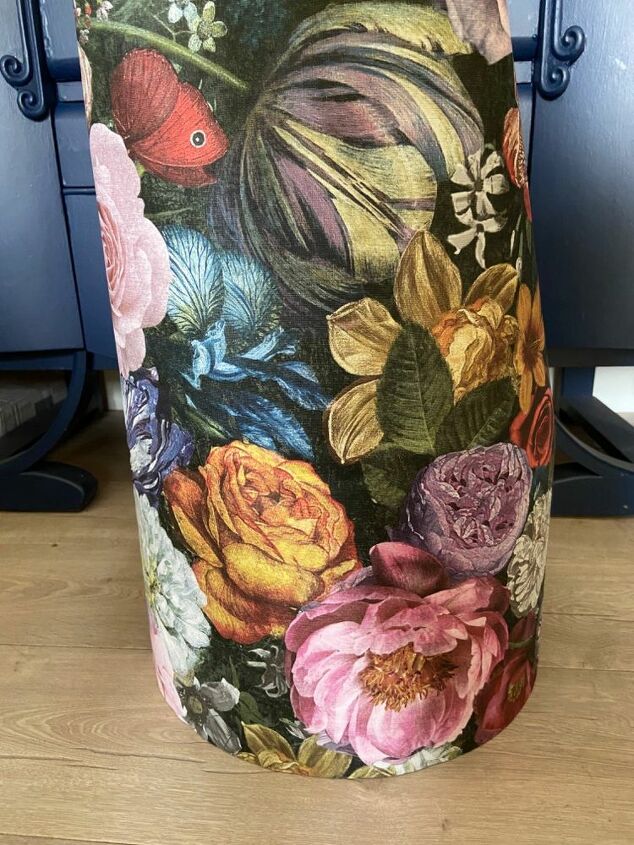
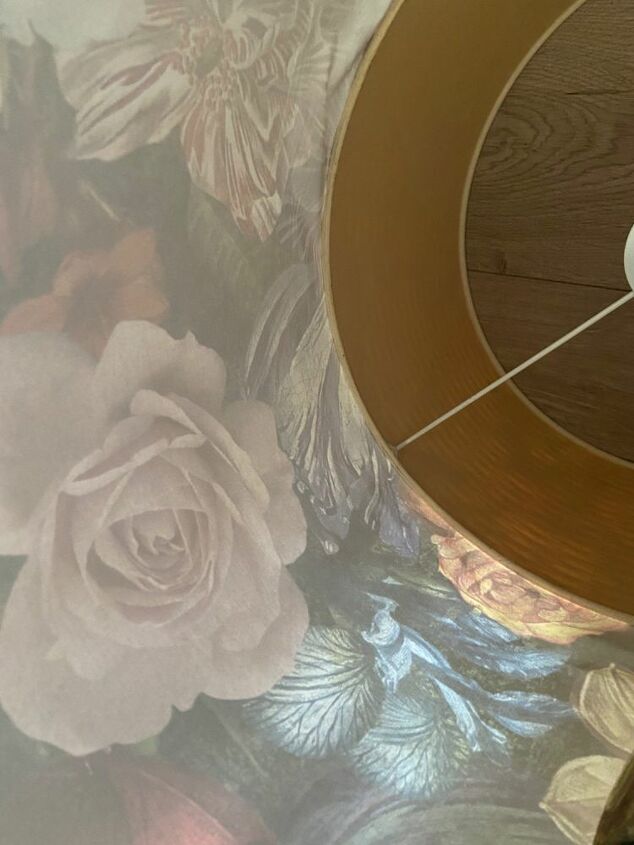
I chose not to remove the fabric for the ease and I like the way the pattern shows though the paper when the light is on. But you can remove the fabric first if you wish, it just depends on how fiddly you wish to make it.
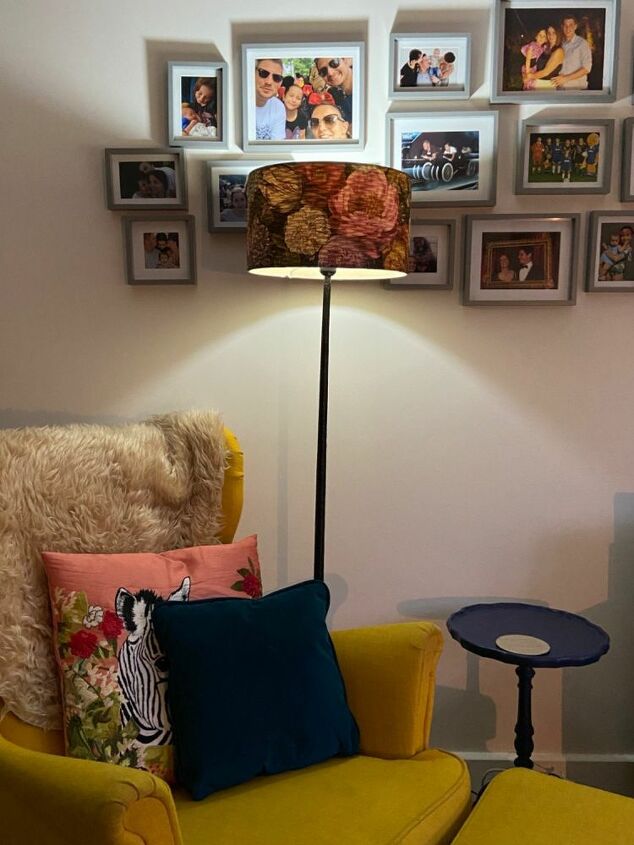
This is what the lamp looks like in my home.
I wonder if I need the tassels now? I just love it!
Resources for this project:
See all materials


Comments
Join the conversation
-
We have great taste! I just finished decoupaging a lampshade for a table lamp! Instead of wrapping the outside I cut the material around the patterns I wanted and glued them on the inside with the pattern facing out! Now I have to find some trim to glue to the bottom also! Great job!
-
Oooh, so in love with this lamp !!!!! I have one that I need to do also. I never thought about wallpaper !!! Some crafter huh. Thank you.


Frequently asked questions
Have a question about this project?
Omg I love this idea!! I have the opposite problem as you because I have beaded fringe that I want to use but couldn't find the right shade lol..I've included a picture of the tassels in green and pink but I have about 5 different colors all together...thank you SO much for the inspiration lol p.s- do you know the name of your wallpaper pattern? It's exactly what I'm looking for 😜