


DIY Custom Curtain Tie Back

If you love the look of curtain tie backs but don’t love the idea of attaching them to your walls to install them, why not try a DIY curtain tie back that doesn’t require drilling? I created a diamond pattern on some scrap wood from my shop and combined it with a wooden dowel to make stylish custom curtain tie-backs that don’t need to be screwed into the wall. This was a very simple and inexpensive way to accent the curtains with a beautiful and stylish accessory without damaging the walls or permanently affixing hardware to them.
You Will Need:
- Scrap wood
- Wooden dowel
- Straight edge
- Band saw
- Miter saw
- Wood stain
- Torch
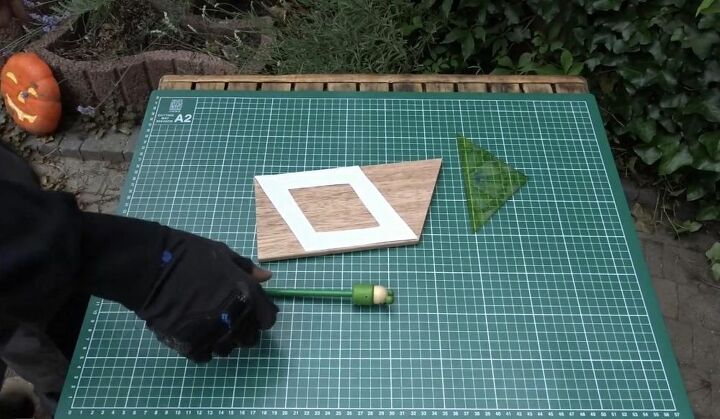
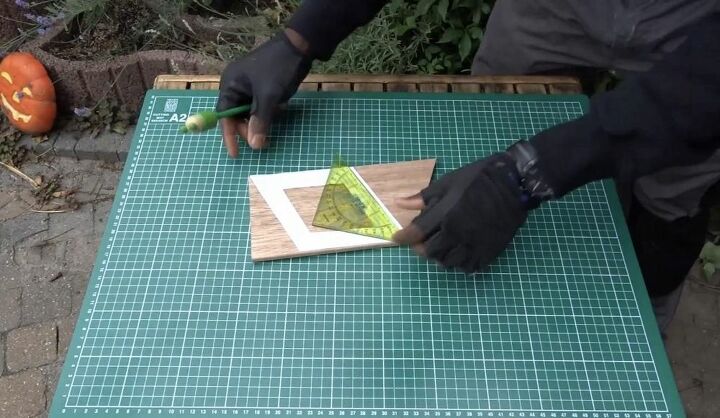
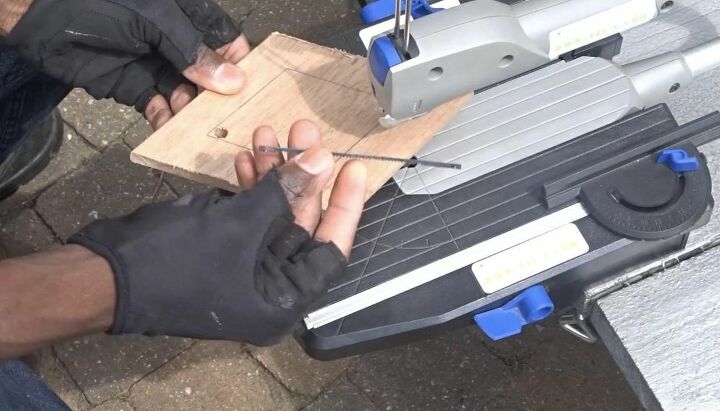
I traced a rhombus shape onto my scrap wood with a pencil to create the diamond-look pattern for my tie back and to mark where to make my cuts. Choose a shape you want to use for your curtain tie backs and trace it onto your wood using a set square or straight edge.

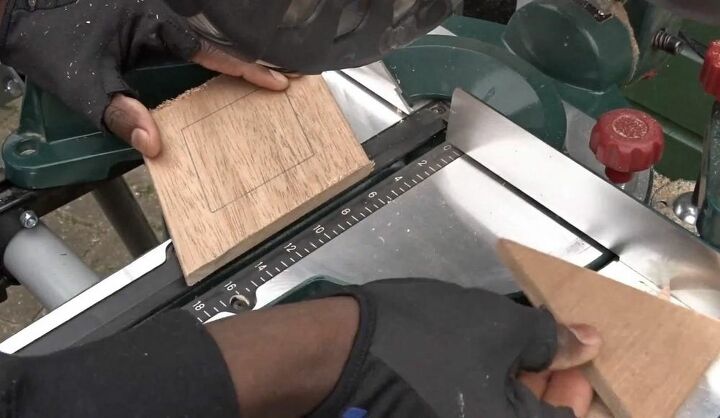
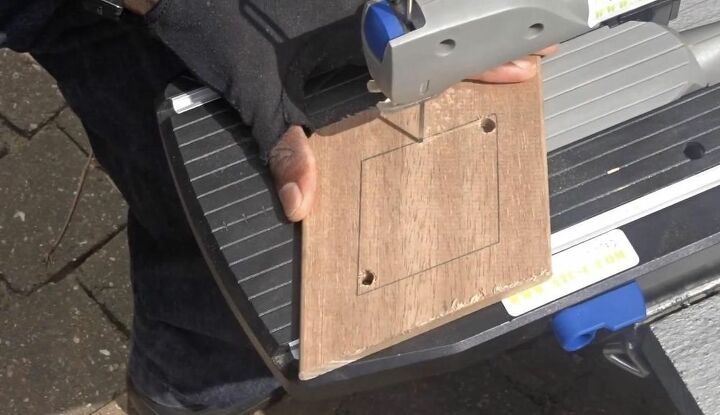
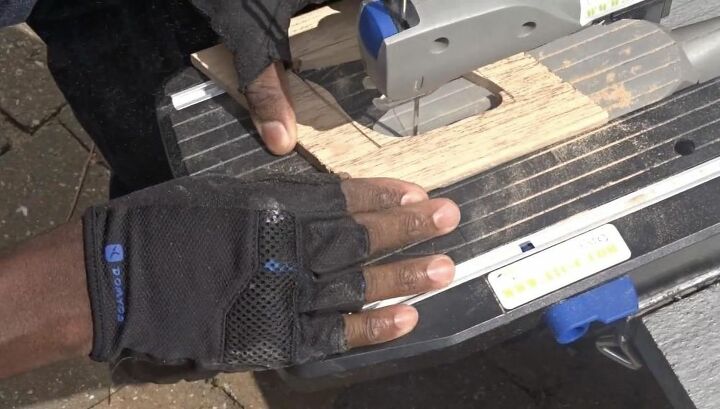
I used my miter saw to cut the pattern out and then made two holes in the corner of each square for the inside cut. I then used a band saw to remove the rest of the interior wood by inserting the band saw blade into the pre-drilled holes and making my cutouts. Connect the pre-drilled holes using a band saw until all of the material inside the diamond is removed. Remove the blade from the band saw and insert it into one of the pre-drilled holes for an easy way to get the interior cutting started.
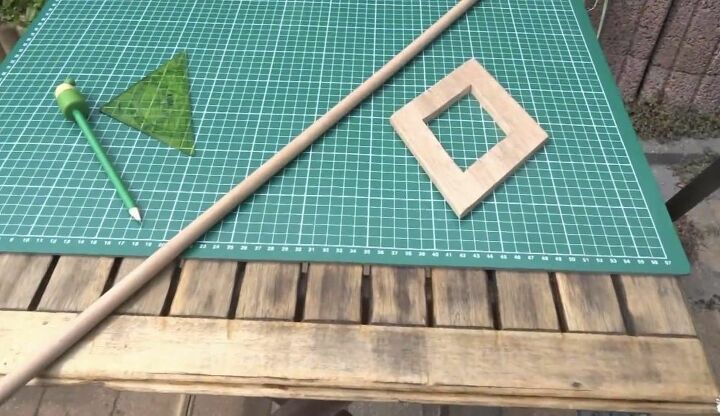
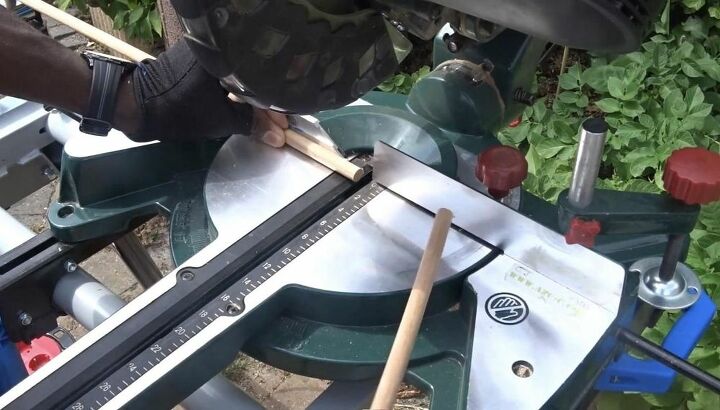
After cutting out my diamond tie back design, I moved on to cutting my wooden dowel. I measured 2cm on each side of the diamond I cut previously in order to have the dowel a bit longer than the diamond on each side and then I cut the dowel piece out.
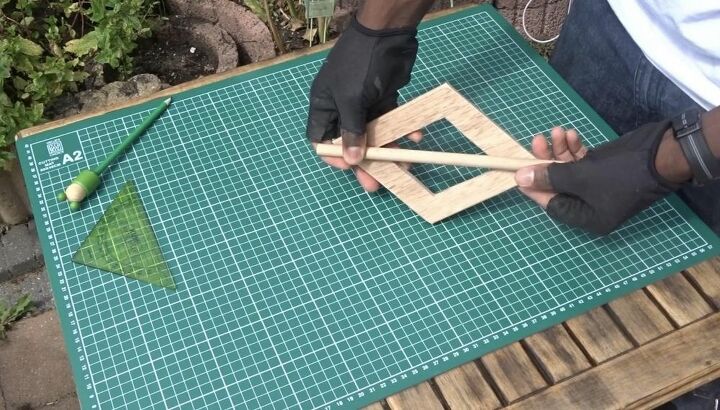
I tested the fit of the diamond tie back and the wooden dowel to ensure the fit and look was in line with the design I wanted for the finished product. Adjust the length of the dowel if you are not happy with the test look but be sure to leave enough length to hold the curtain securely in place.
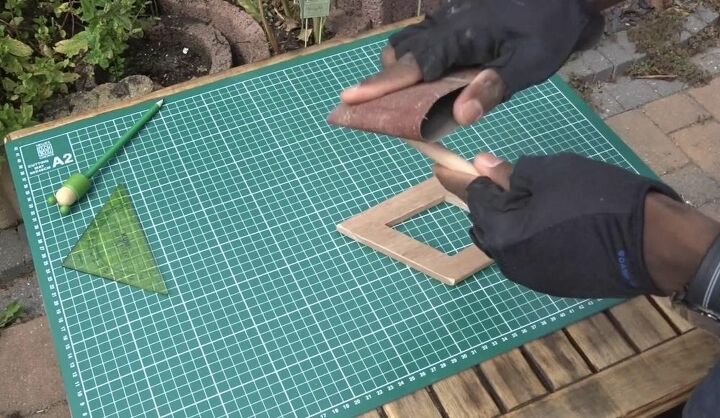
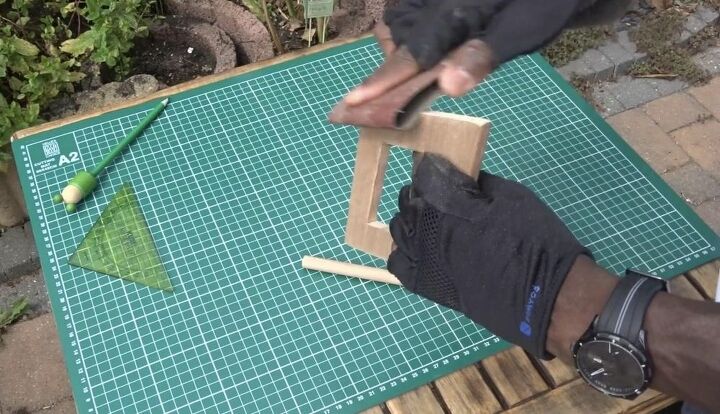
I used a small piece of fine, high grit sandpaper to smooth the surface of the dowel and tie back by hand. Sand your tie back as the final preparation before applying a wood stain or other finish you choose.
I used a torch to burn the surface of the wood in several areas to create more contrast and interest in the finish and then applied wood stain to both the wooden dowel and the diamond tie back. If you are using wood for the project that does not have a lot of beautiful grain or natural color, consider adding some yourself with a torch slowly moved back and forth across the surface before staining.
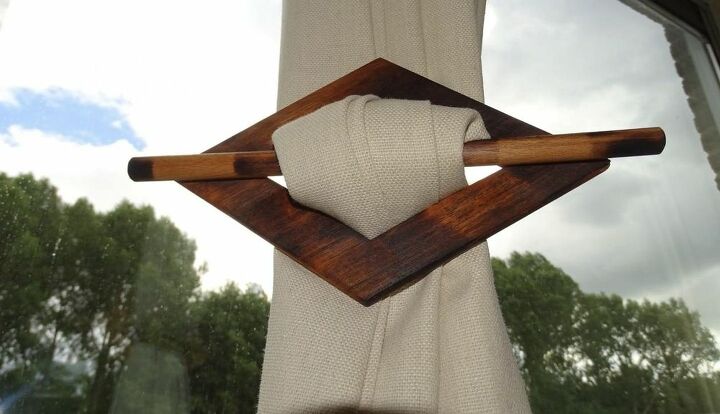
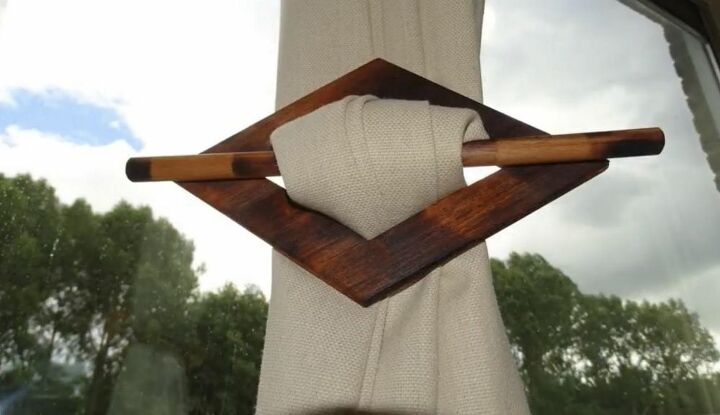
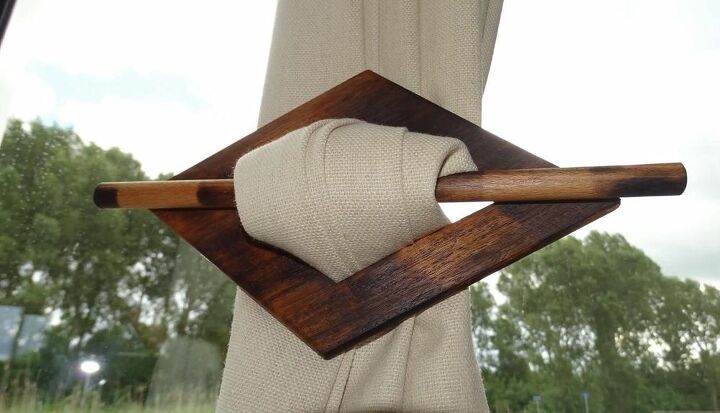
I gathered the curtain in the center and pulled some of the material forward into the opening in the diamond tie back. I then inserted the wooden dowel through the diamond behind the curtain material to hold it in place.
We are thrilled with the look and style of our diamond-look wooden tie backs and love the depth created by the burned finish on the wood. Depending on what kind of wood you have for the project, choose a stain or sealer that enhances its natural beauty and add some extra dimension using a torch to burn portions of the tie back surface. This was such an easy, inexpensive, and stylish way to add beauty and function to our curtains and I can’t wait to make more for other rooms in our home.
Have you created a custom curtain tie back in order to avoid drilling into your walls? Share your best curtain tie back hacks or find photos and inspiration for more stylish DIY projects like this one on Hometalk!


Comments
Join the conversation
-
These are the perfect answer to having to drill a hole, screwing the tie back, which is never level to the opposite side. So easy to adjust and beautiful too. If your curtains change the color is easy to change also. Thanks for the idea.
-
You are OFF THE HOOK with your woodworking skills and ideas!
I love this one and no one has done this!♥️ Just love you, your ideas and videos. 💞


Frequently asked questions
Have a question about this project?
I absolutely LOVE this!!! Brilliant!!!😍😍😍