


Coat Closet to Mudroom

Our coat closet was lacking the storage and functionality that we needed so we opted to transform it into a mudroom space on a budget! This is one of my favorite DIY's to date!
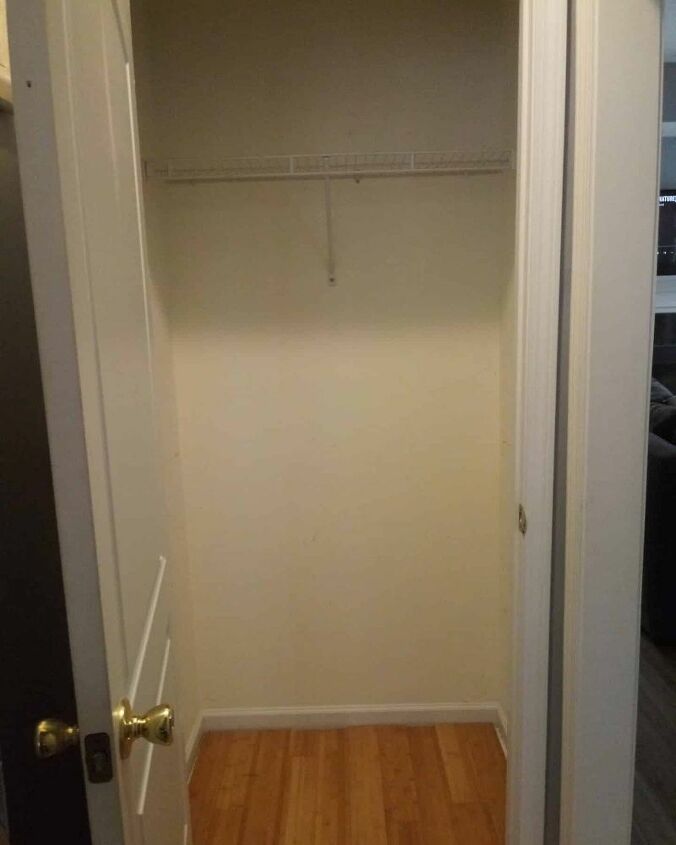
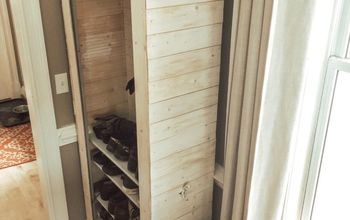
This project started as a standard coat closet with a single wire shelf. I started by removing the shelf and hardware. I then went on to fill in any holes with DryDex spackling and a simple putty knife. I used leftover white paint to freshen the space up and create a blank slate.
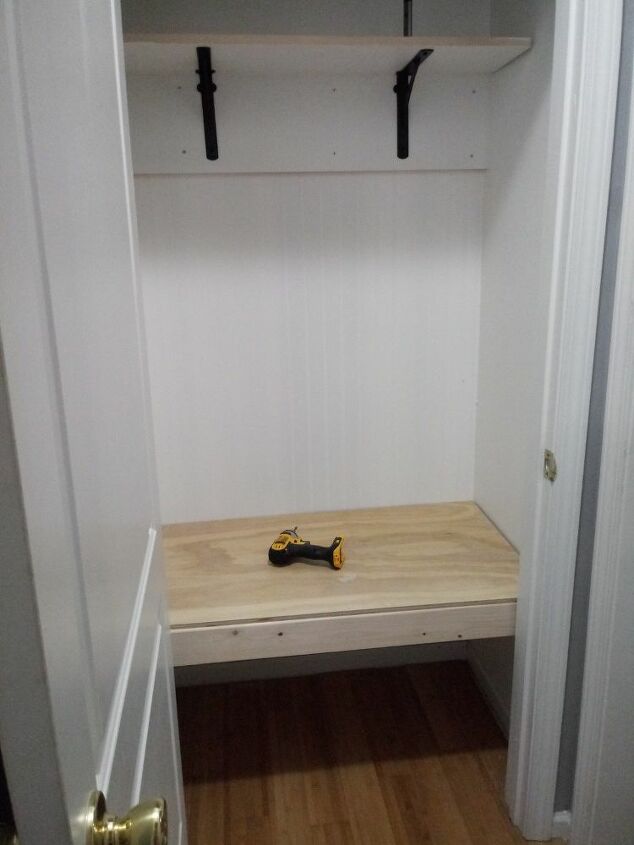
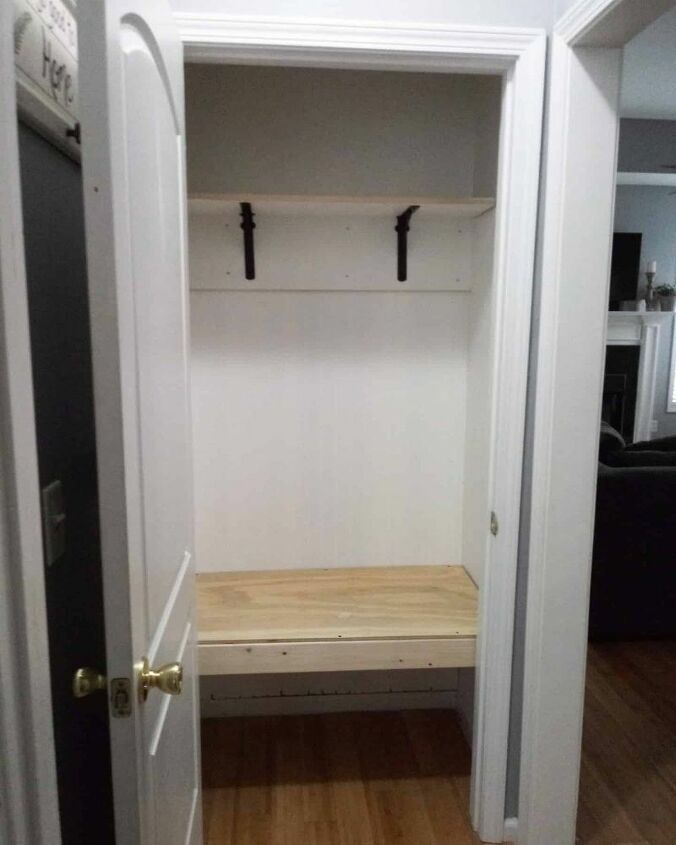
After freshening up the space this we added beadboard to the back wall using liquid nails. We measured the beadboard to the height we desired the shelf to be. We then added a 1x6 that would serve as extra support for the shelf and a place to secure the hooks and brackets. We used a laser level and pre drilled holes for the brackets and on the shelf to prevent the wood from splitting. After securing the brackets and the shelf the next step was to figure out how to add a bench that would not only serve a purpose, but also be secure. My husband and I decided to keep it simple and secure two 2x4s into studs, one on the back wall and one in the front. We measured and cut plywood to use as the bench seat.
Now that the hard part was complete, the dirty work began. We caulked all of the seams to create a built in, flawless look. Caulking is so important and truly makes such a difference. We used a basic drywall caulking to get the job done.
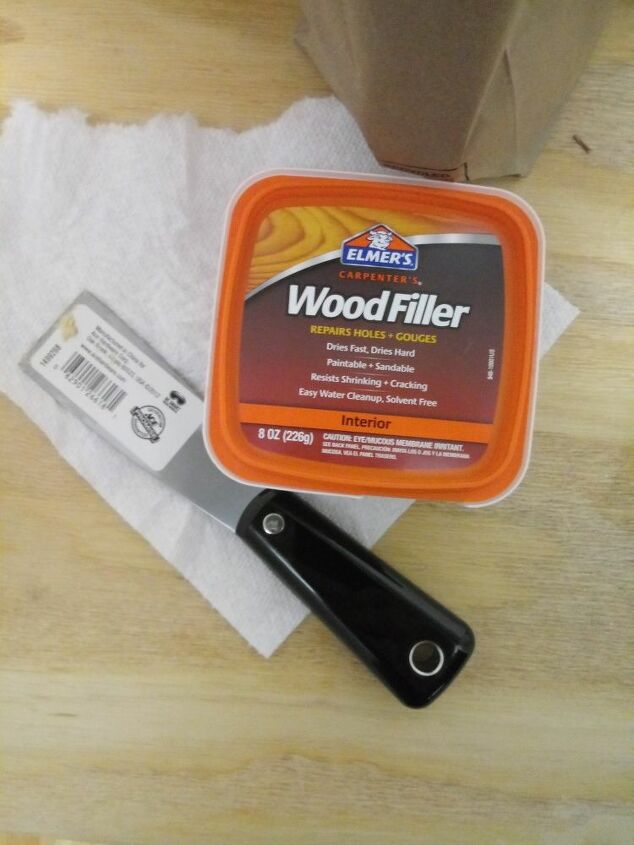
Following the caulking we used wood filler to cover the screw holes. We chose to sink all of our screws so they could be easily hidden. At this point we had also decided to remove the door and hardware. The wood filler also worked perfectly to fill in the holes caused by the hinges and knob hardware. We allowed the wood filler to dry for about 24 hours before going in and sanding. When the sanding was done it was time to stain and paint.
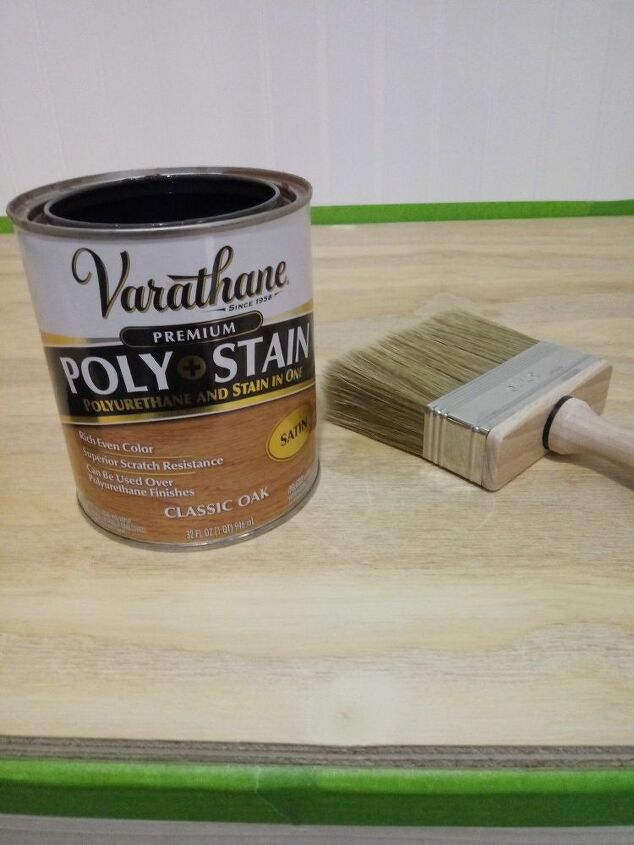
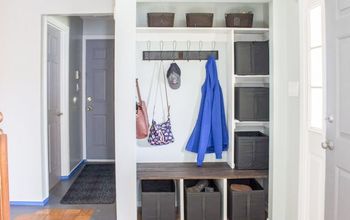
We used the same Poly + Stain that we had previously used on the open shelving in our kitchen. I ended up doing 3 coats of Poly + Stain on the bench and sanded between each coat with a fine grit sandpaper. This allowed the end result to be smooth and durable. The beadboard and shelf were both painted using the same white paint as the walls. Once the paint and stain were dry we hung the hooks and were finally finished.
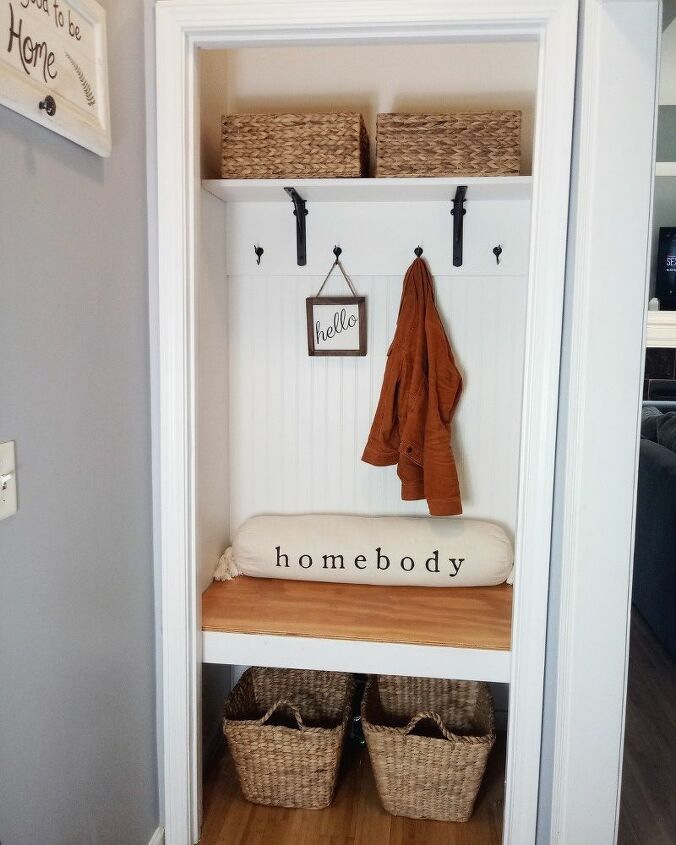
This space turned out better than we could have imagined. It has proved to be functional and a jaw dropper when we have guests. The cost on this project will vary as it truly depends on the tools and supplies you have on hand.


Comments
Join the conversation
-
WOW! This is such a great idea and you did a terrific, professional job. Love everything about the outcome of this project ~ it's PERFECT!

-
I did it! I tried your technique and it did not work for me. My rock had a dirty look to it. I love my look it looks like stone you would buy.


Frequently asked questions
Have a question about this project?
Just curious to why this costed $300?