


Dollar Tree Pumpkin Makeover
The Dollar Tree store is my new favorite "go-to spot" for fall DIY craft inspiration this year... have you seen the bright orange foam pumpkins there?! That's exactly what I am using for my fall-themed makeover craft today!
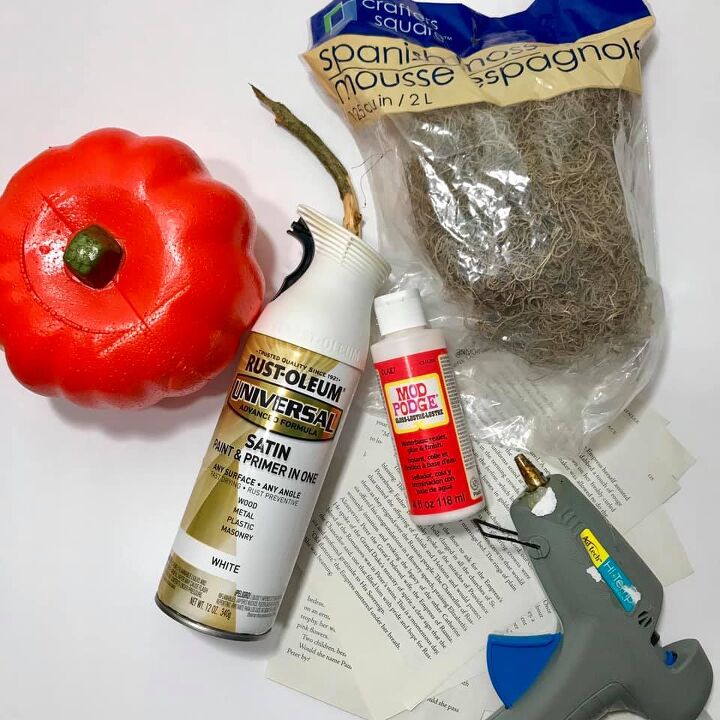
1. foam pumpkin (dollar tree)
2. white paint
3. mod podge
4. hot glue
5. spanish moss (dollar tree)
6. craft brush
7. book pages (torn into pieces)
8. stick (for the stem)
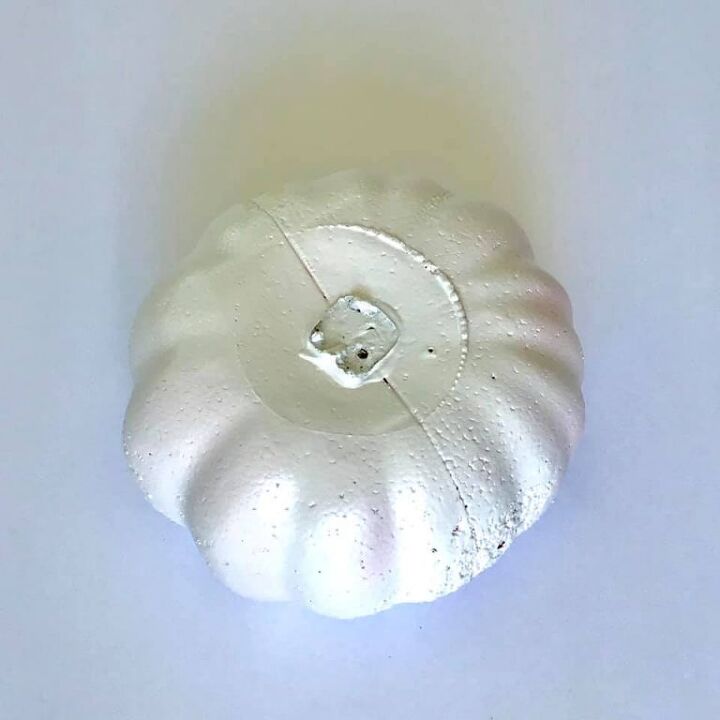
Step 1:
Remove the stem and spray paint the pumpkin white.
This helps prevent the bright orange color from showing through your book pages later.
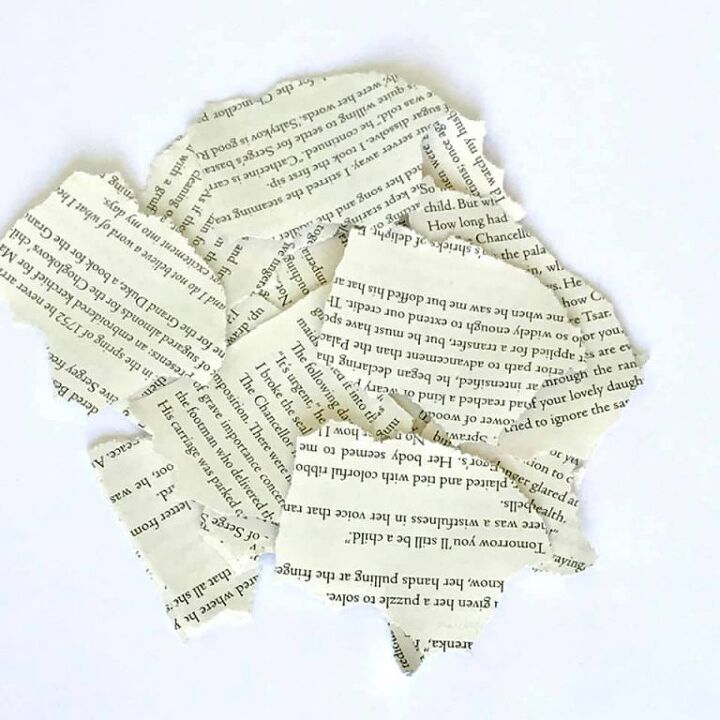
Step 2:
Using several pages from a thrift store book, tear a stack of book page pieces.
My experience is that slightly smaller pieces work better at fitting the curves of the pumpkin, as opposed to larger pieces.
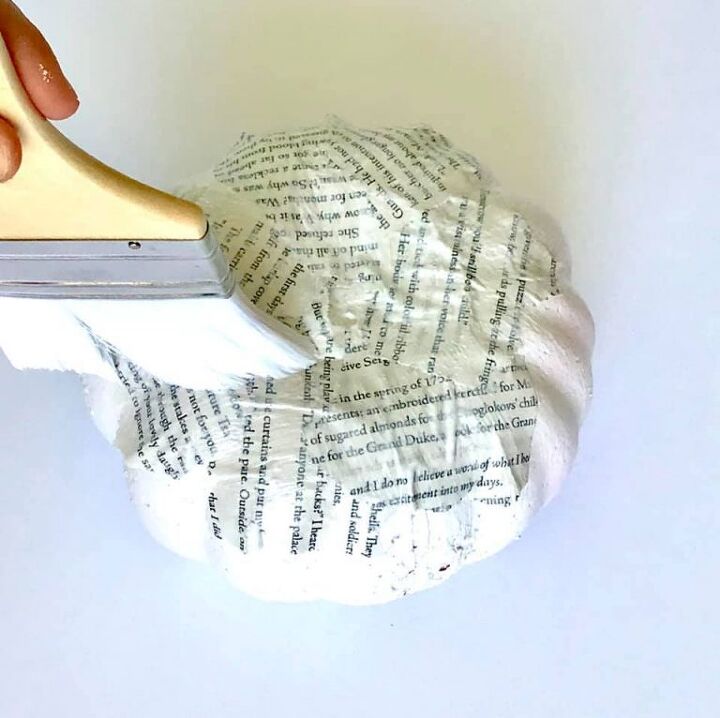
Step 3:
Using a paint brush, start applying the mod podge to the surface of your pumpkin, in small areas at a time. Then, place your page pieces on the pumpkin, one at a time and brush a layer of mod podge over the pieces to adhere them to the pumpkin.
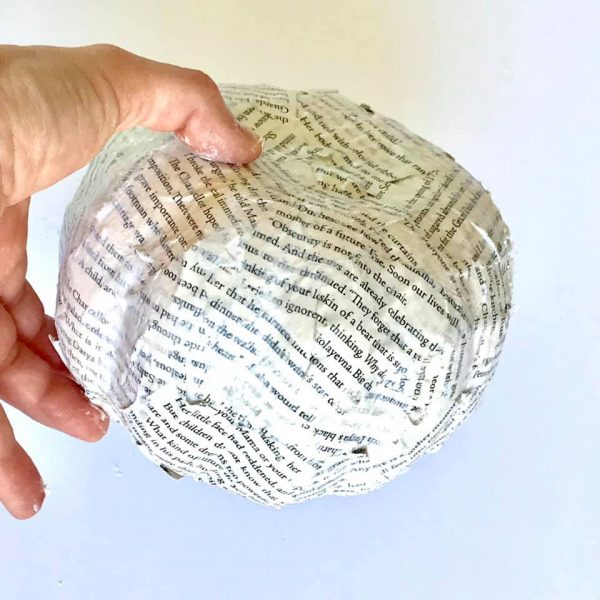
Step 4:
Continue applying the mod podge and book page pieces until your pumpkin is completely covered. The mod podge will appear like white paint until it dries completely clear. Once the pumpkin is covered, let it dry completely.
Step 5:
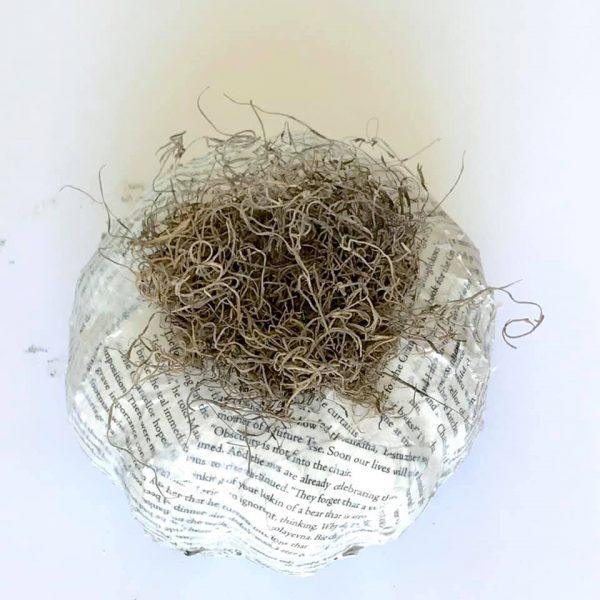
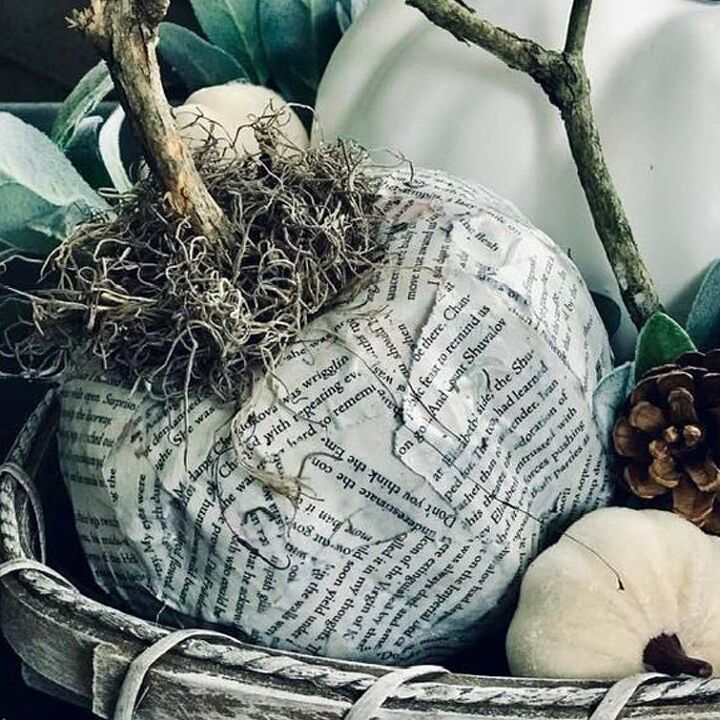
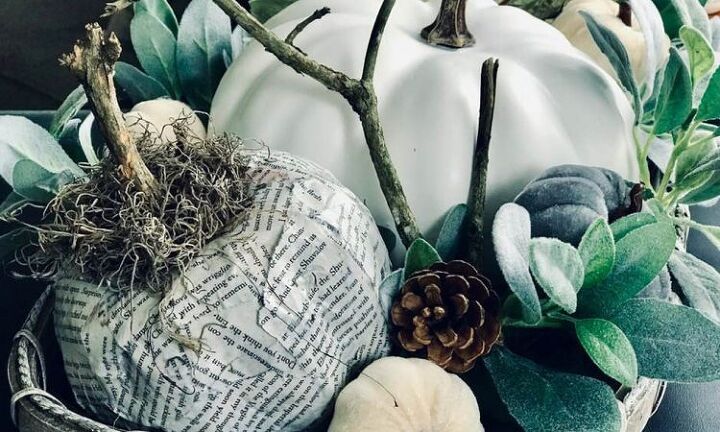
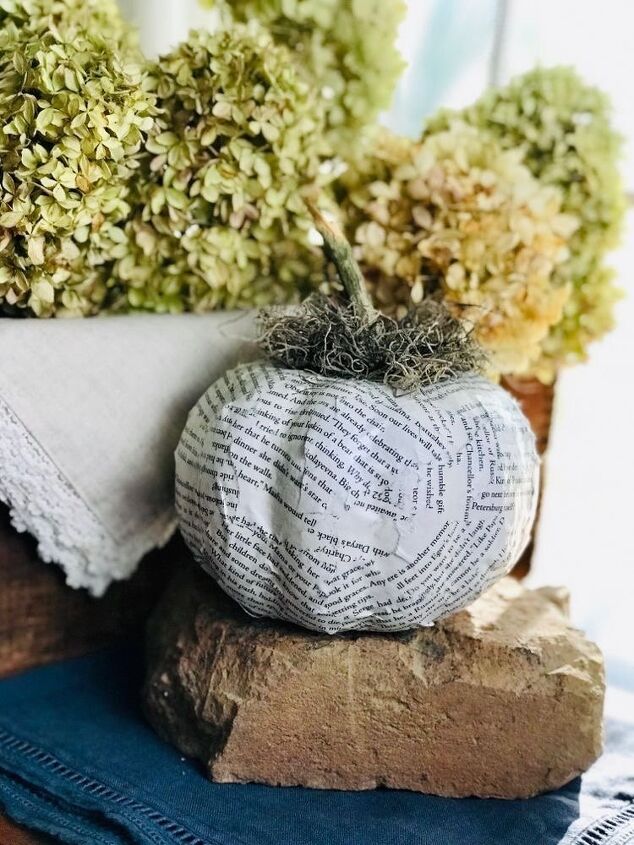
Apply a circle of hot glue around the top (stem area) of the pumpkin and place a small bundle of Spanish moss for the stem to be placed into.
Step 6:
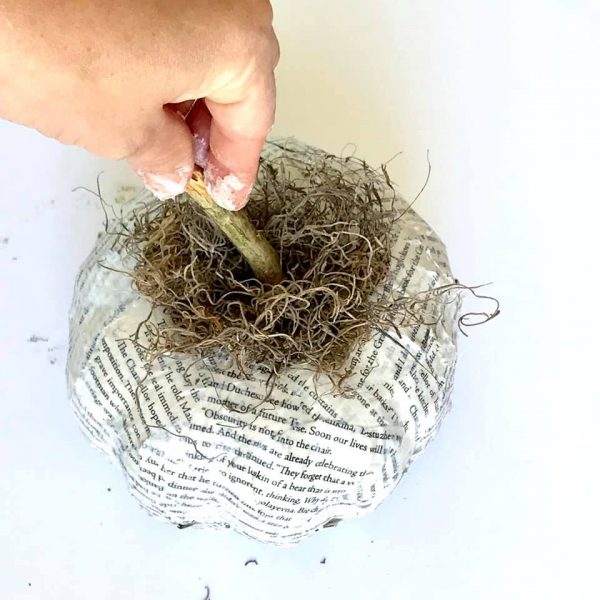
In the bed of Spanish moss, place your “yard stick” down into the foam. It may help to stab the pumpkin slightly with your scissors to enlarge the opening for easier placement of the stick.
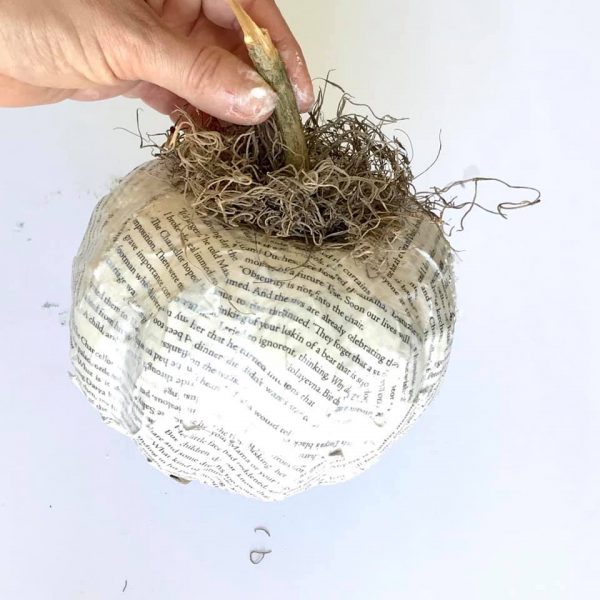
That’s it! Now you have a fall farmhouse white pumpkin that may have cost you only about $2 and will make the perfect addition to a centerpiece, basket, bucket, coffee table vignette, shelf, or any fall display in your home decor!
Other ideas for your Dollar Tree Foam Pumpkin Makeover...
Other ideas for covering your pumpkins would be to use sheet music, black & white photos (photo copies), wrapping paper, paper napkins, scrapbook paper, burlap, fabric strips, etc.
Get creative and add your own spin to your old flower pot containers… then, share your photos with me in my “Sweet Home DIY Crafting & Home Decorating” Facebook group!

Like this project? Want to get more home decor & crafting ideas sent straight to your inbox?
Then, CLICK HERE to sign-up for my Extra Sweet Decor Email!
My promise to you... no spam, ever!!! Only great ideas to make your home even sweeter than before!
See you next time, sweet friend!
~Tracey
Resources for this project:
See all materials


Comments
Join the conversation
-
Really pretty. Thanks! I think Dollar Tree has wrapping paper in various designs for the seasons. I wonder if they would have some Halloween gift wrap paper. It would be so cute on pumpkins.
-
Sweet!


Frequently asked questions
Have a question about this project?