


Create an Upside-Down Planter to Grow Herbs in Your Kitchen

Incorporating a living element into your home decor is a hot trend! And a simple potted plant is simply not enough any more, you have to get more creative! Upside down planters are unexpected, eye-catching, and conversation starters, and you can put one together in a matter of minutes! I’ll show you in my step-by-step tutorial how you can make your own from a variety of materials and greenify your living space in no time! Check it out below!
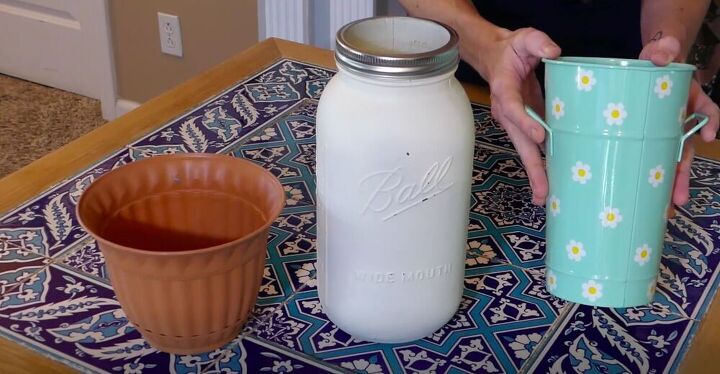
Tools and Materials:
- Planter (you can use a metal planter, a glass mason jar, or a plastic planter)
- Drill and drill bits (the drill bit you’ll be using depends on the material of your planter, make sure you get the right one)
- Kitchen sponge
- Scissors
- Chopstick
- Plant
- Soil
- Drip tray
- Decorative rocks
- Twine
- Wire

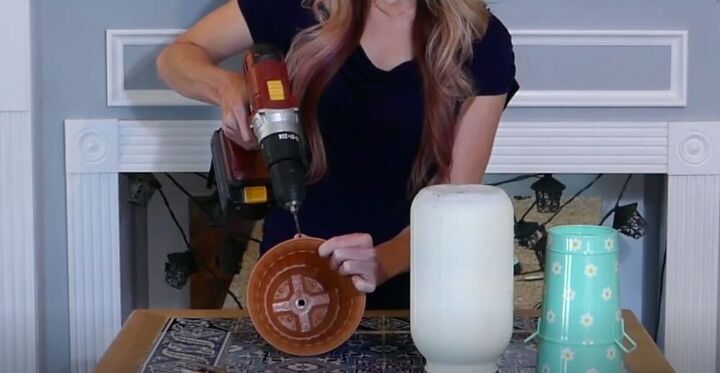
Drill a hole in the center of the base of the planter. If you’re using a glass or ceramic planter, make sure to use a diamond drill bit and a steady stream of water as you drill.
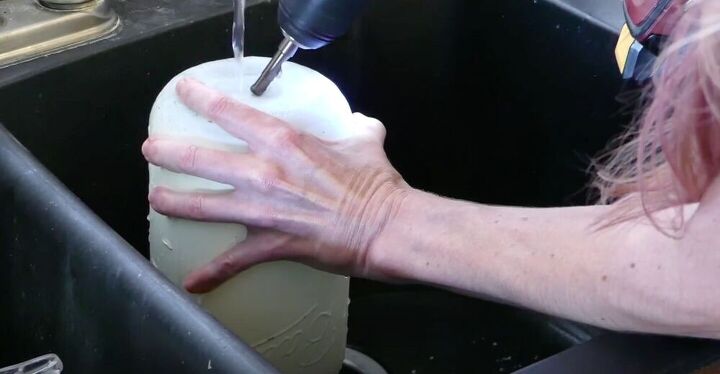
Run a gentle stream of water on the spot you’ll be drilling. Beginning at an angle, start the drill and carefully hold it steady as it starts to create a divot in the glass.
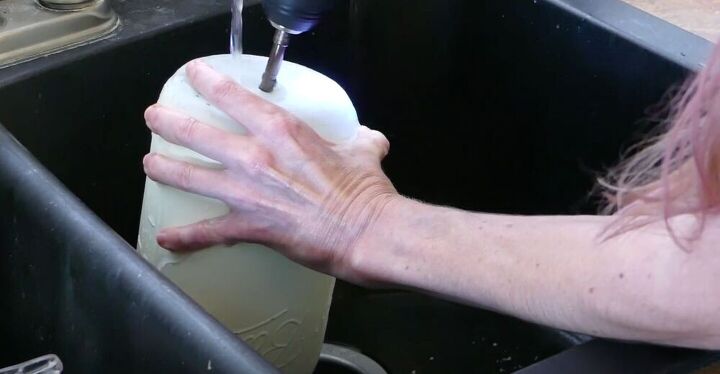
Once you have a bit of a divot, slowly straighten it out until you are drilling straight into the item. Go slow and don’t apply too much pressure. Allow it any time it needs for you to make your way through the bottom of the vessel.
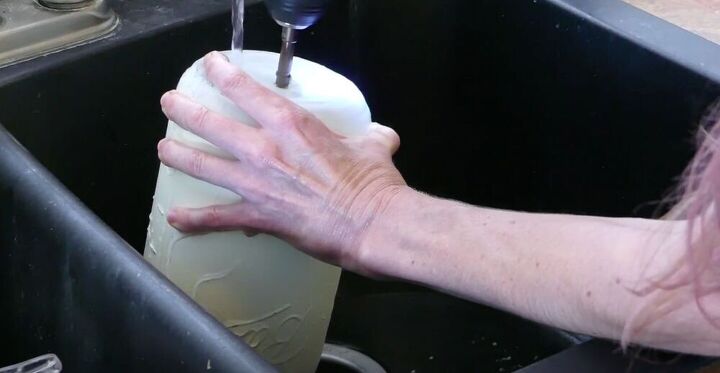
Water is imperative, as it keeps the temperature down while you’re drilling and prevents it from cracking. I highly recommend using a cordless drill so that you aren’t plugged into an electrical outlet when working with water. Also, be careful not to get water on the drill itself, but it’s fine if the drillbit gets wet.
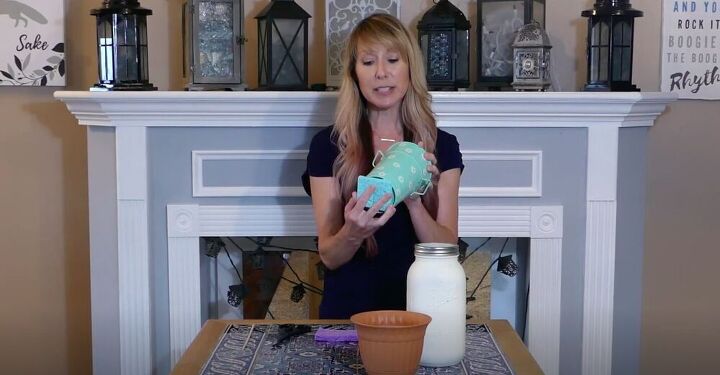
If the planter you’re using doesn’t have handles, add a few holes along the top lip of the planter to hang it from. Make sure that the holes are directly across from each other so that the plant hangs balanced and straight.
Cut a kitchen sponge to be slightly larger than the base of your planter.
Then cut a slit to the center of the sponge.
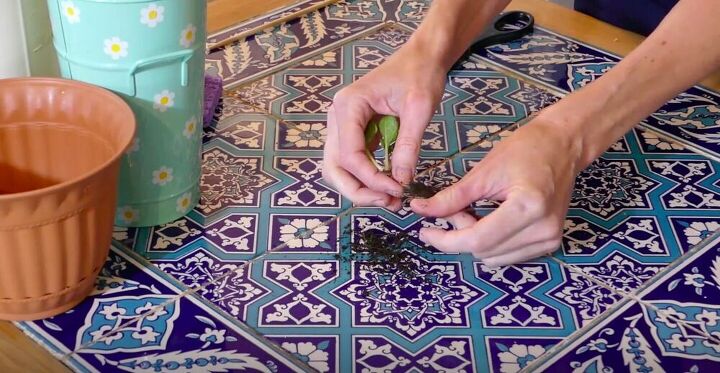
Clean off as much dirt as possible from the root of the plants and insert it through the bottom of the planter, so that the plant is hanging off the bottom.
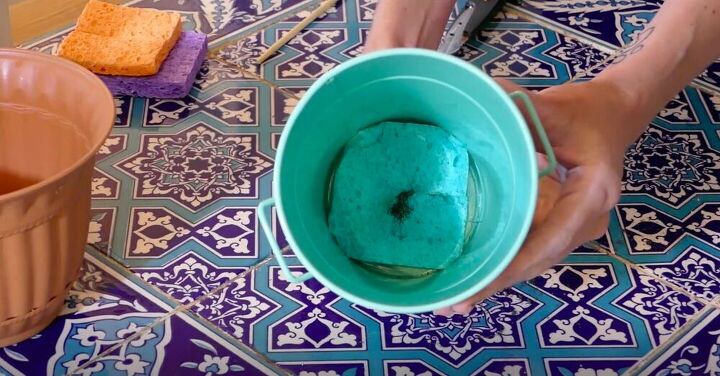
Secure it from the inside with the sponge, inserting the roots into the slit in the sponge.
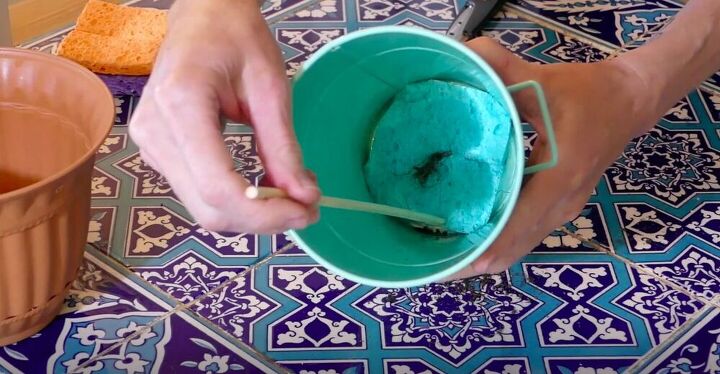
If your planter is too small for you to get your hands in to wadge the sponge in place, use a chopstick to help you do it.
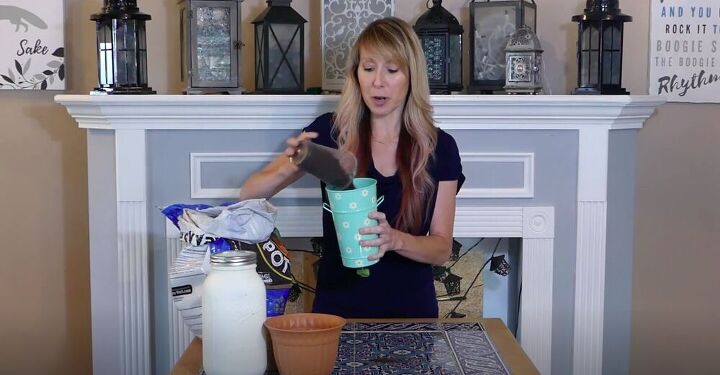
Fill the planter with enough dirt to cover the roots and give it plenty of room to grow.
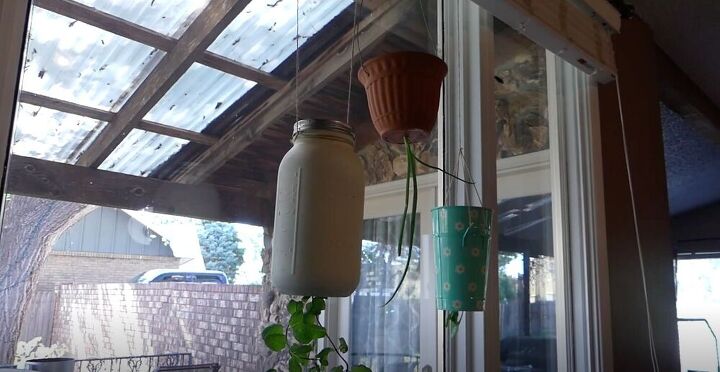
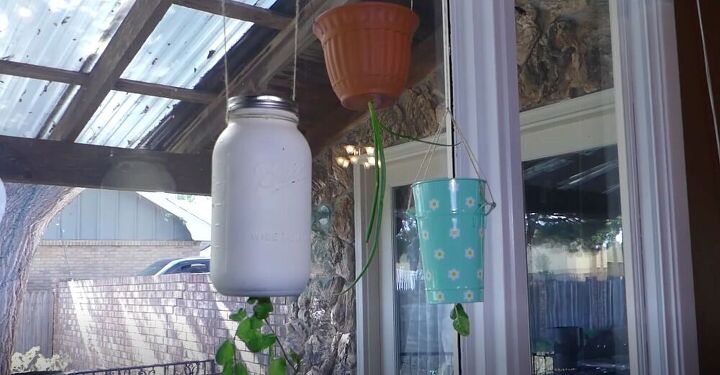
Use wire or twine to hang the planter. If you drilled holes to hang it, run the wire or twine through the holes and hang. If the planter already had handles you can hang it from there. For the mason jar I wrapped twine around the threads in the neck and then screwed the top on.
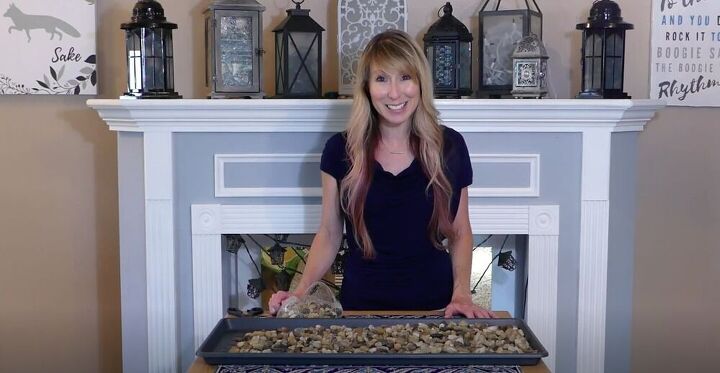
If you’re worried about drips, you can easily make a drip tray out of a plastic tray and some decorative rocks. Place it directly below the planters to catch any excess water.
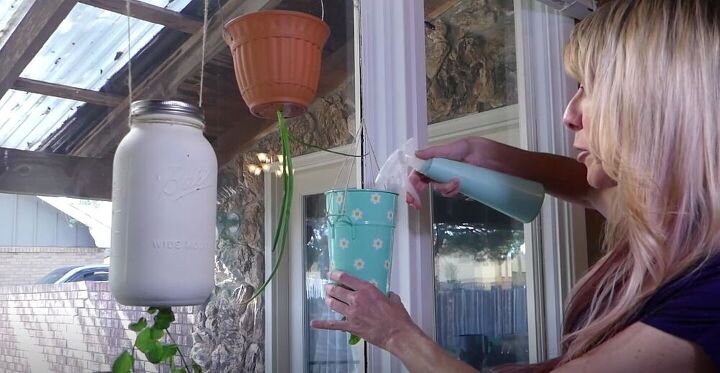
In order to avoid drips in the first place, water with a spray bottle. Spritz the top of the dirt with water and it will slowly make its way down to the plant.
What a cute way to work edible plants into your decor! How would you personalize this project for your space? Let me know in the comments below!


Comments
Join the conversation
-
I'm not sure I get the point of these? Perhaps they look better when they begin to grow up around the pot?
-
I never understood the point of upside down plants.
- See 1 previous


Frequently asked questions
Have a question about this project?